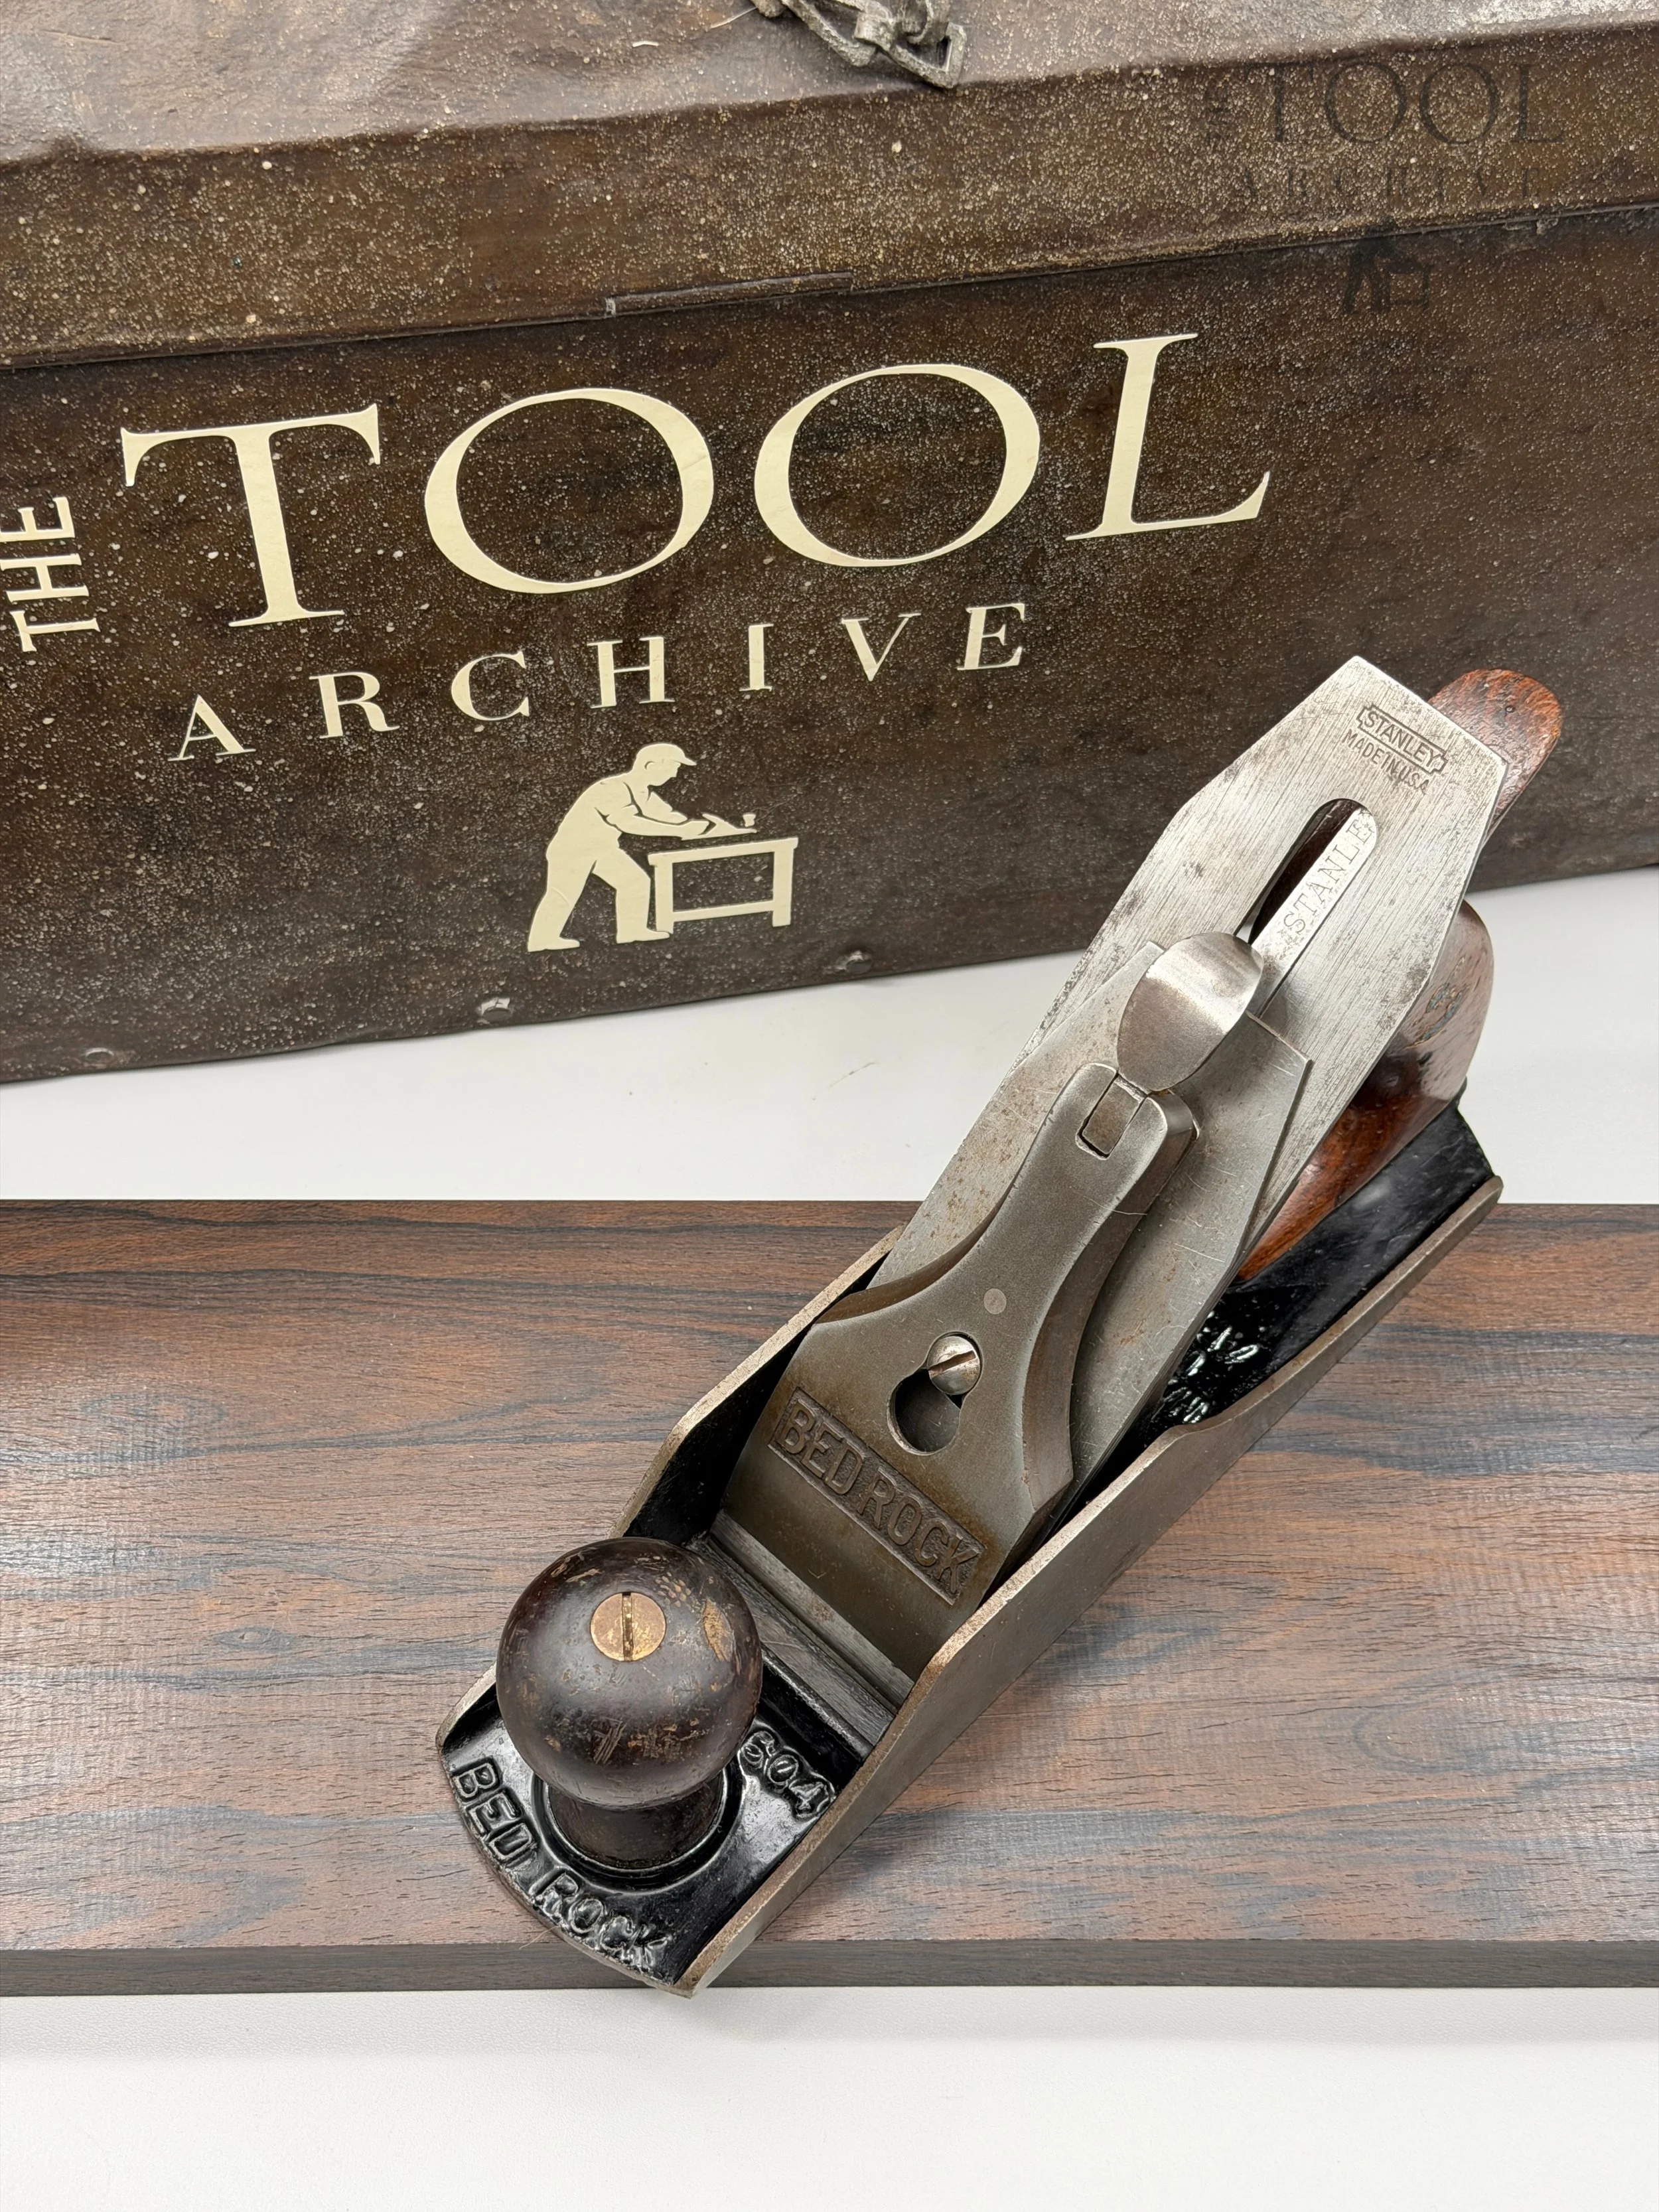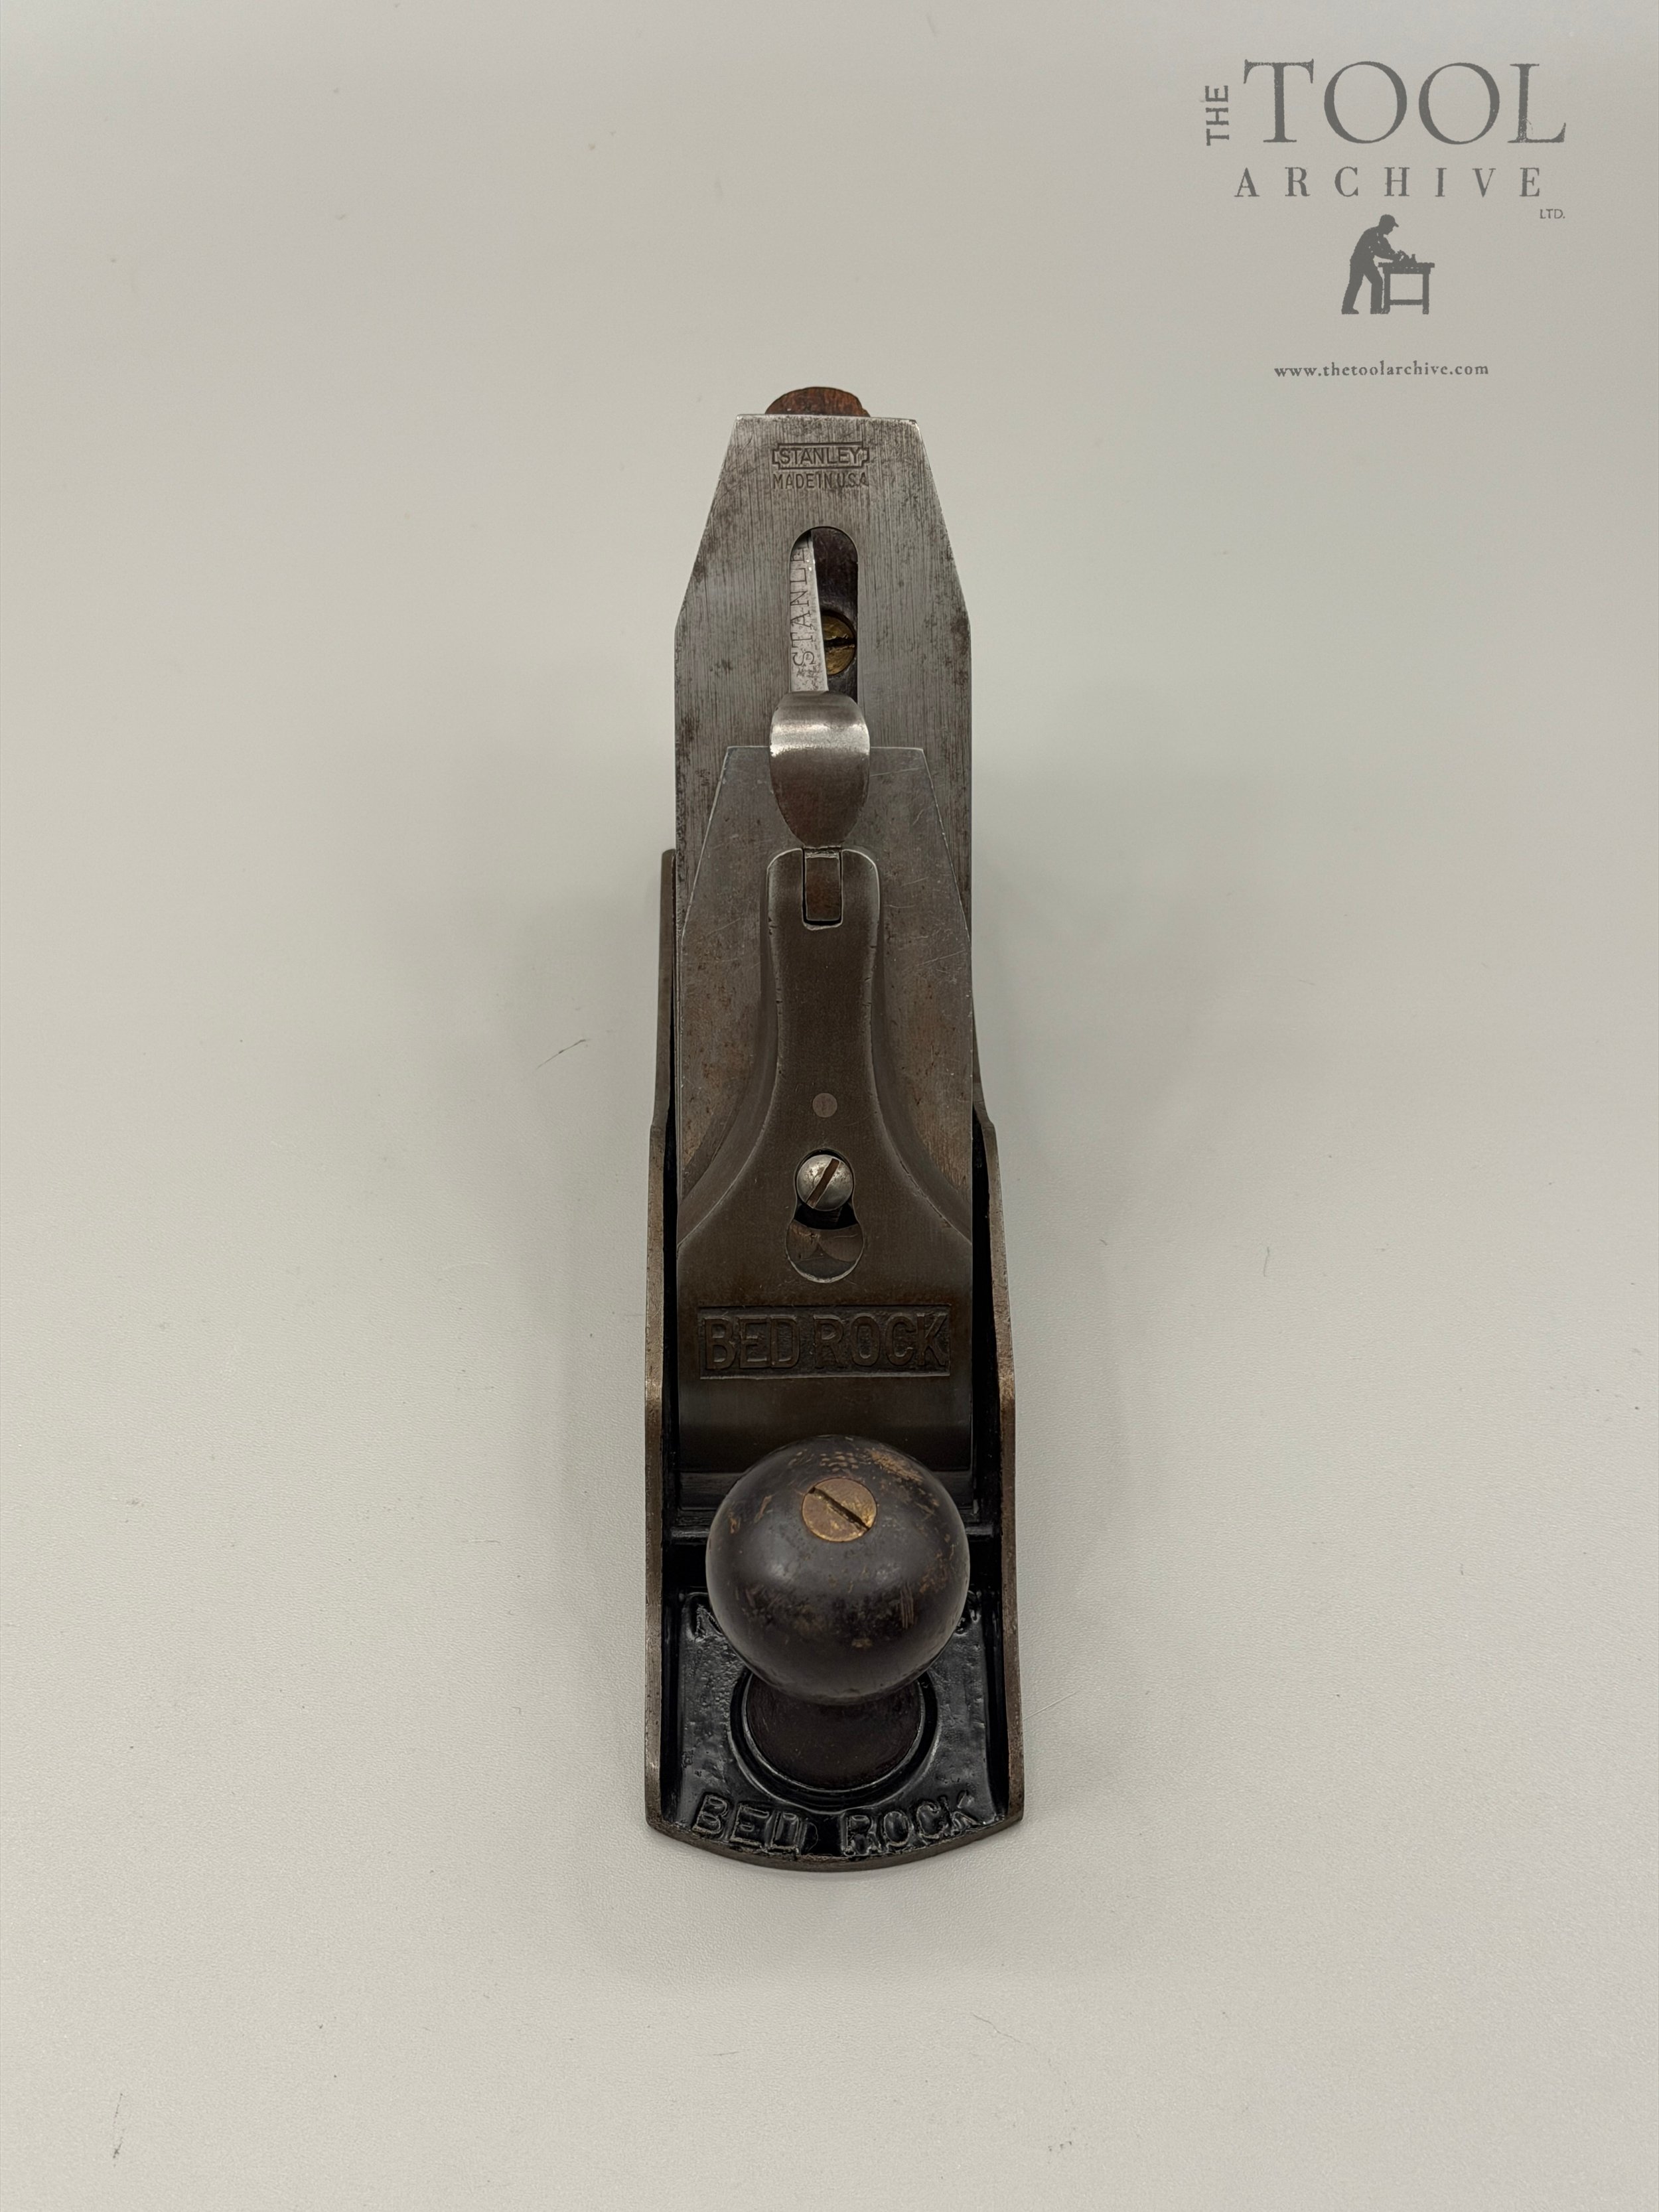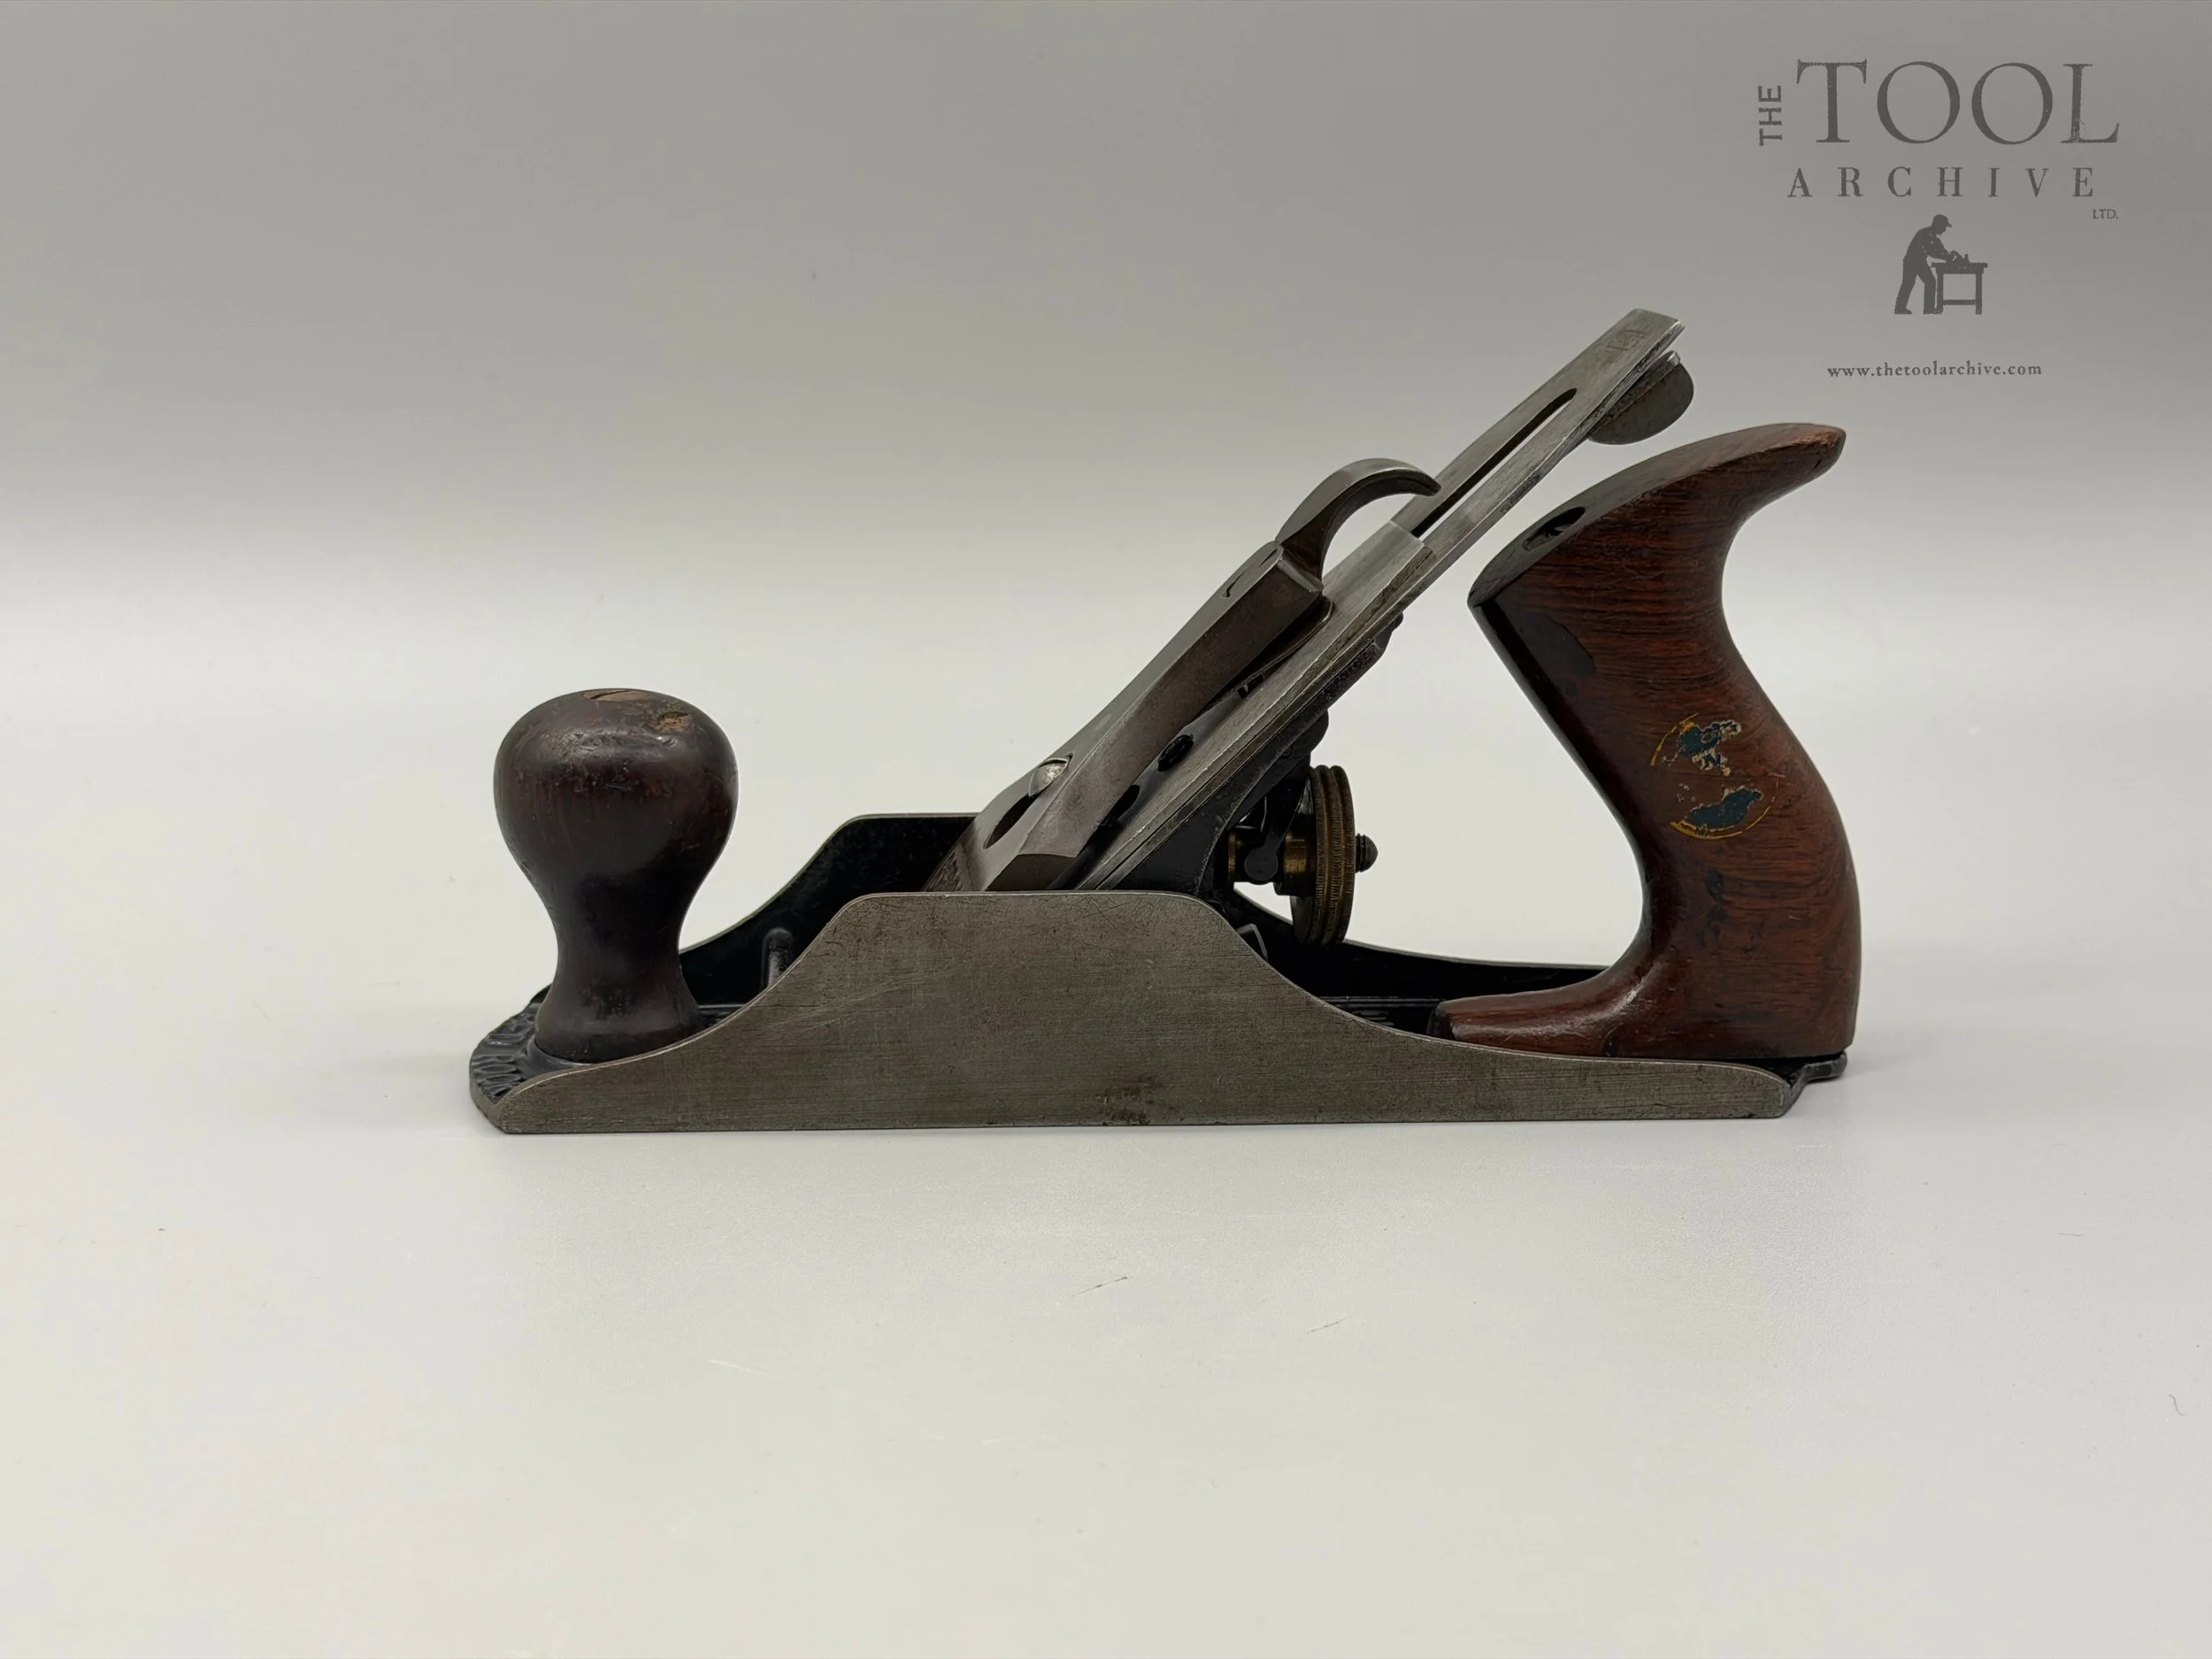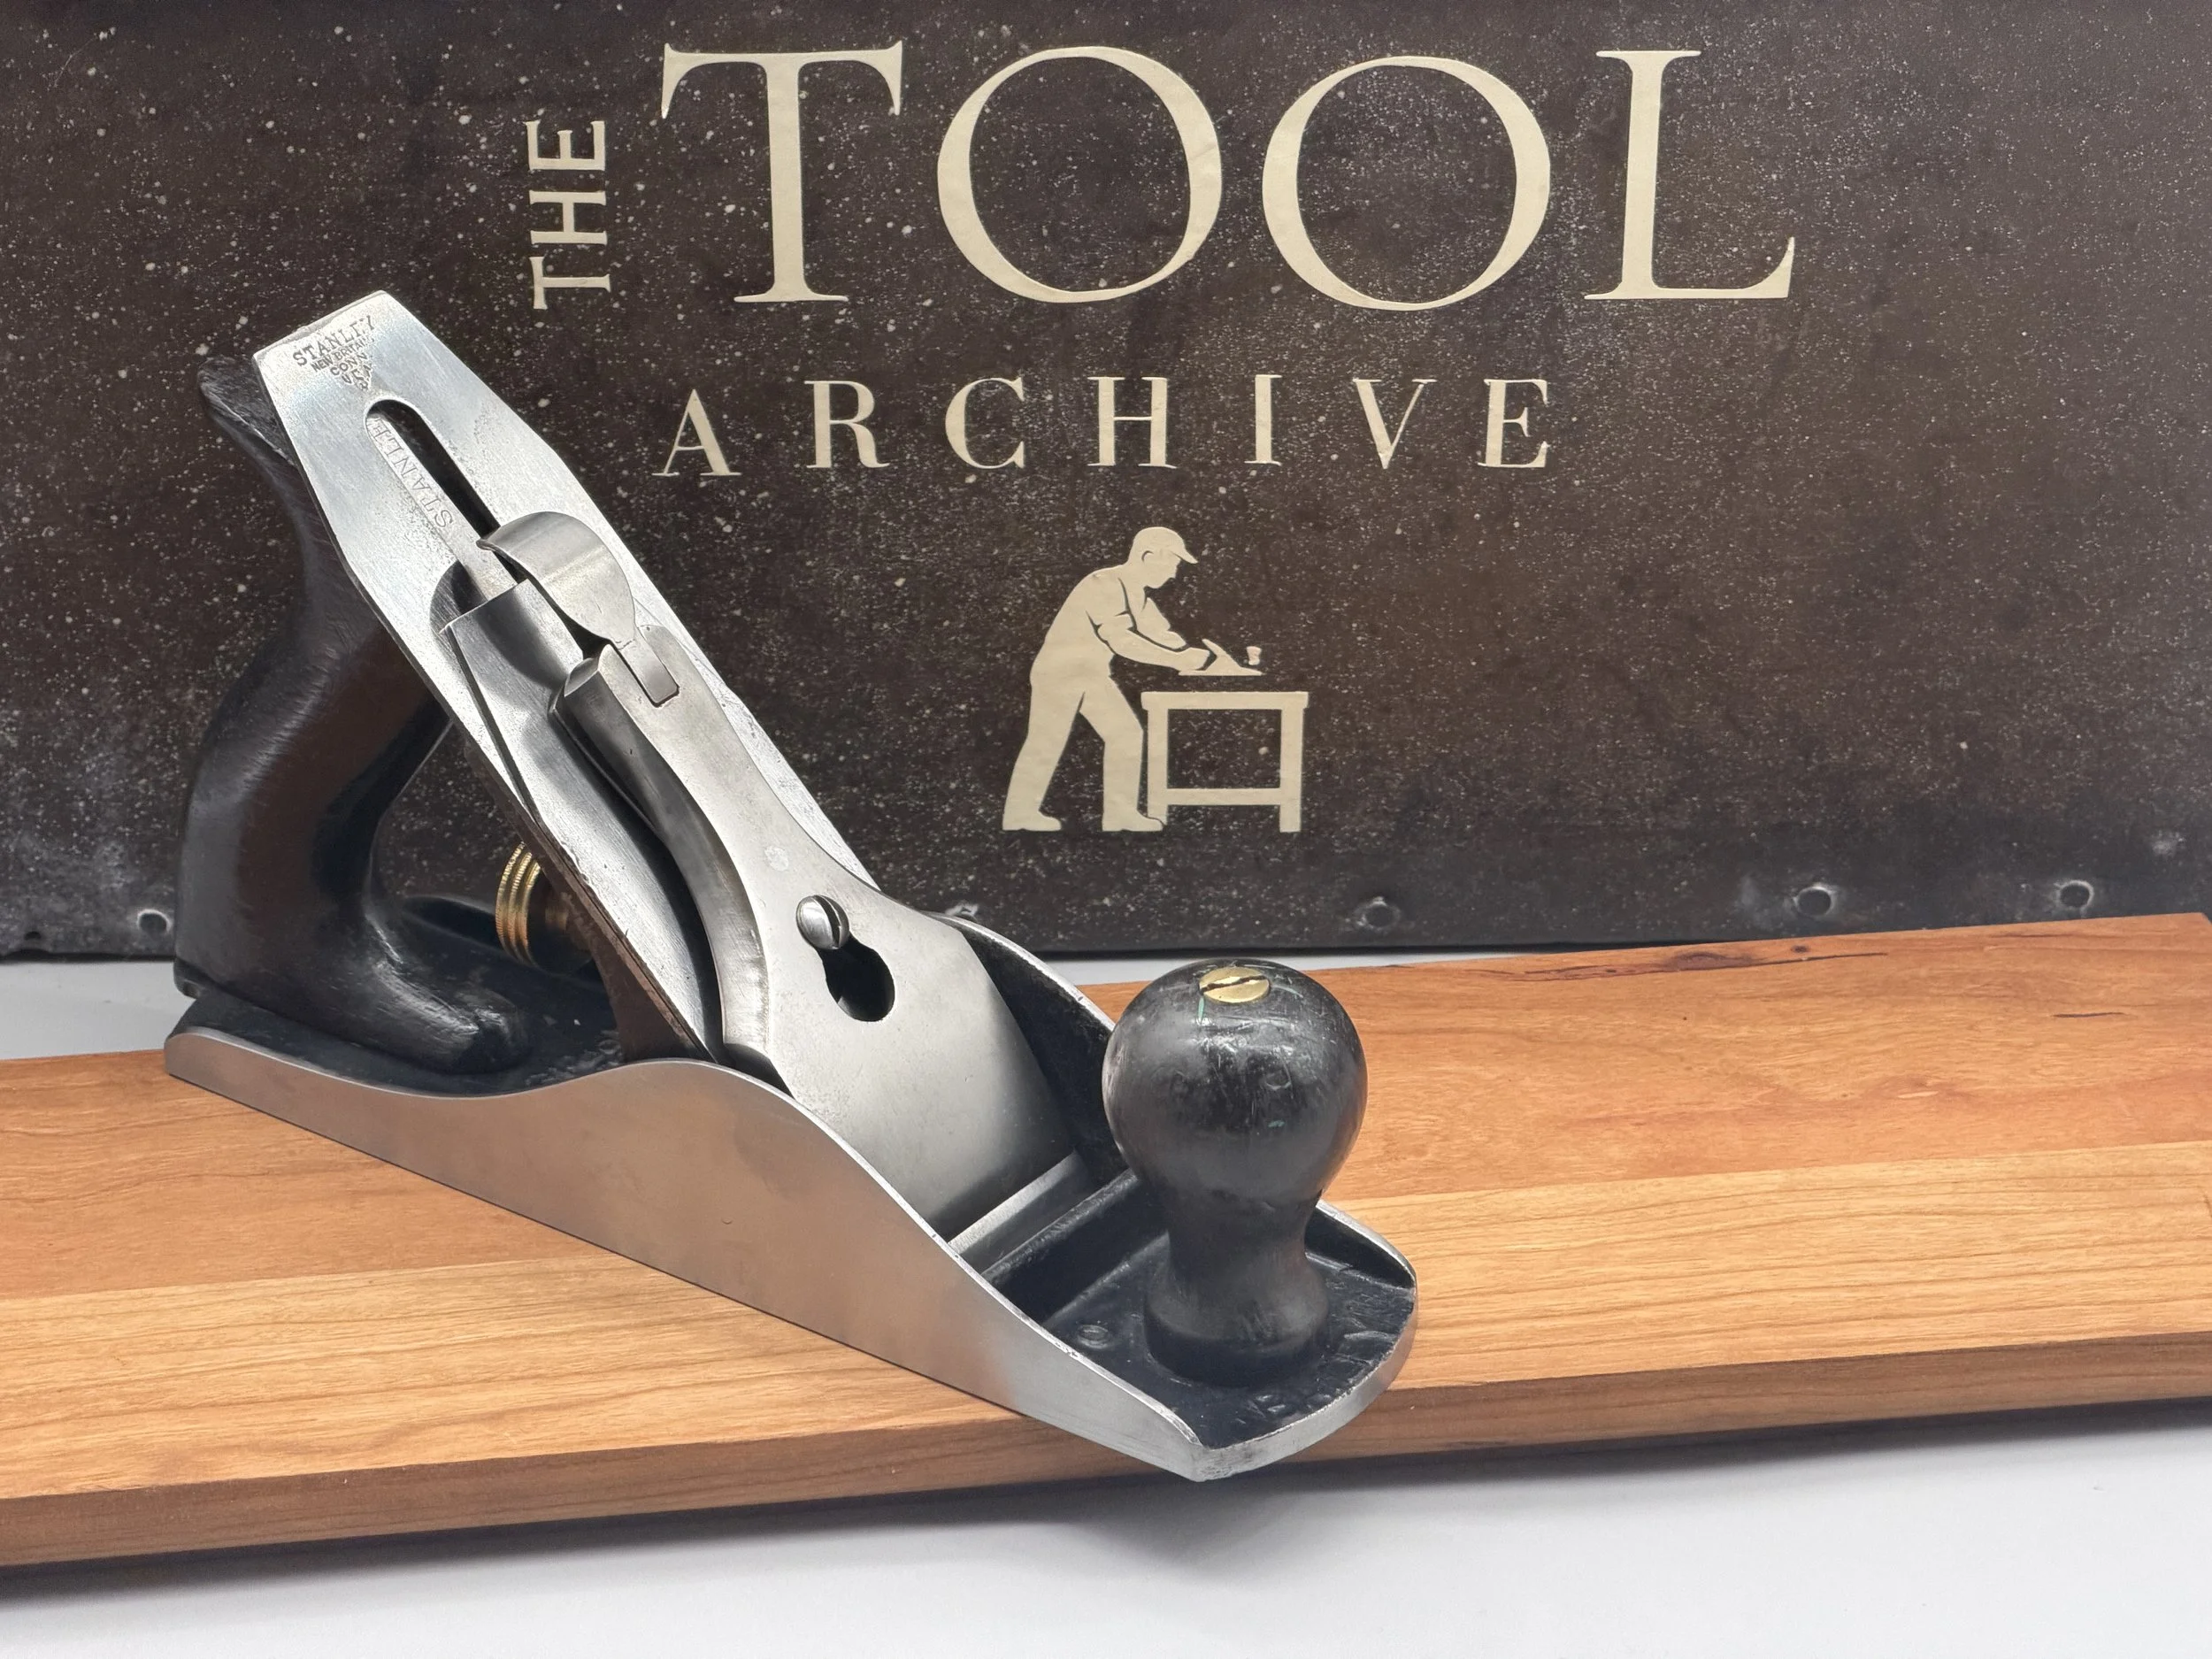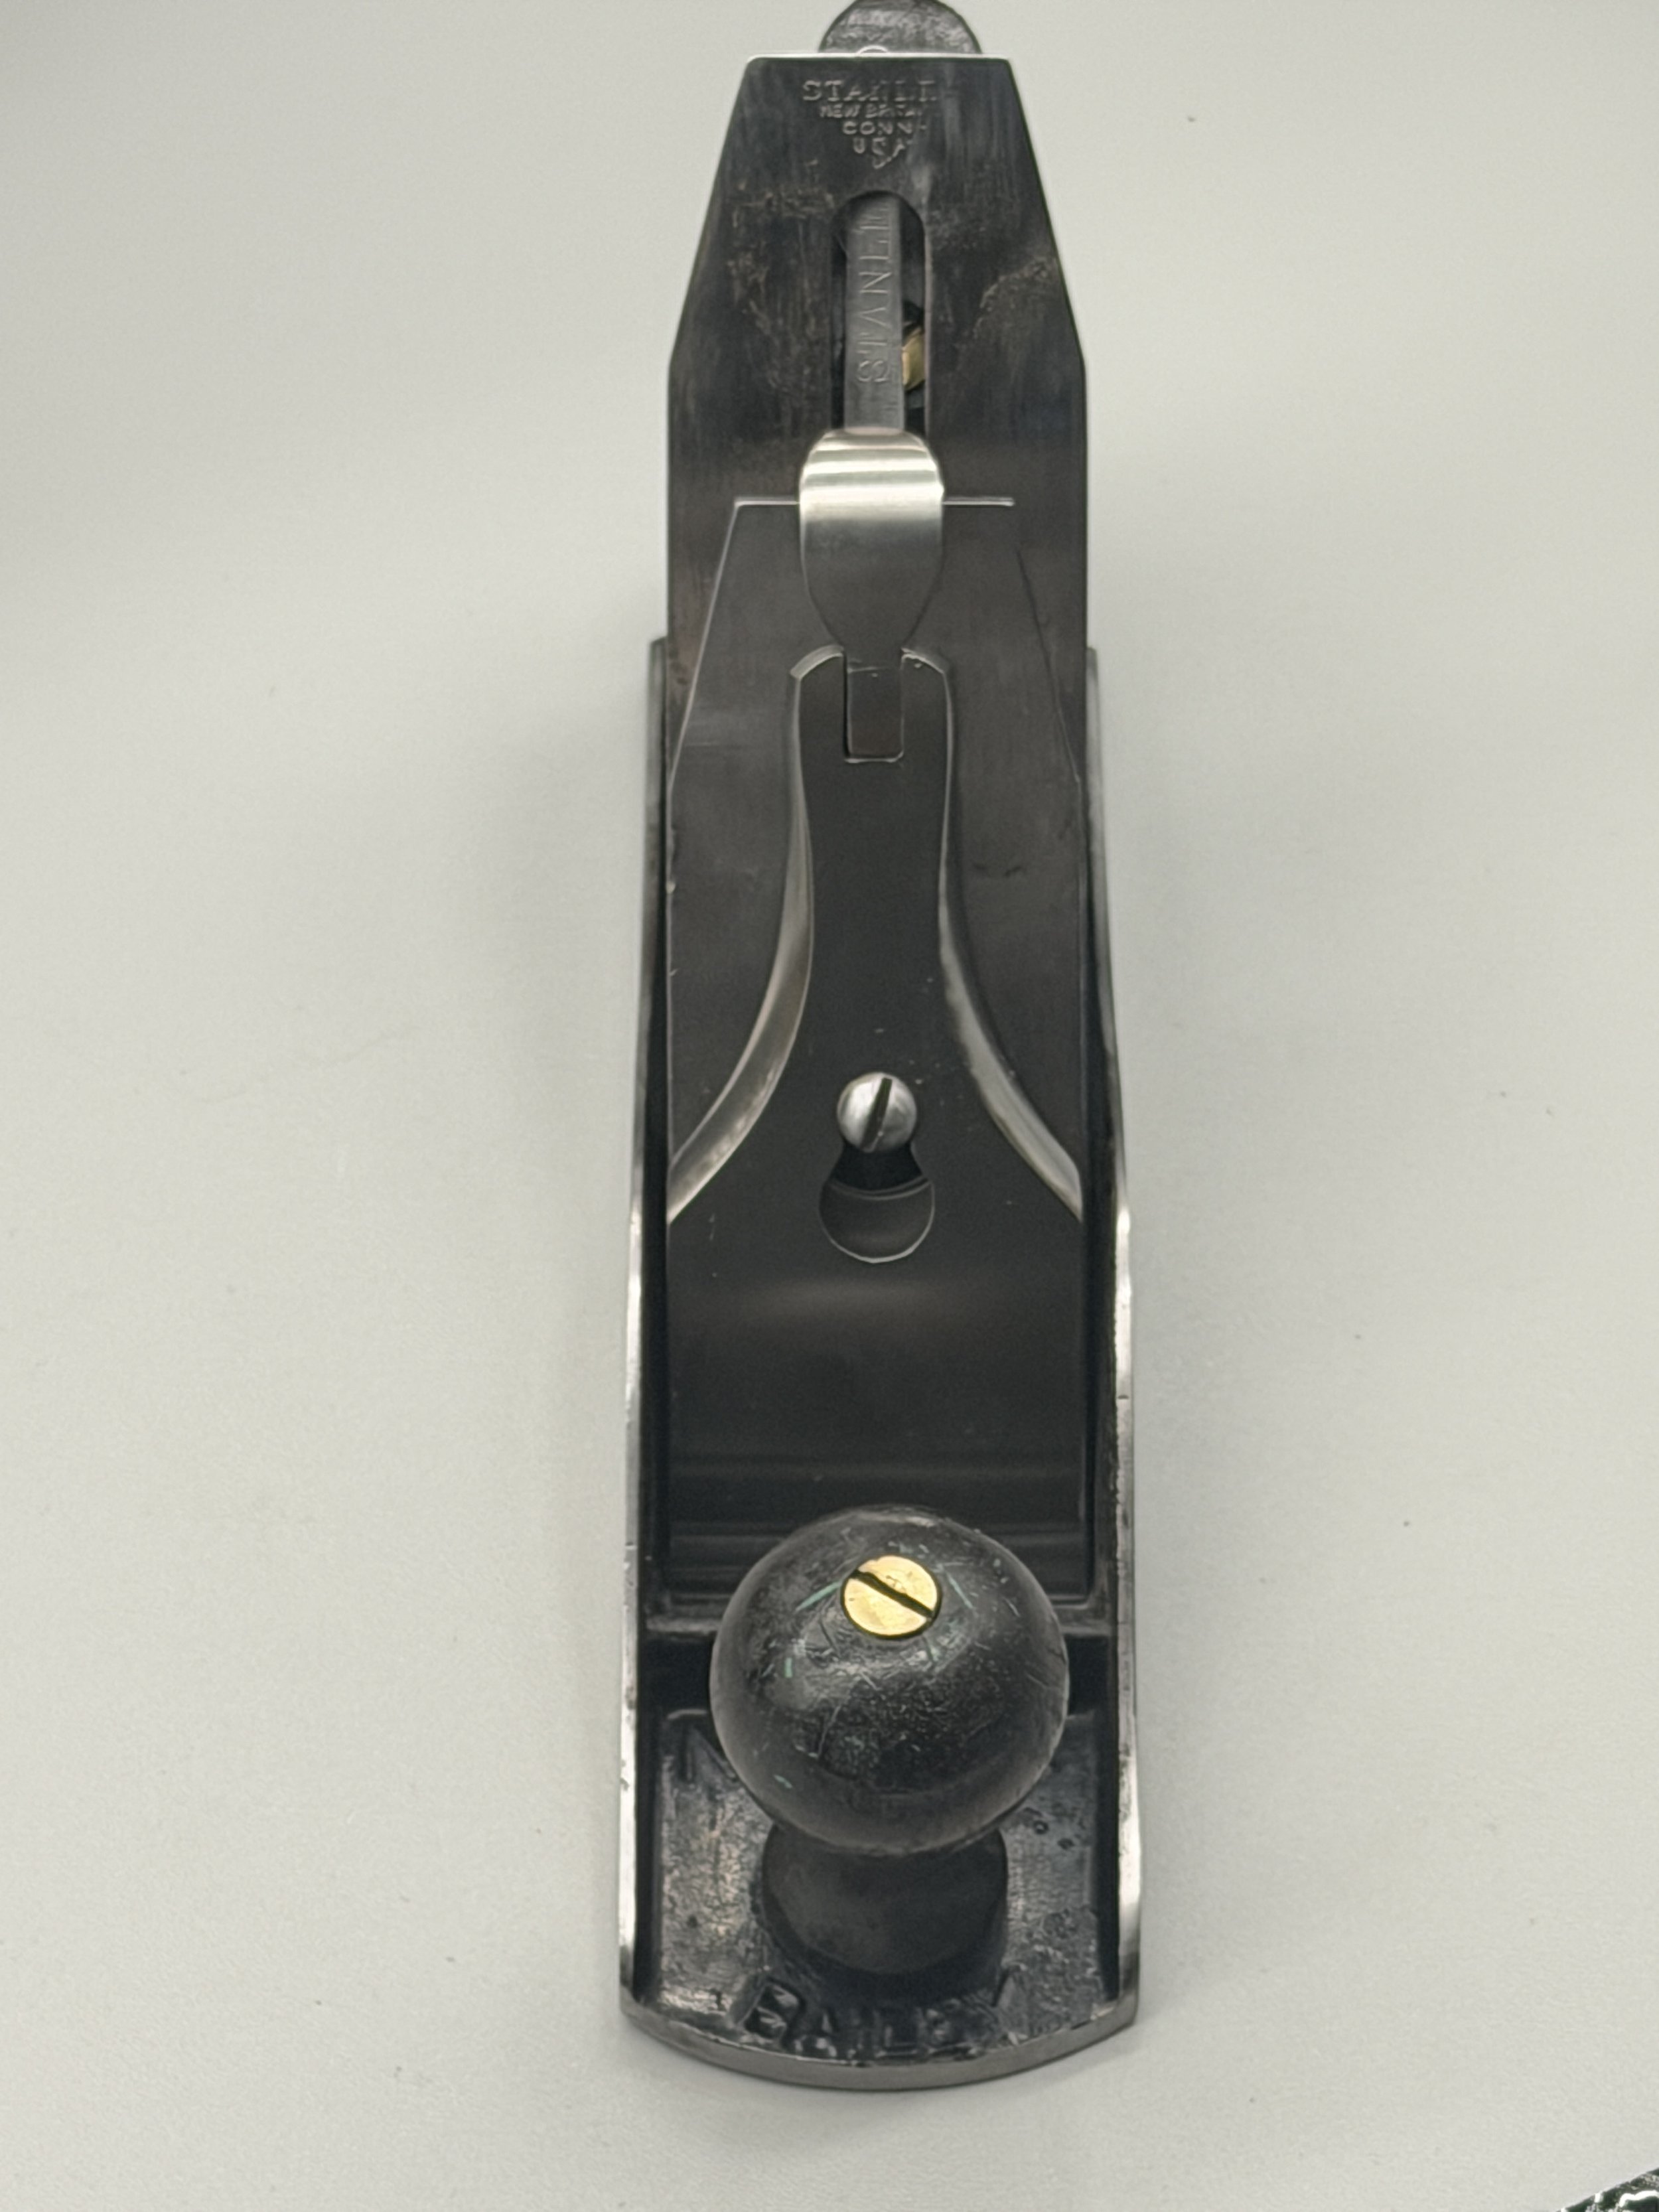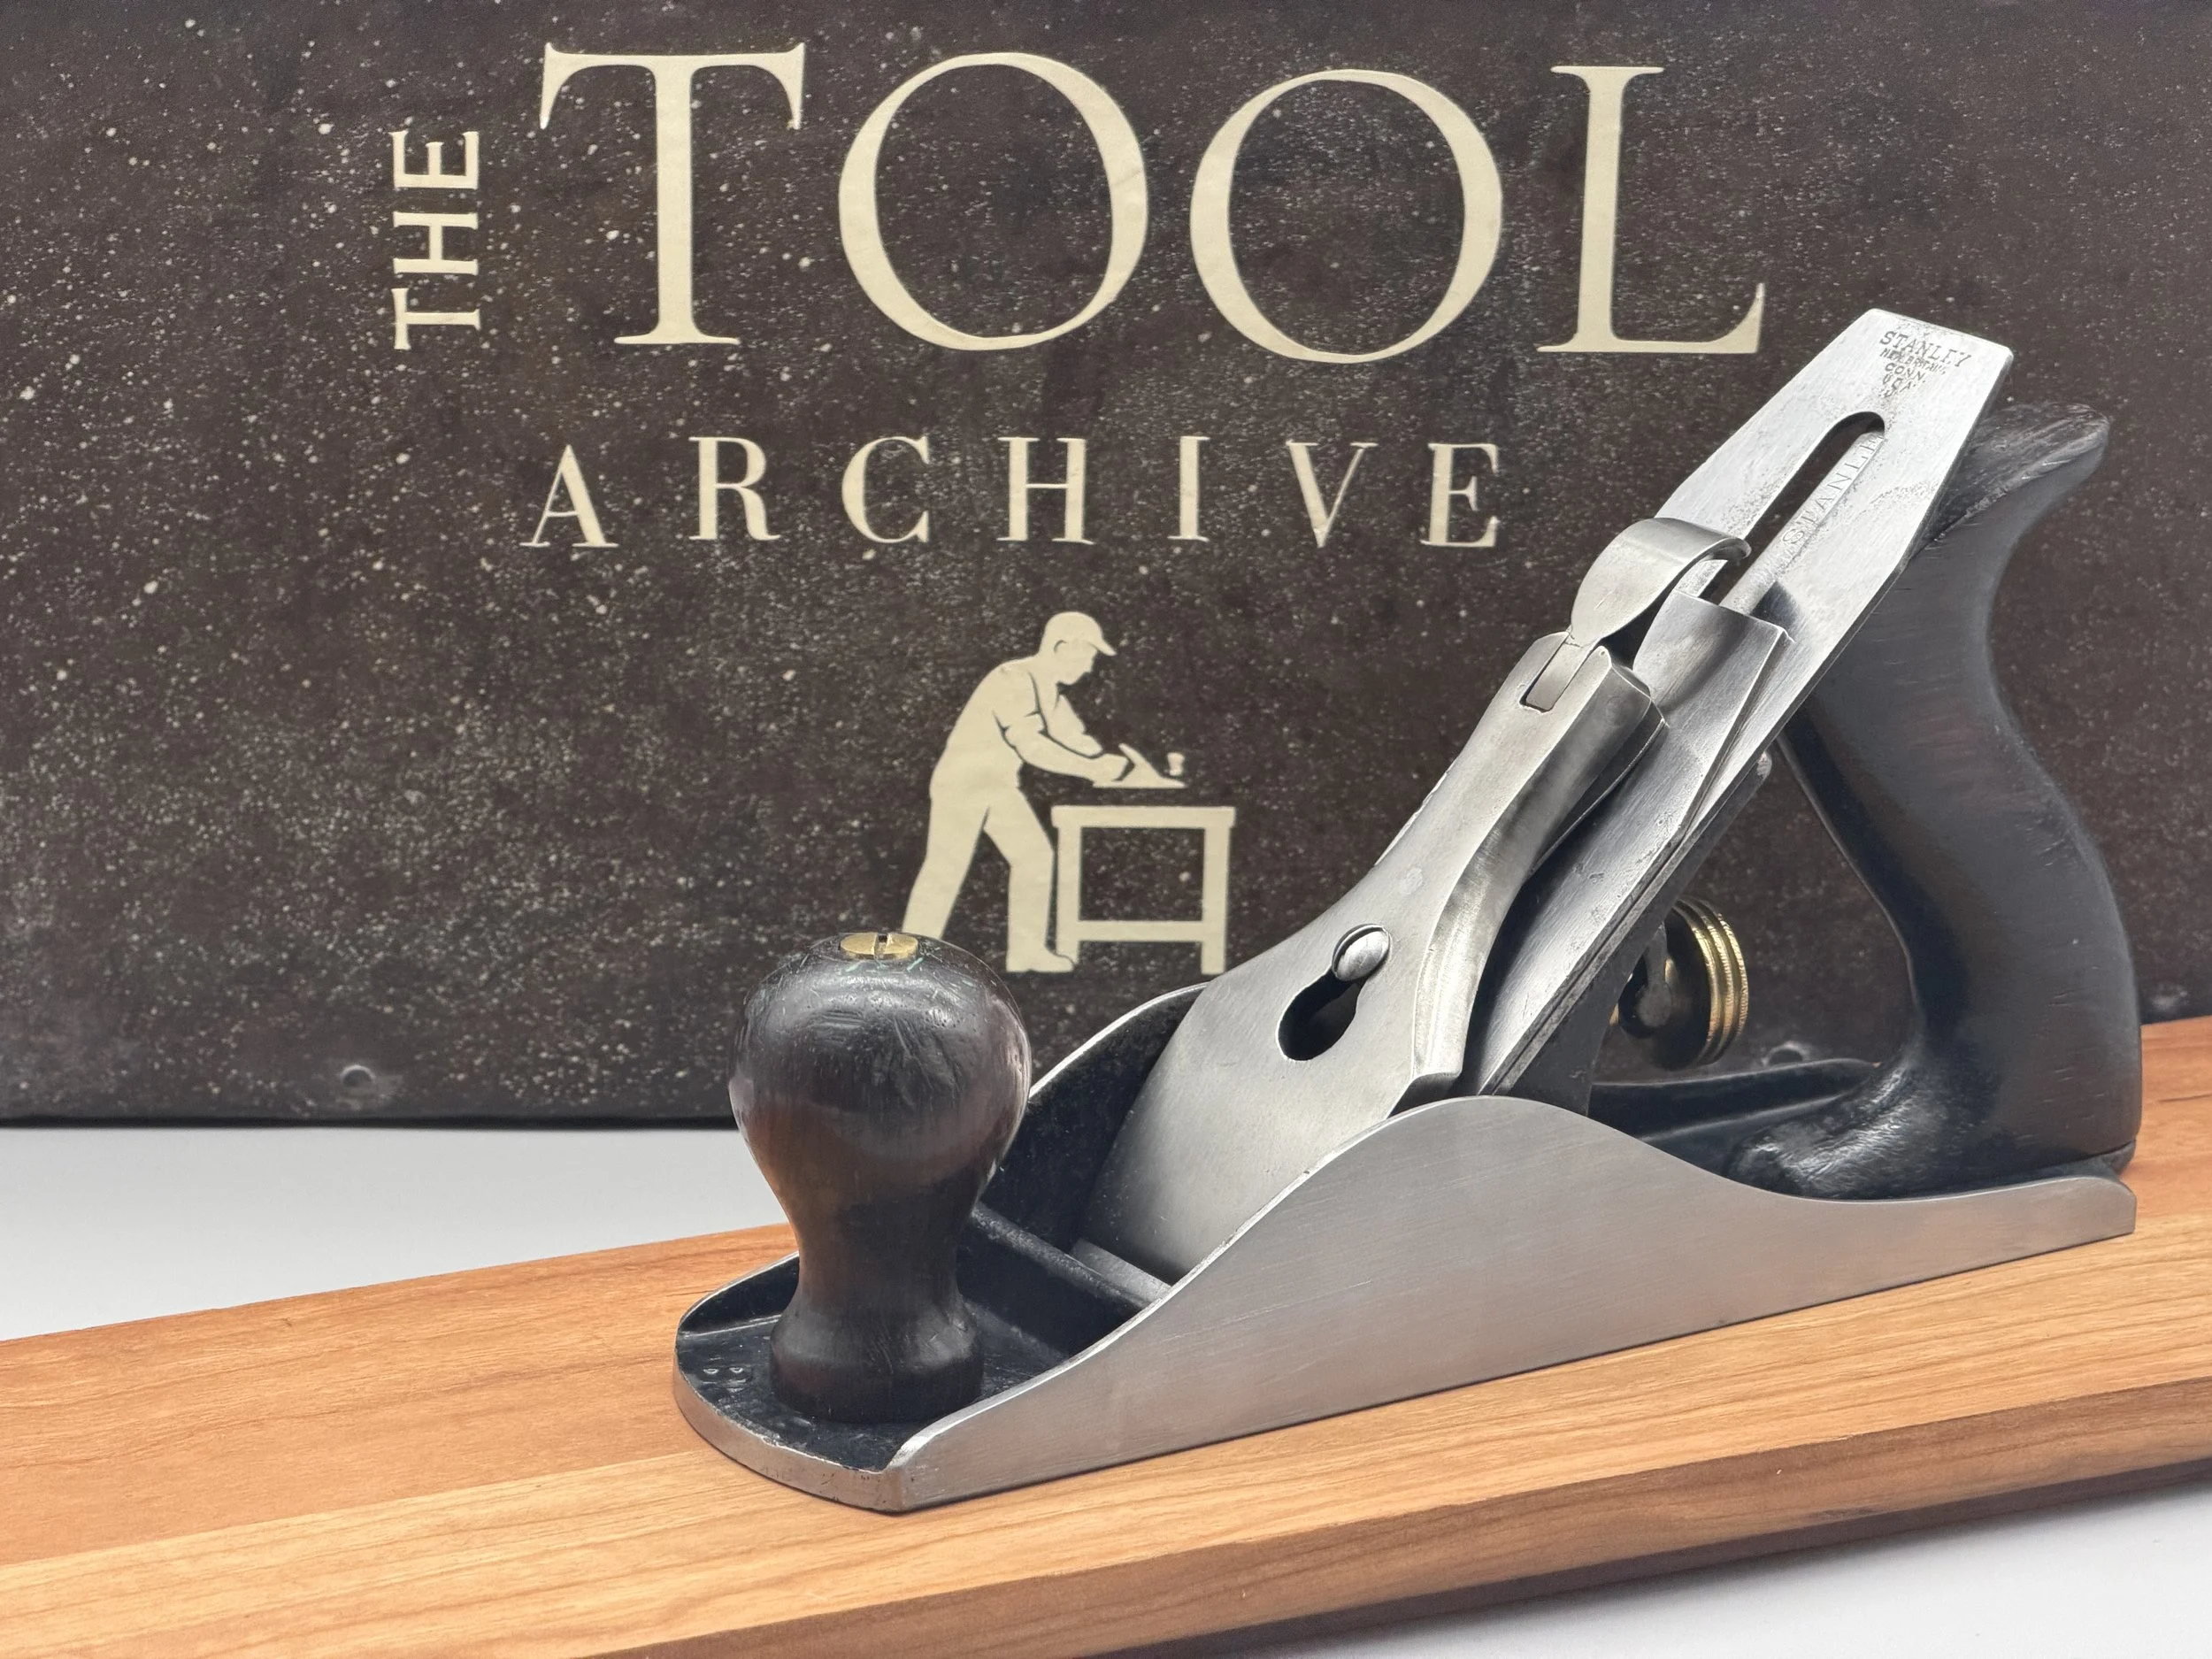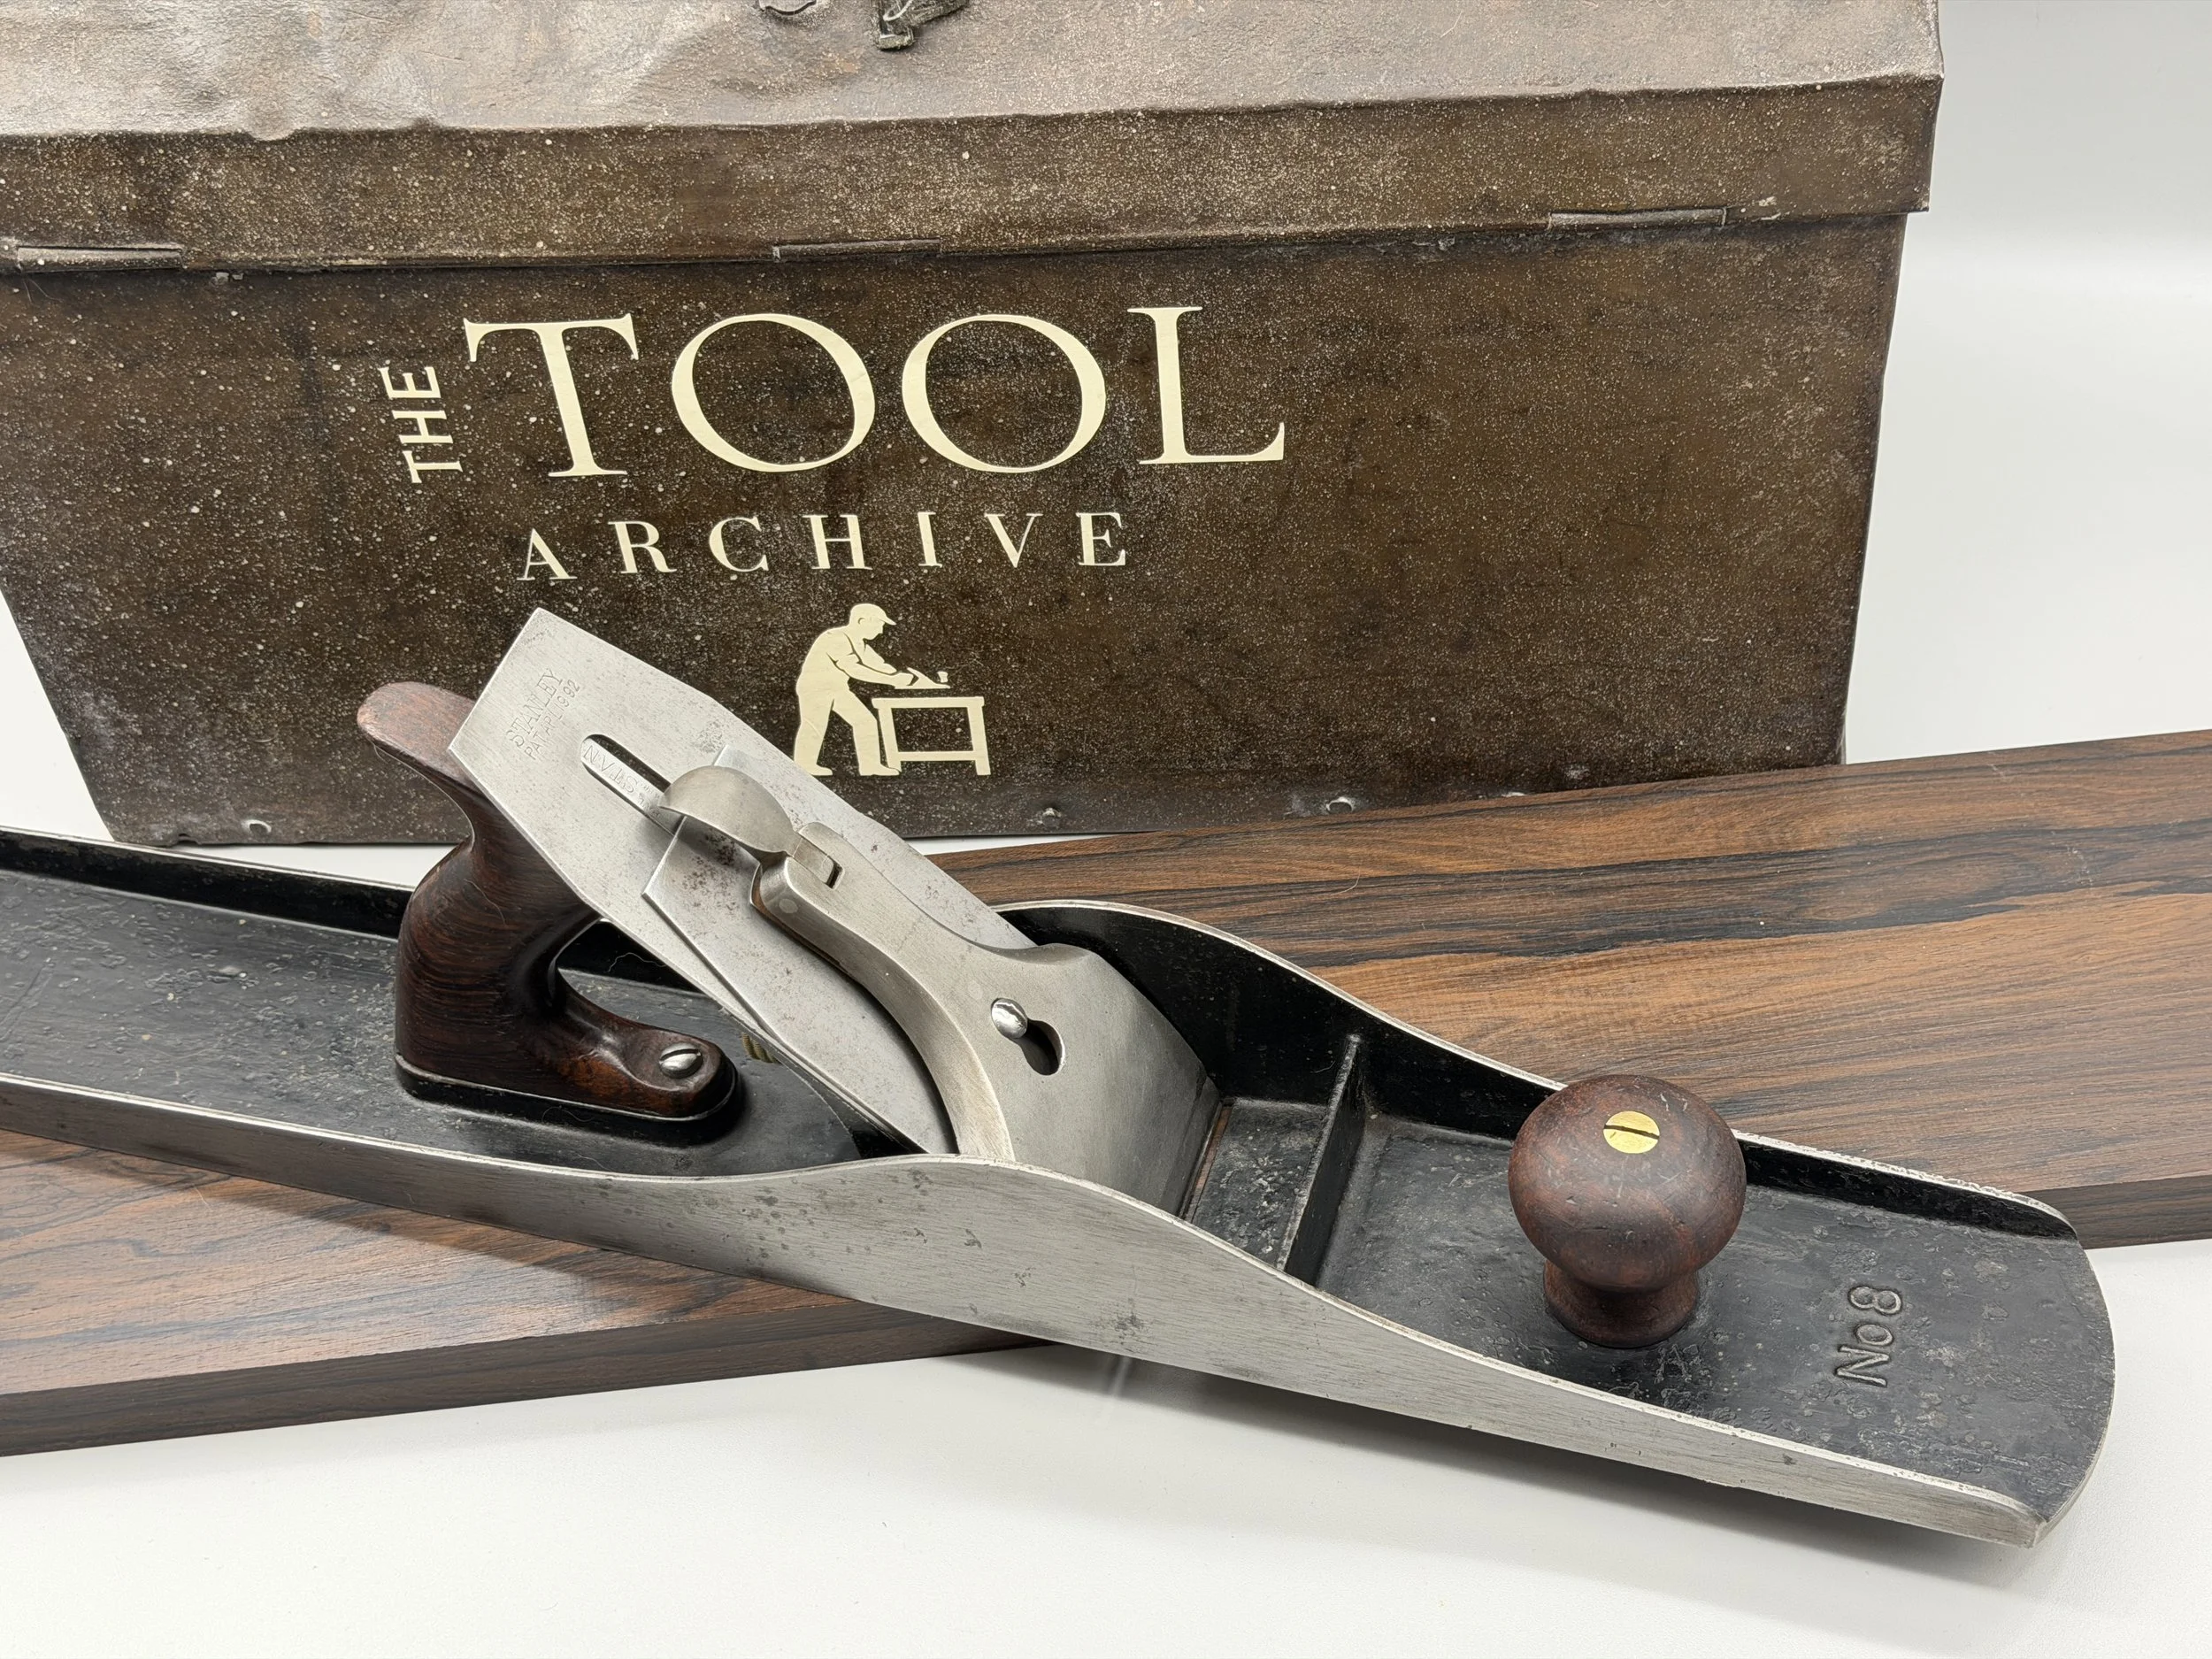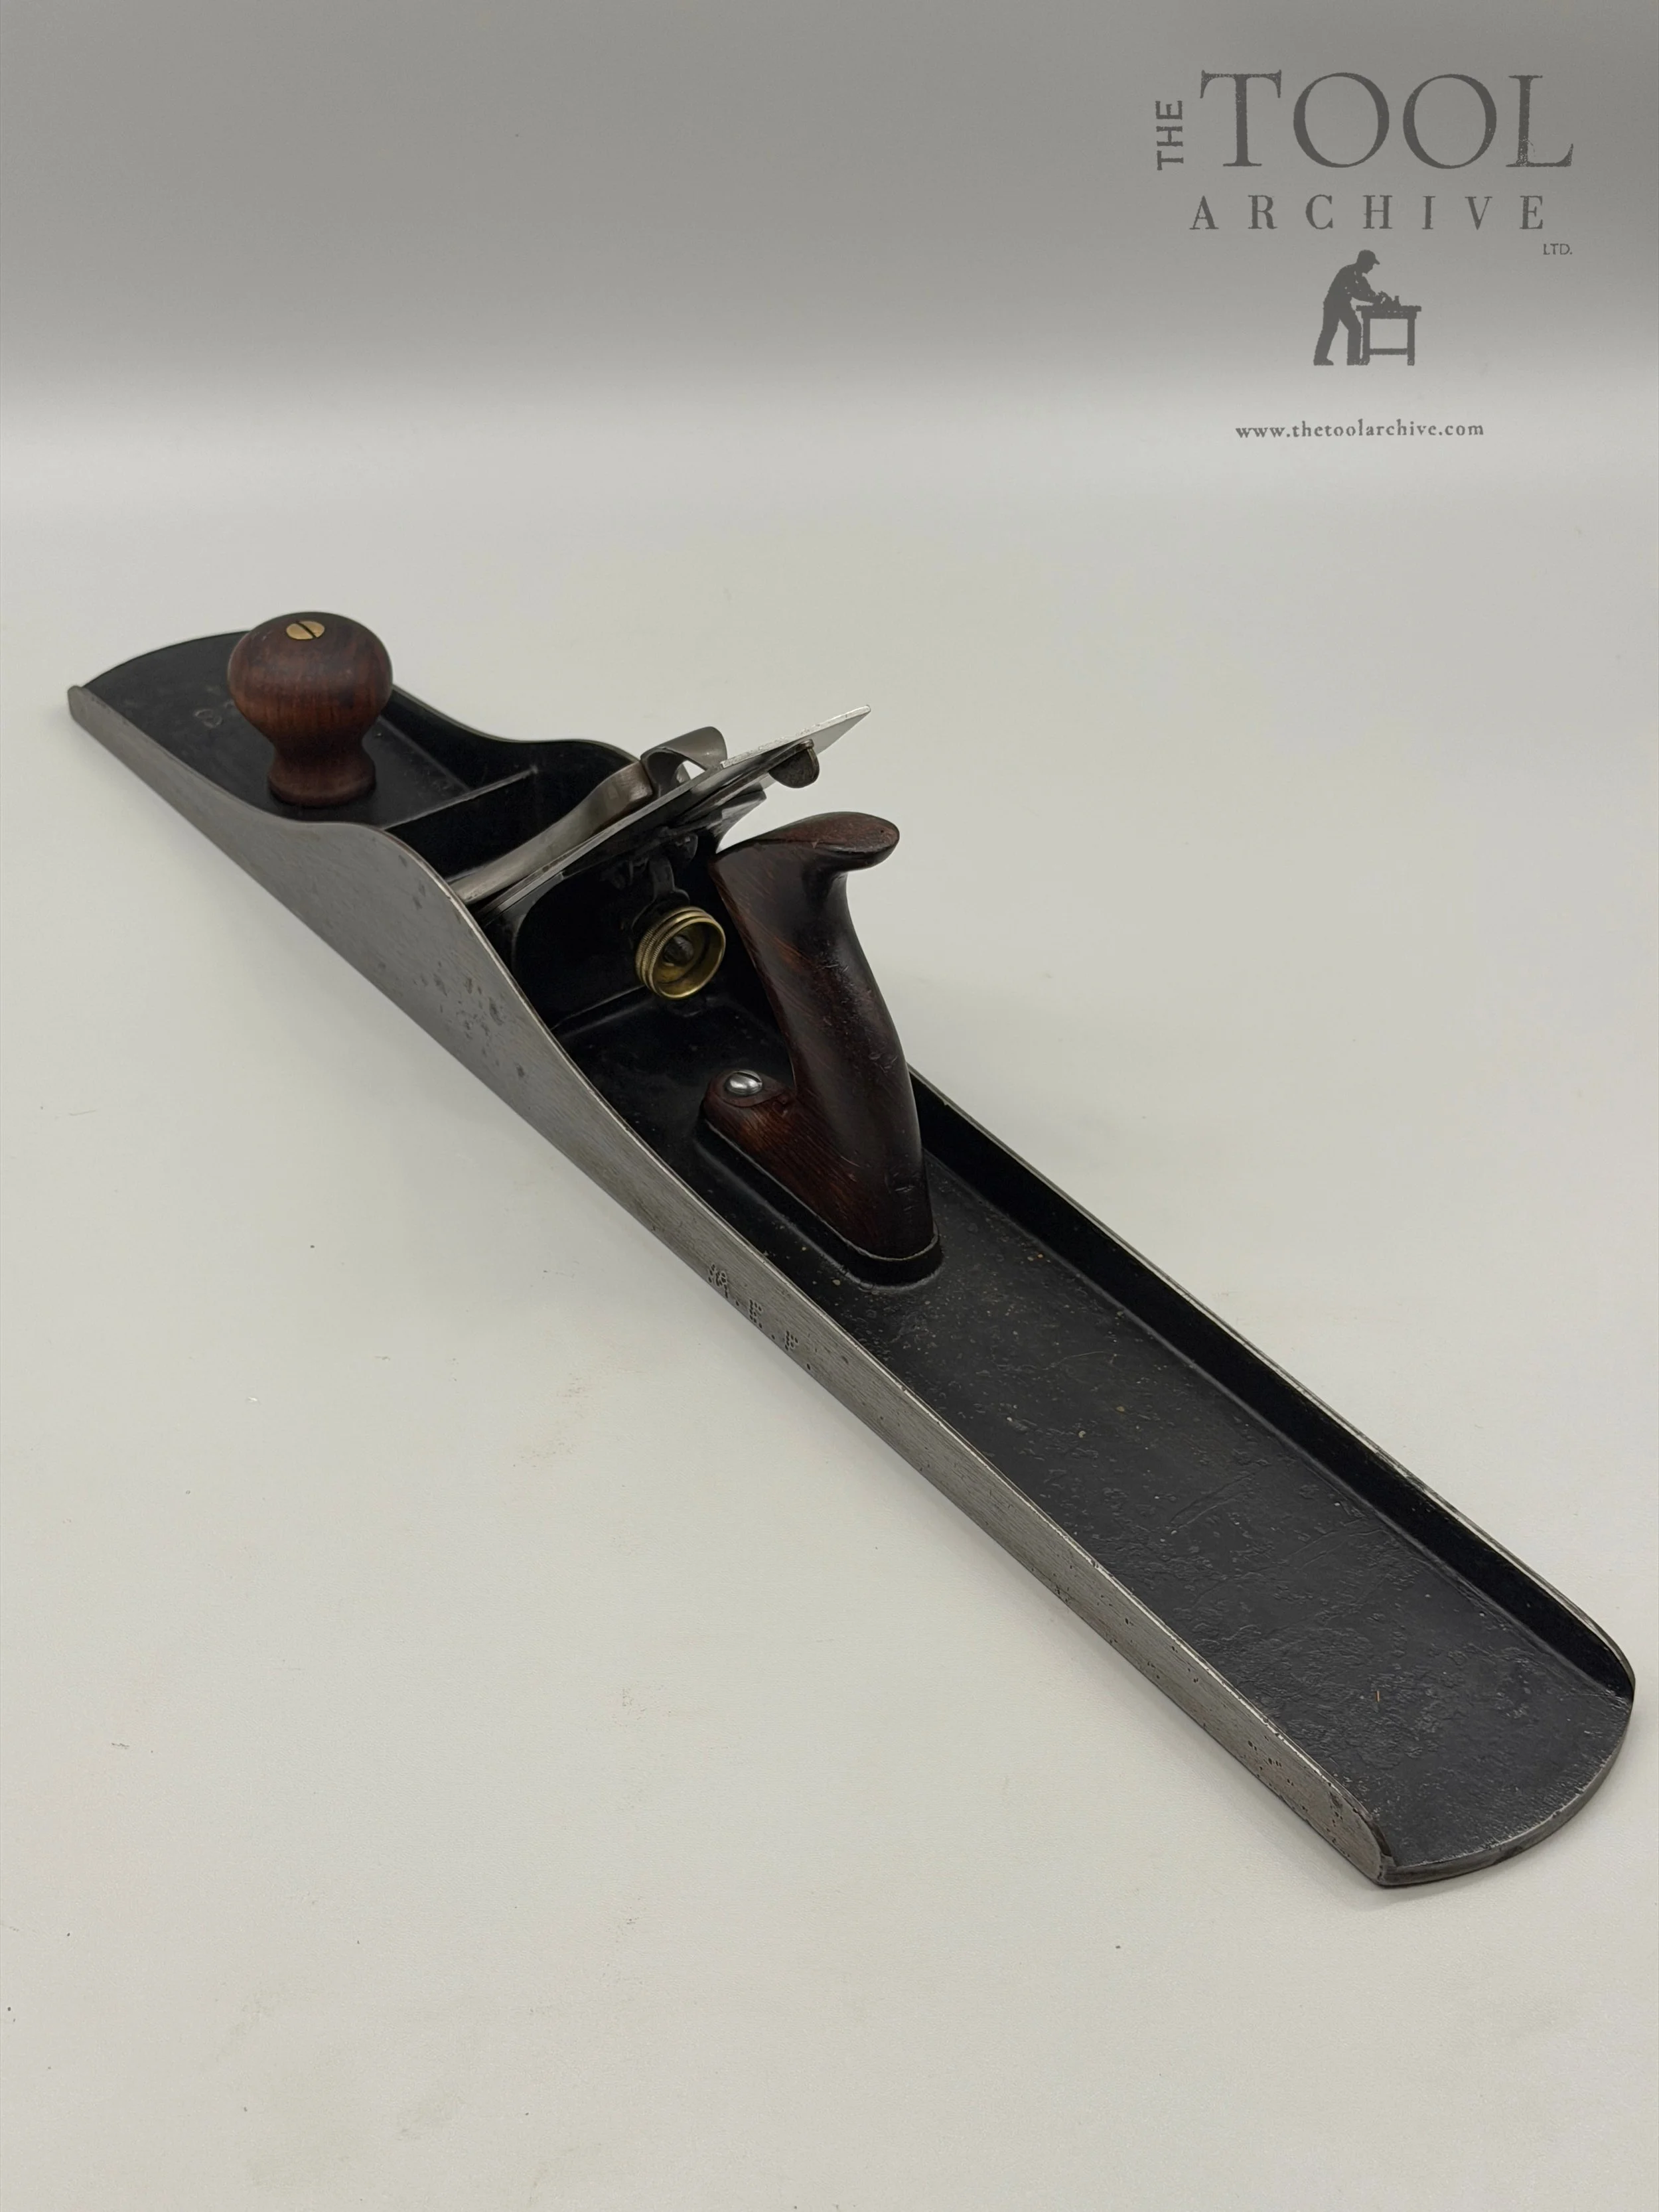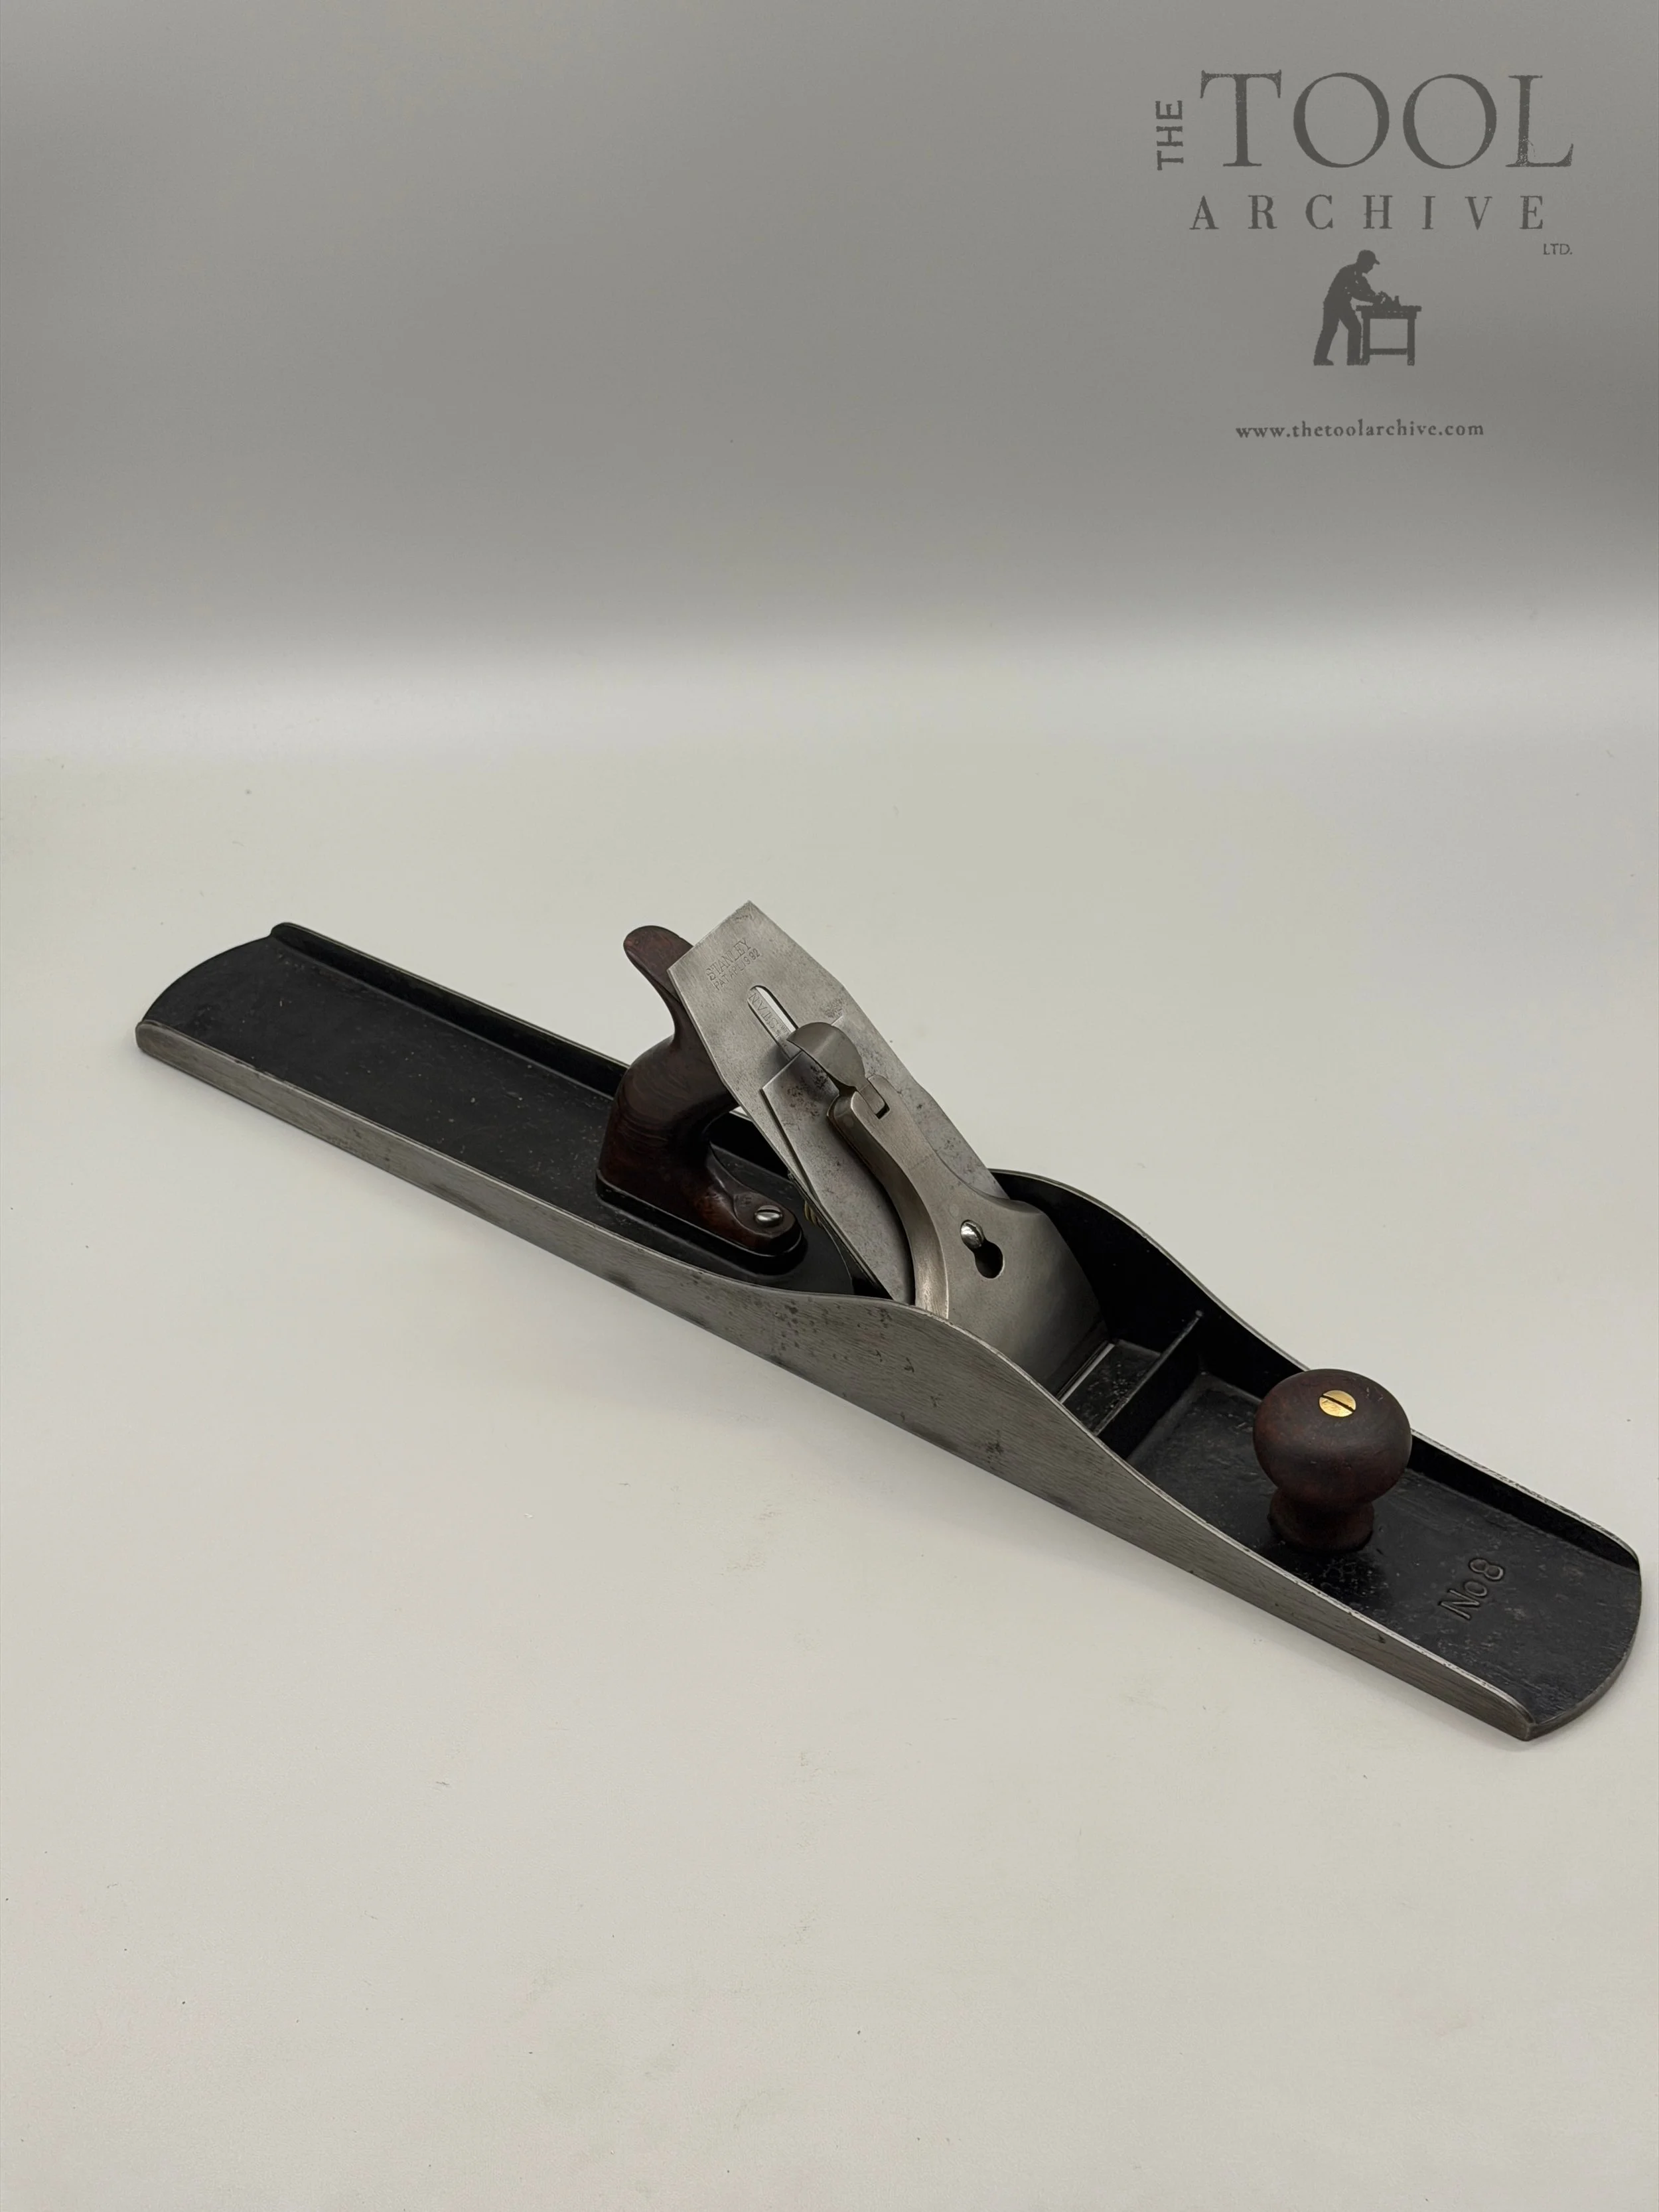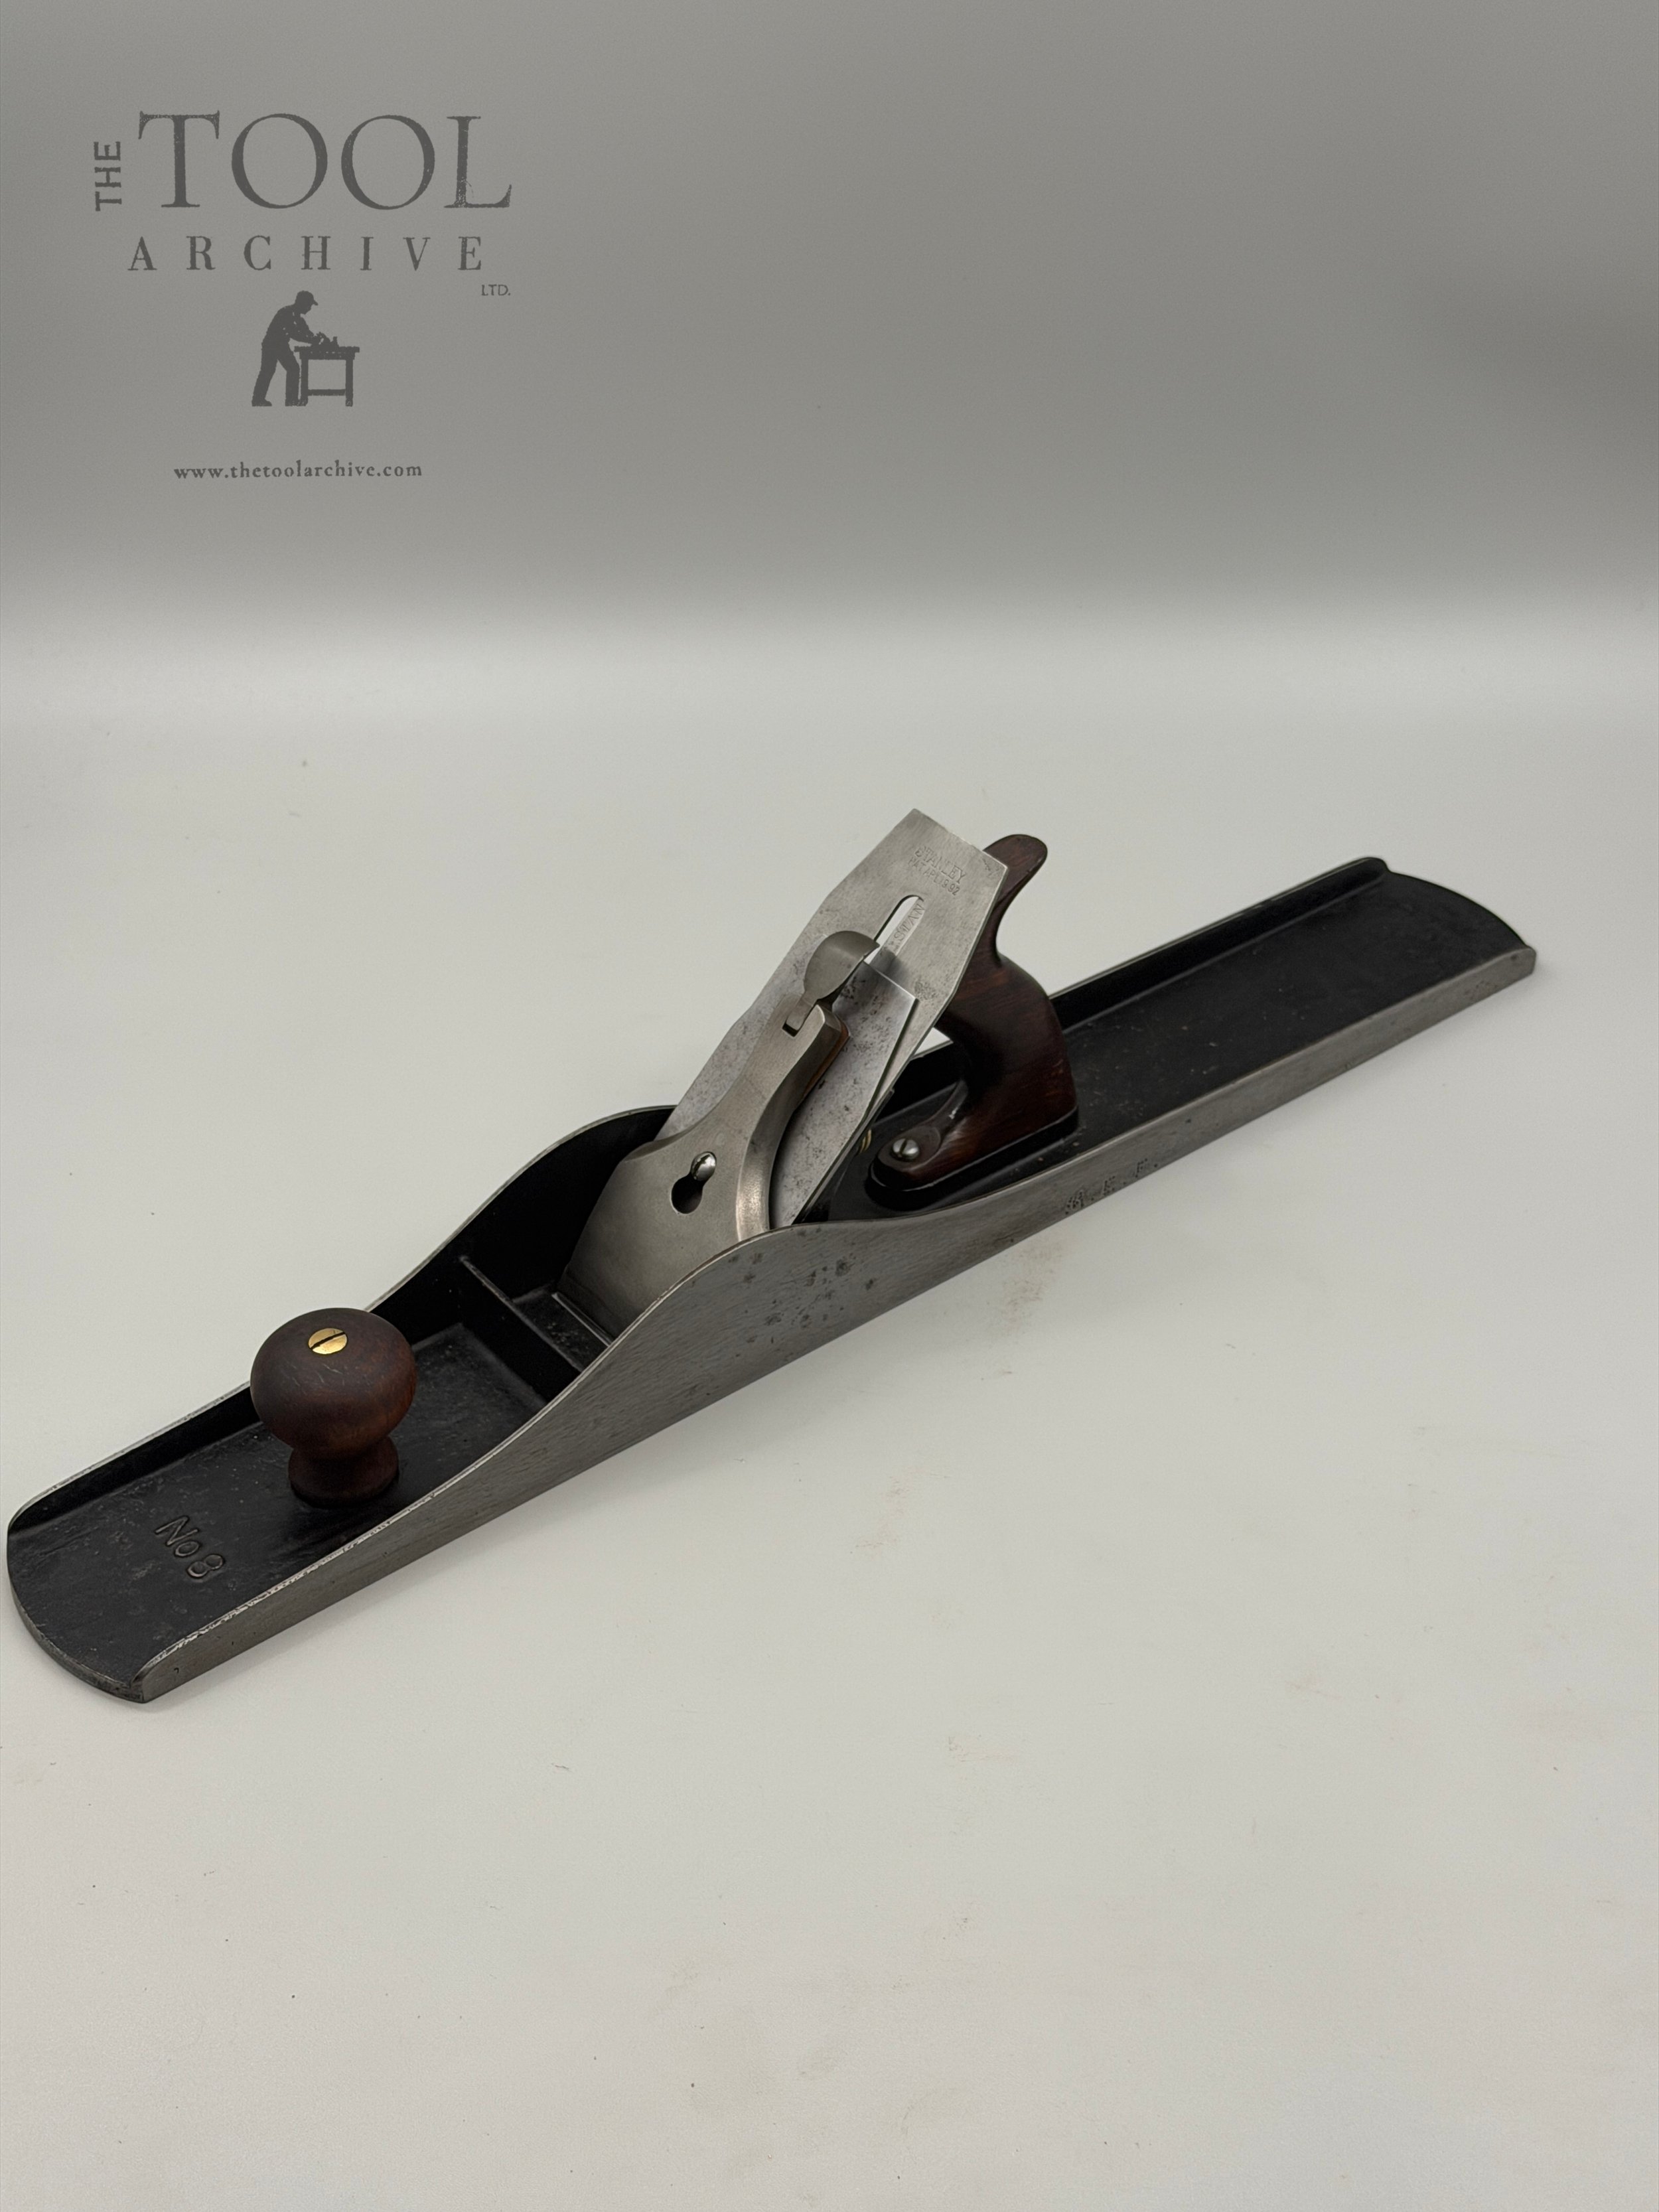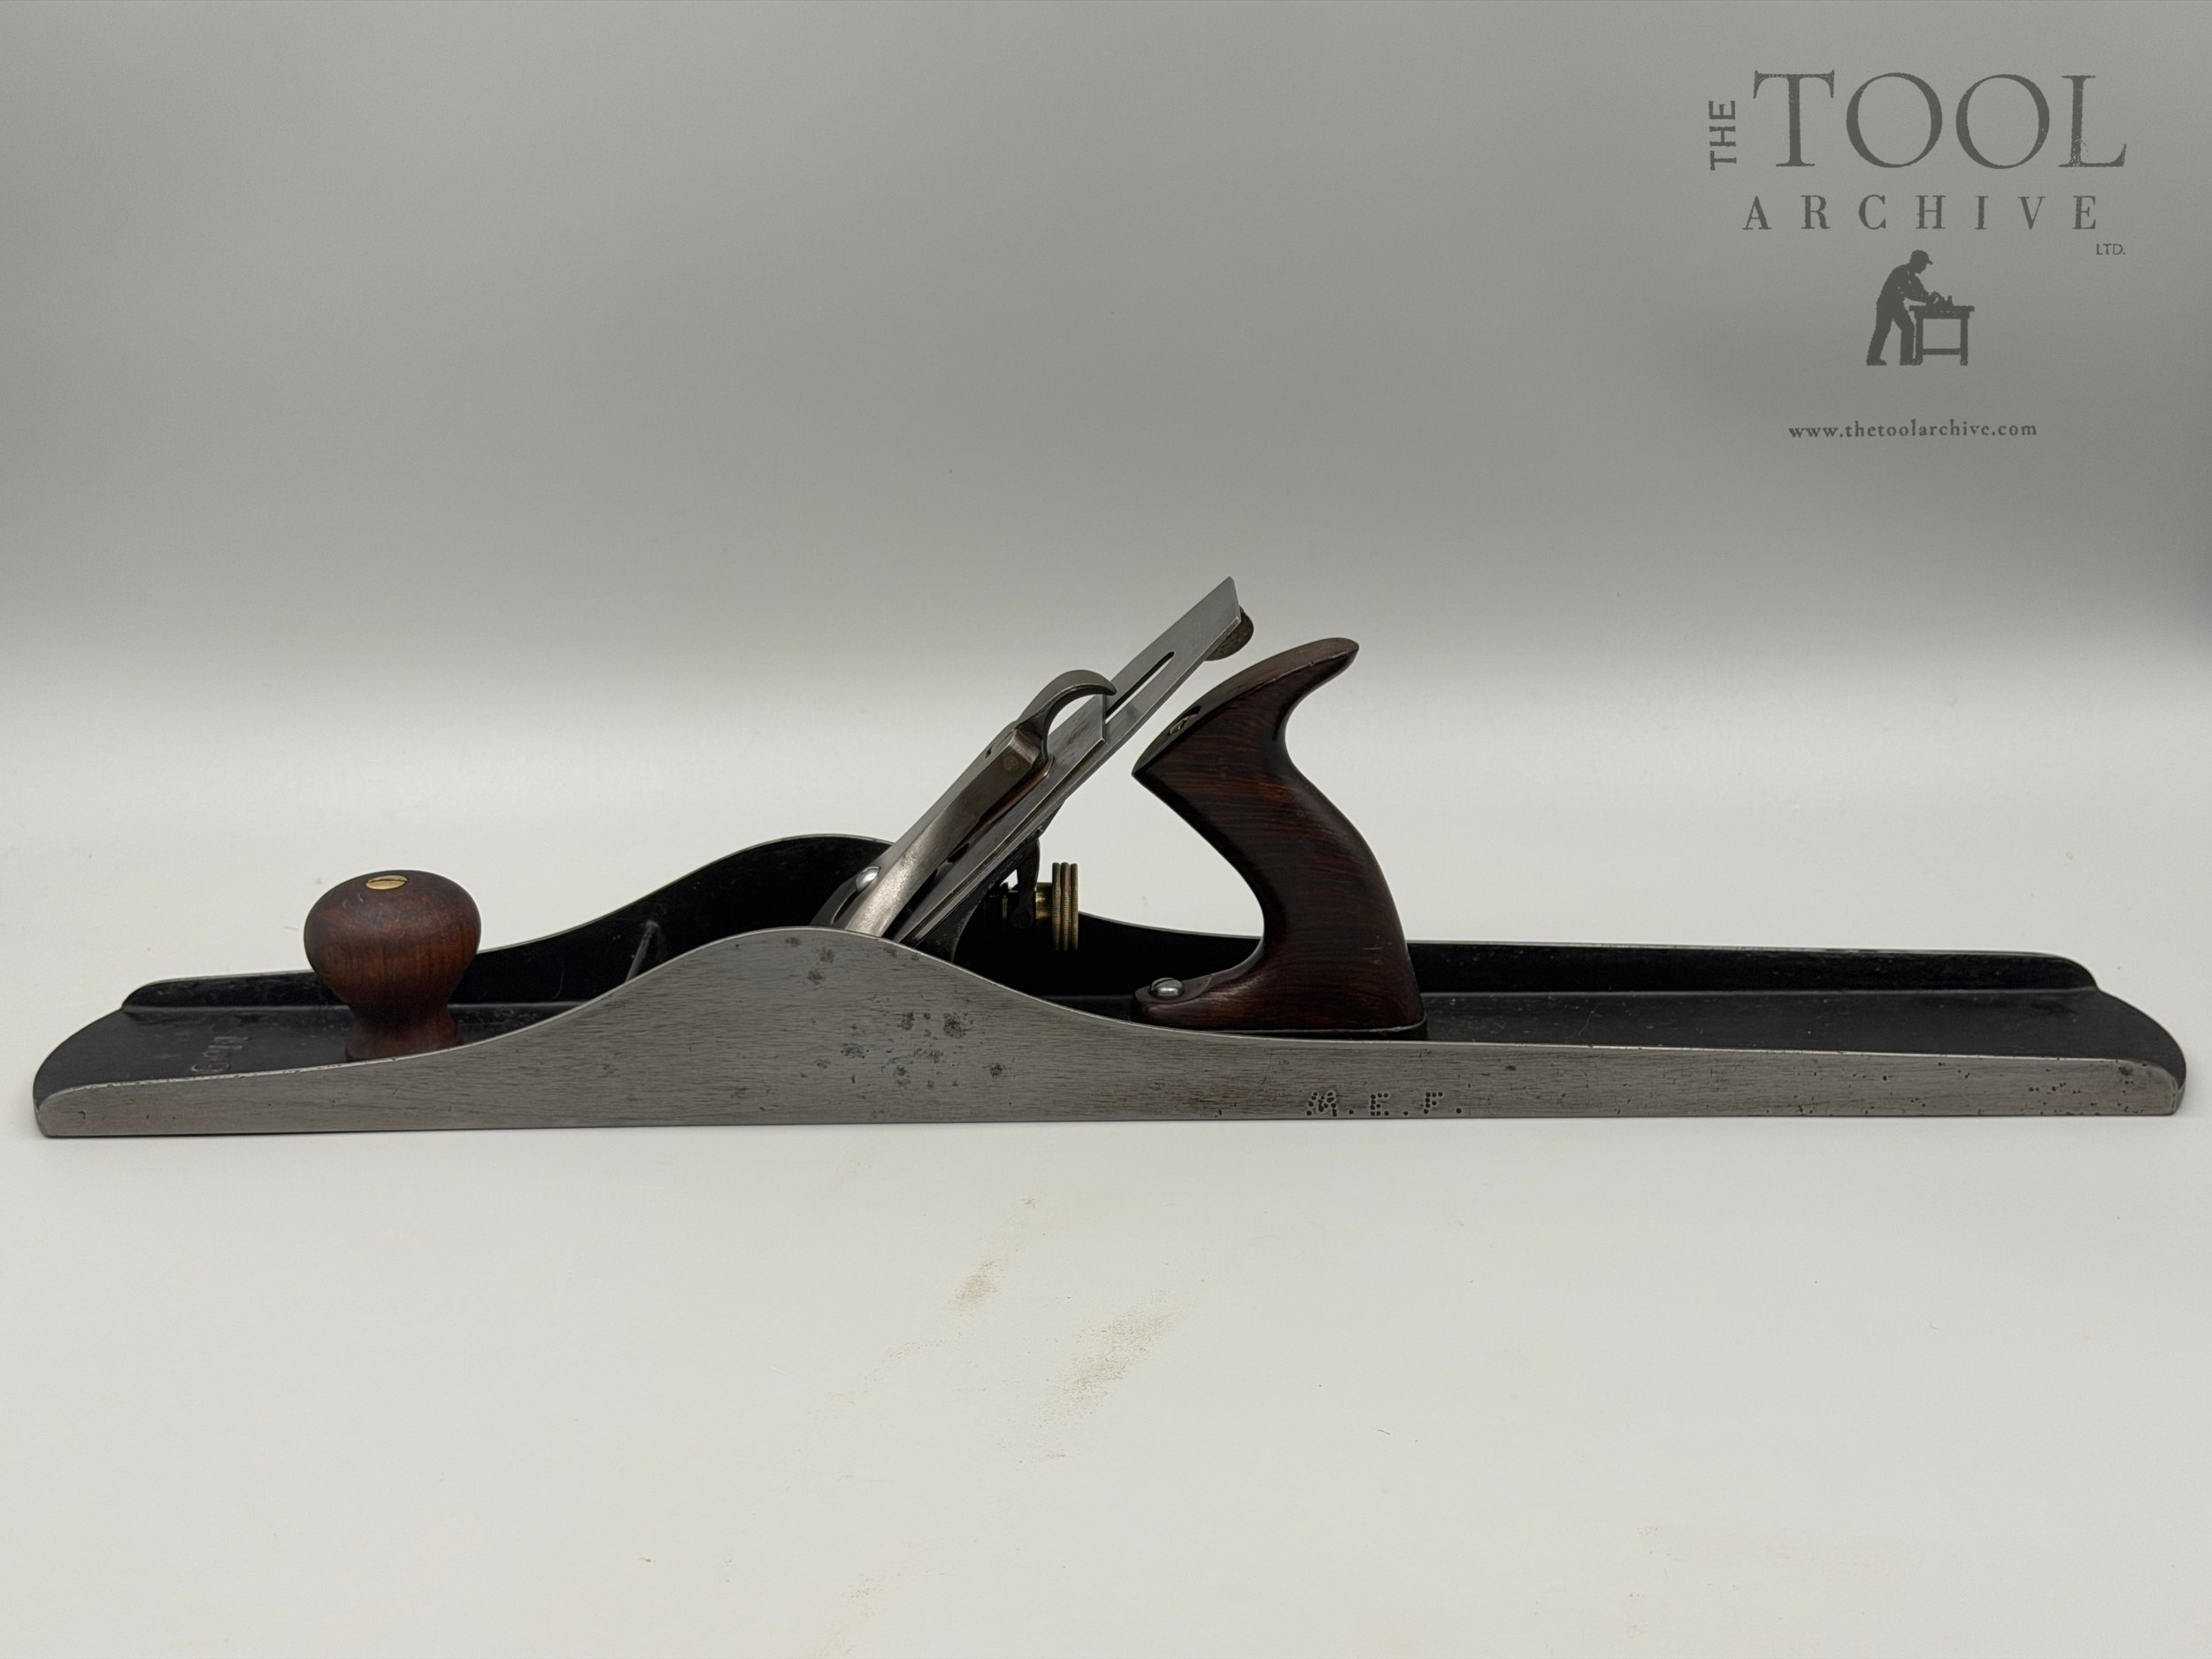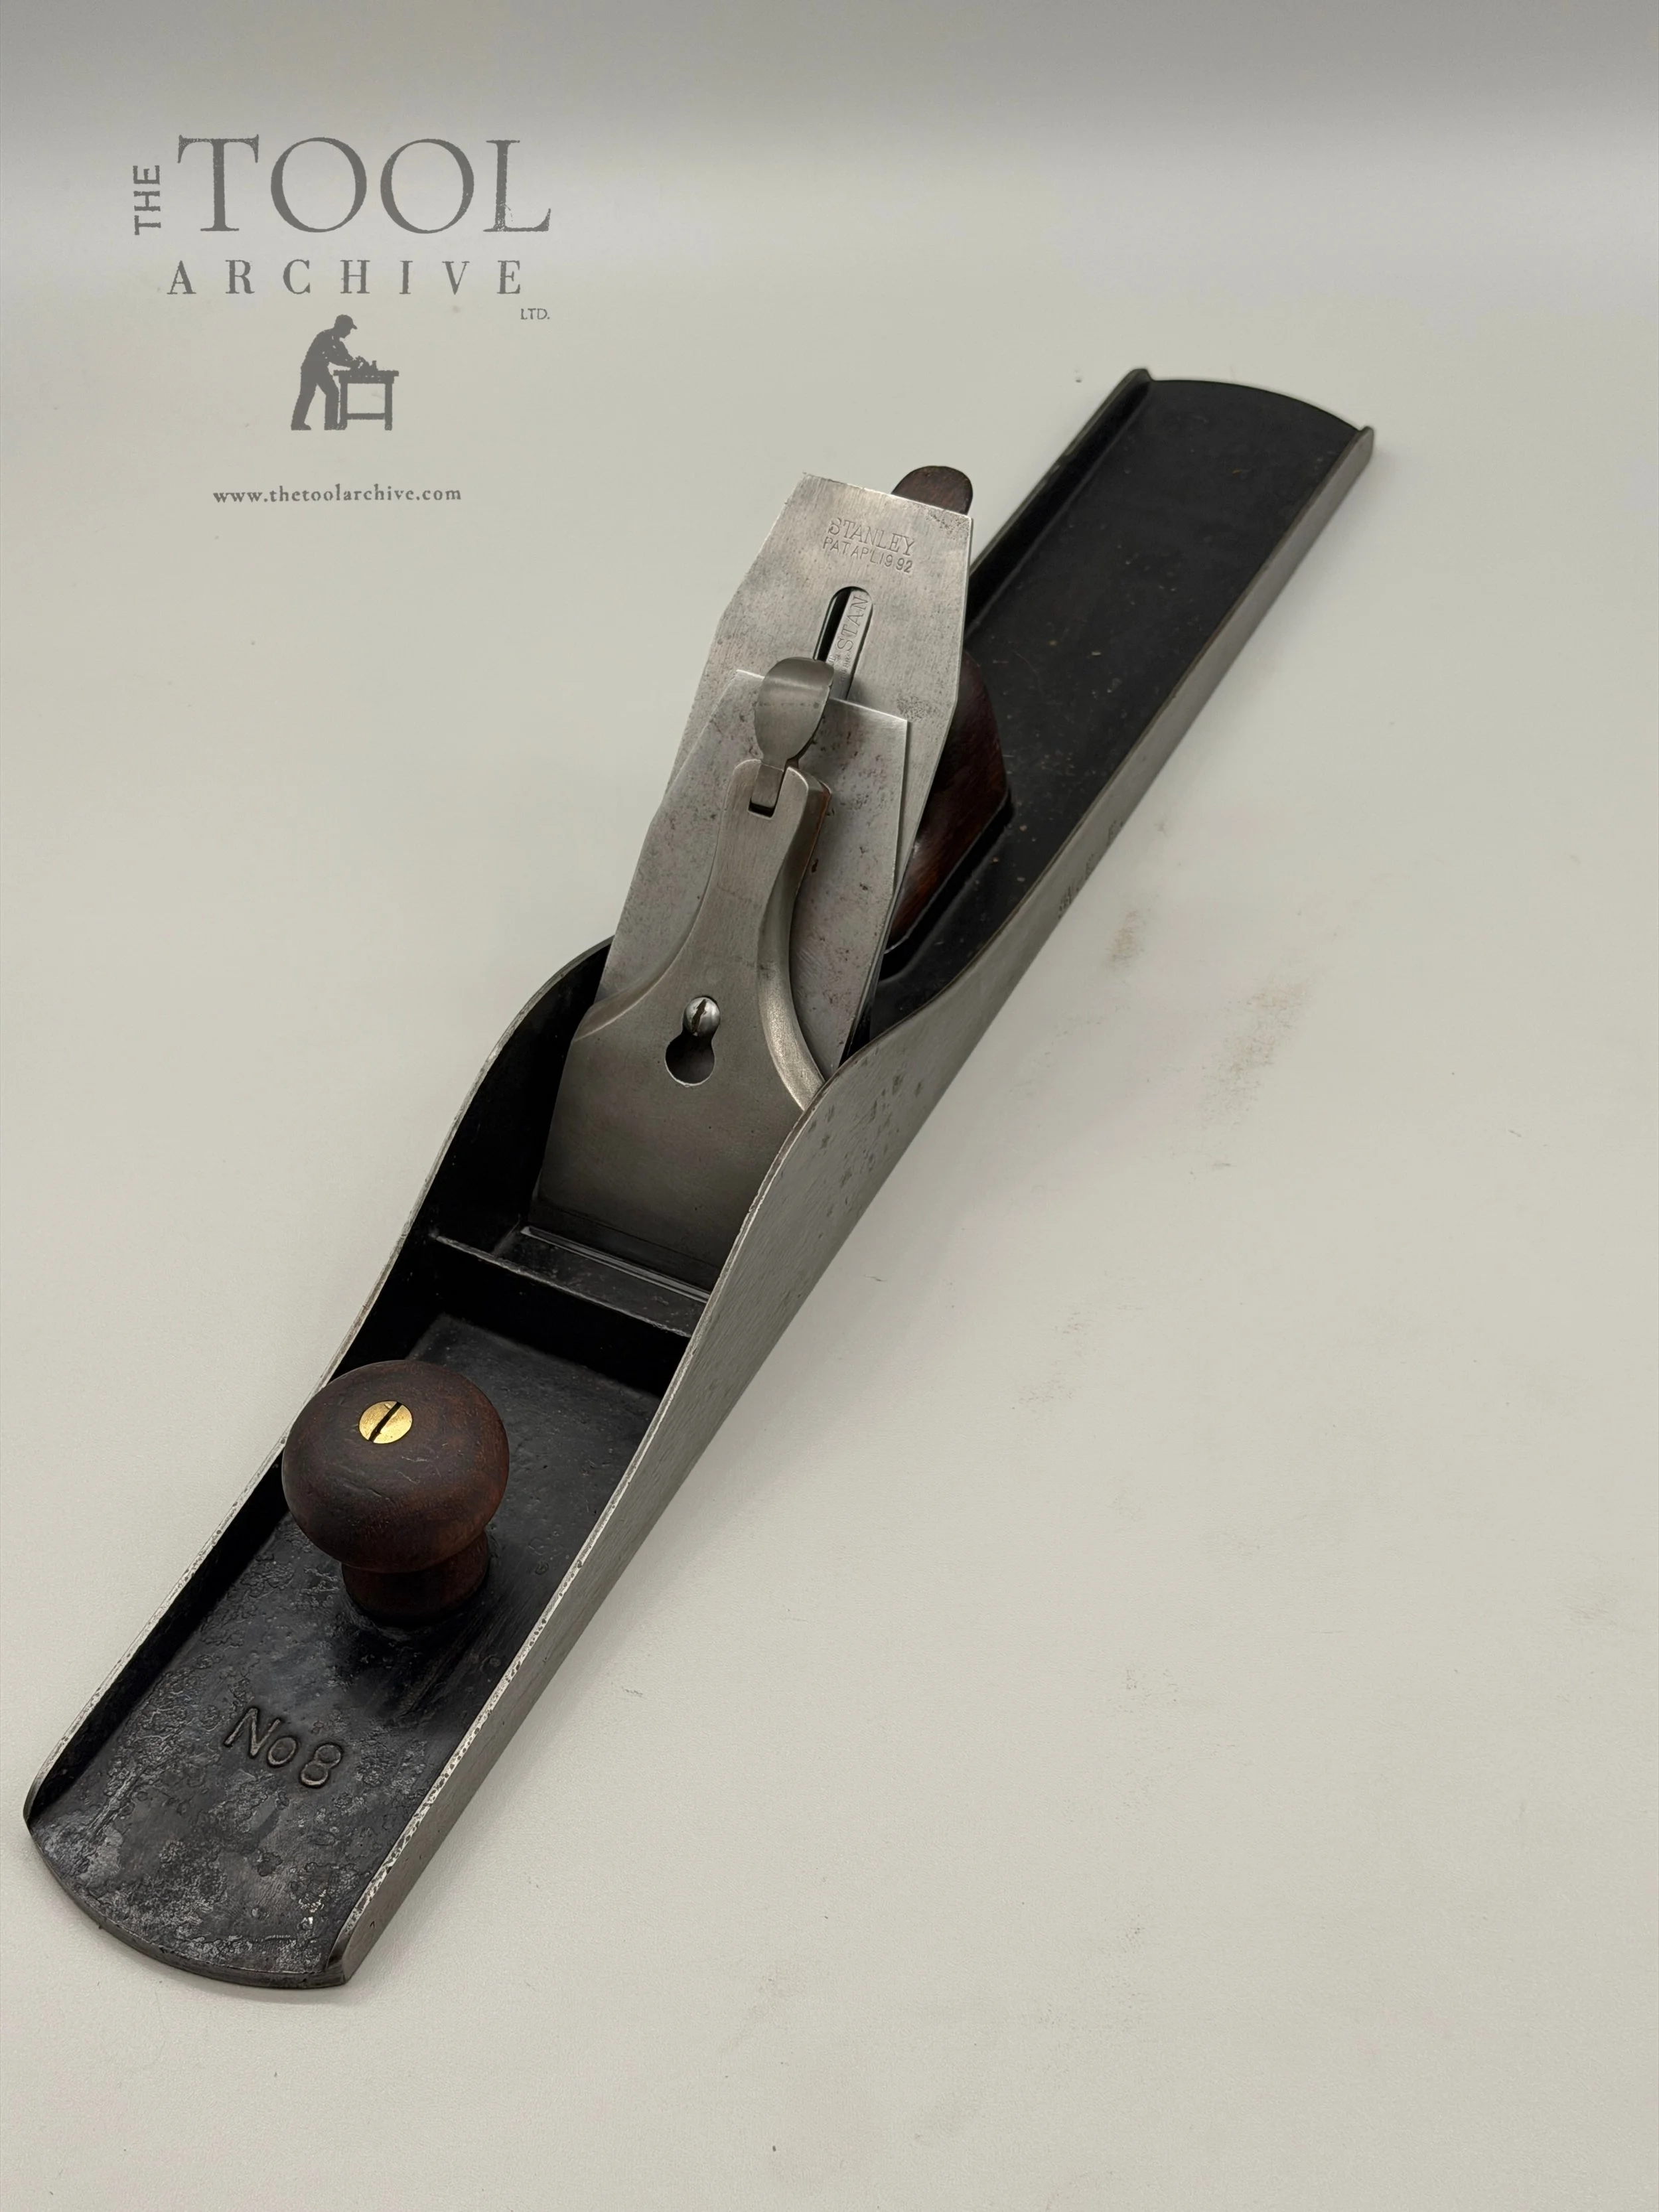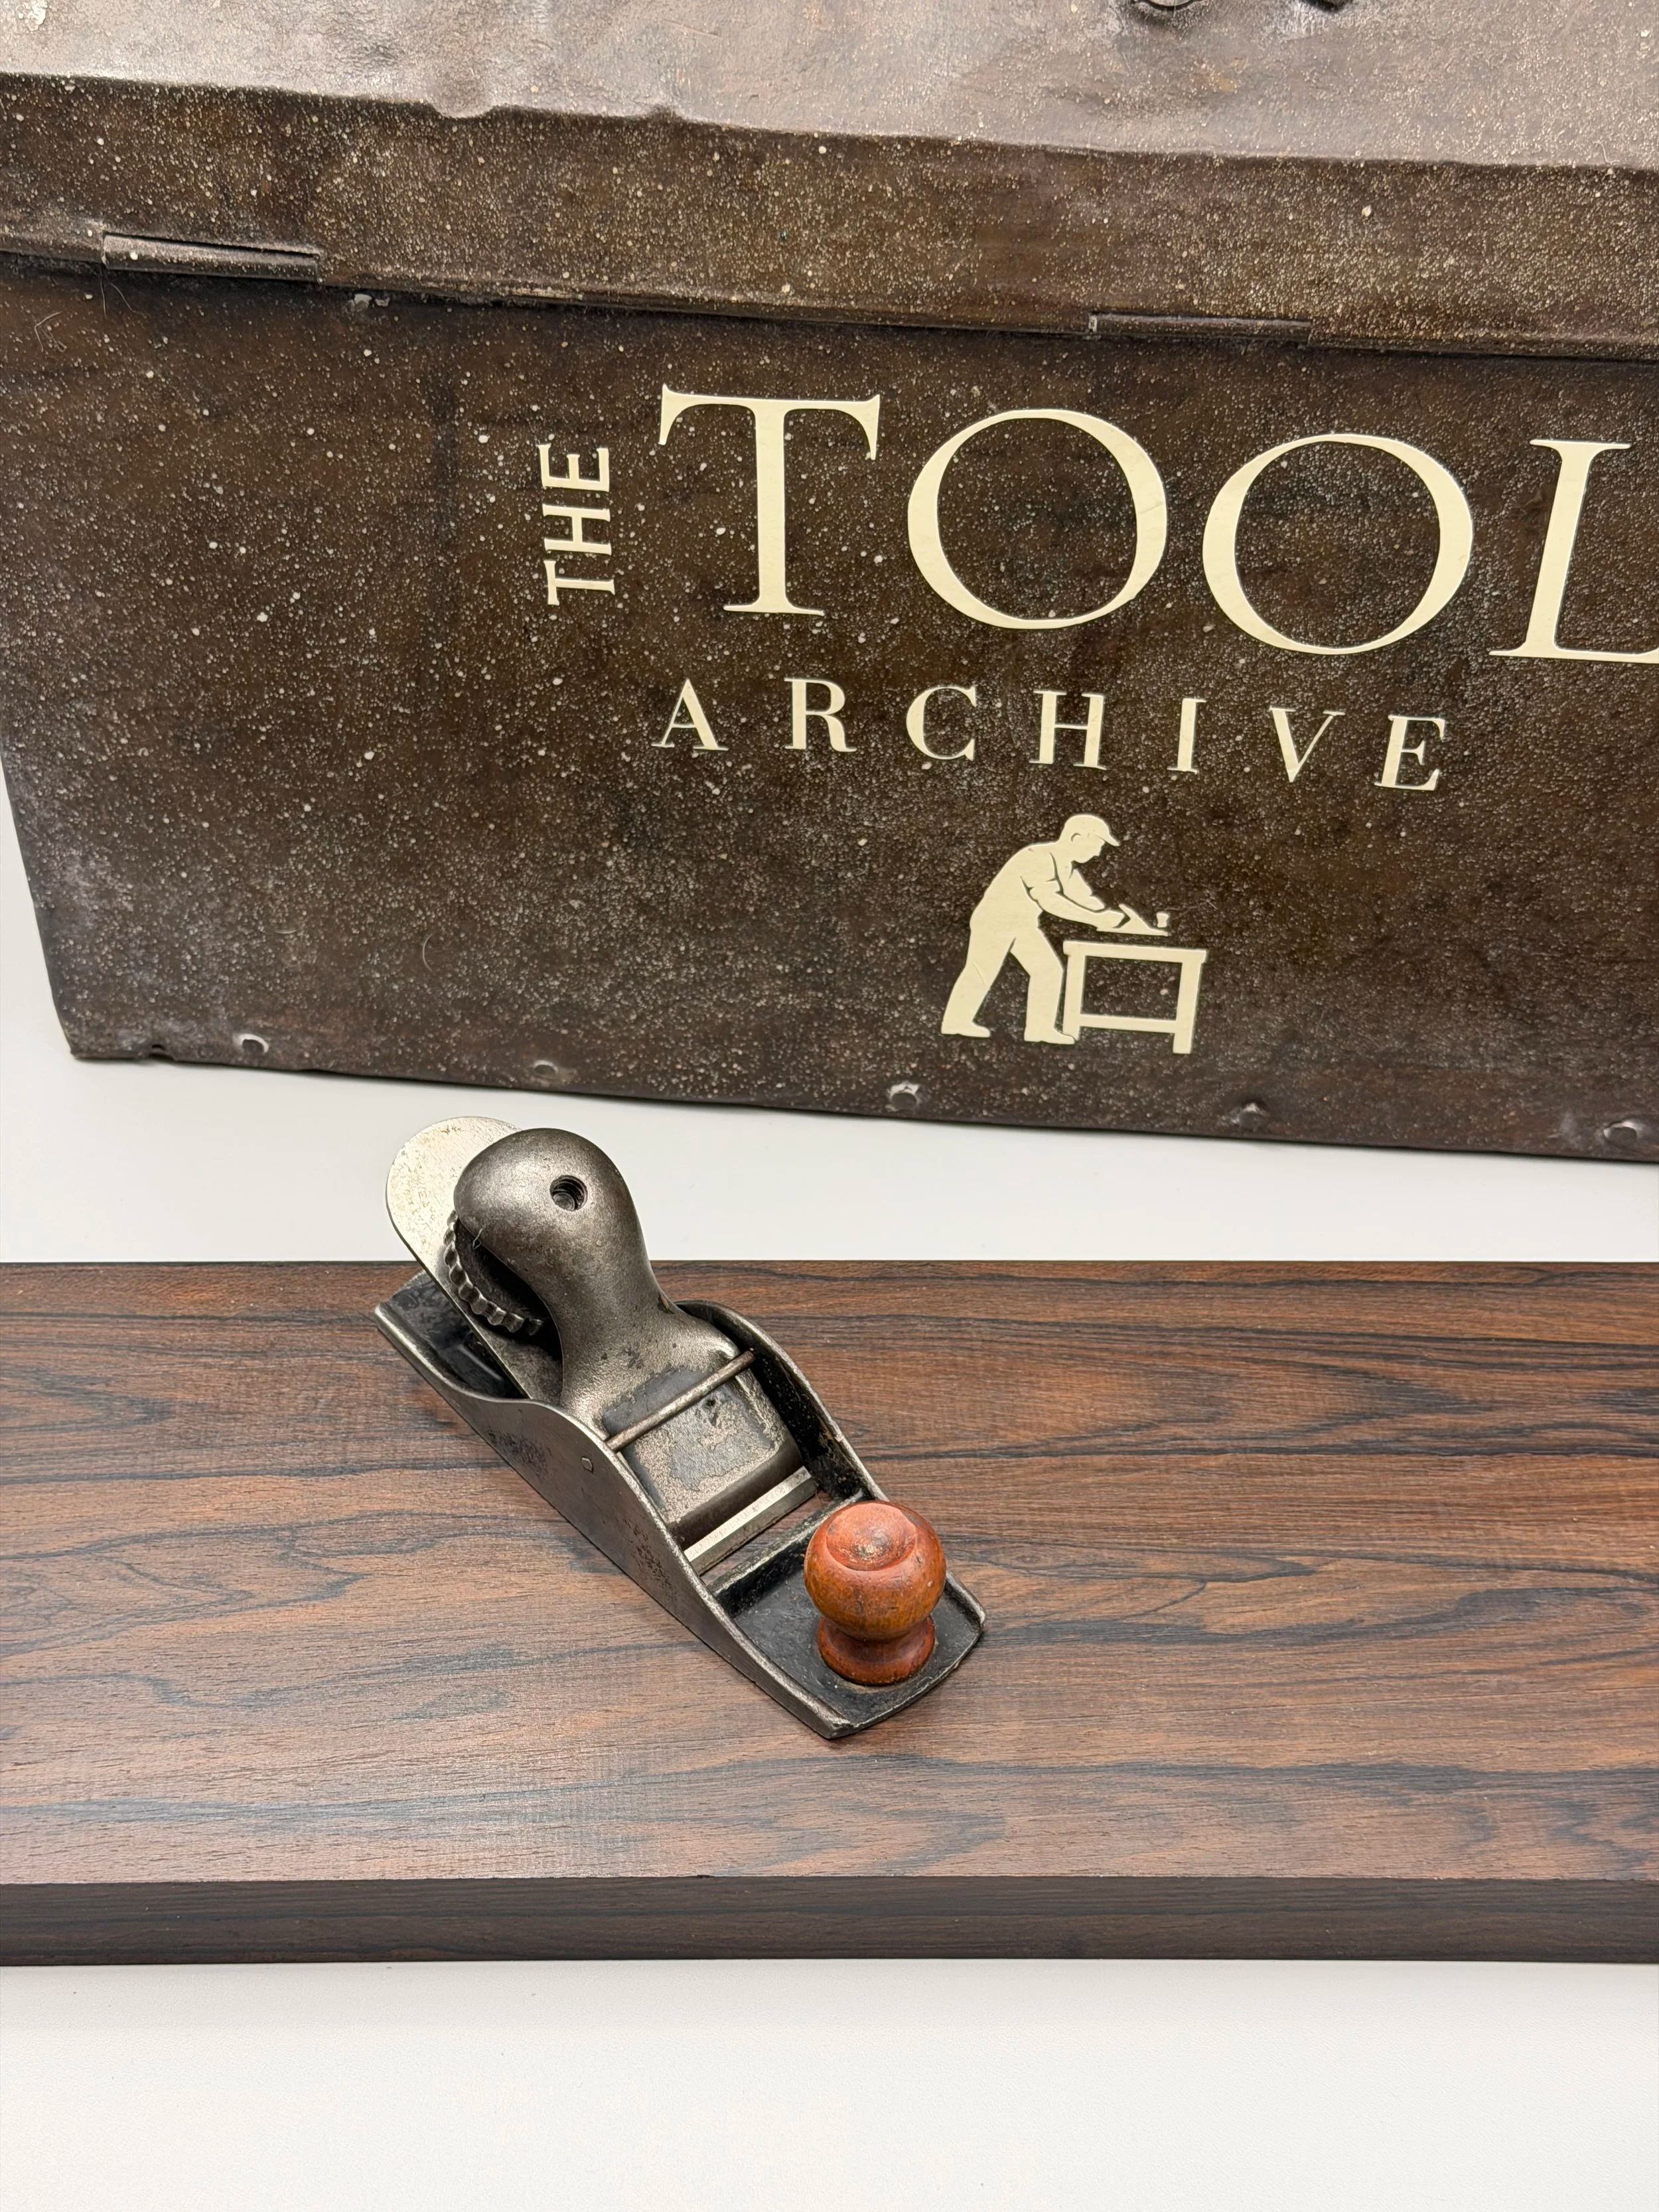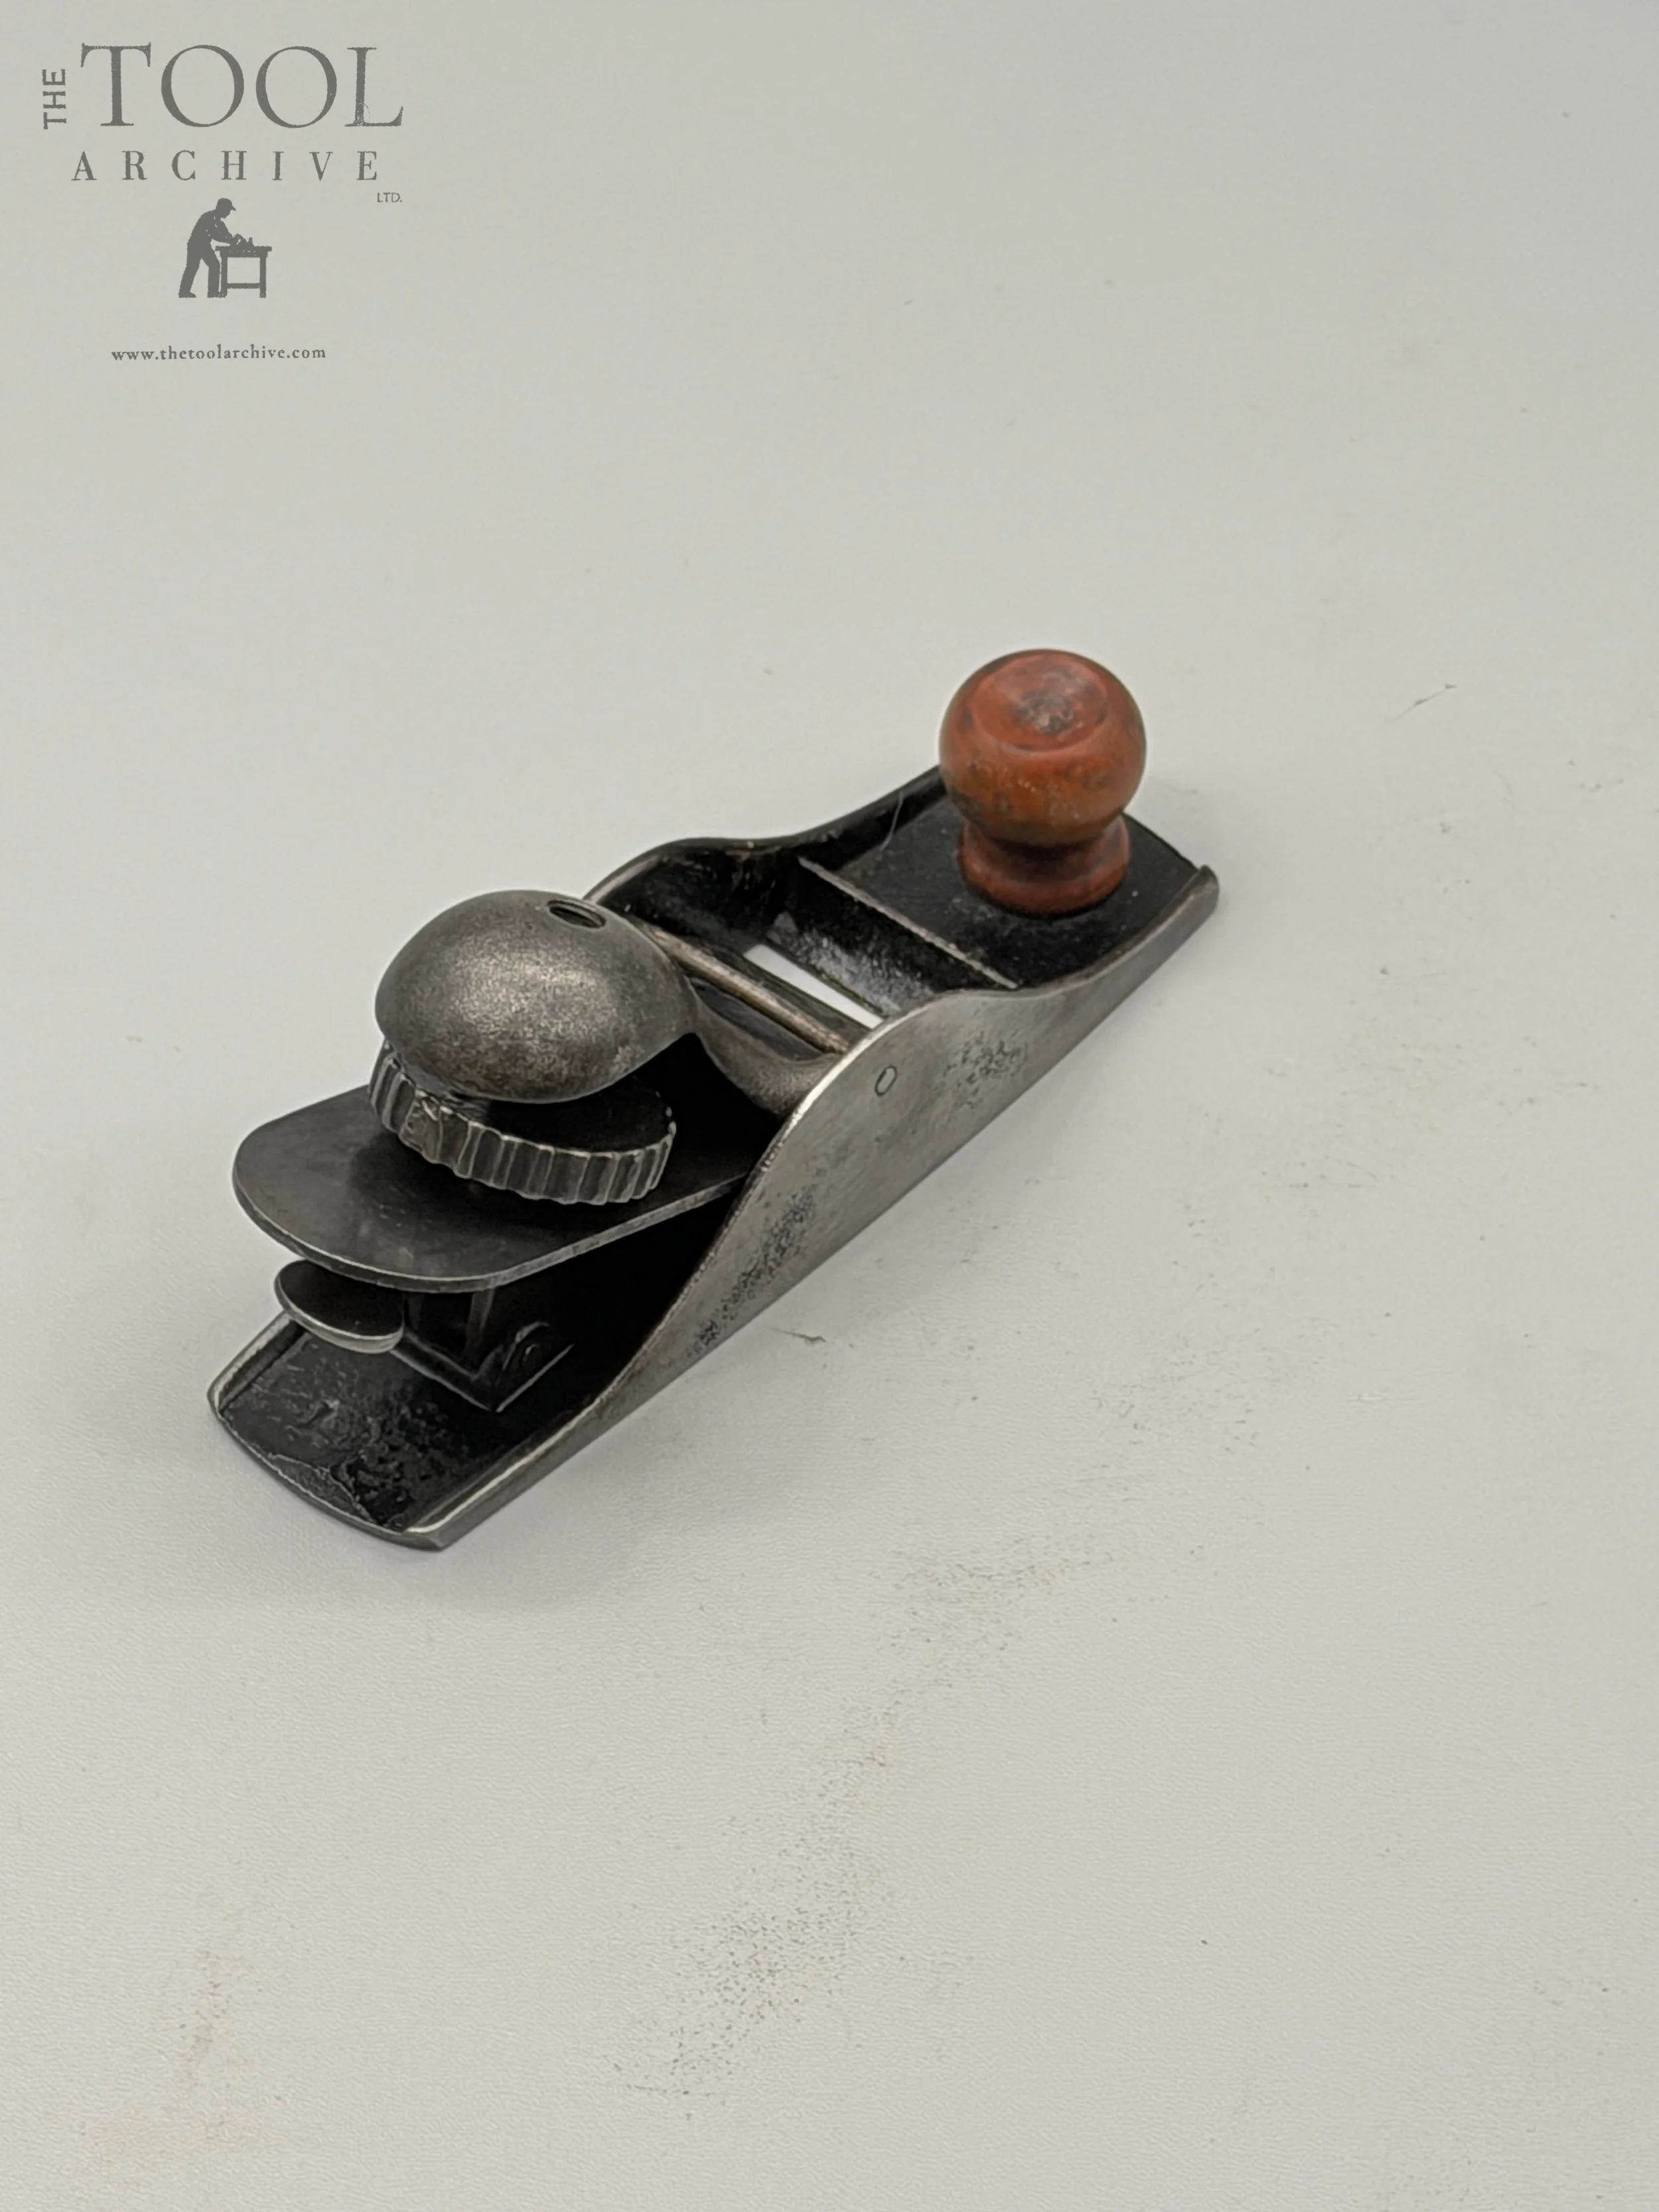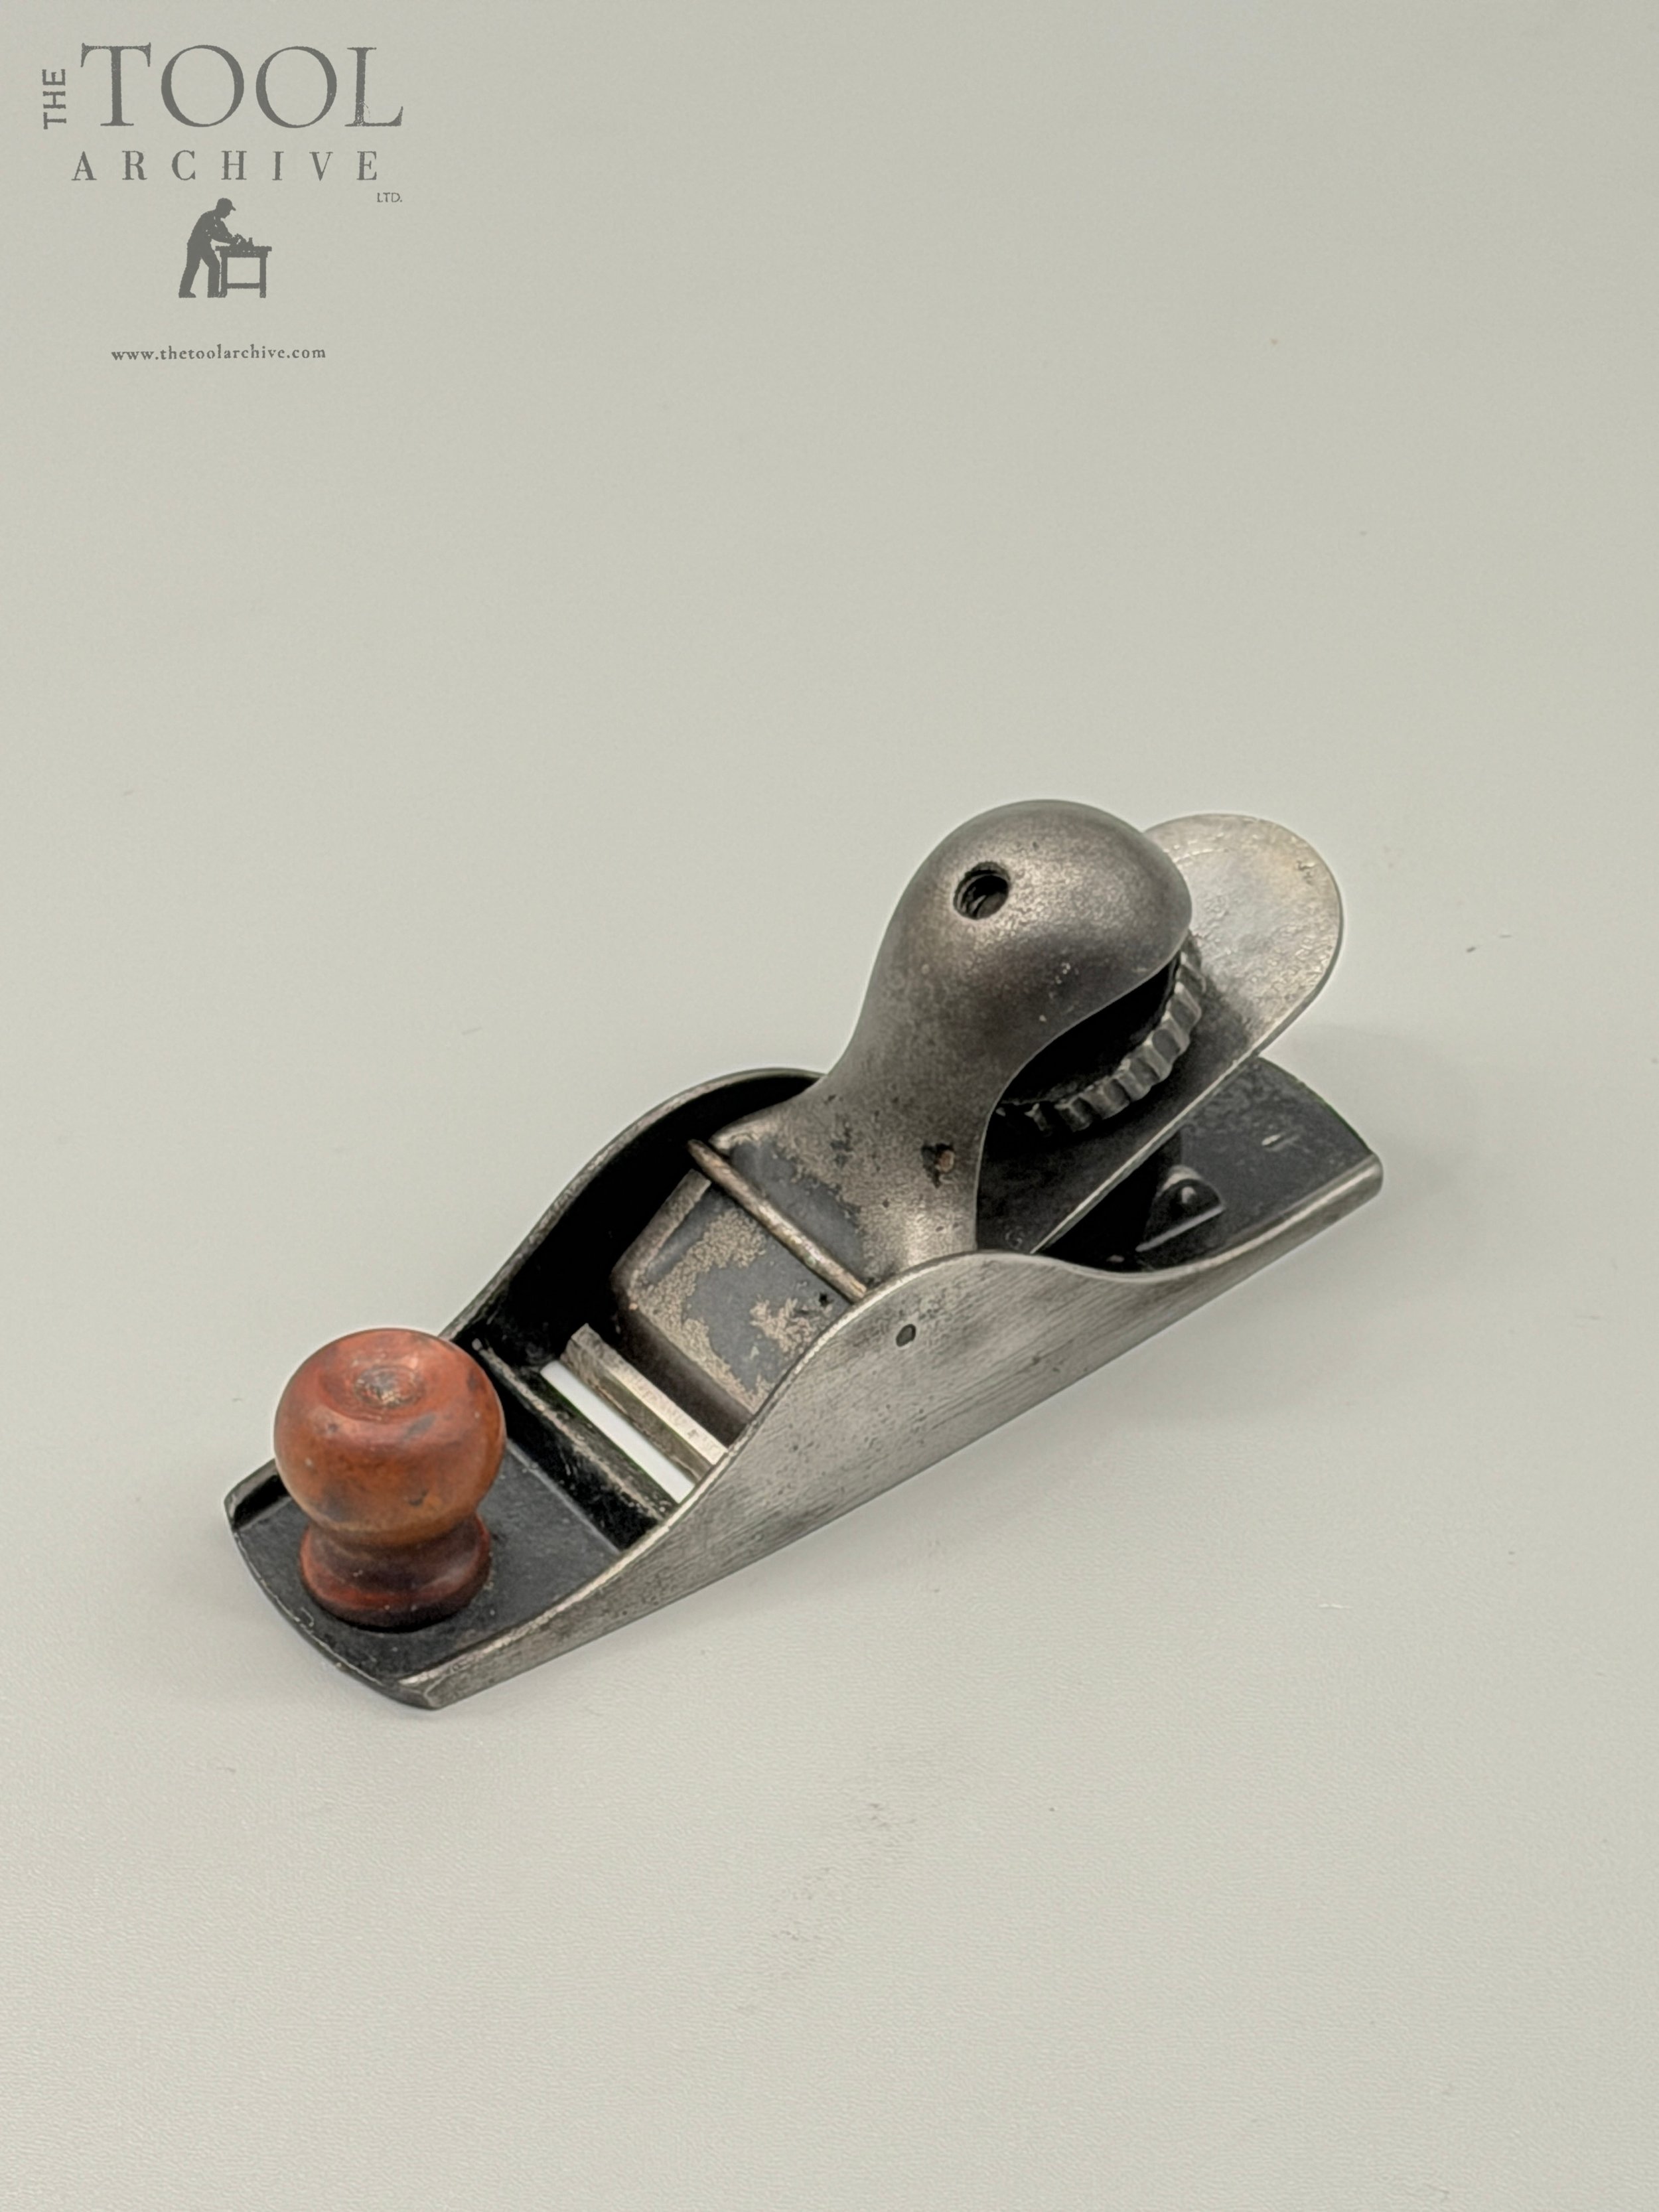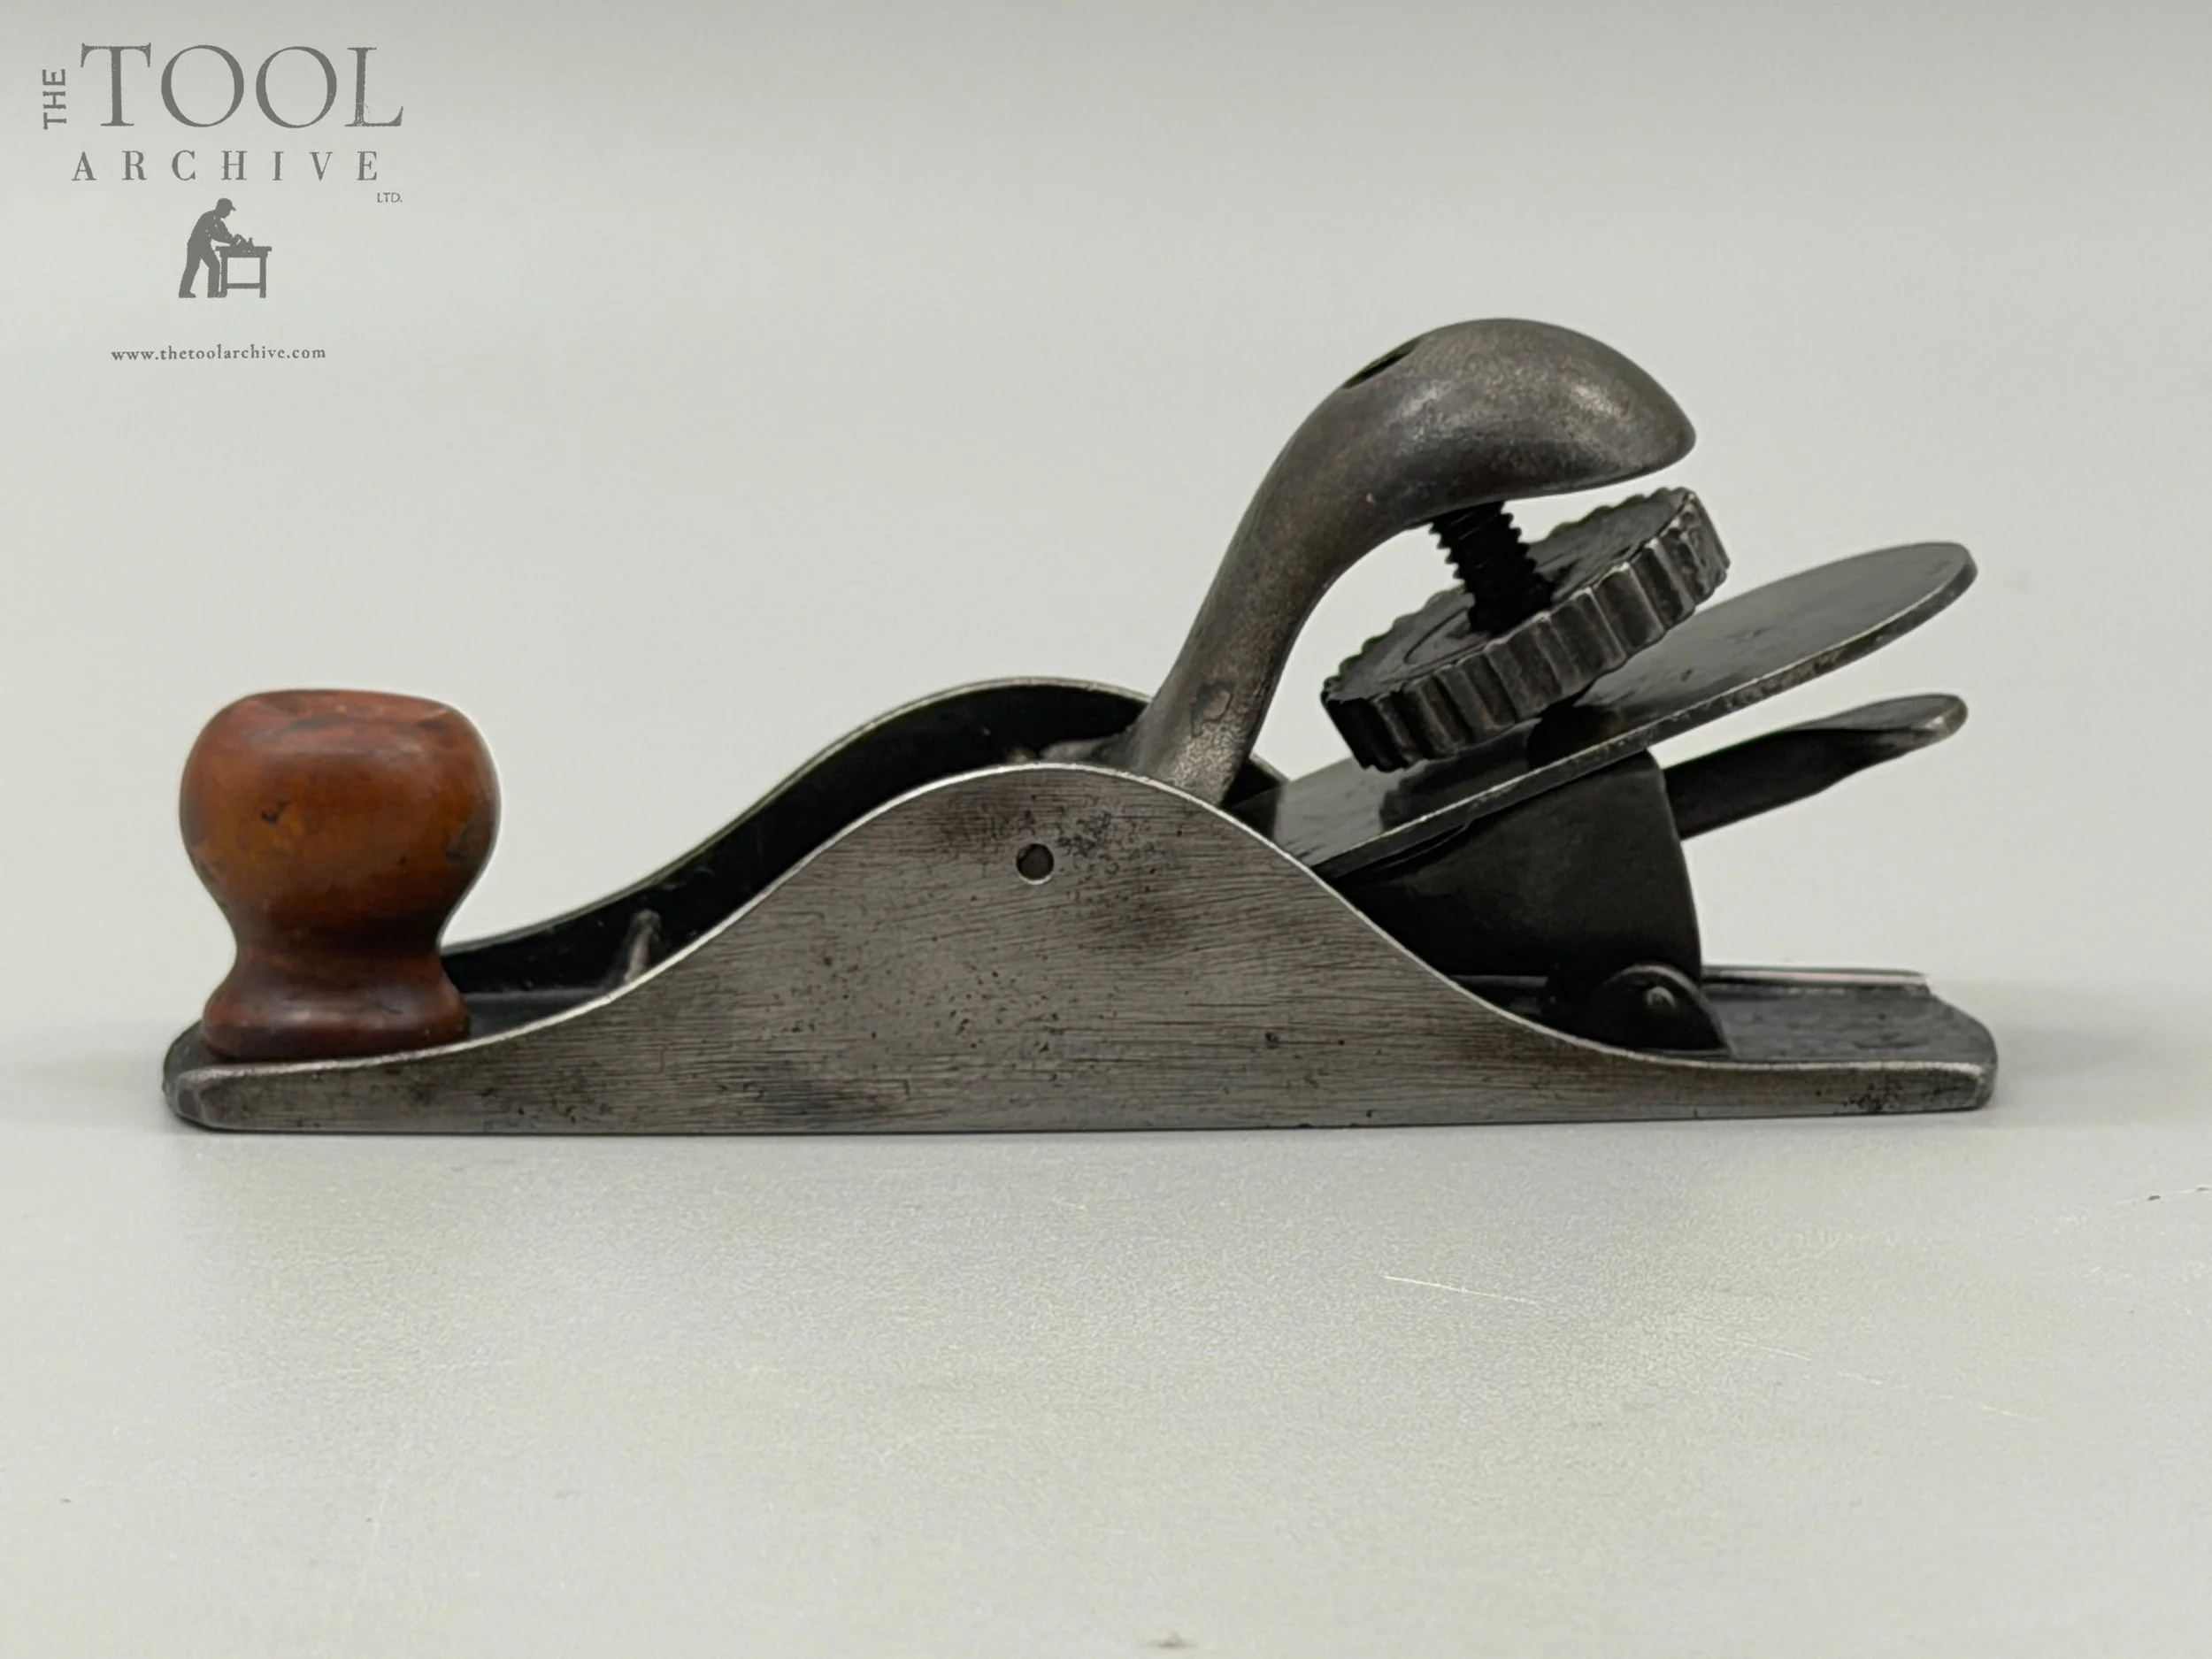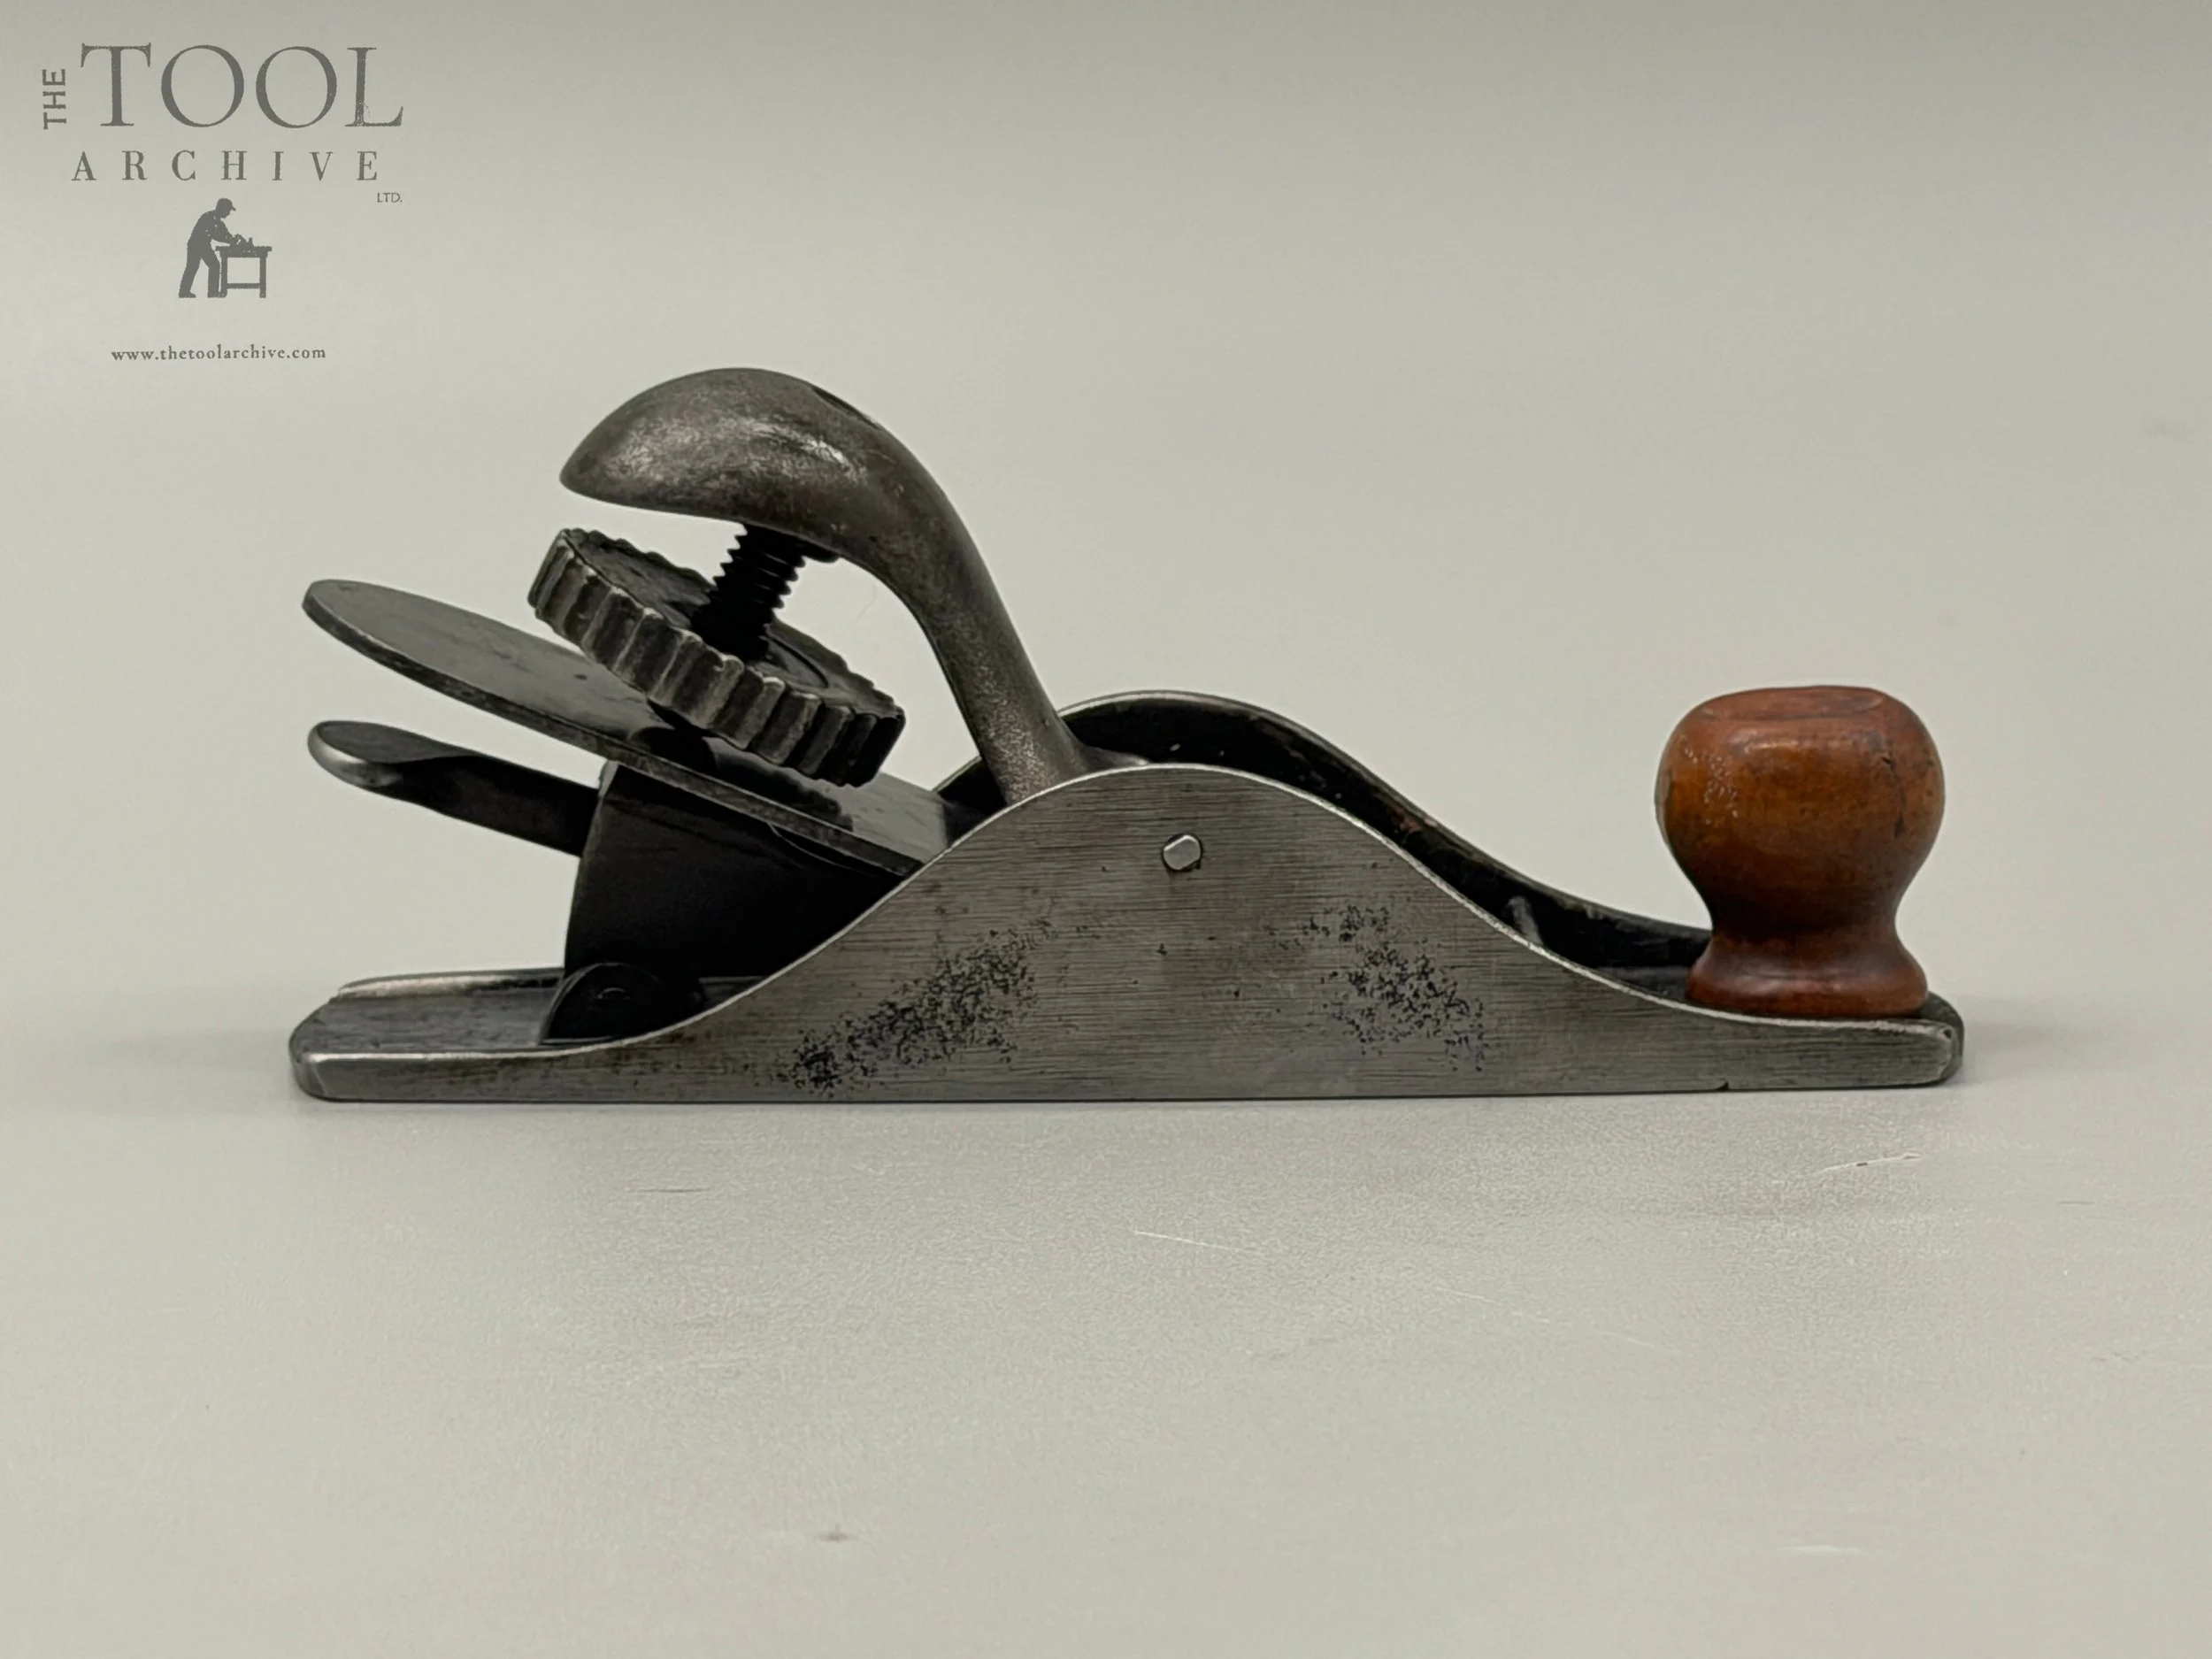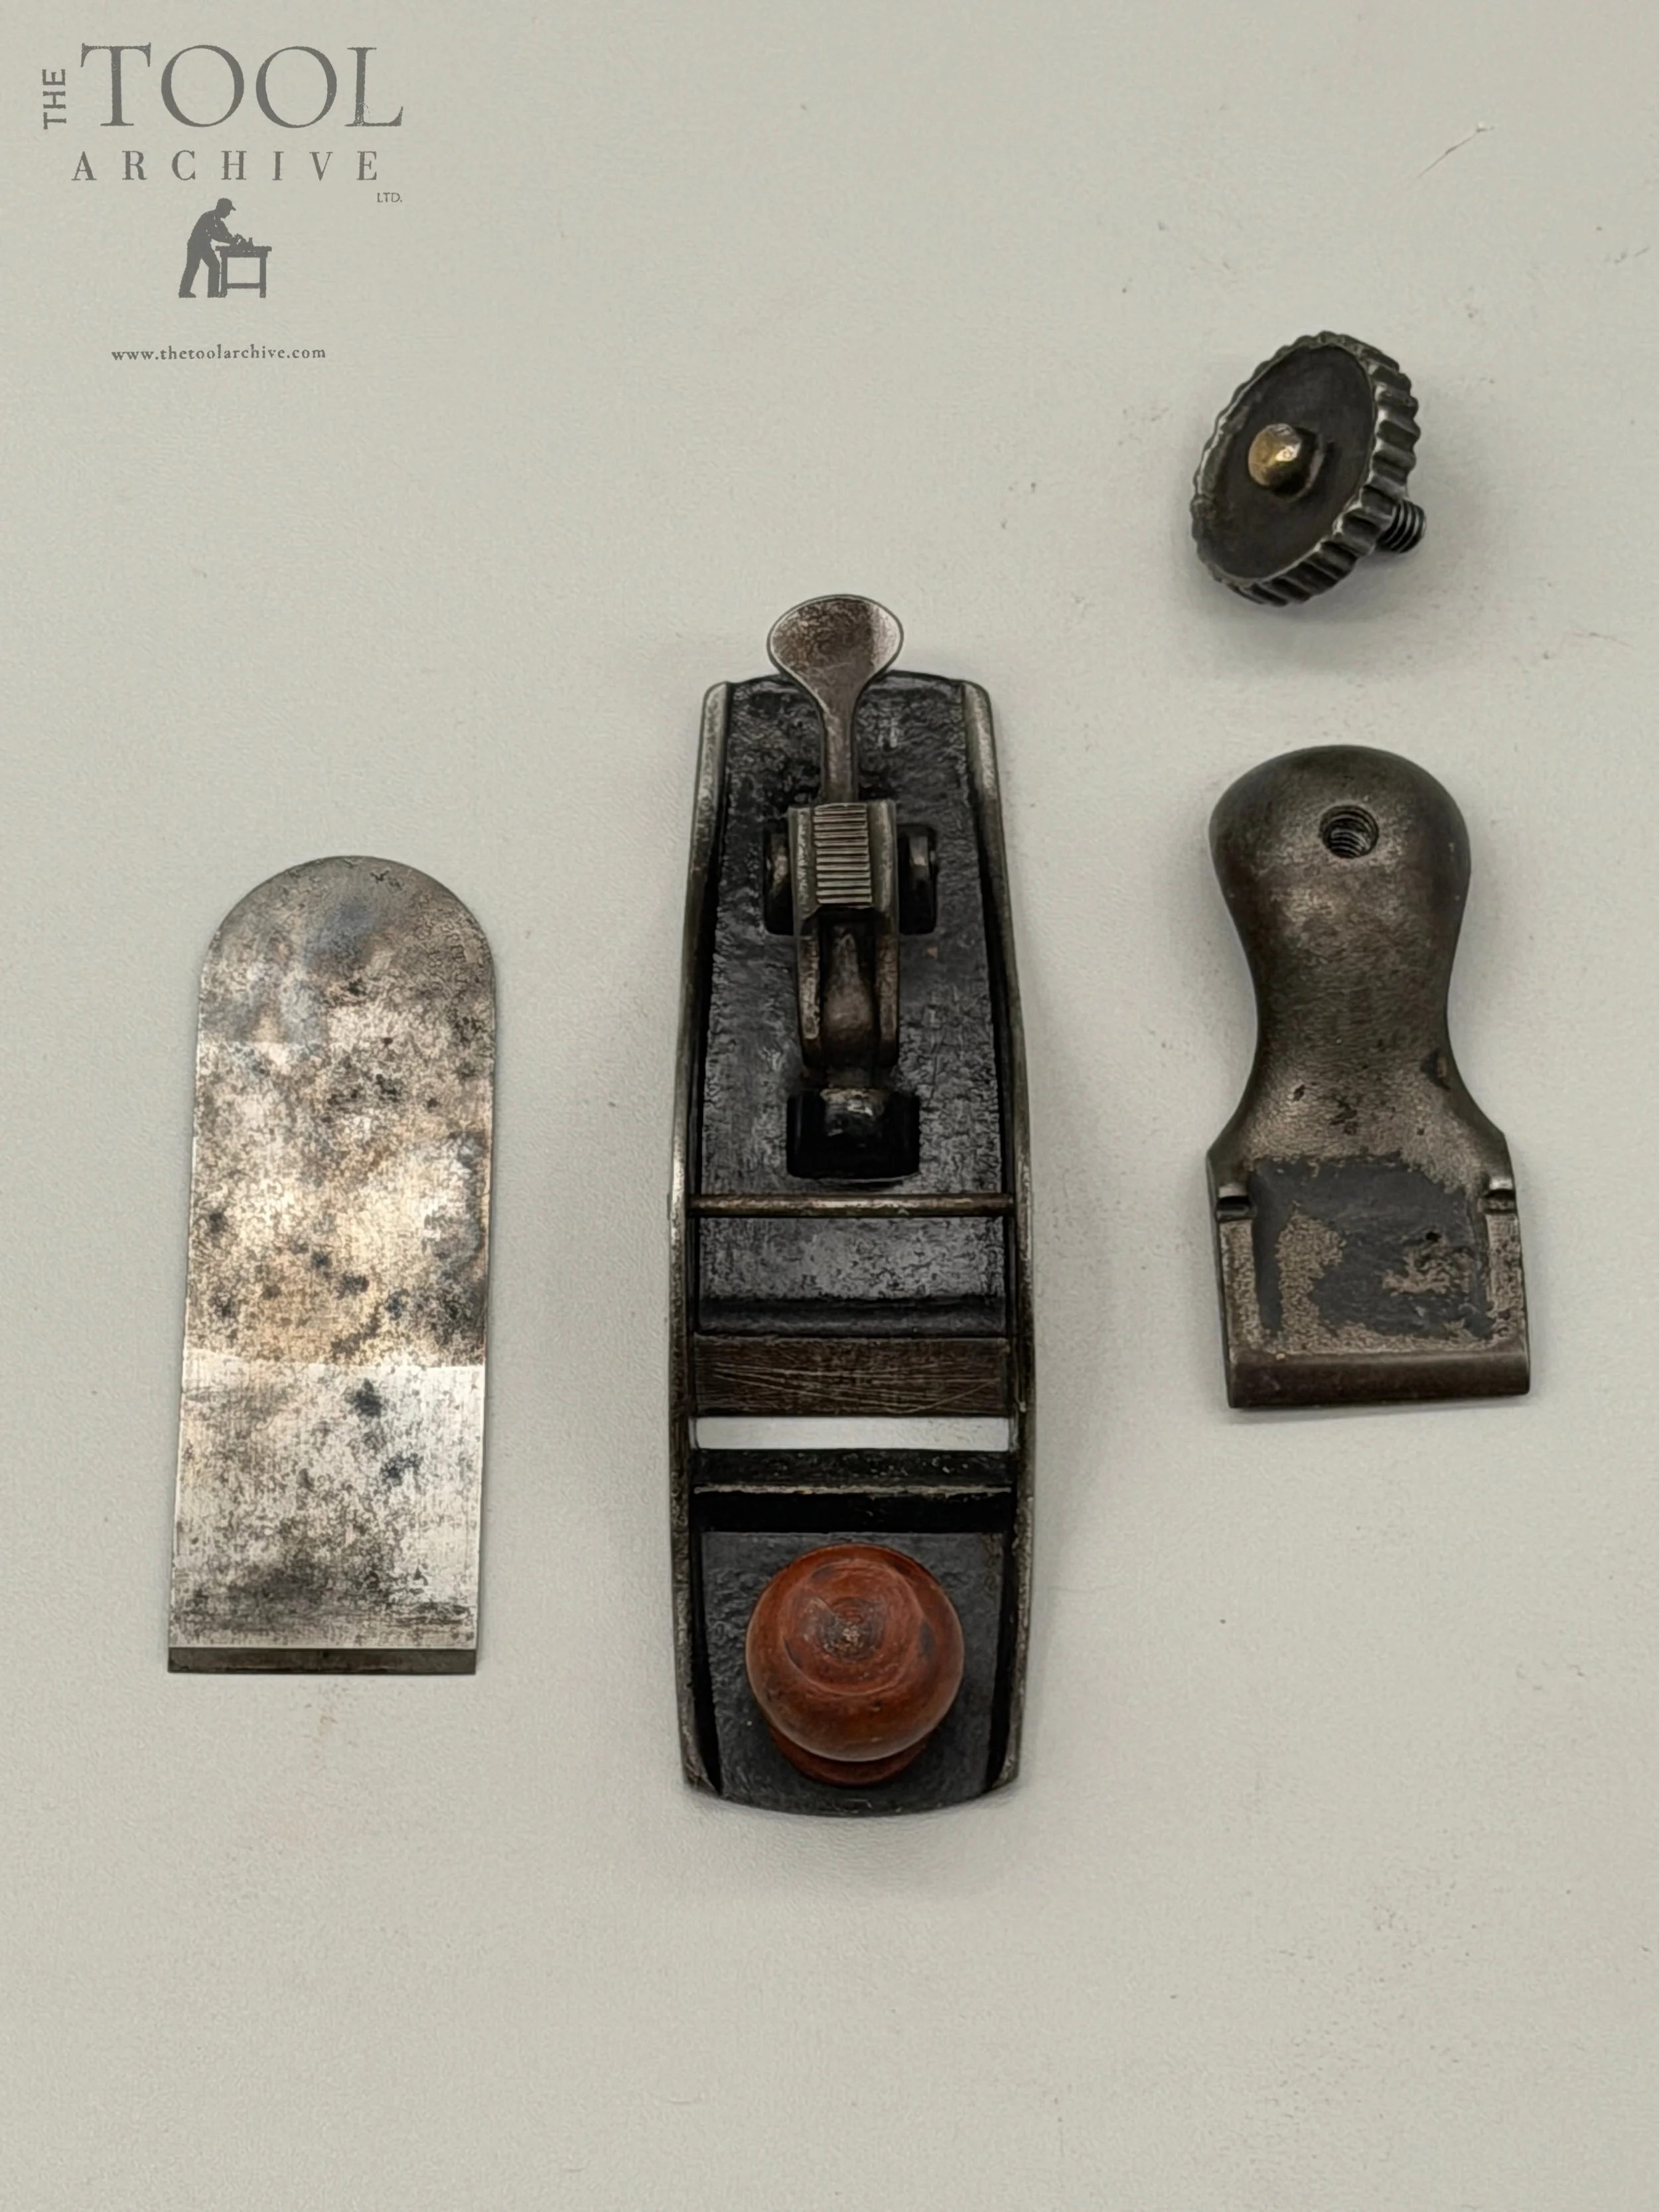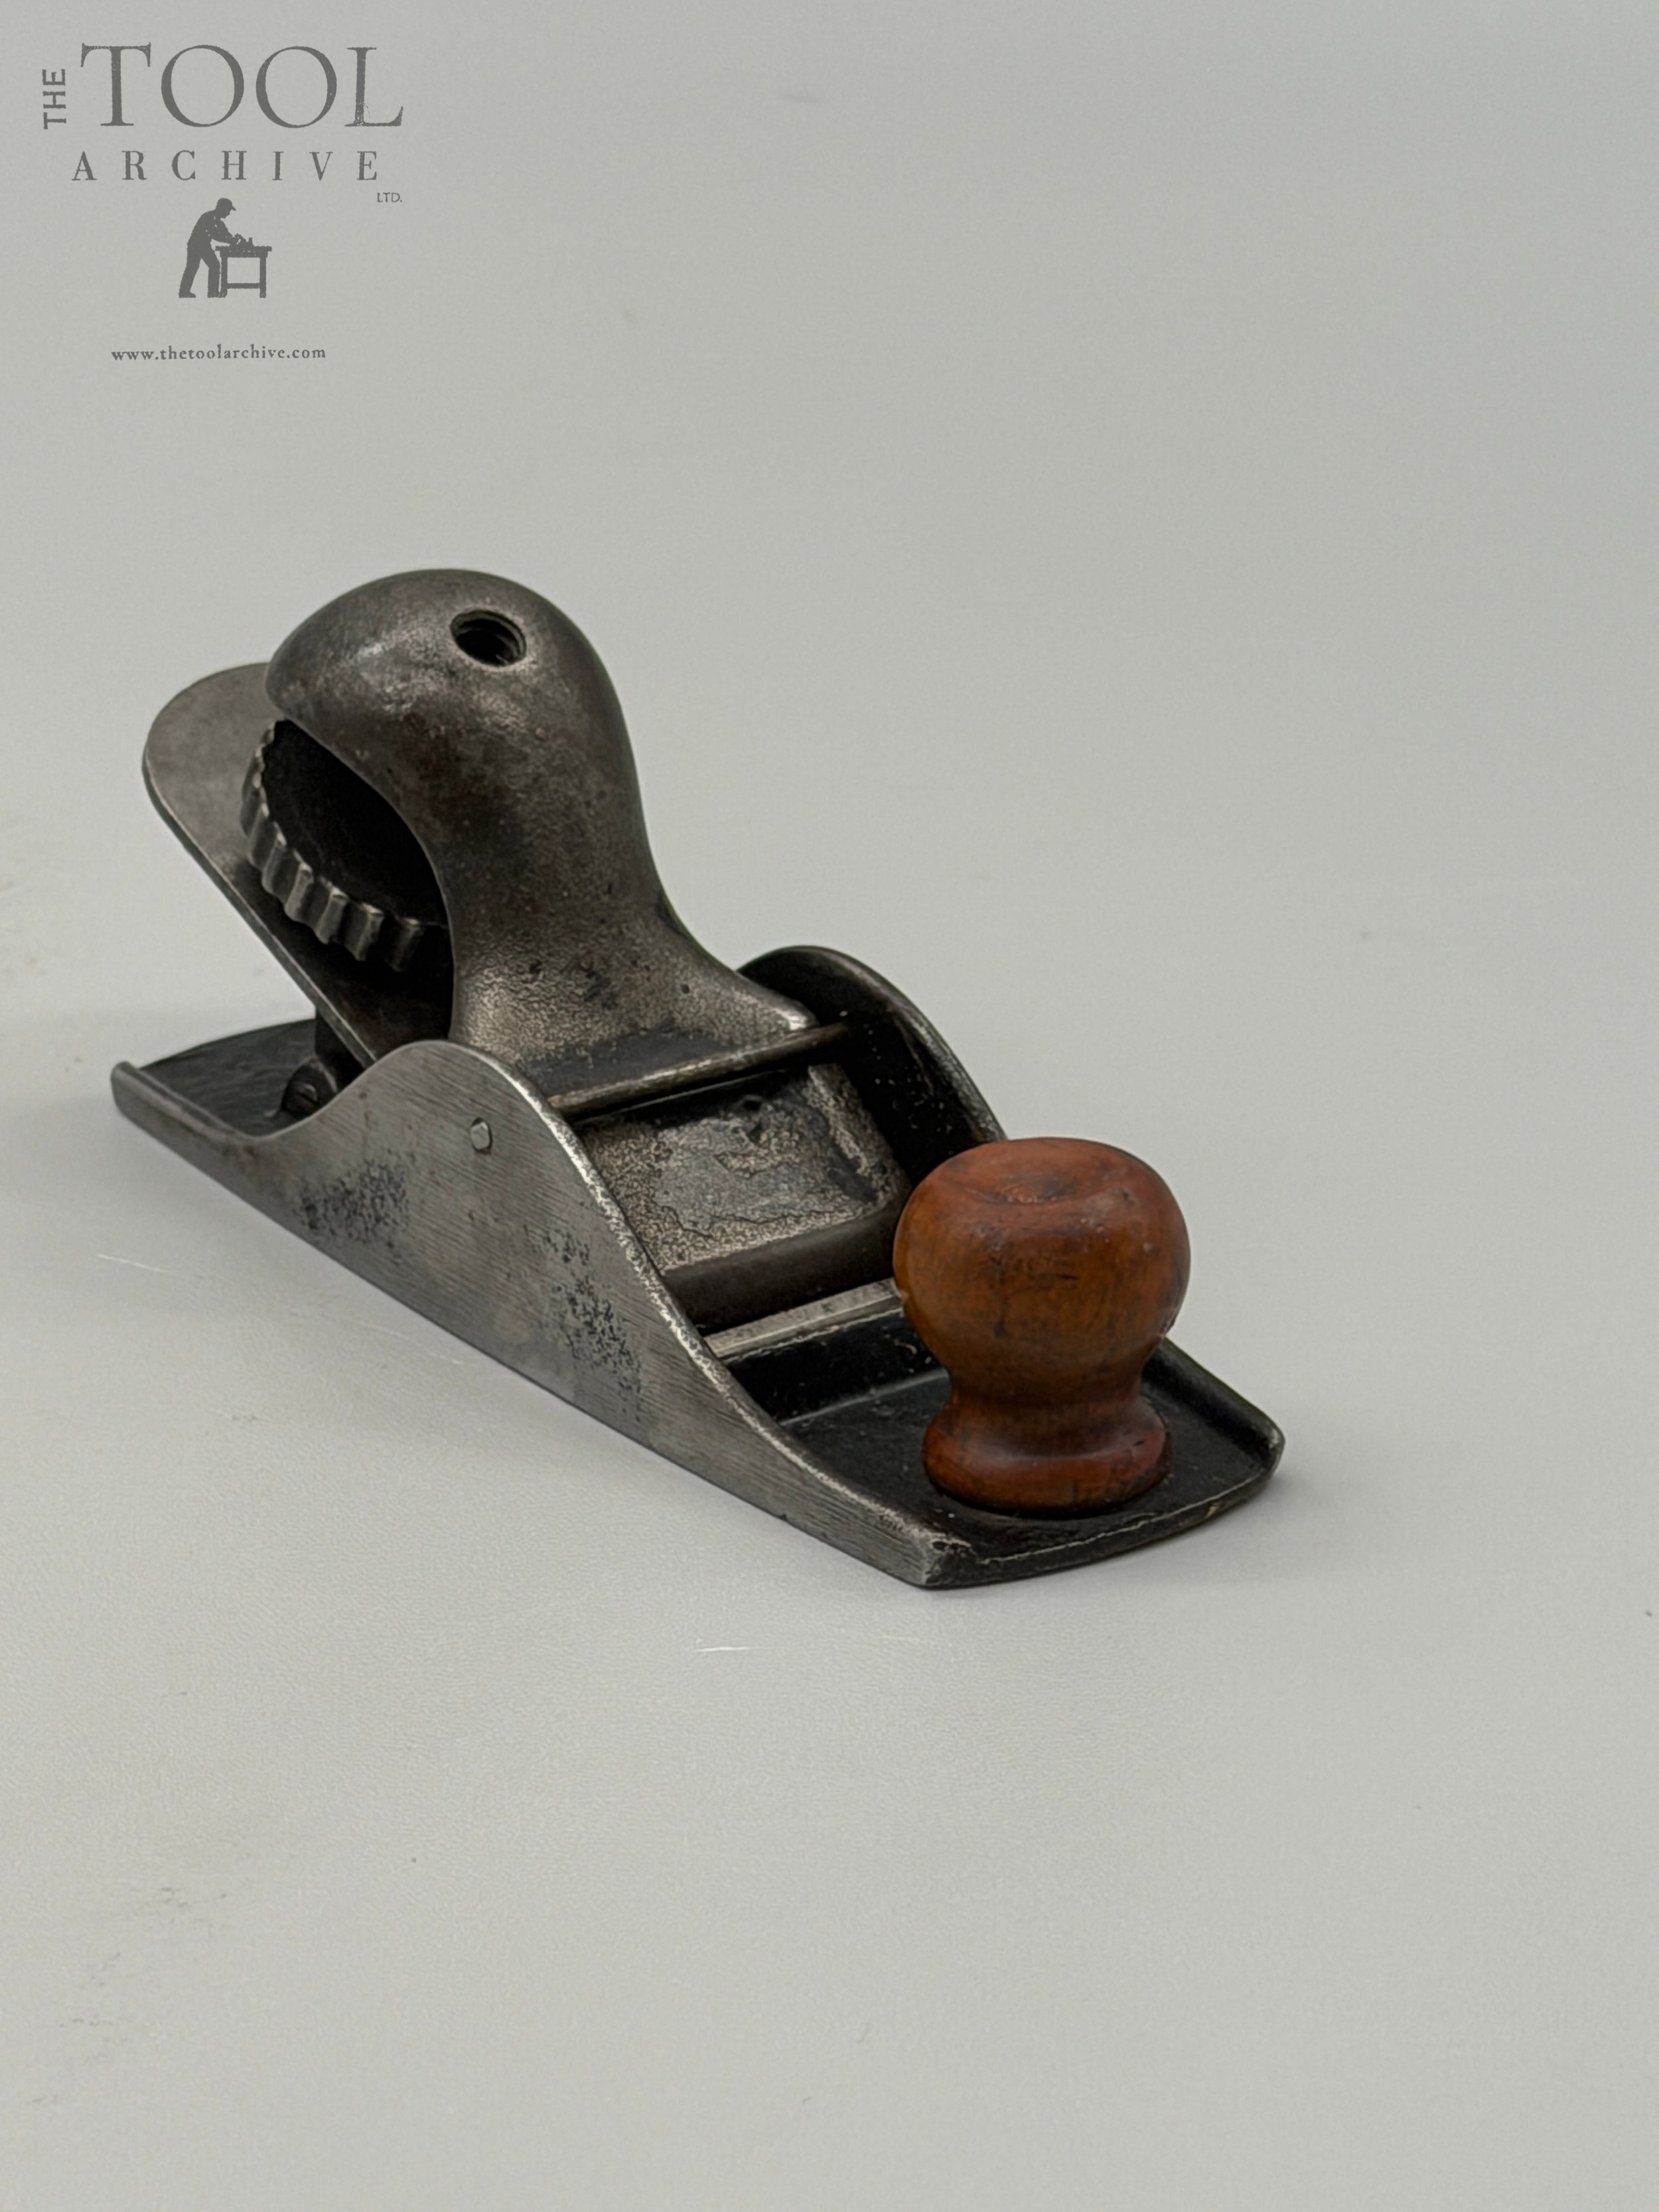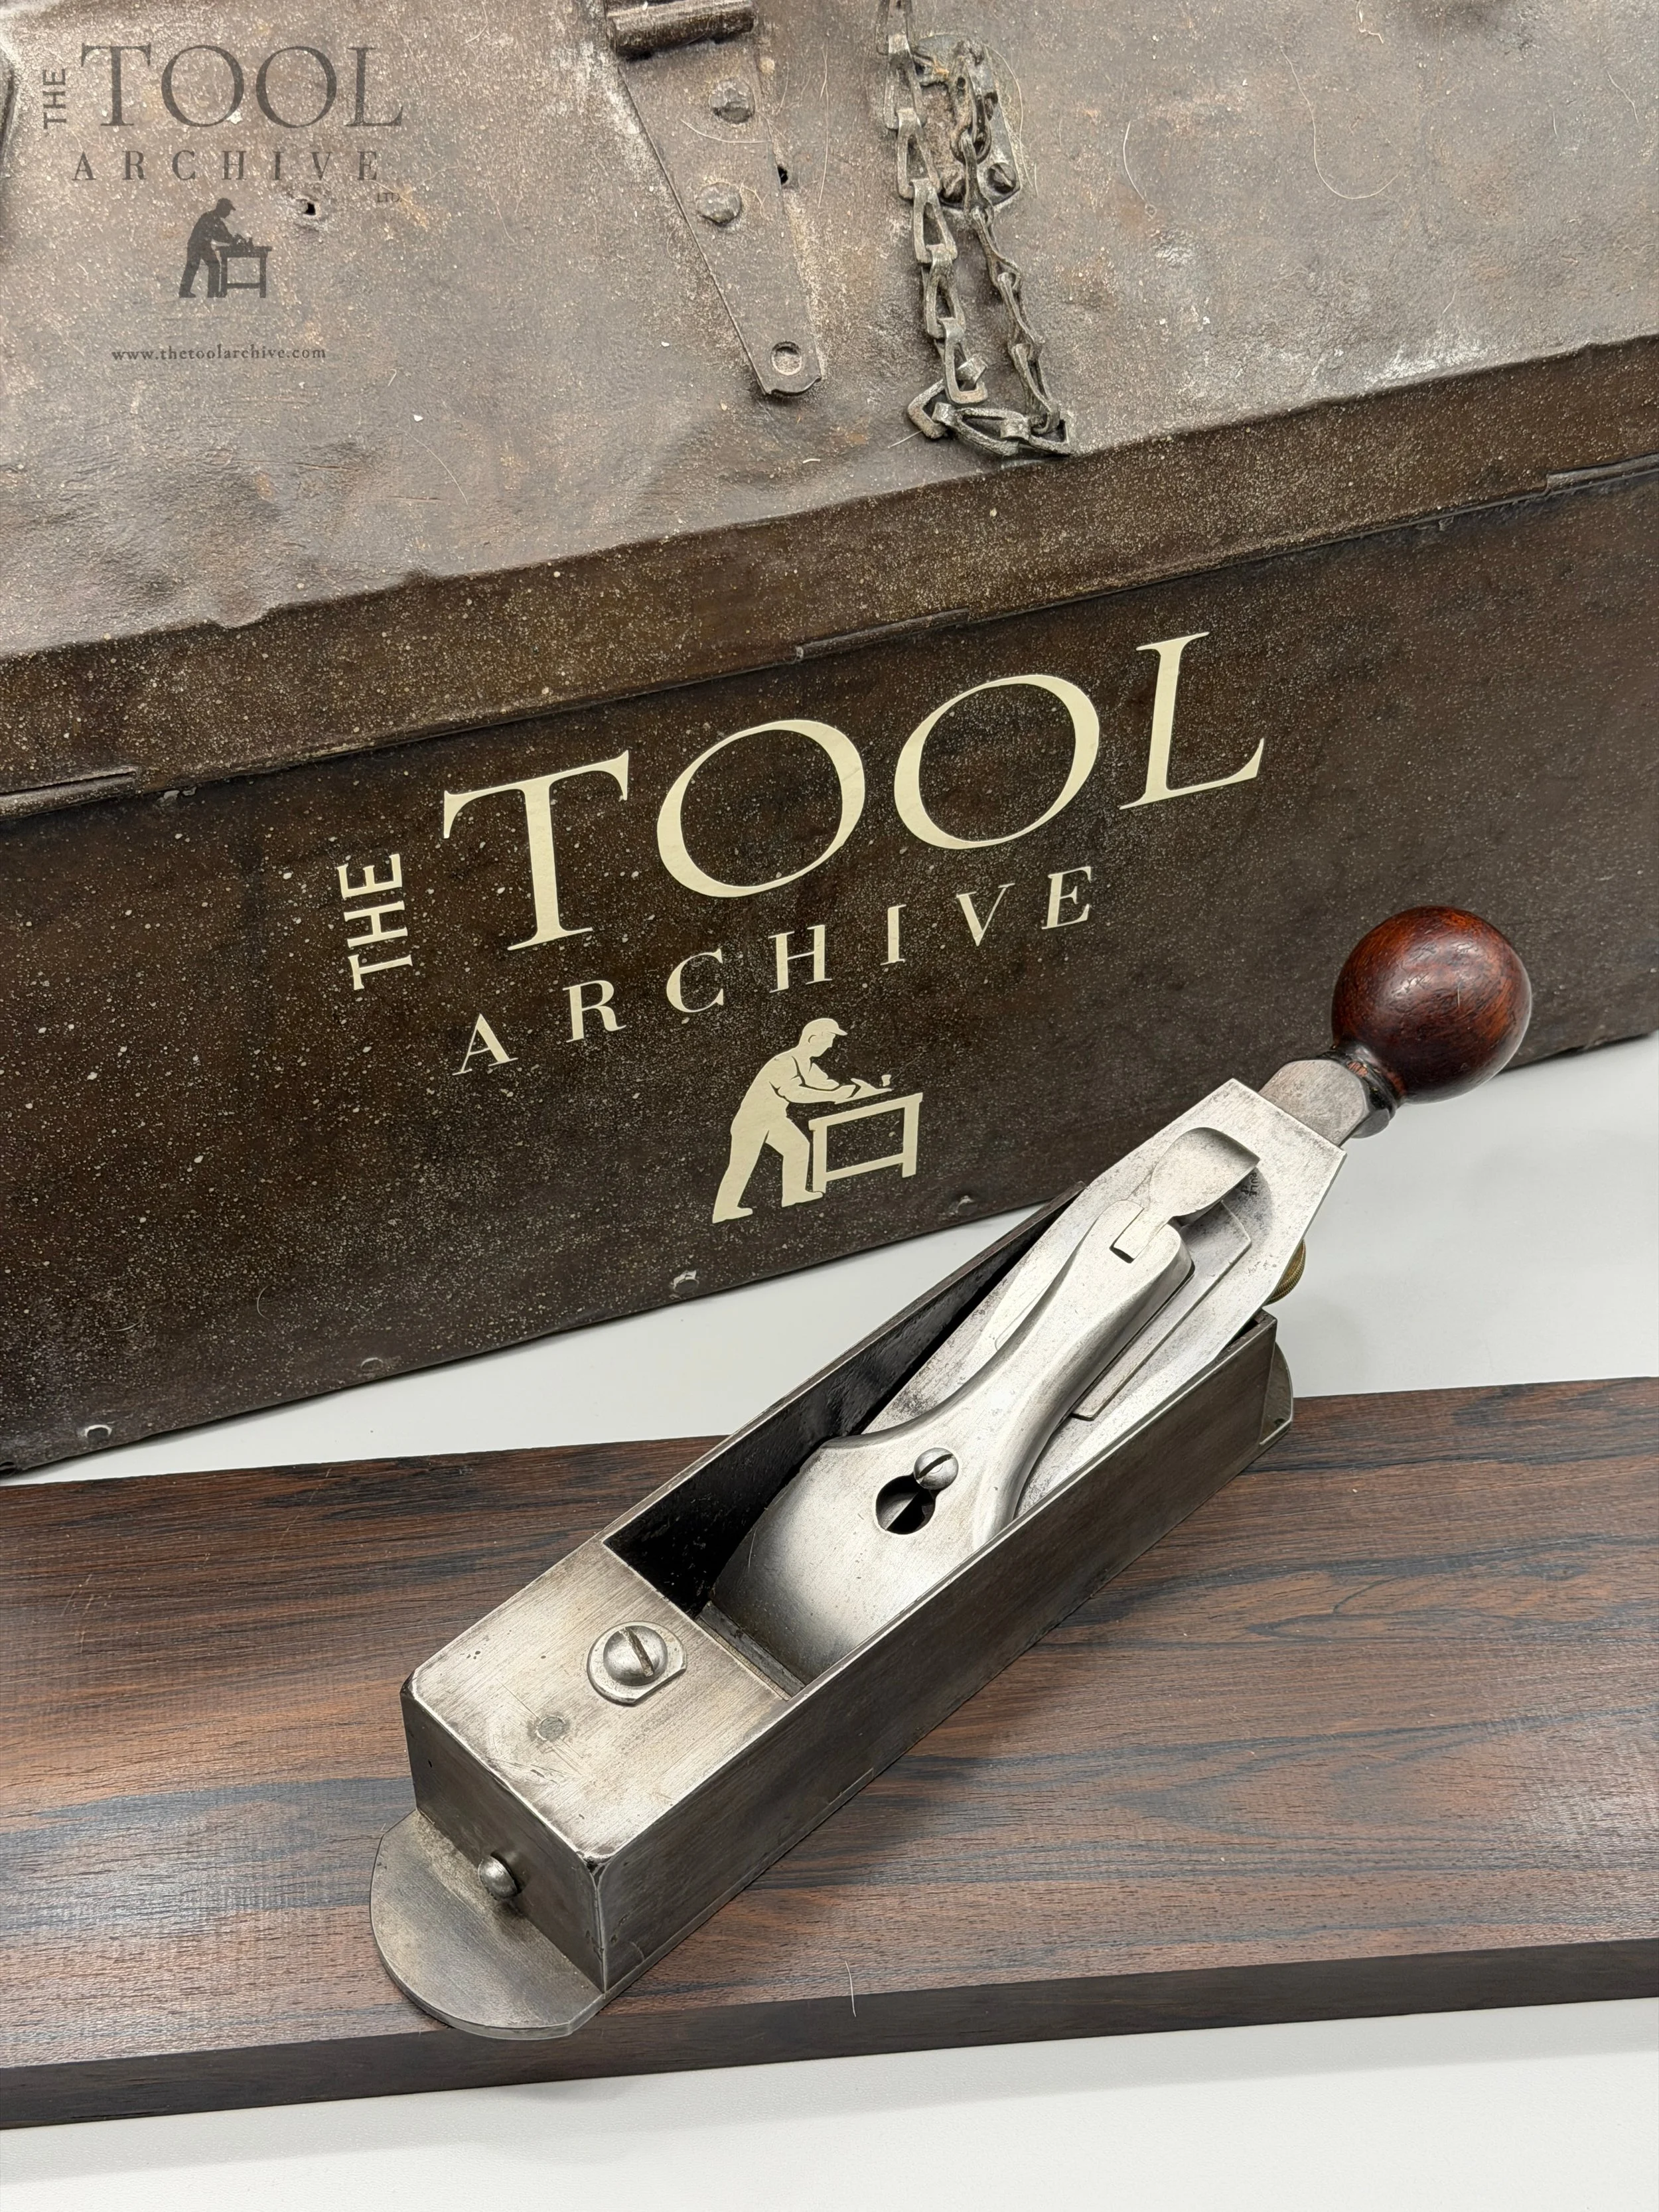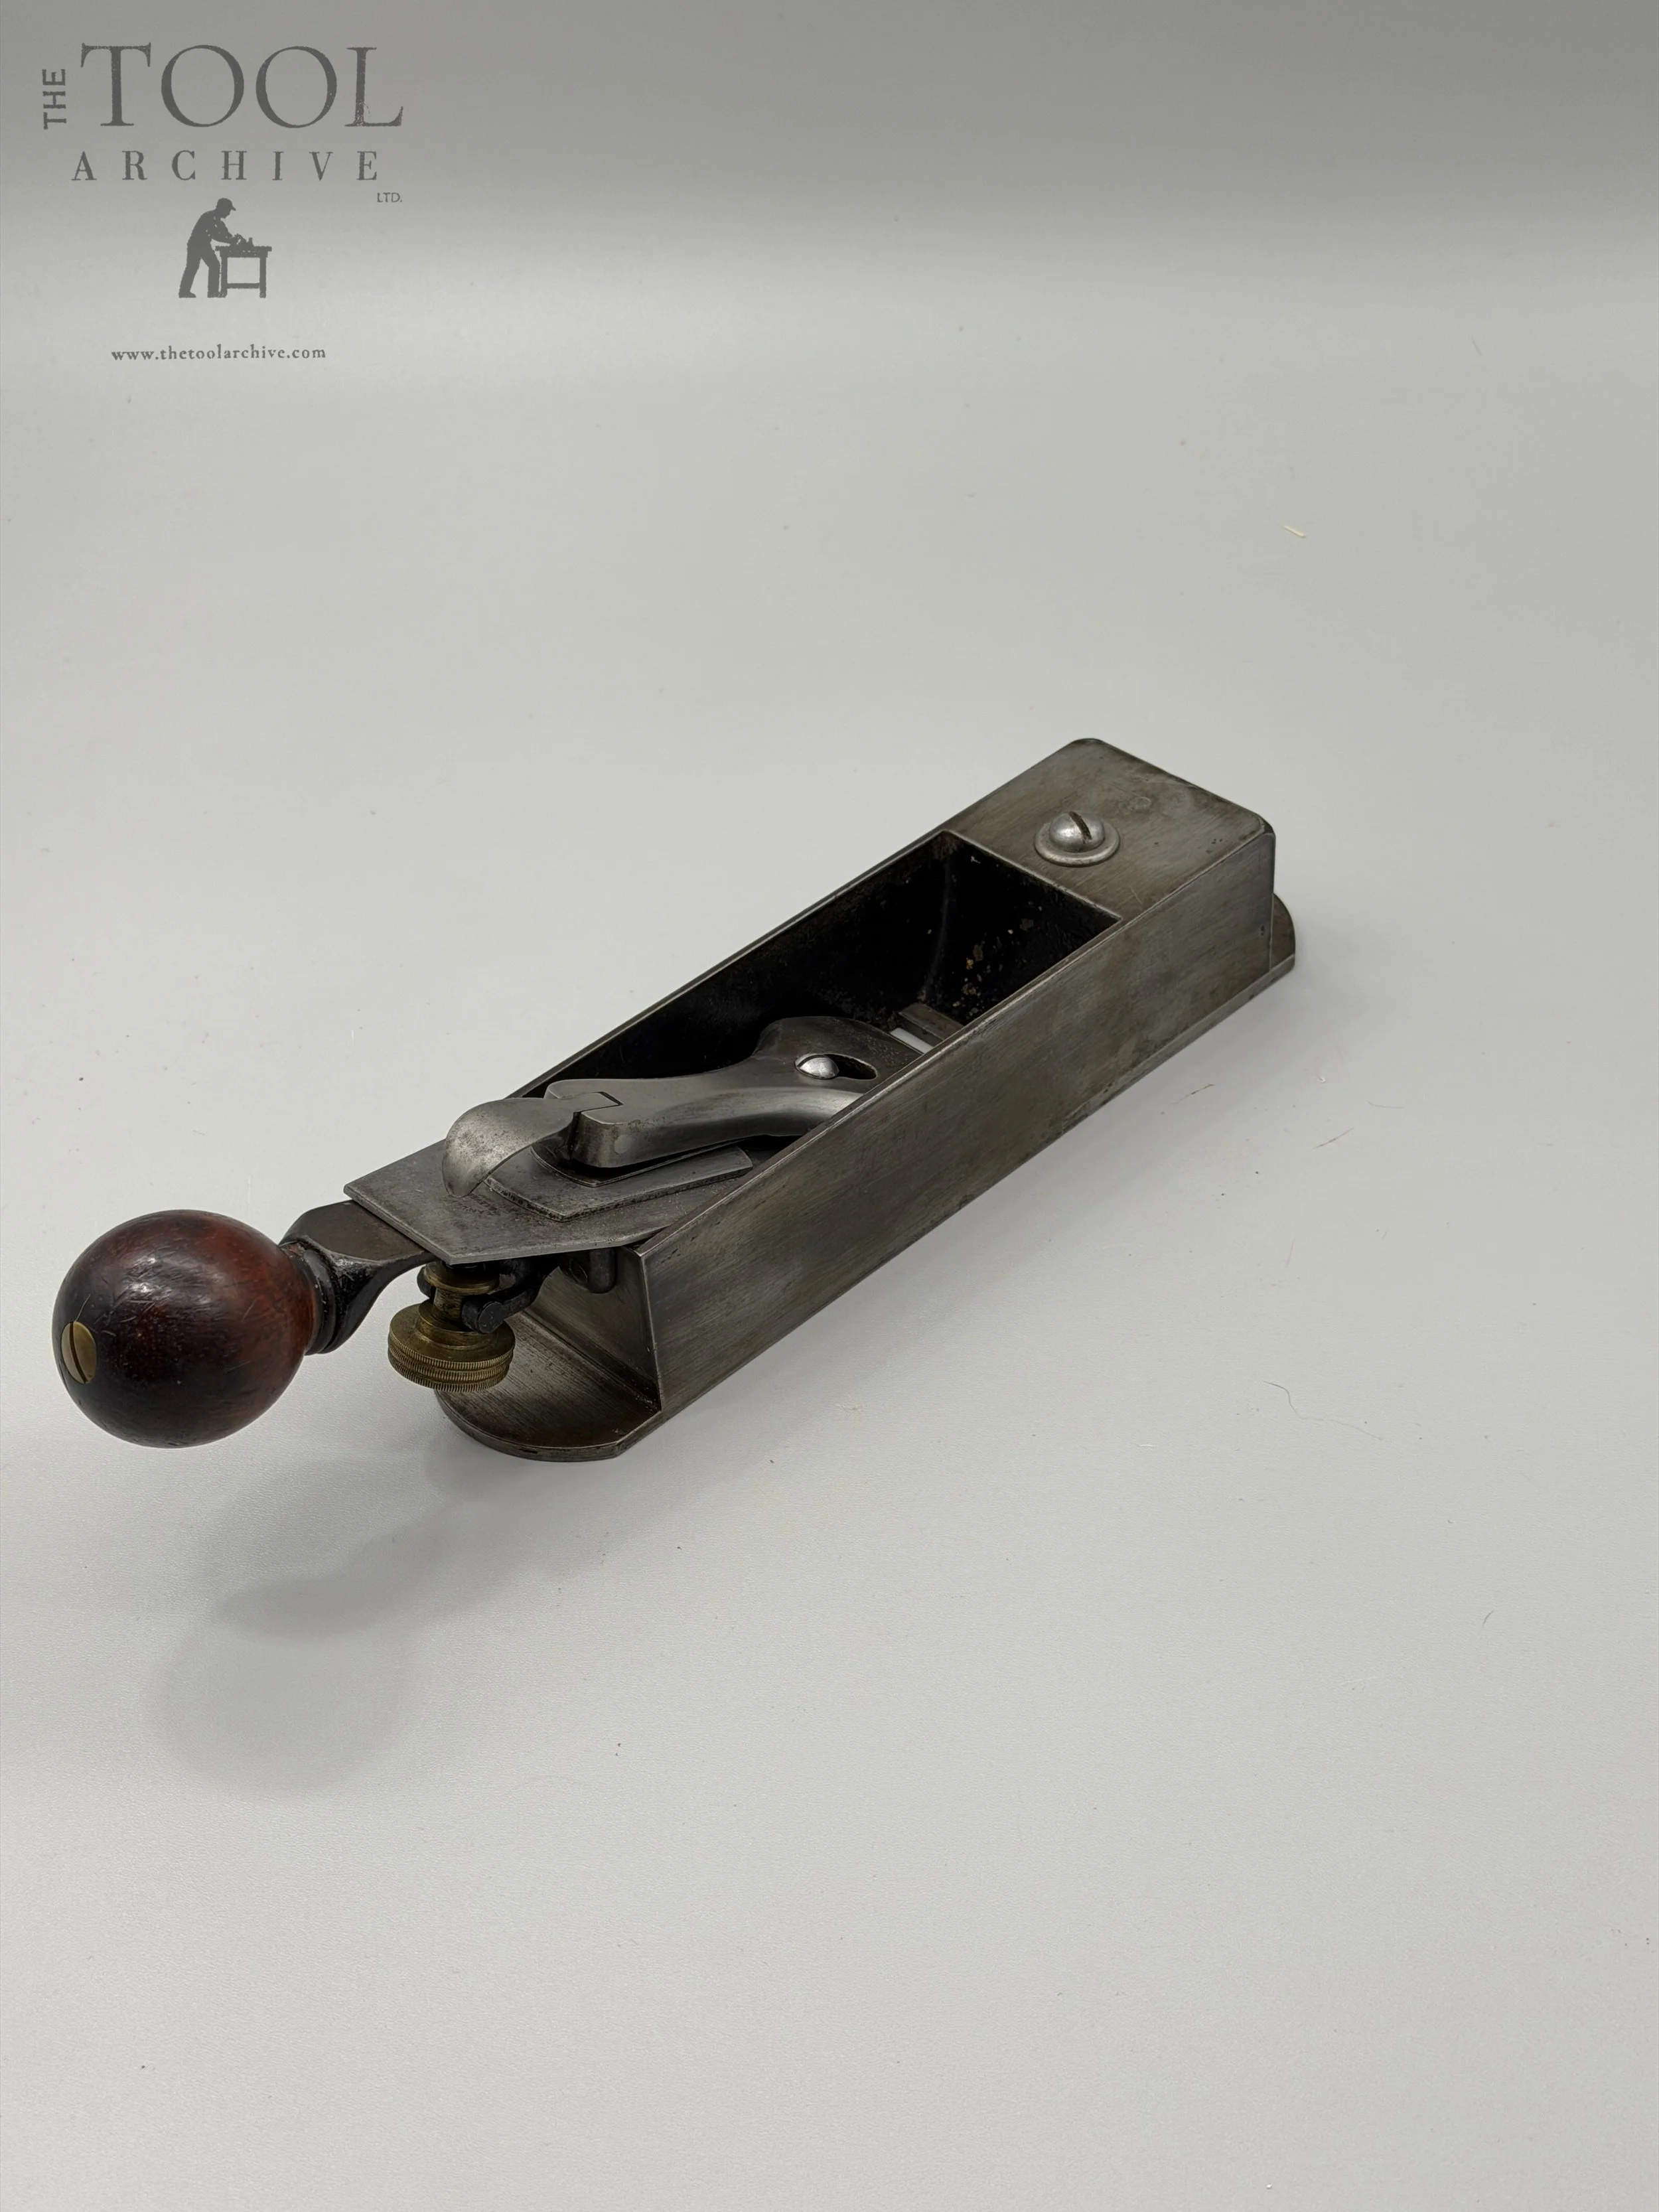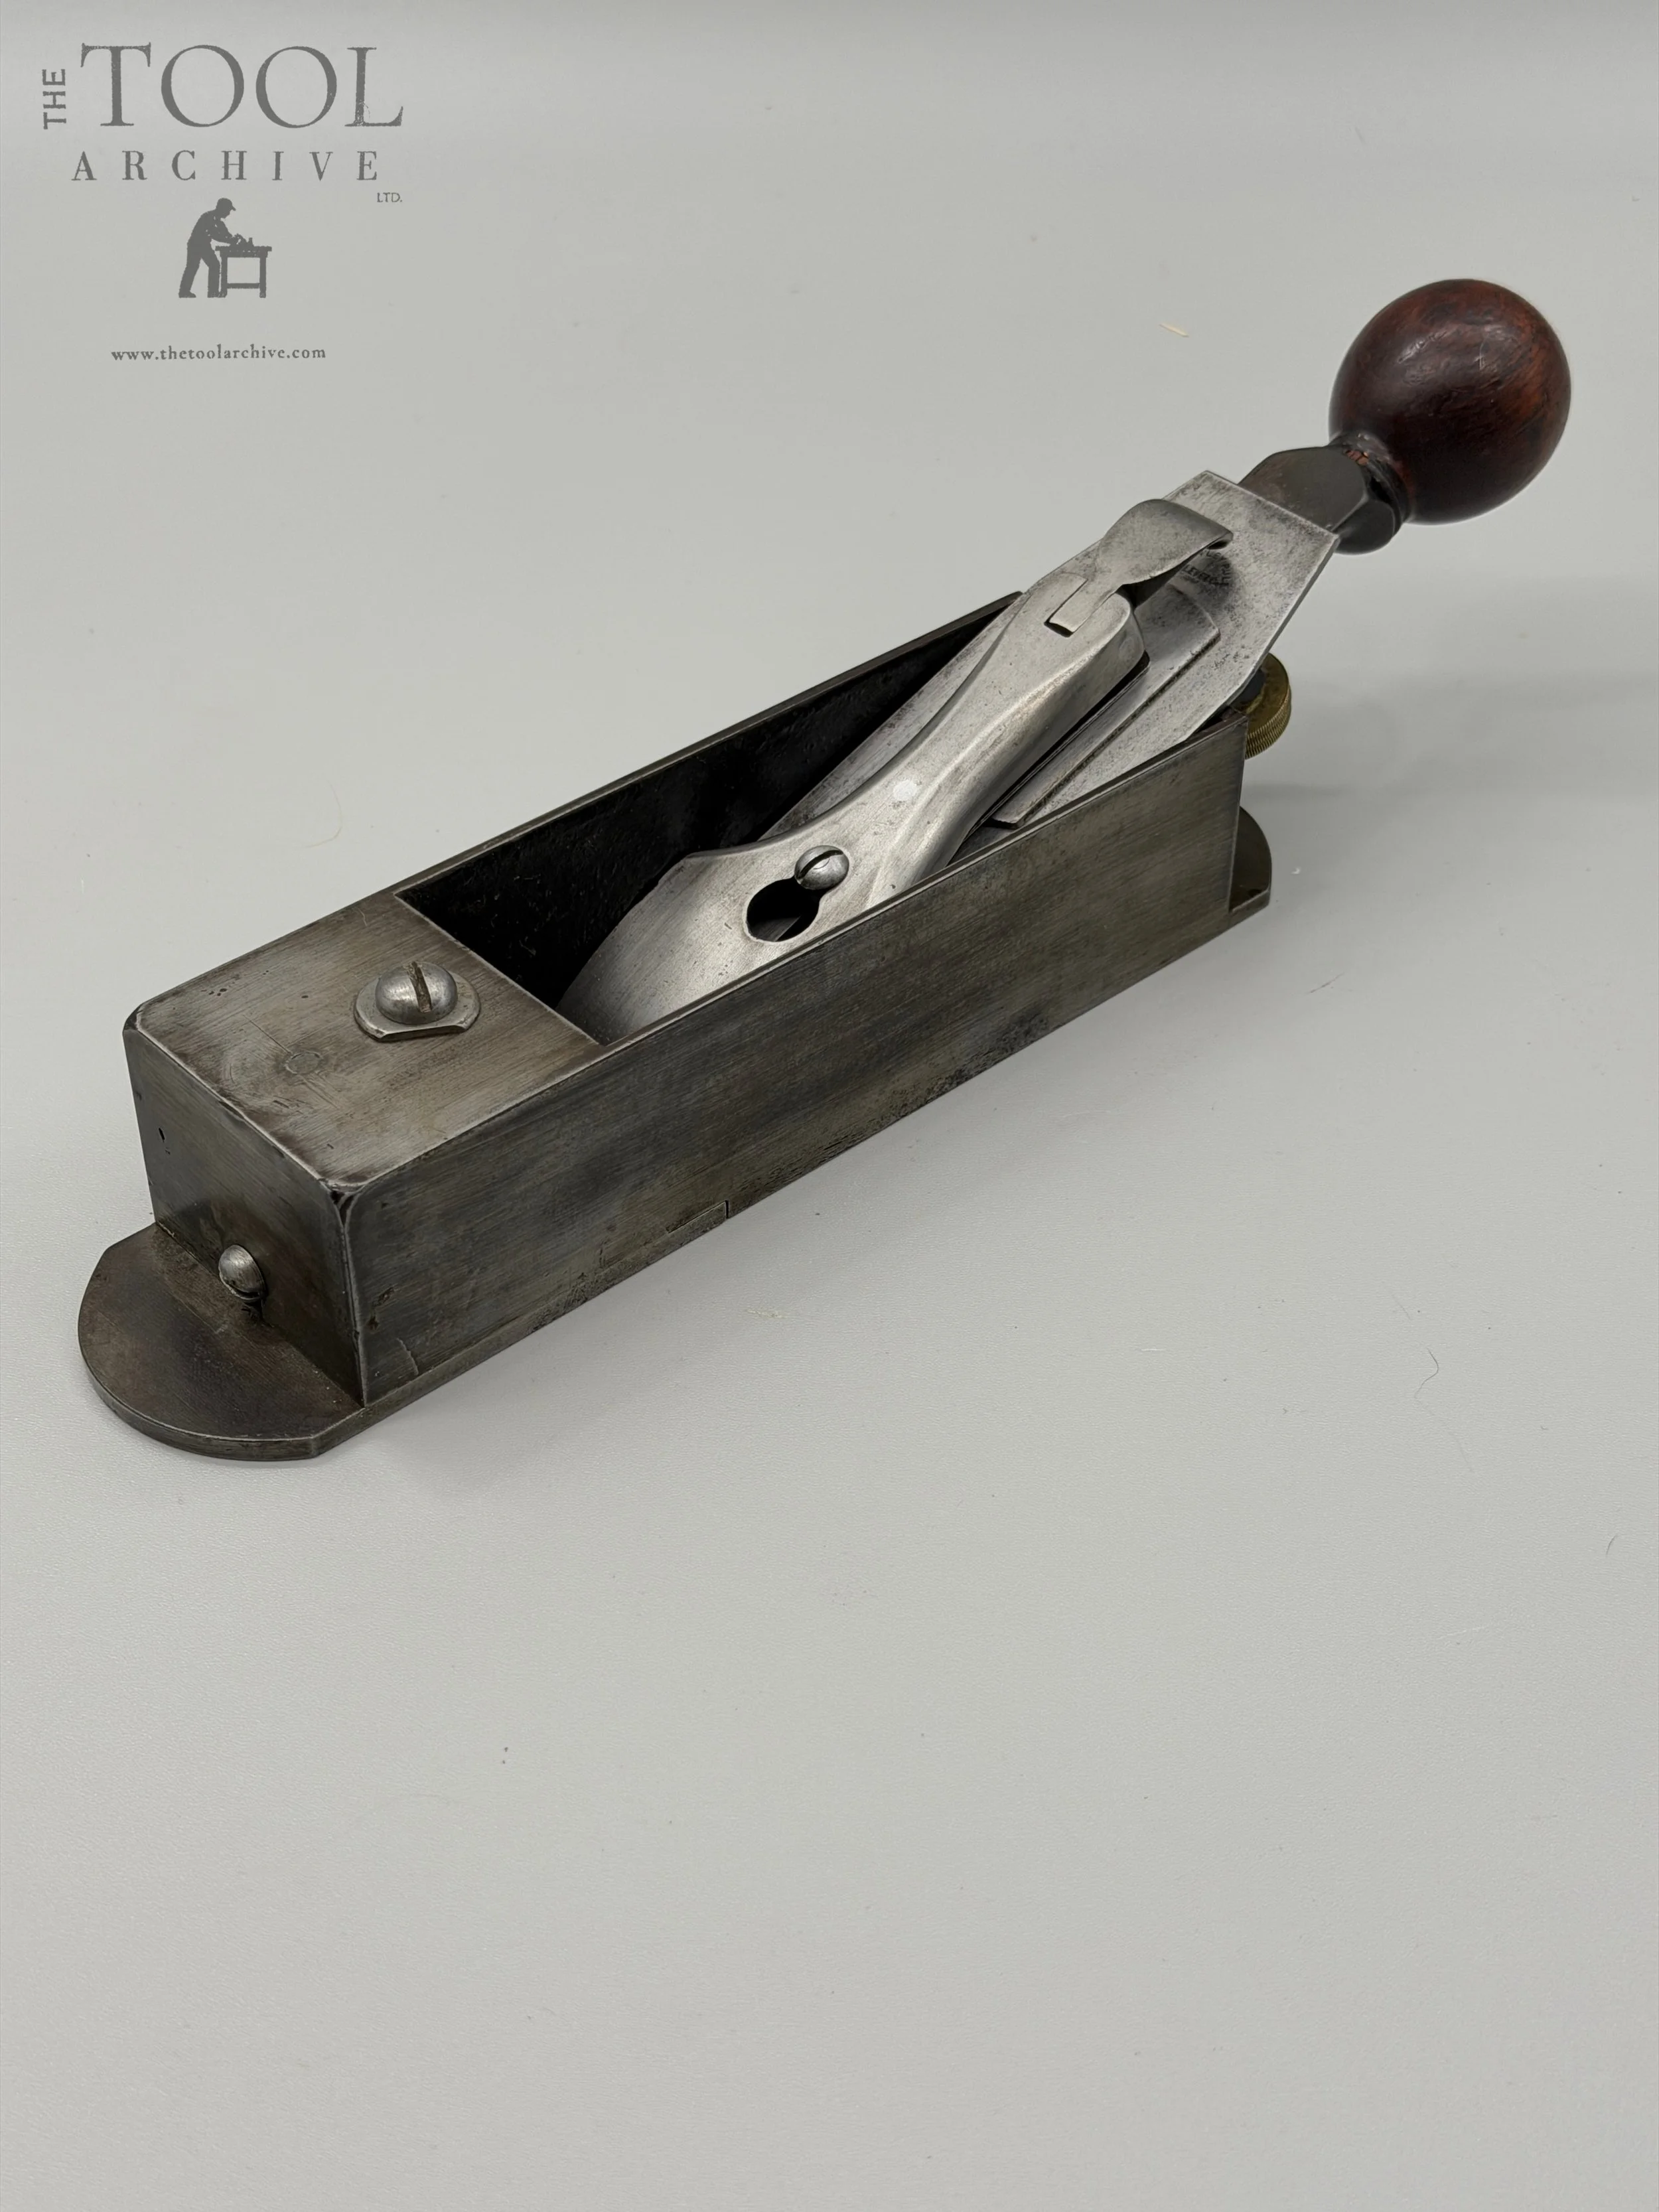
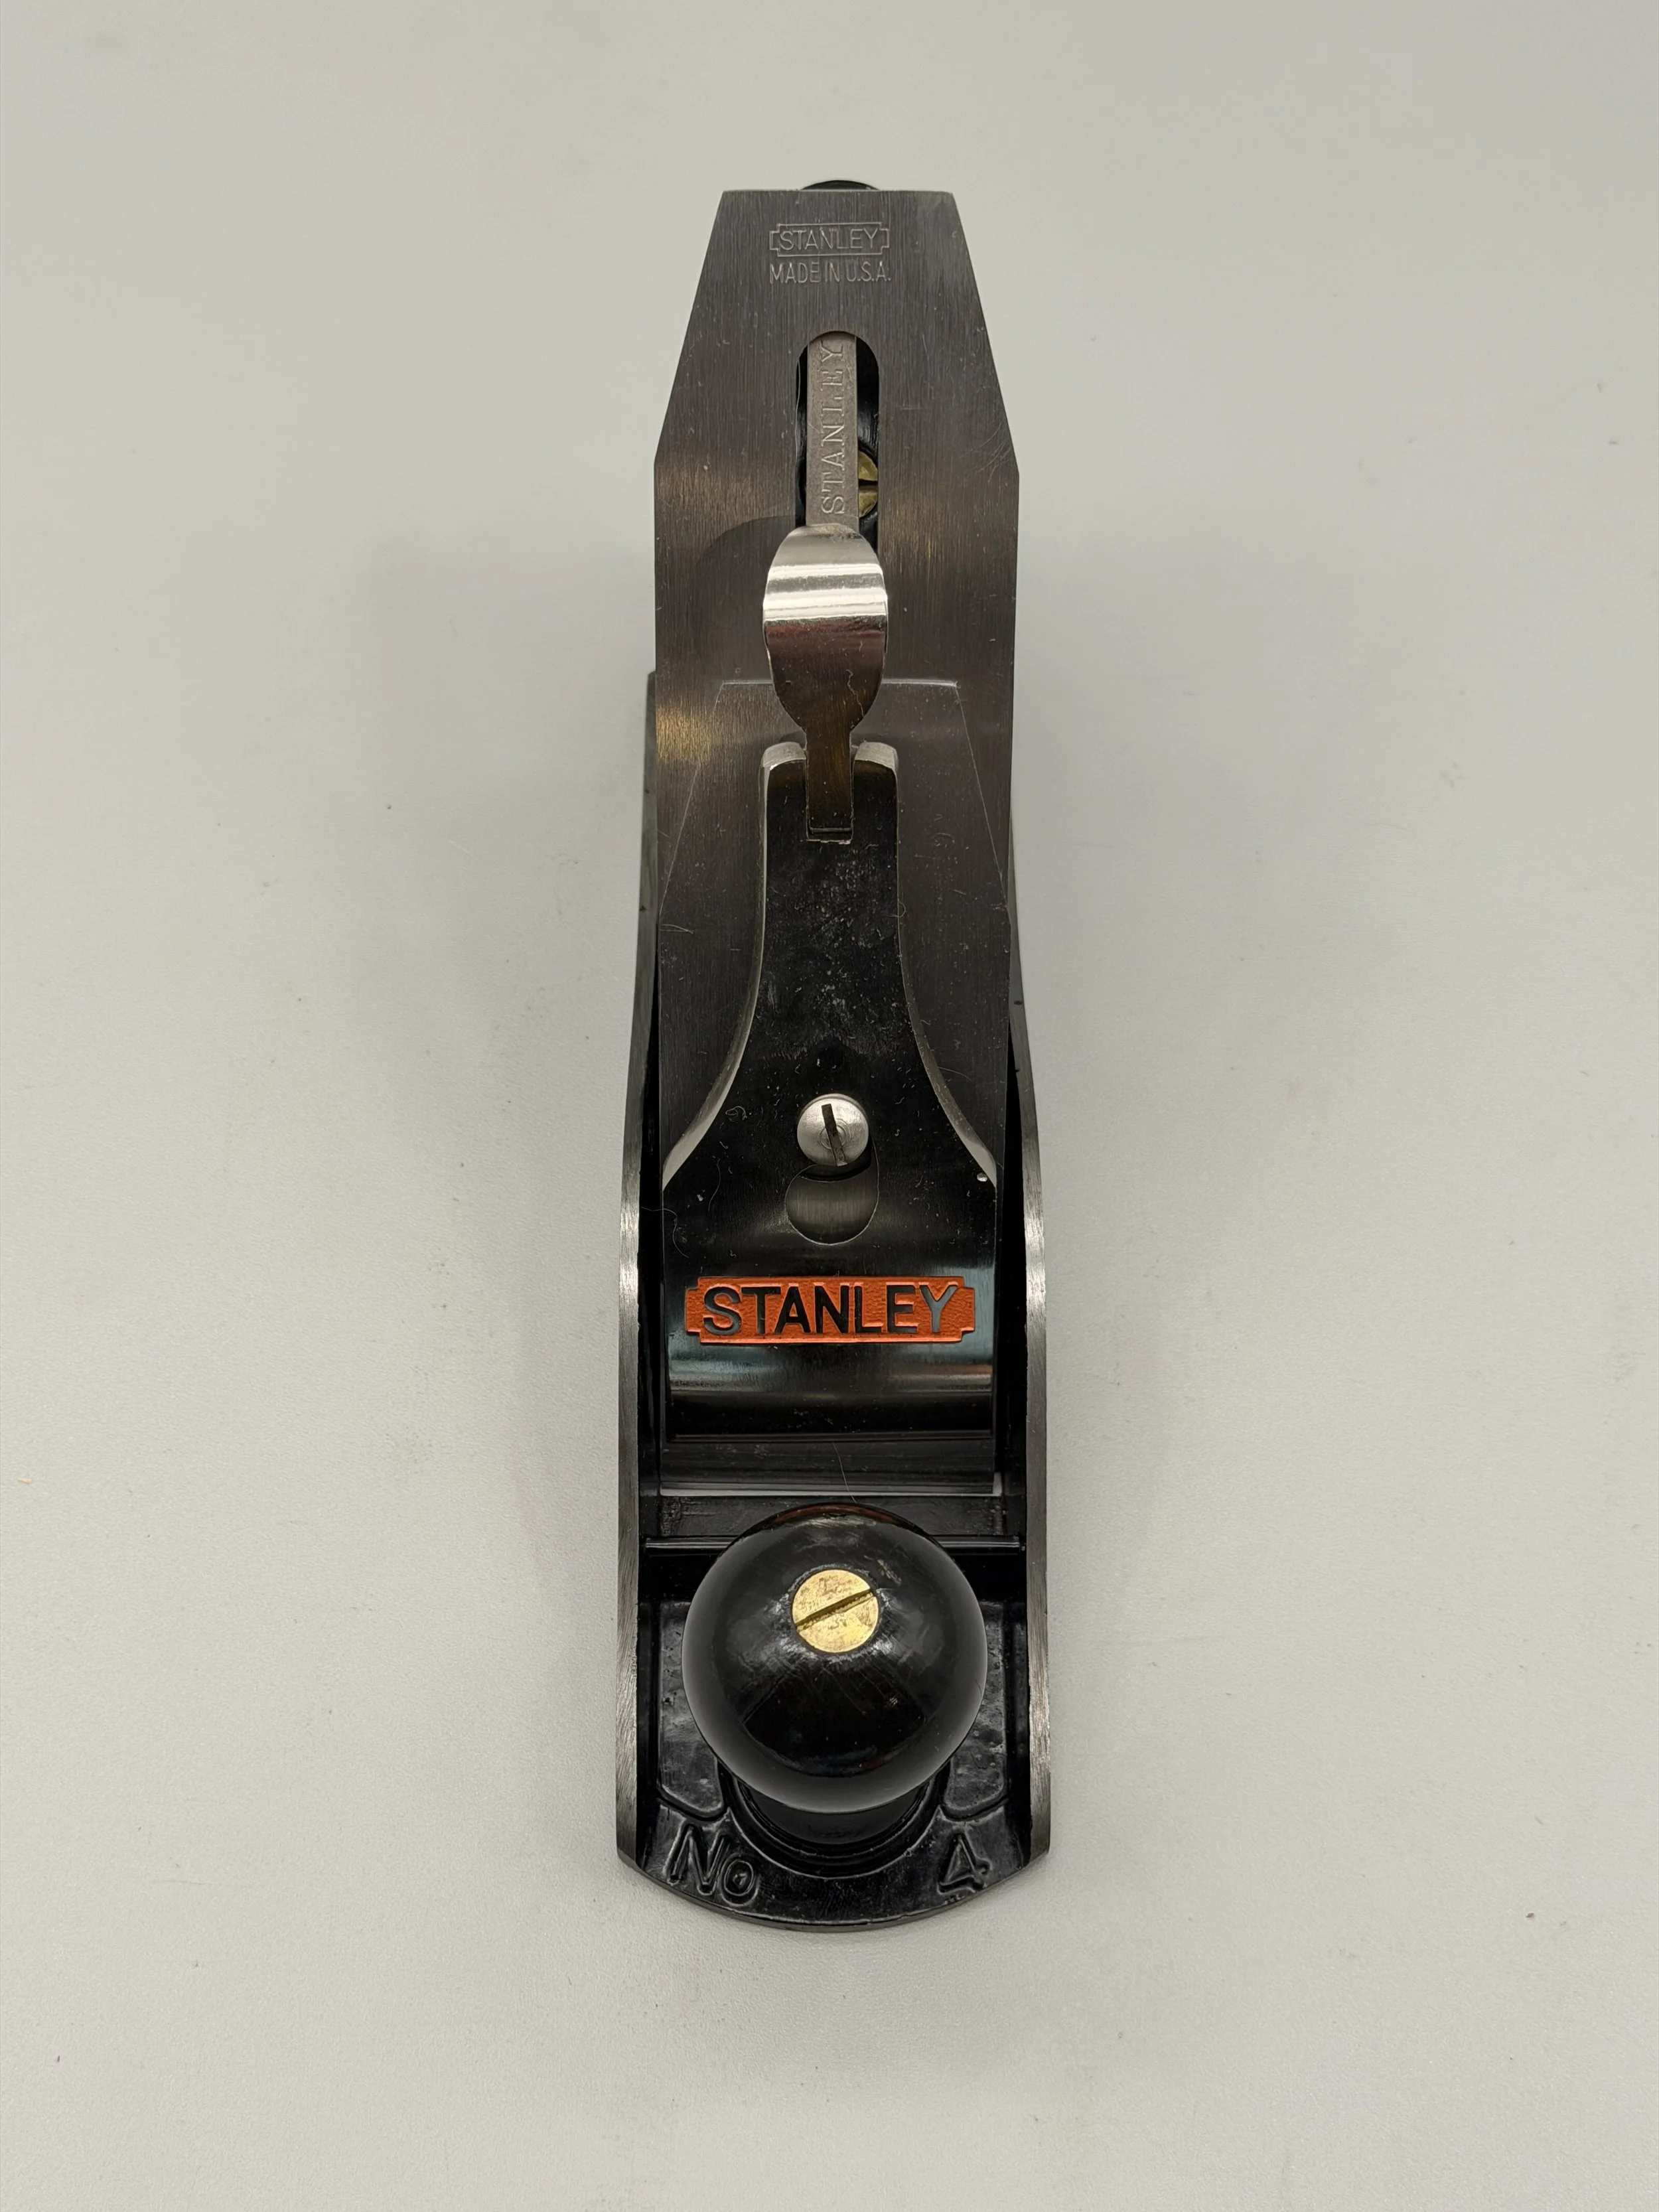
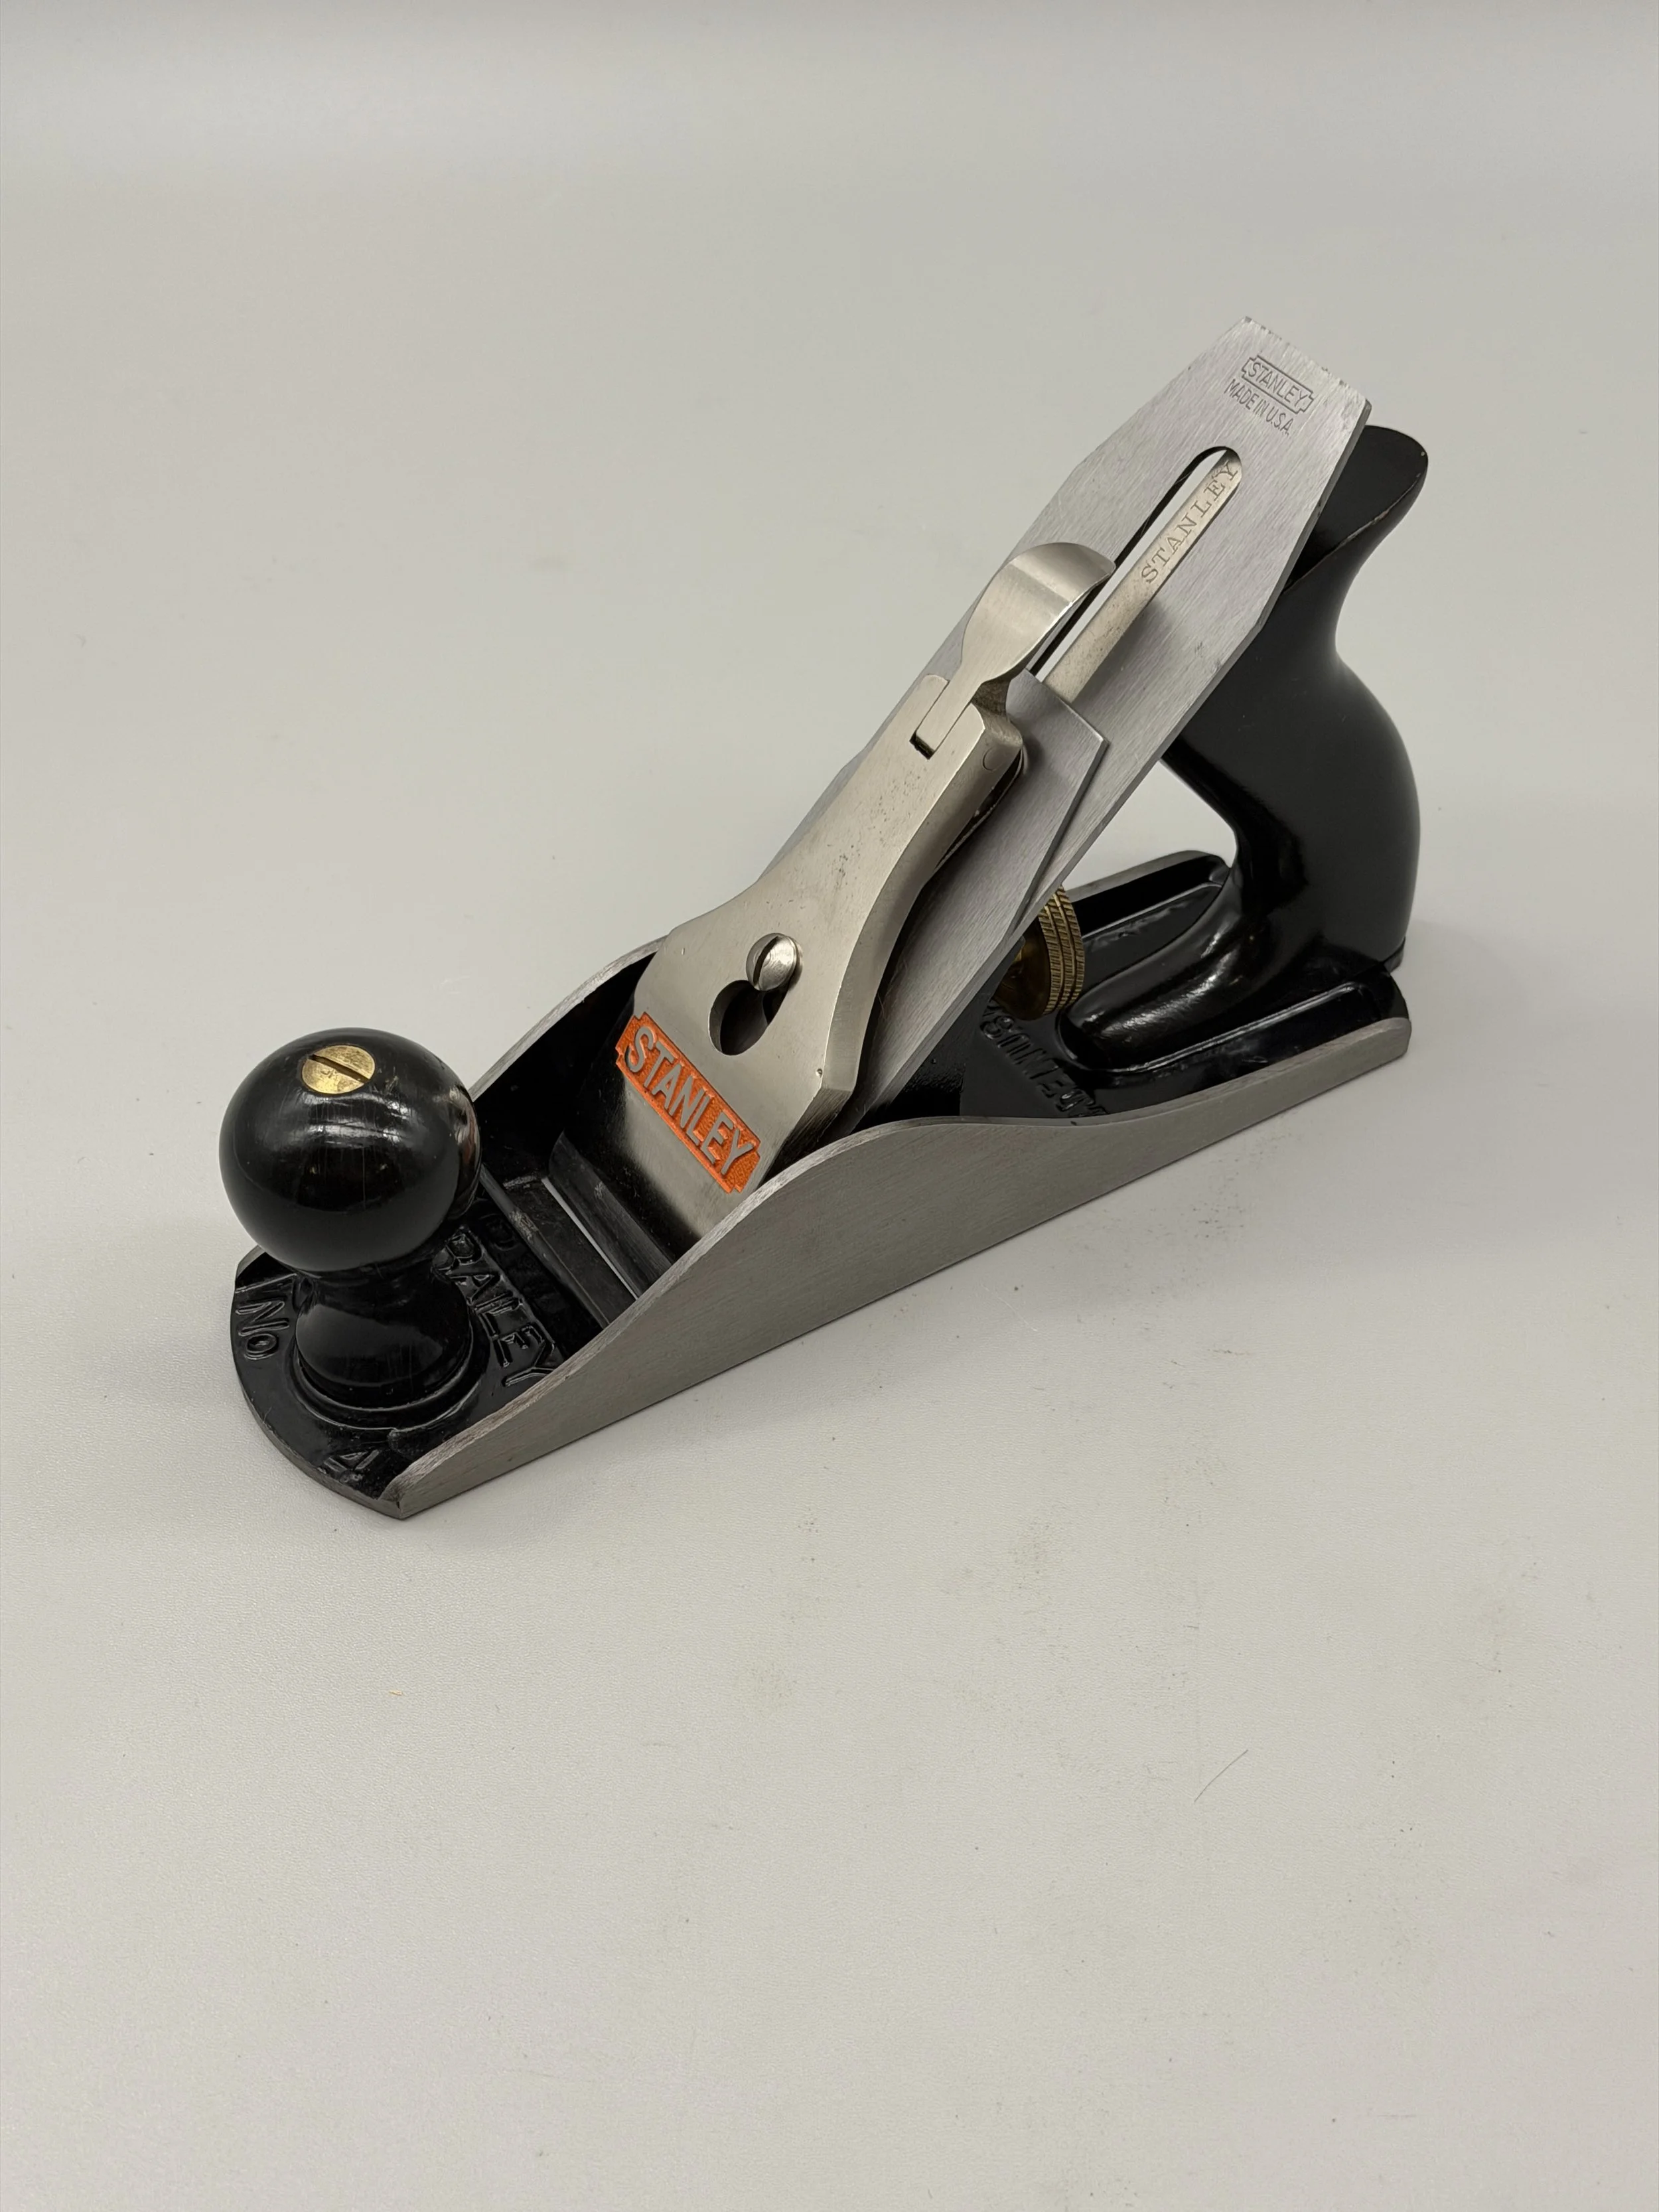

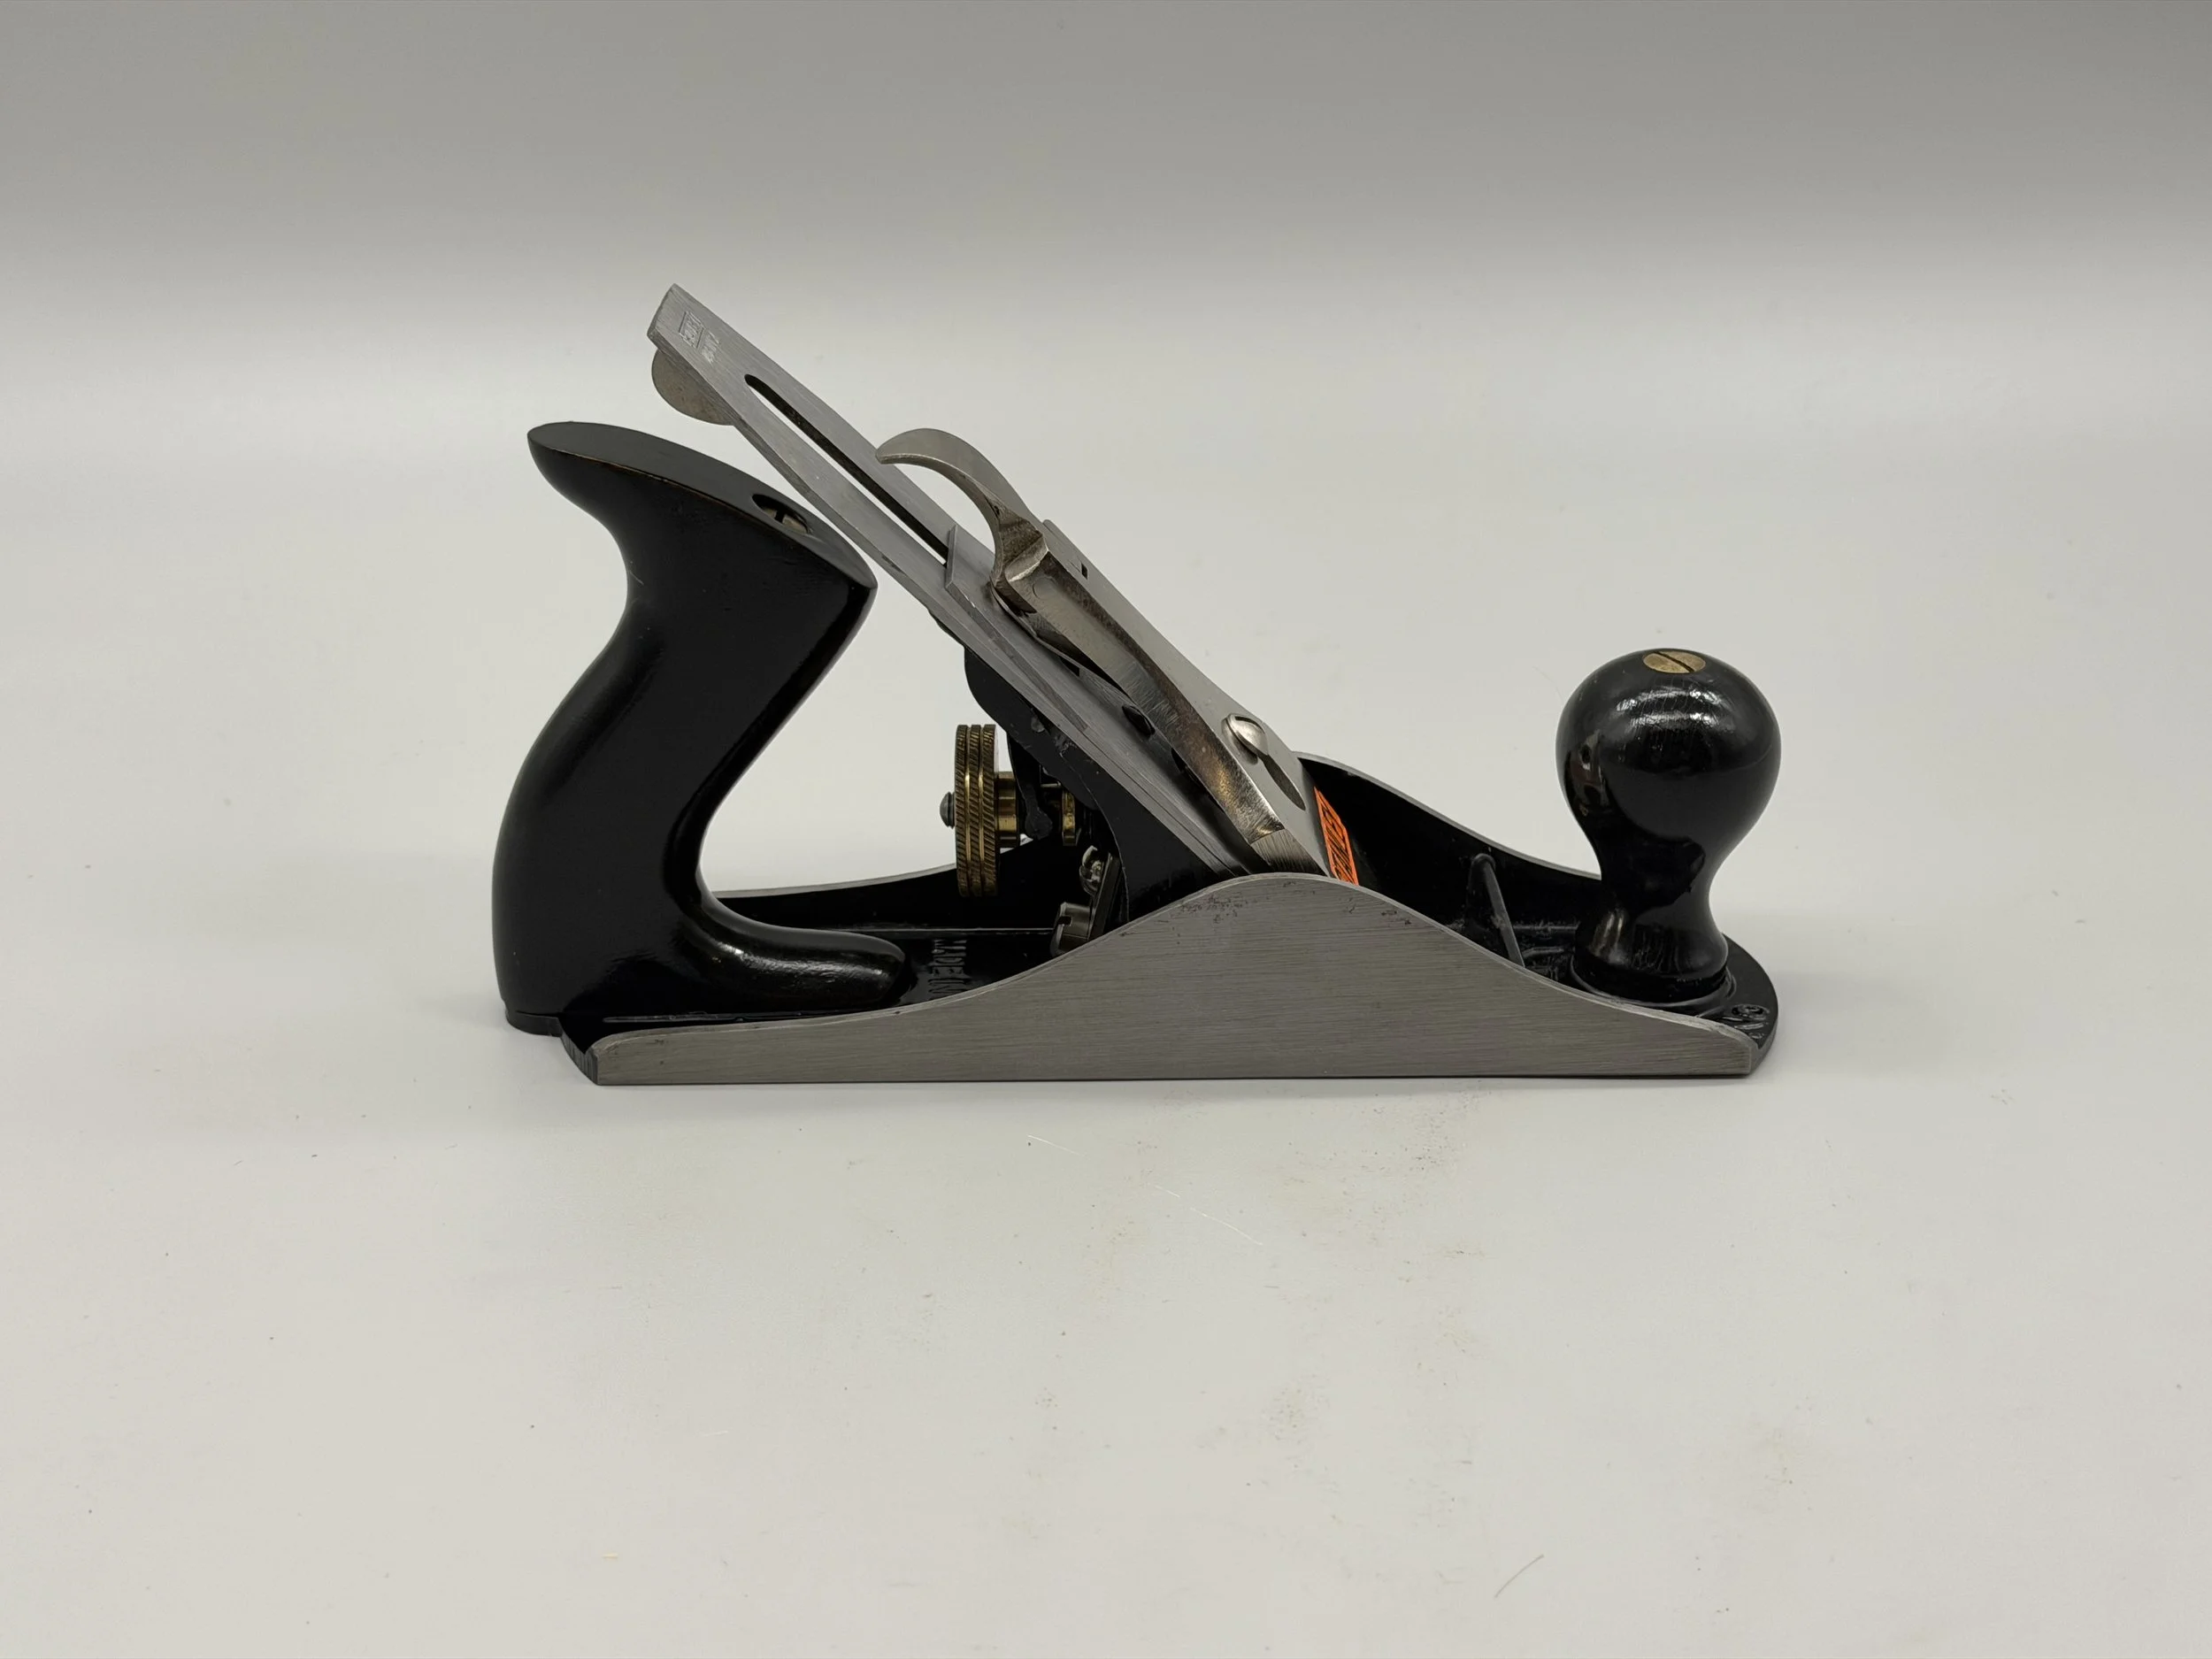
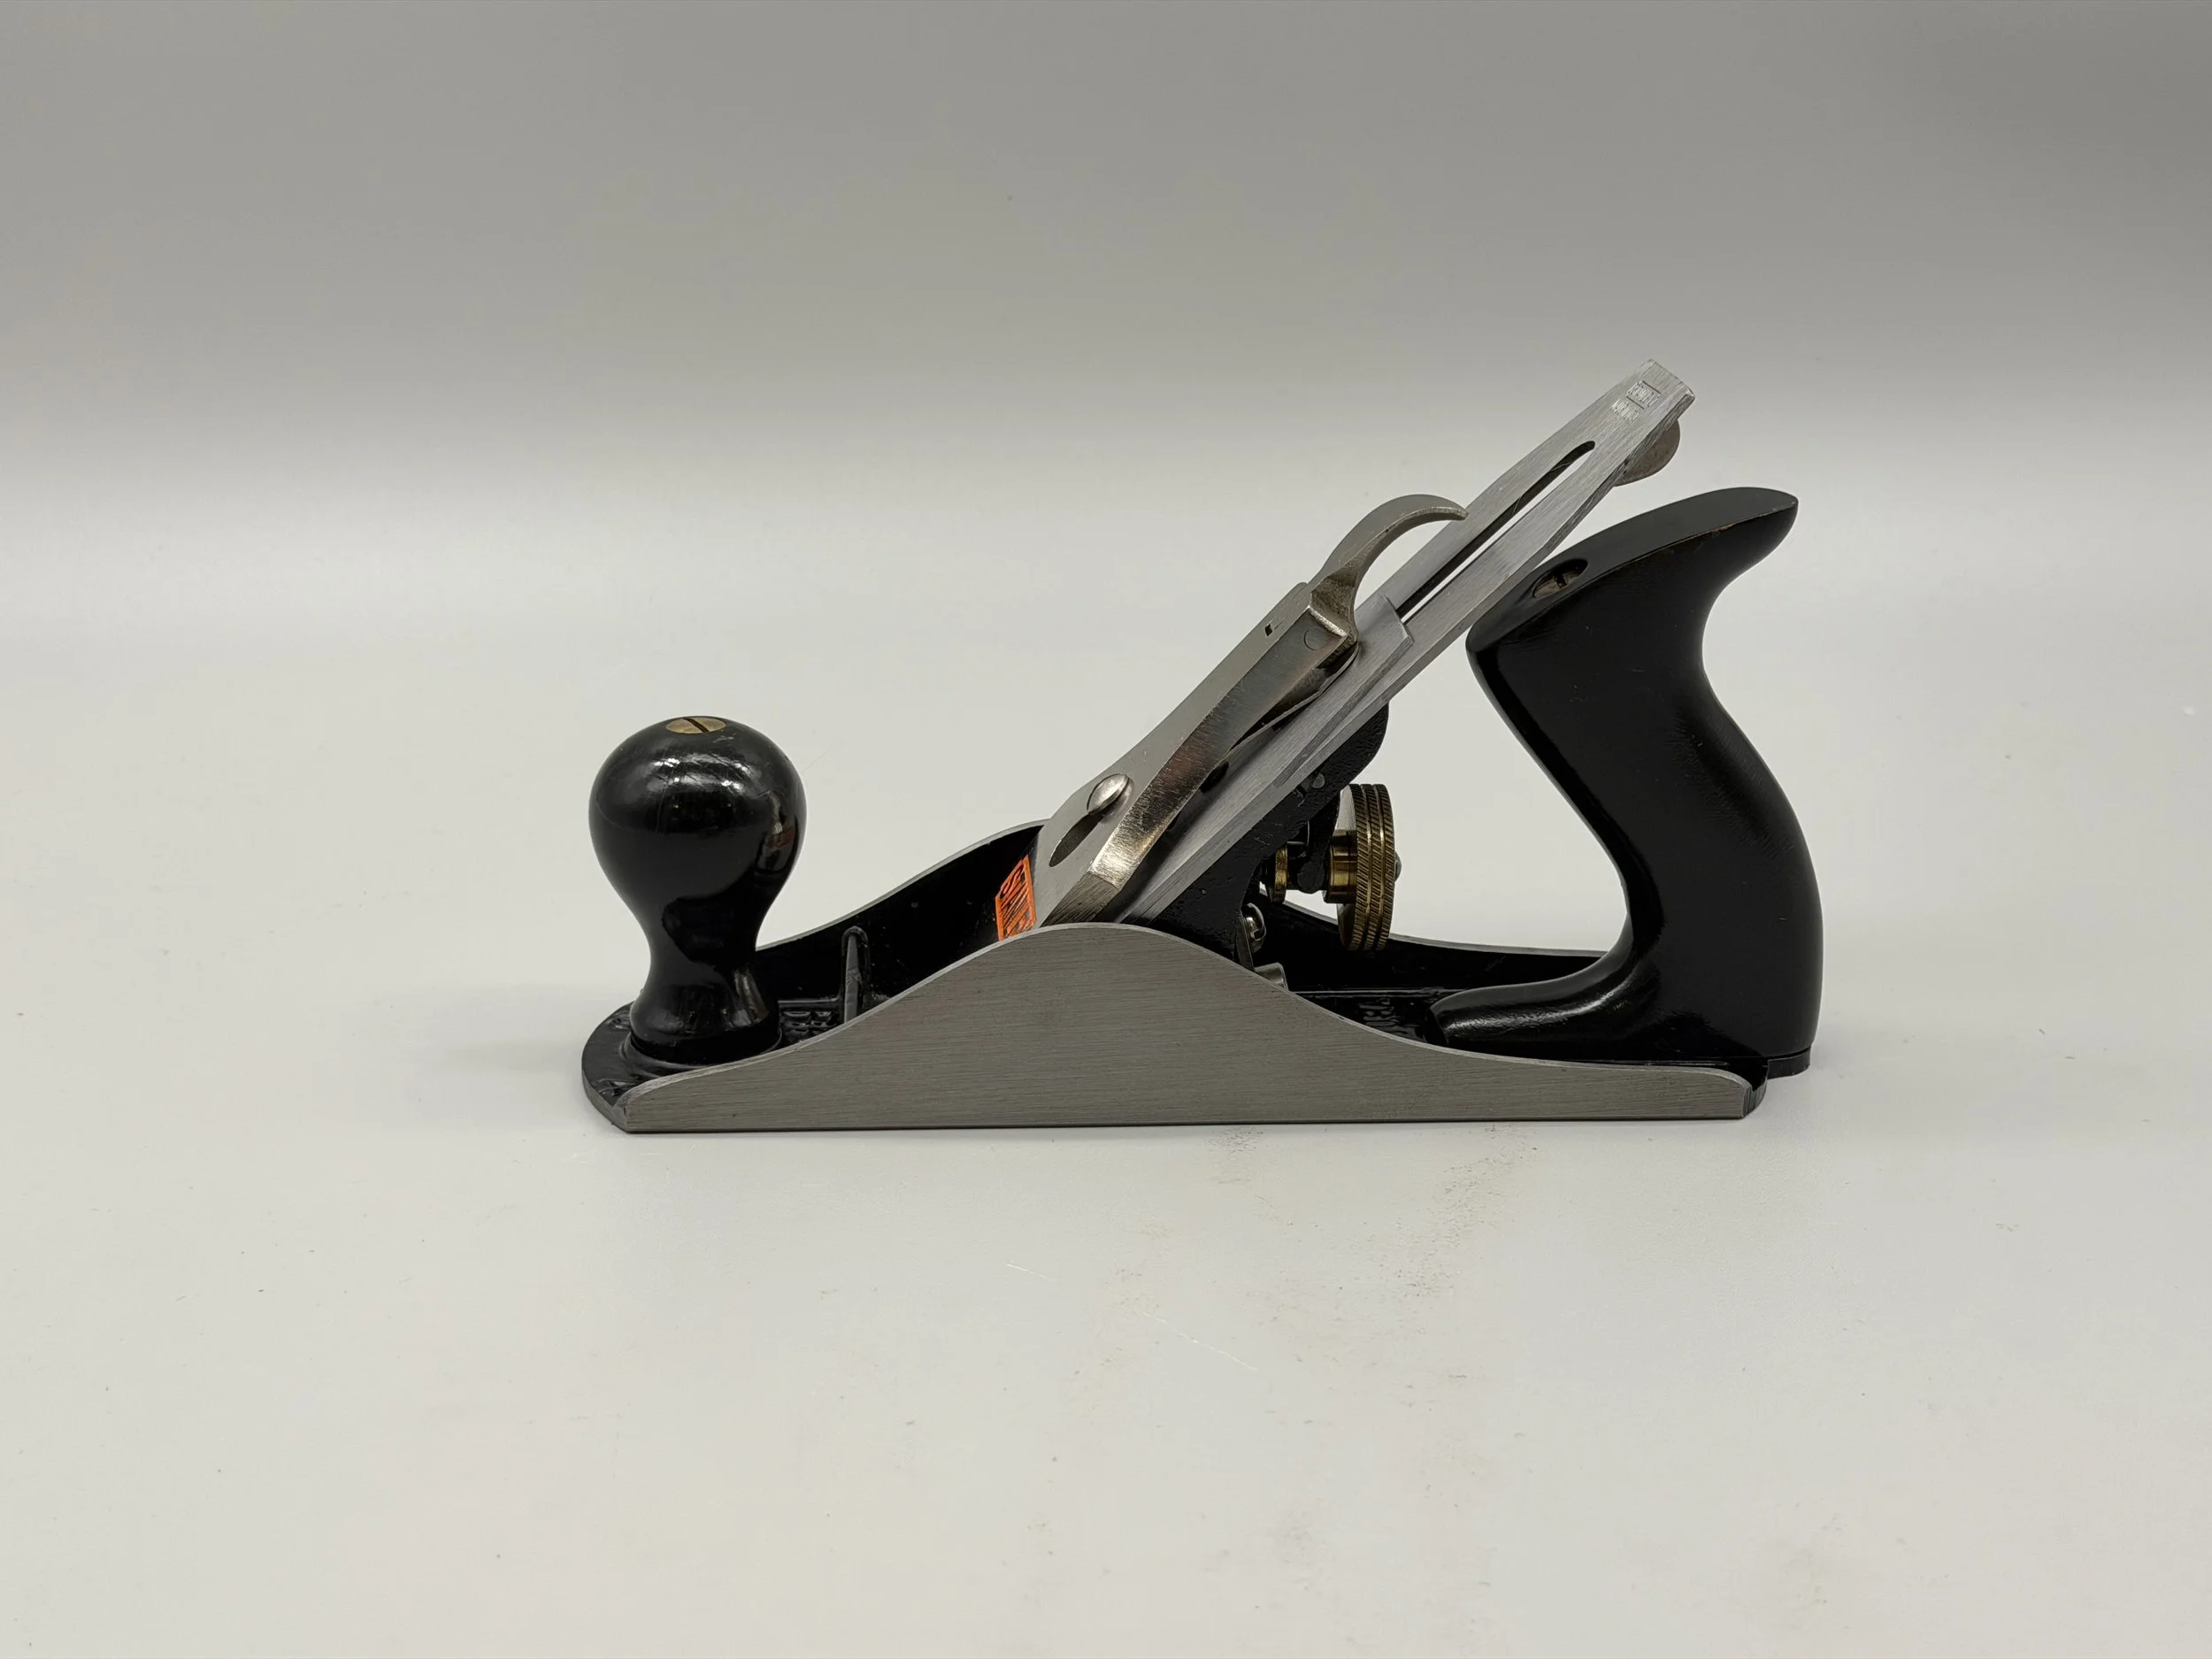
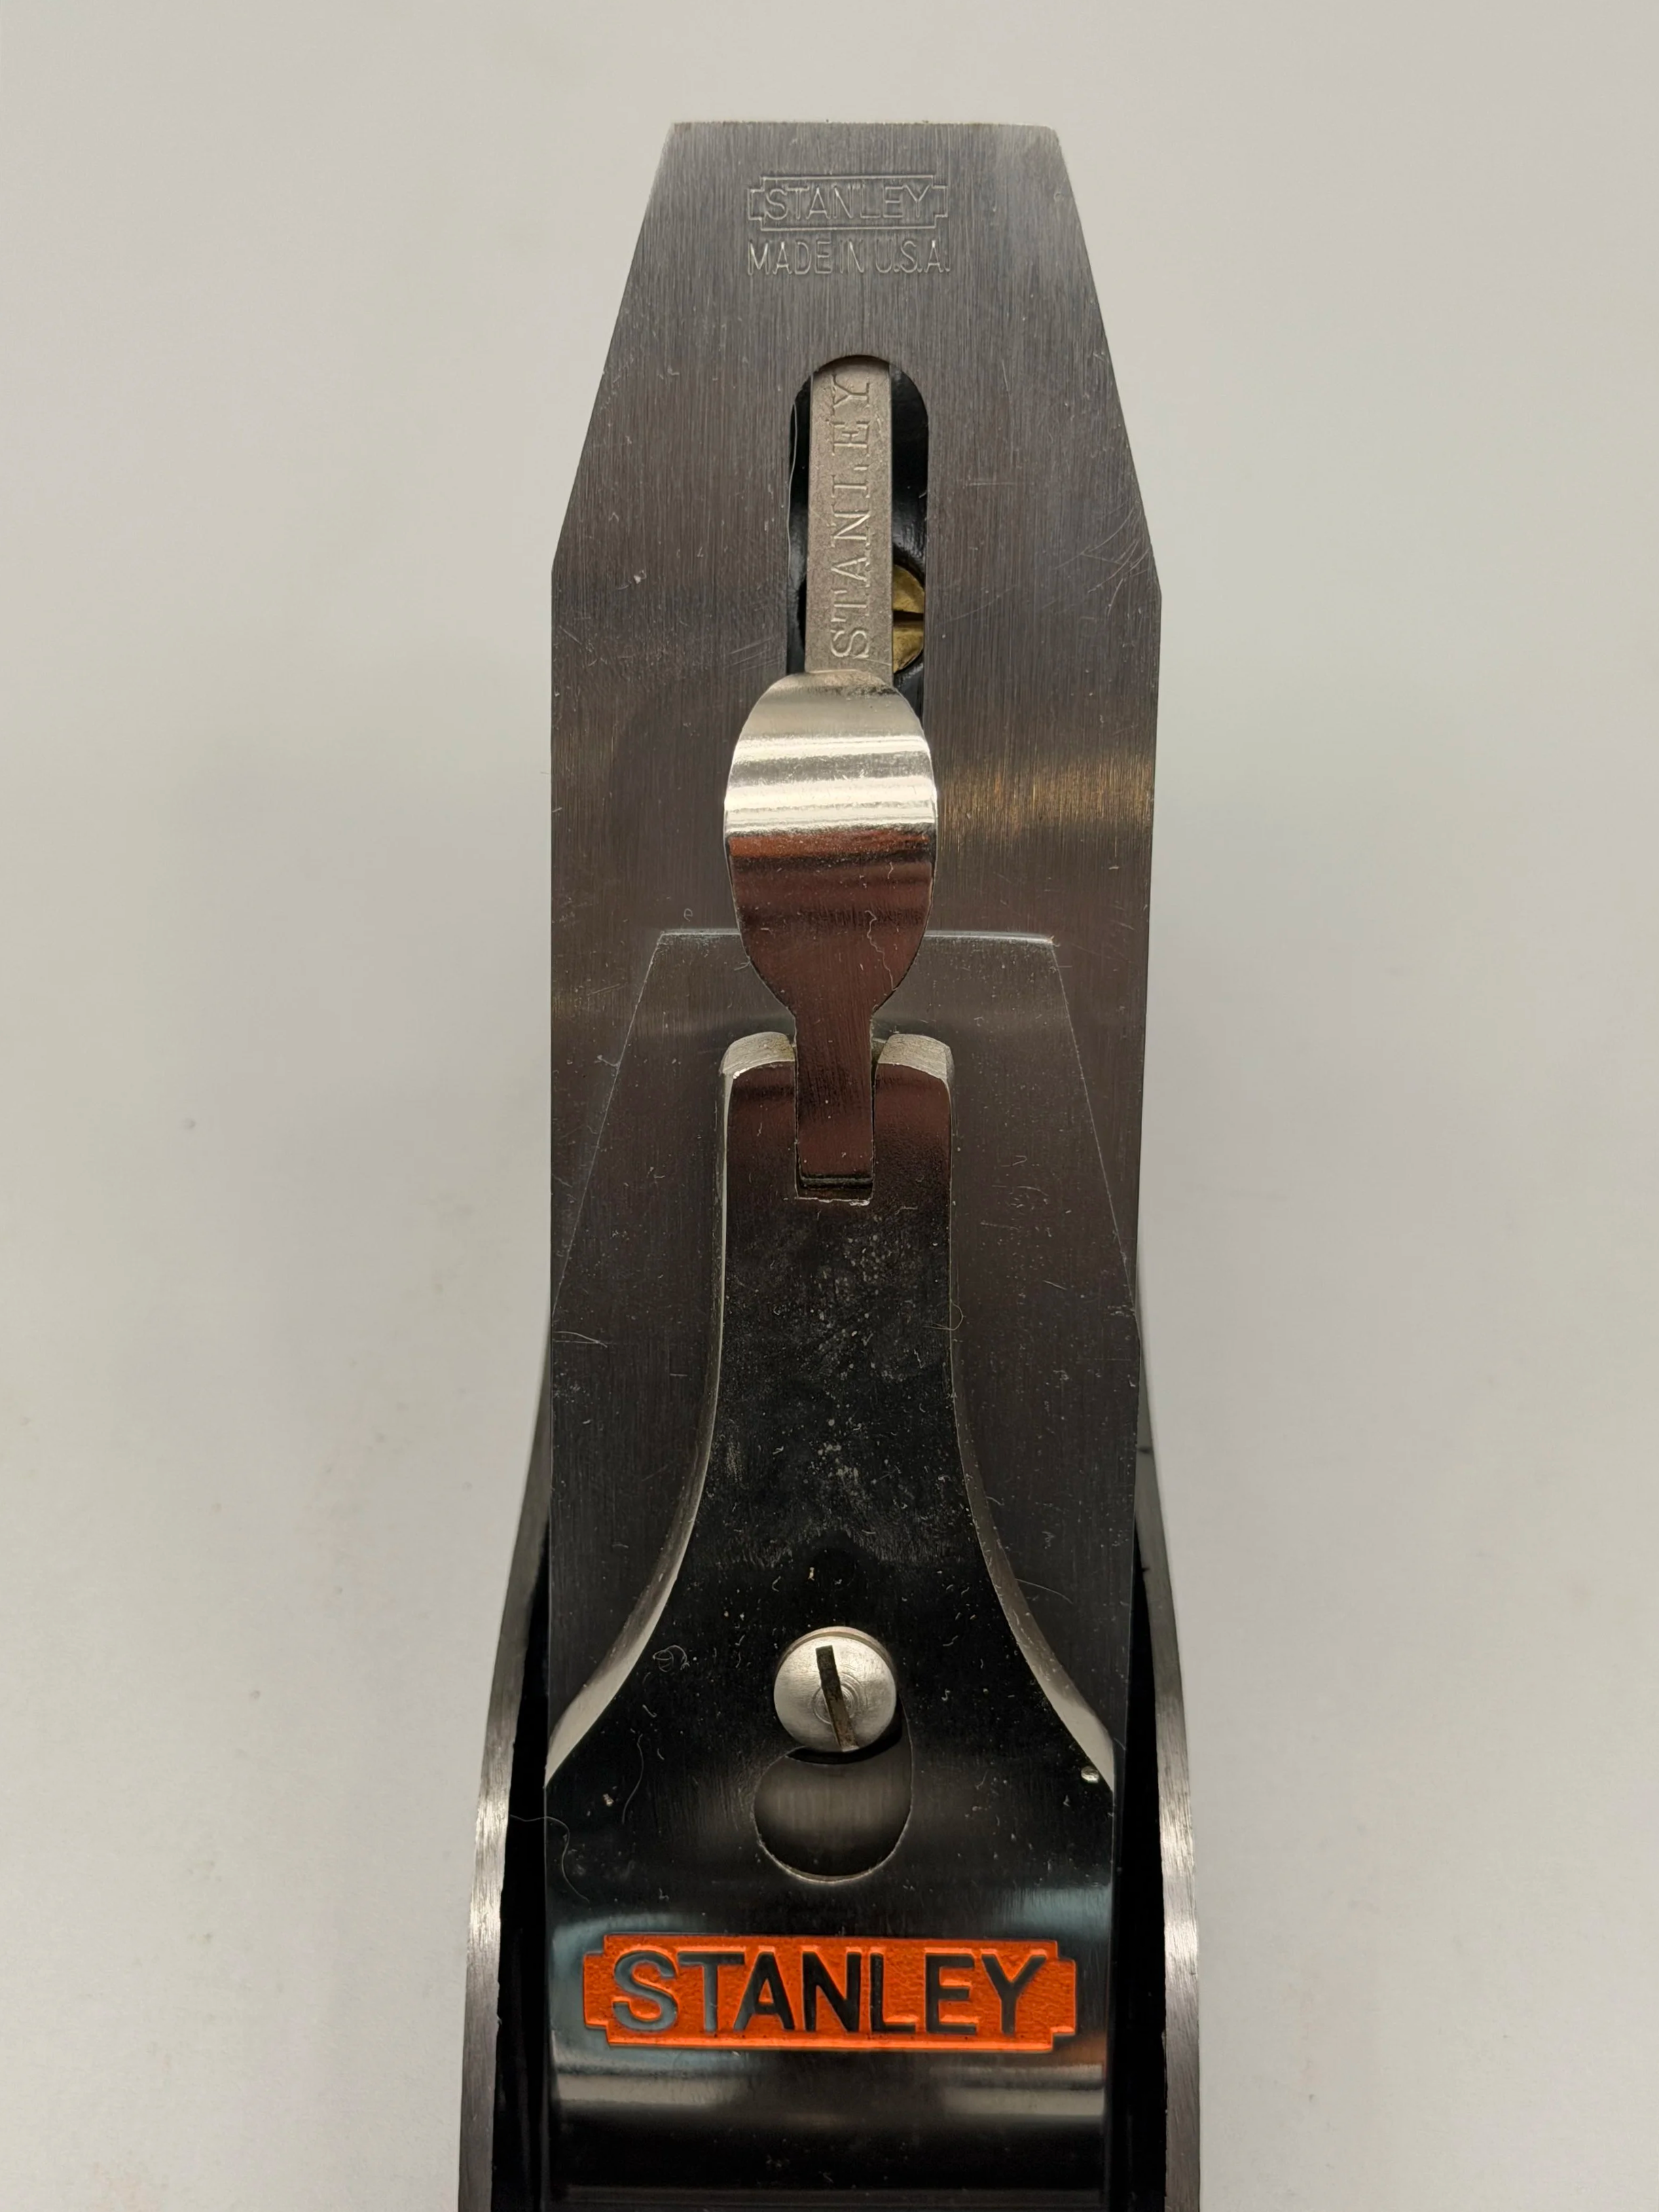
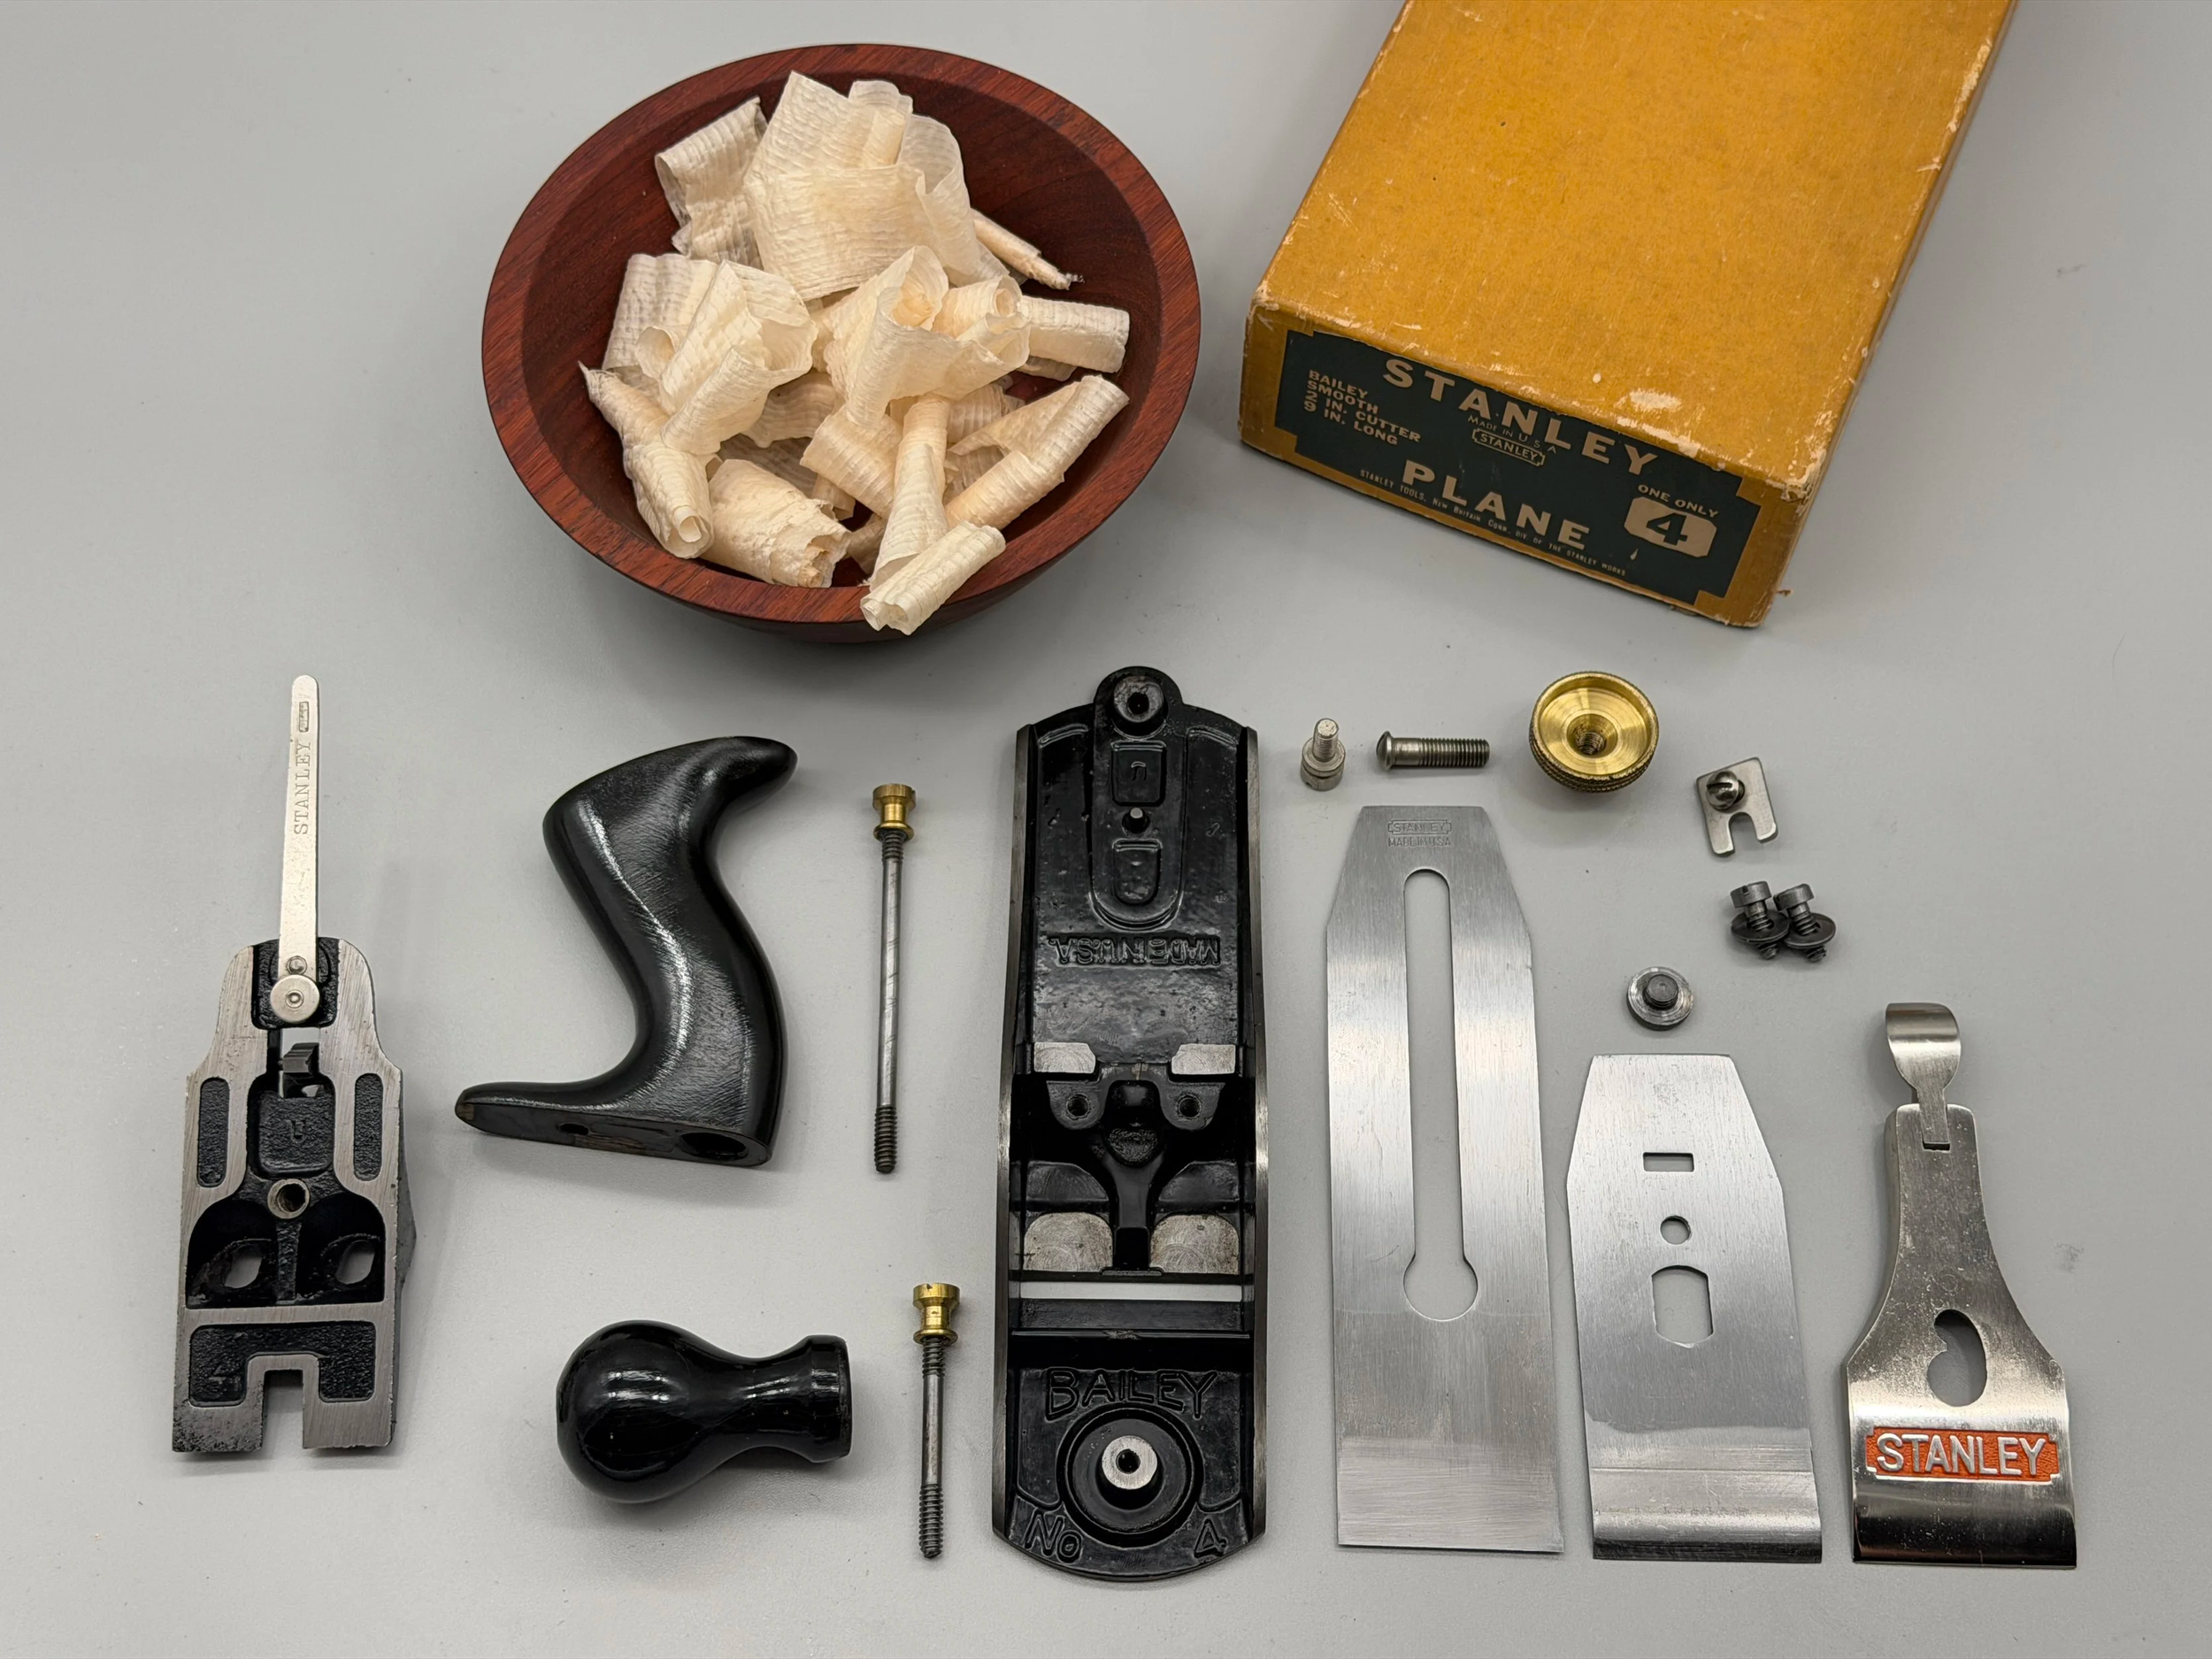
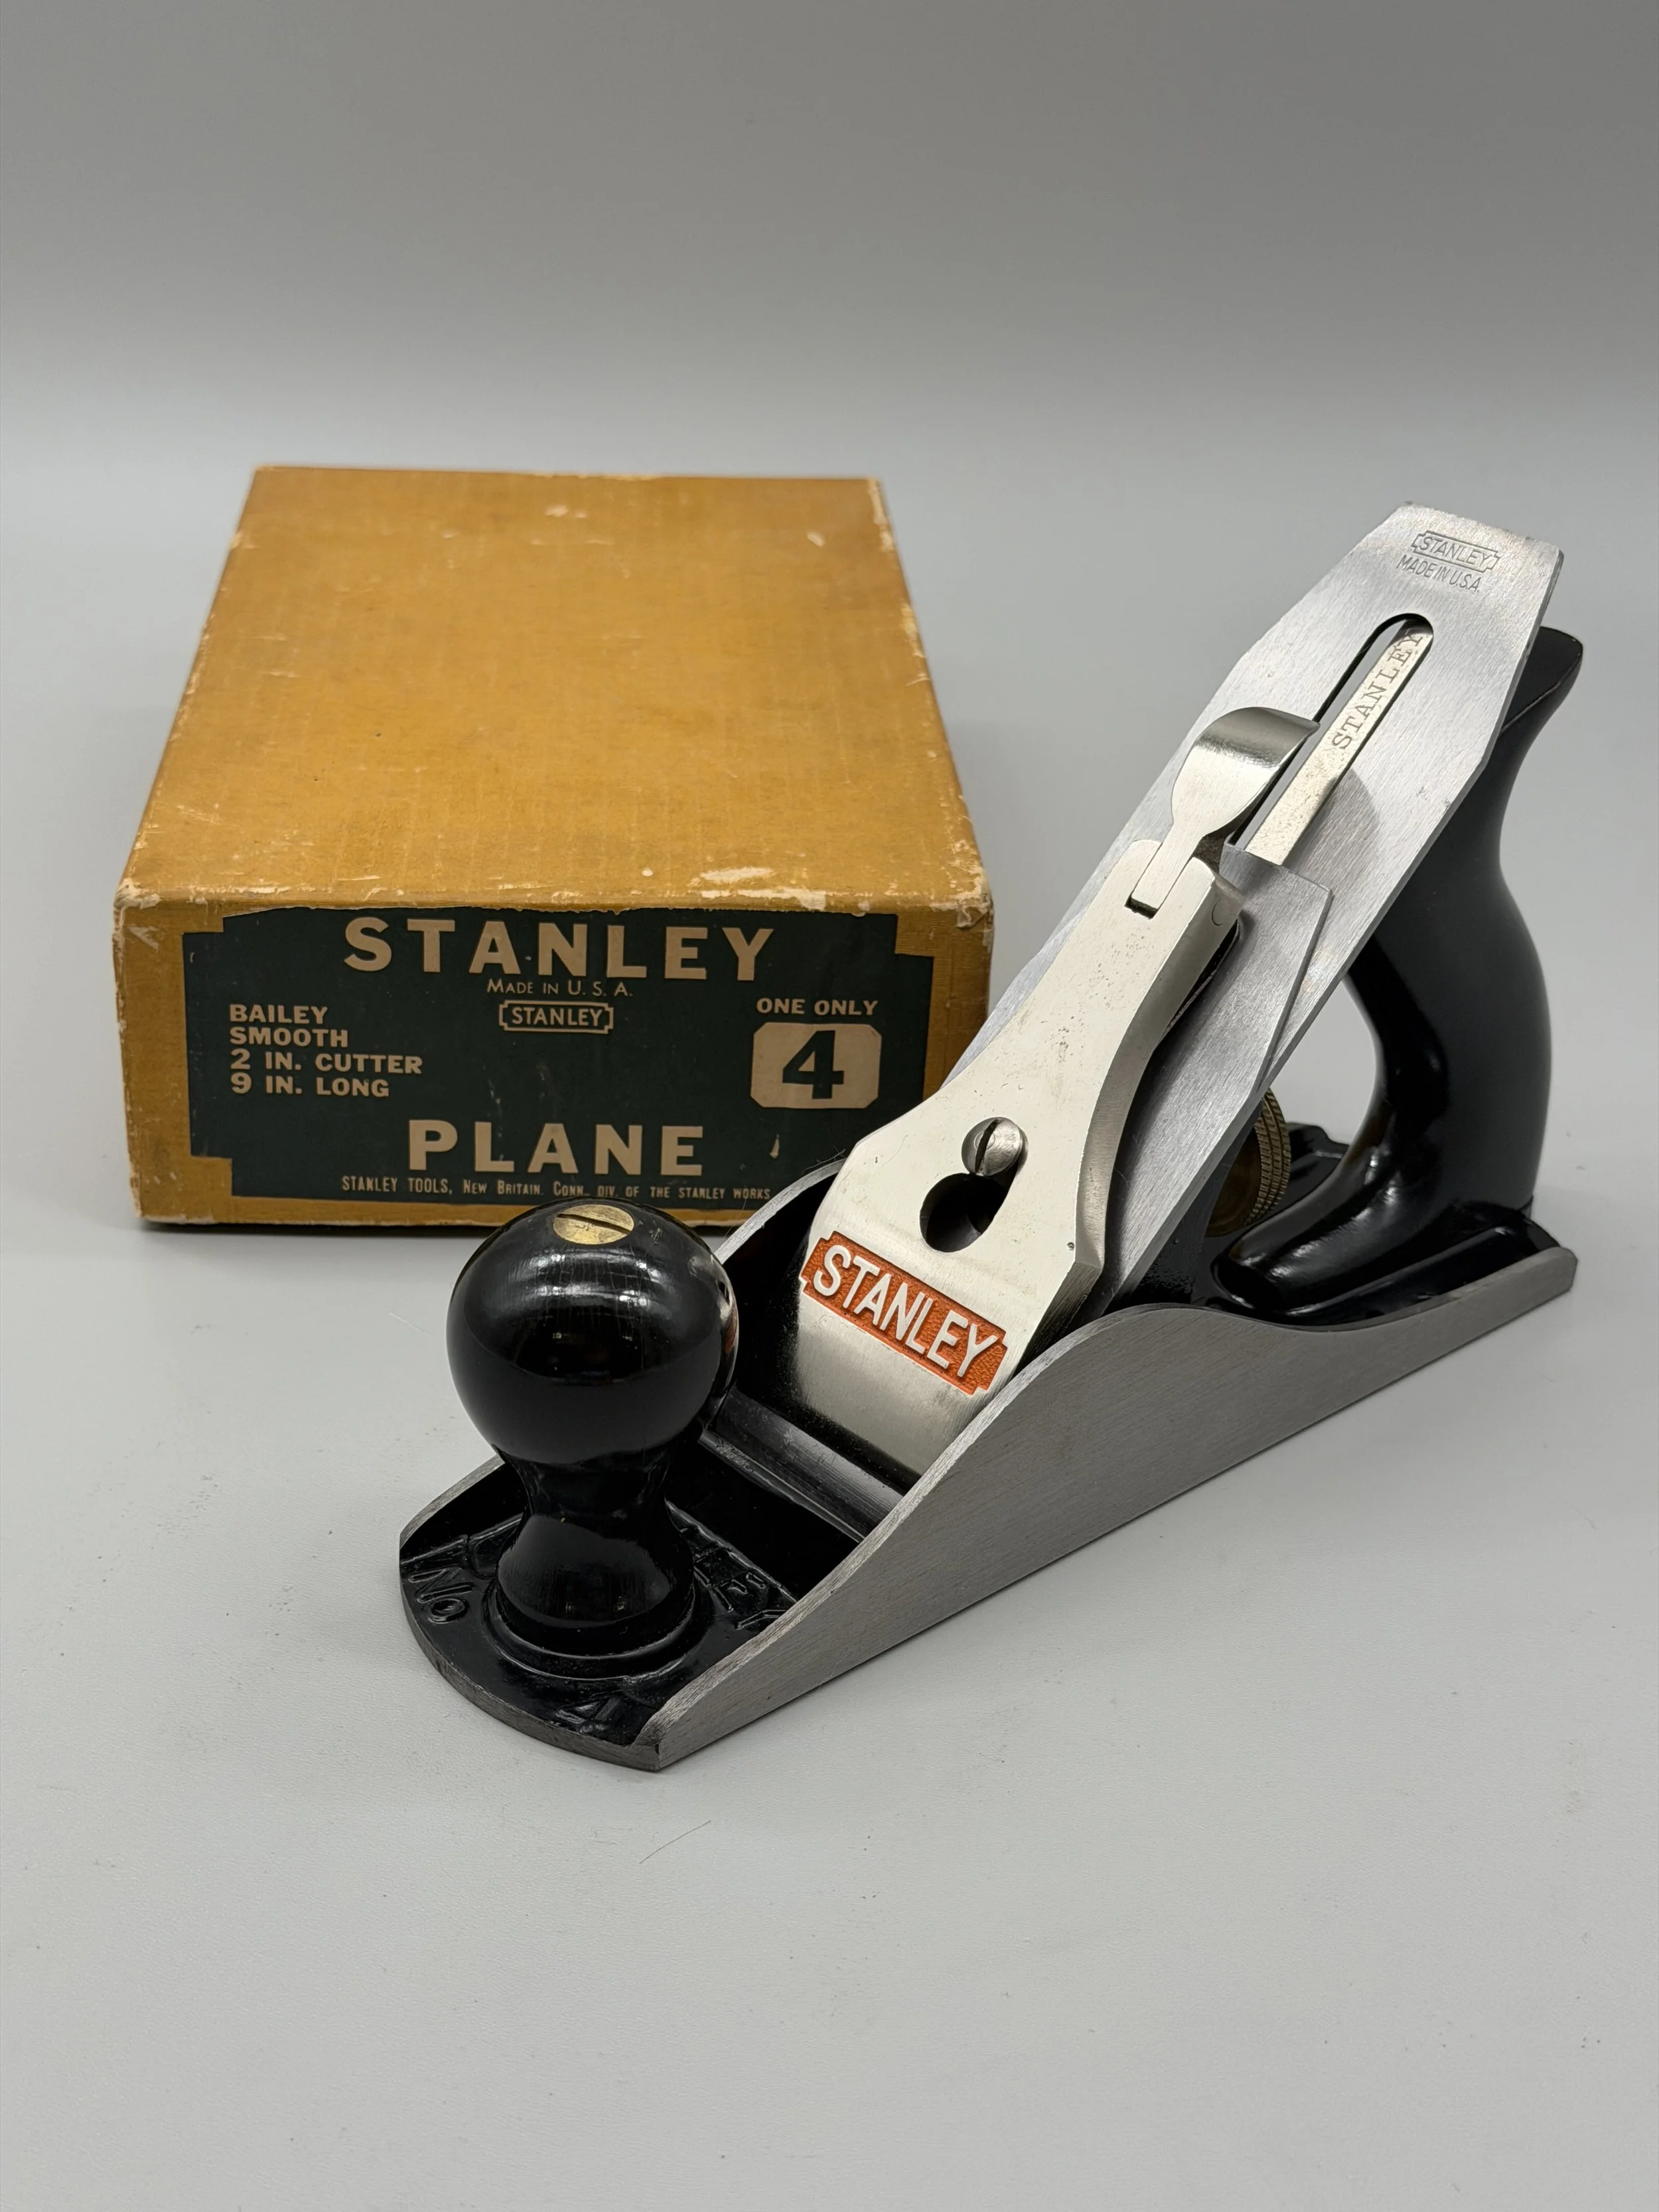
This later No. 4 is so clean you could eat off of it, but that’s not all! It’s also tuned and sharpened, ready to take shavings. How do we know? Because we cleaned it. We tuned it. And we sharpened it. And in the process spent way more time than we were intending. But as a result, it’ll perform straight out of the box. Box, you say? Yes! It also has a likely original, at least period-correct, box. Could you ask for anything more? You want it cheaper? Well, instead, how about a story about all the work that went into it?
Story time:
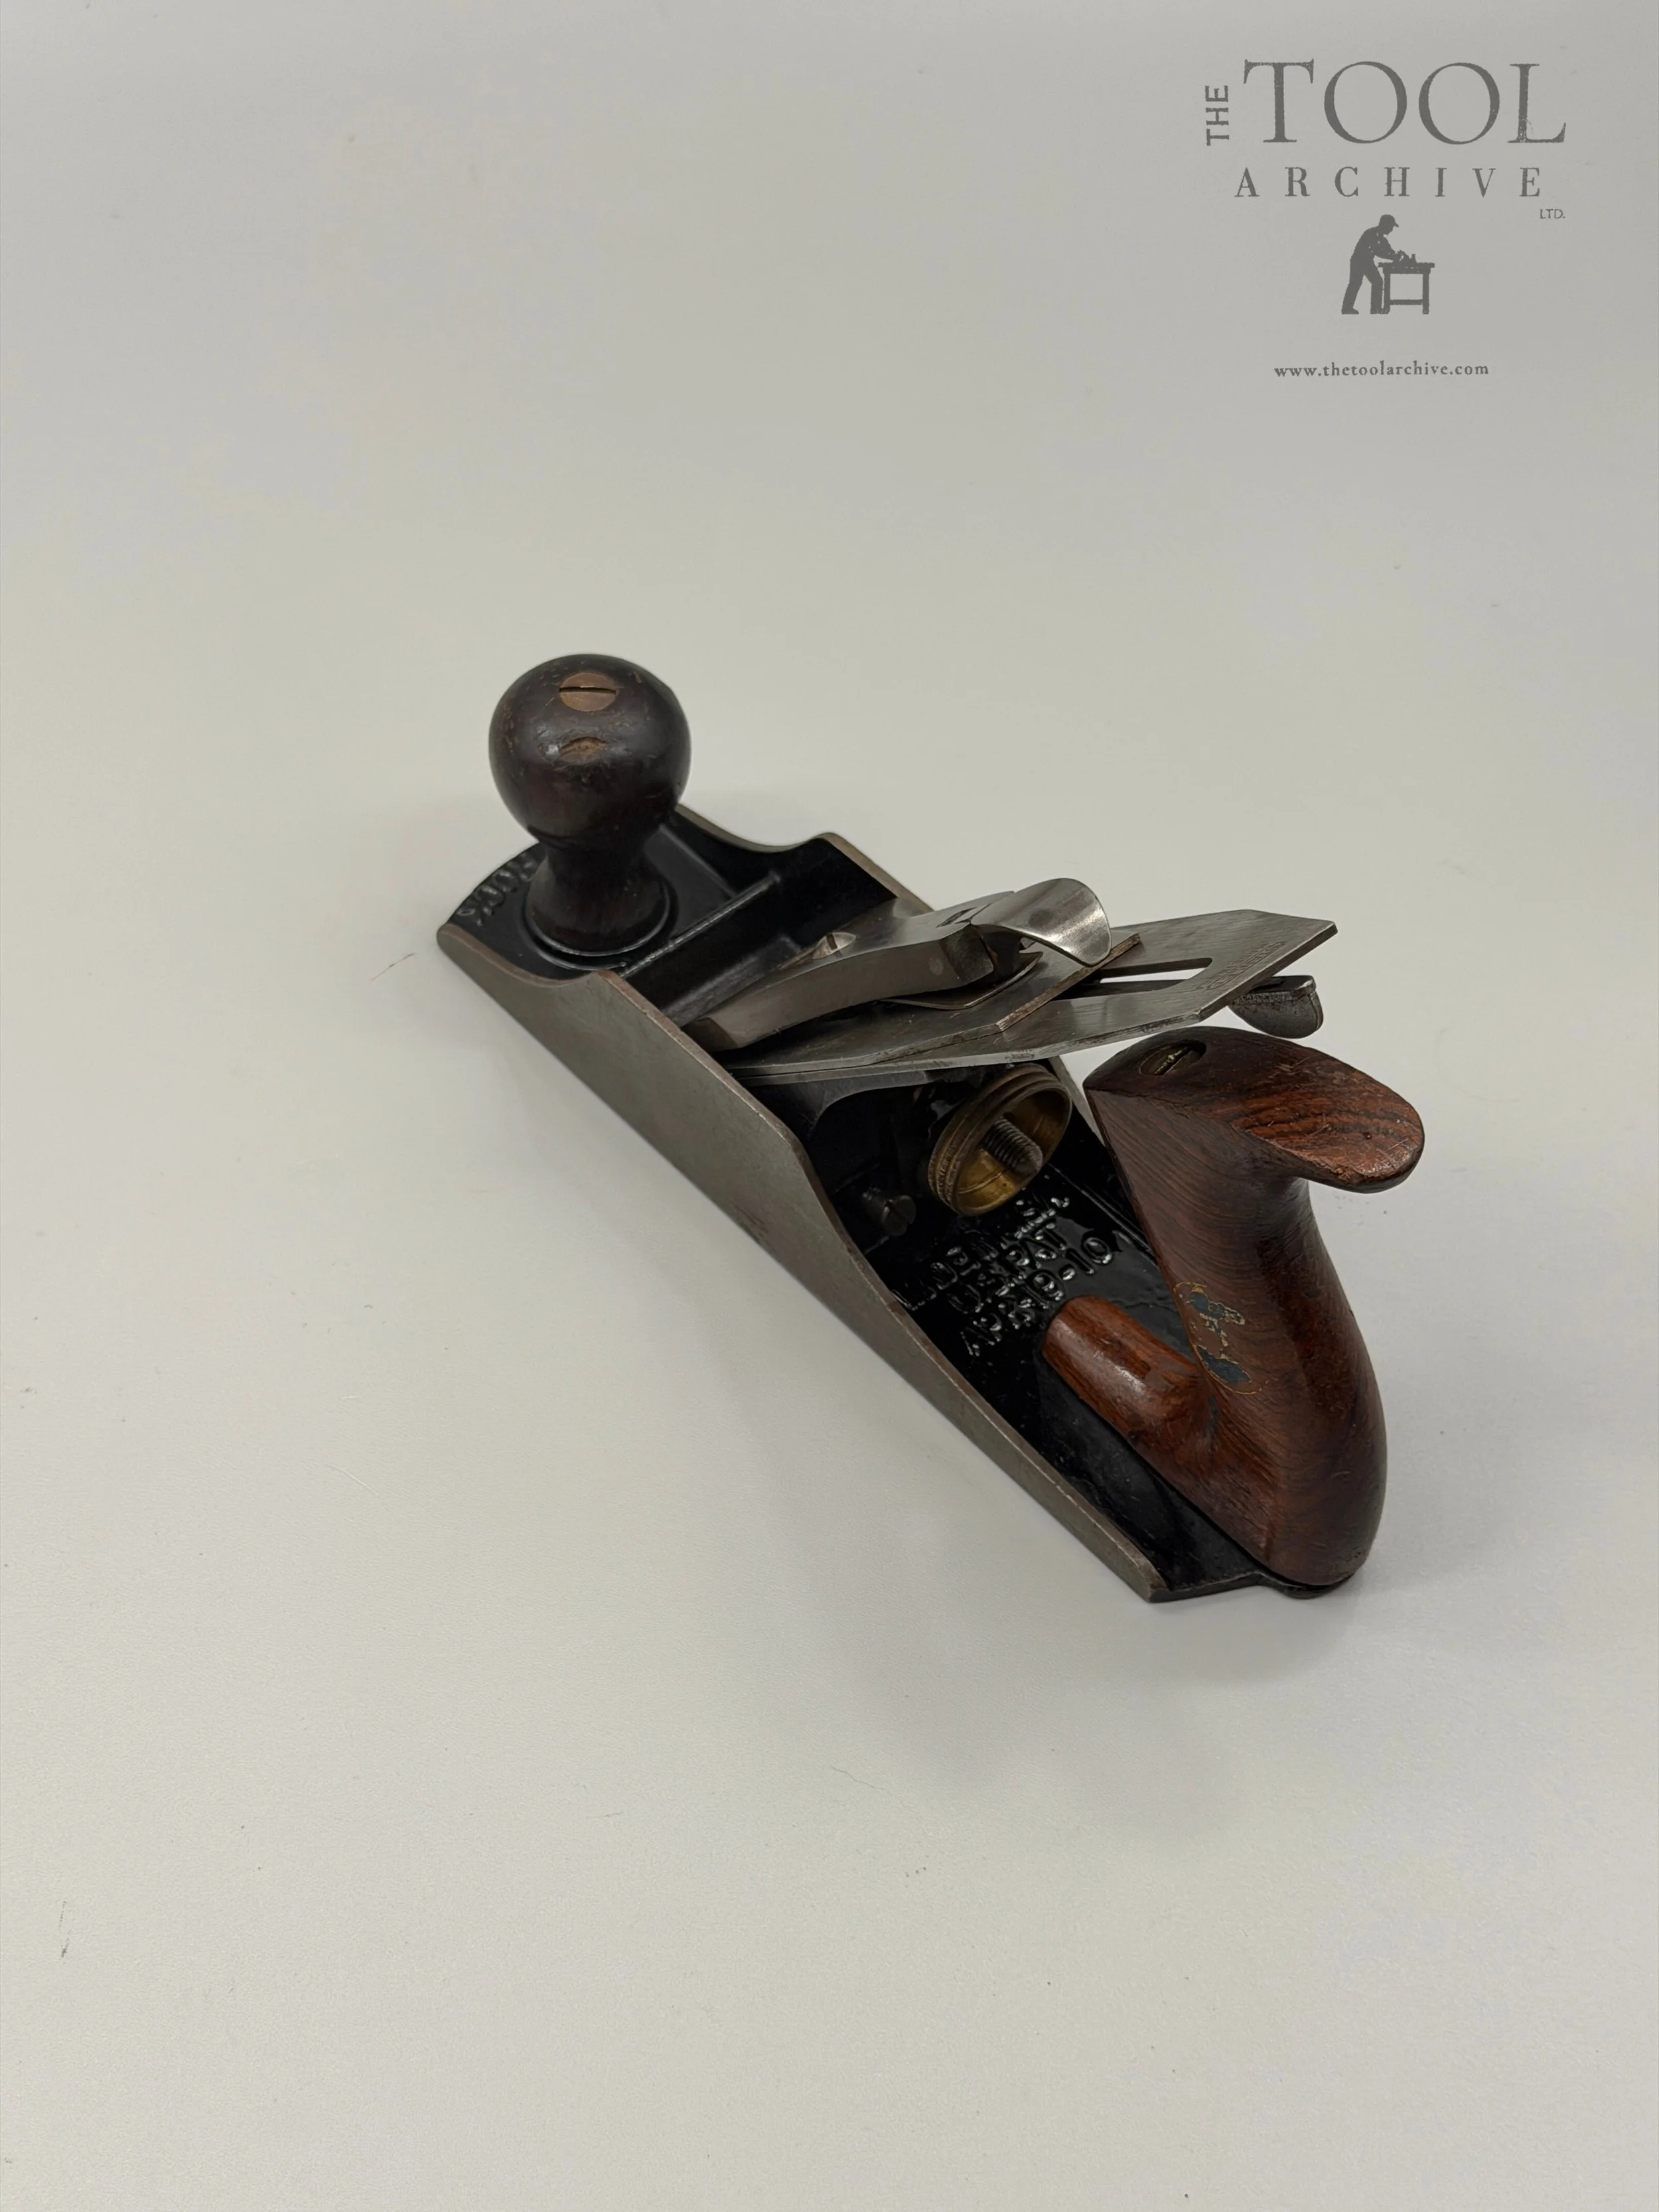
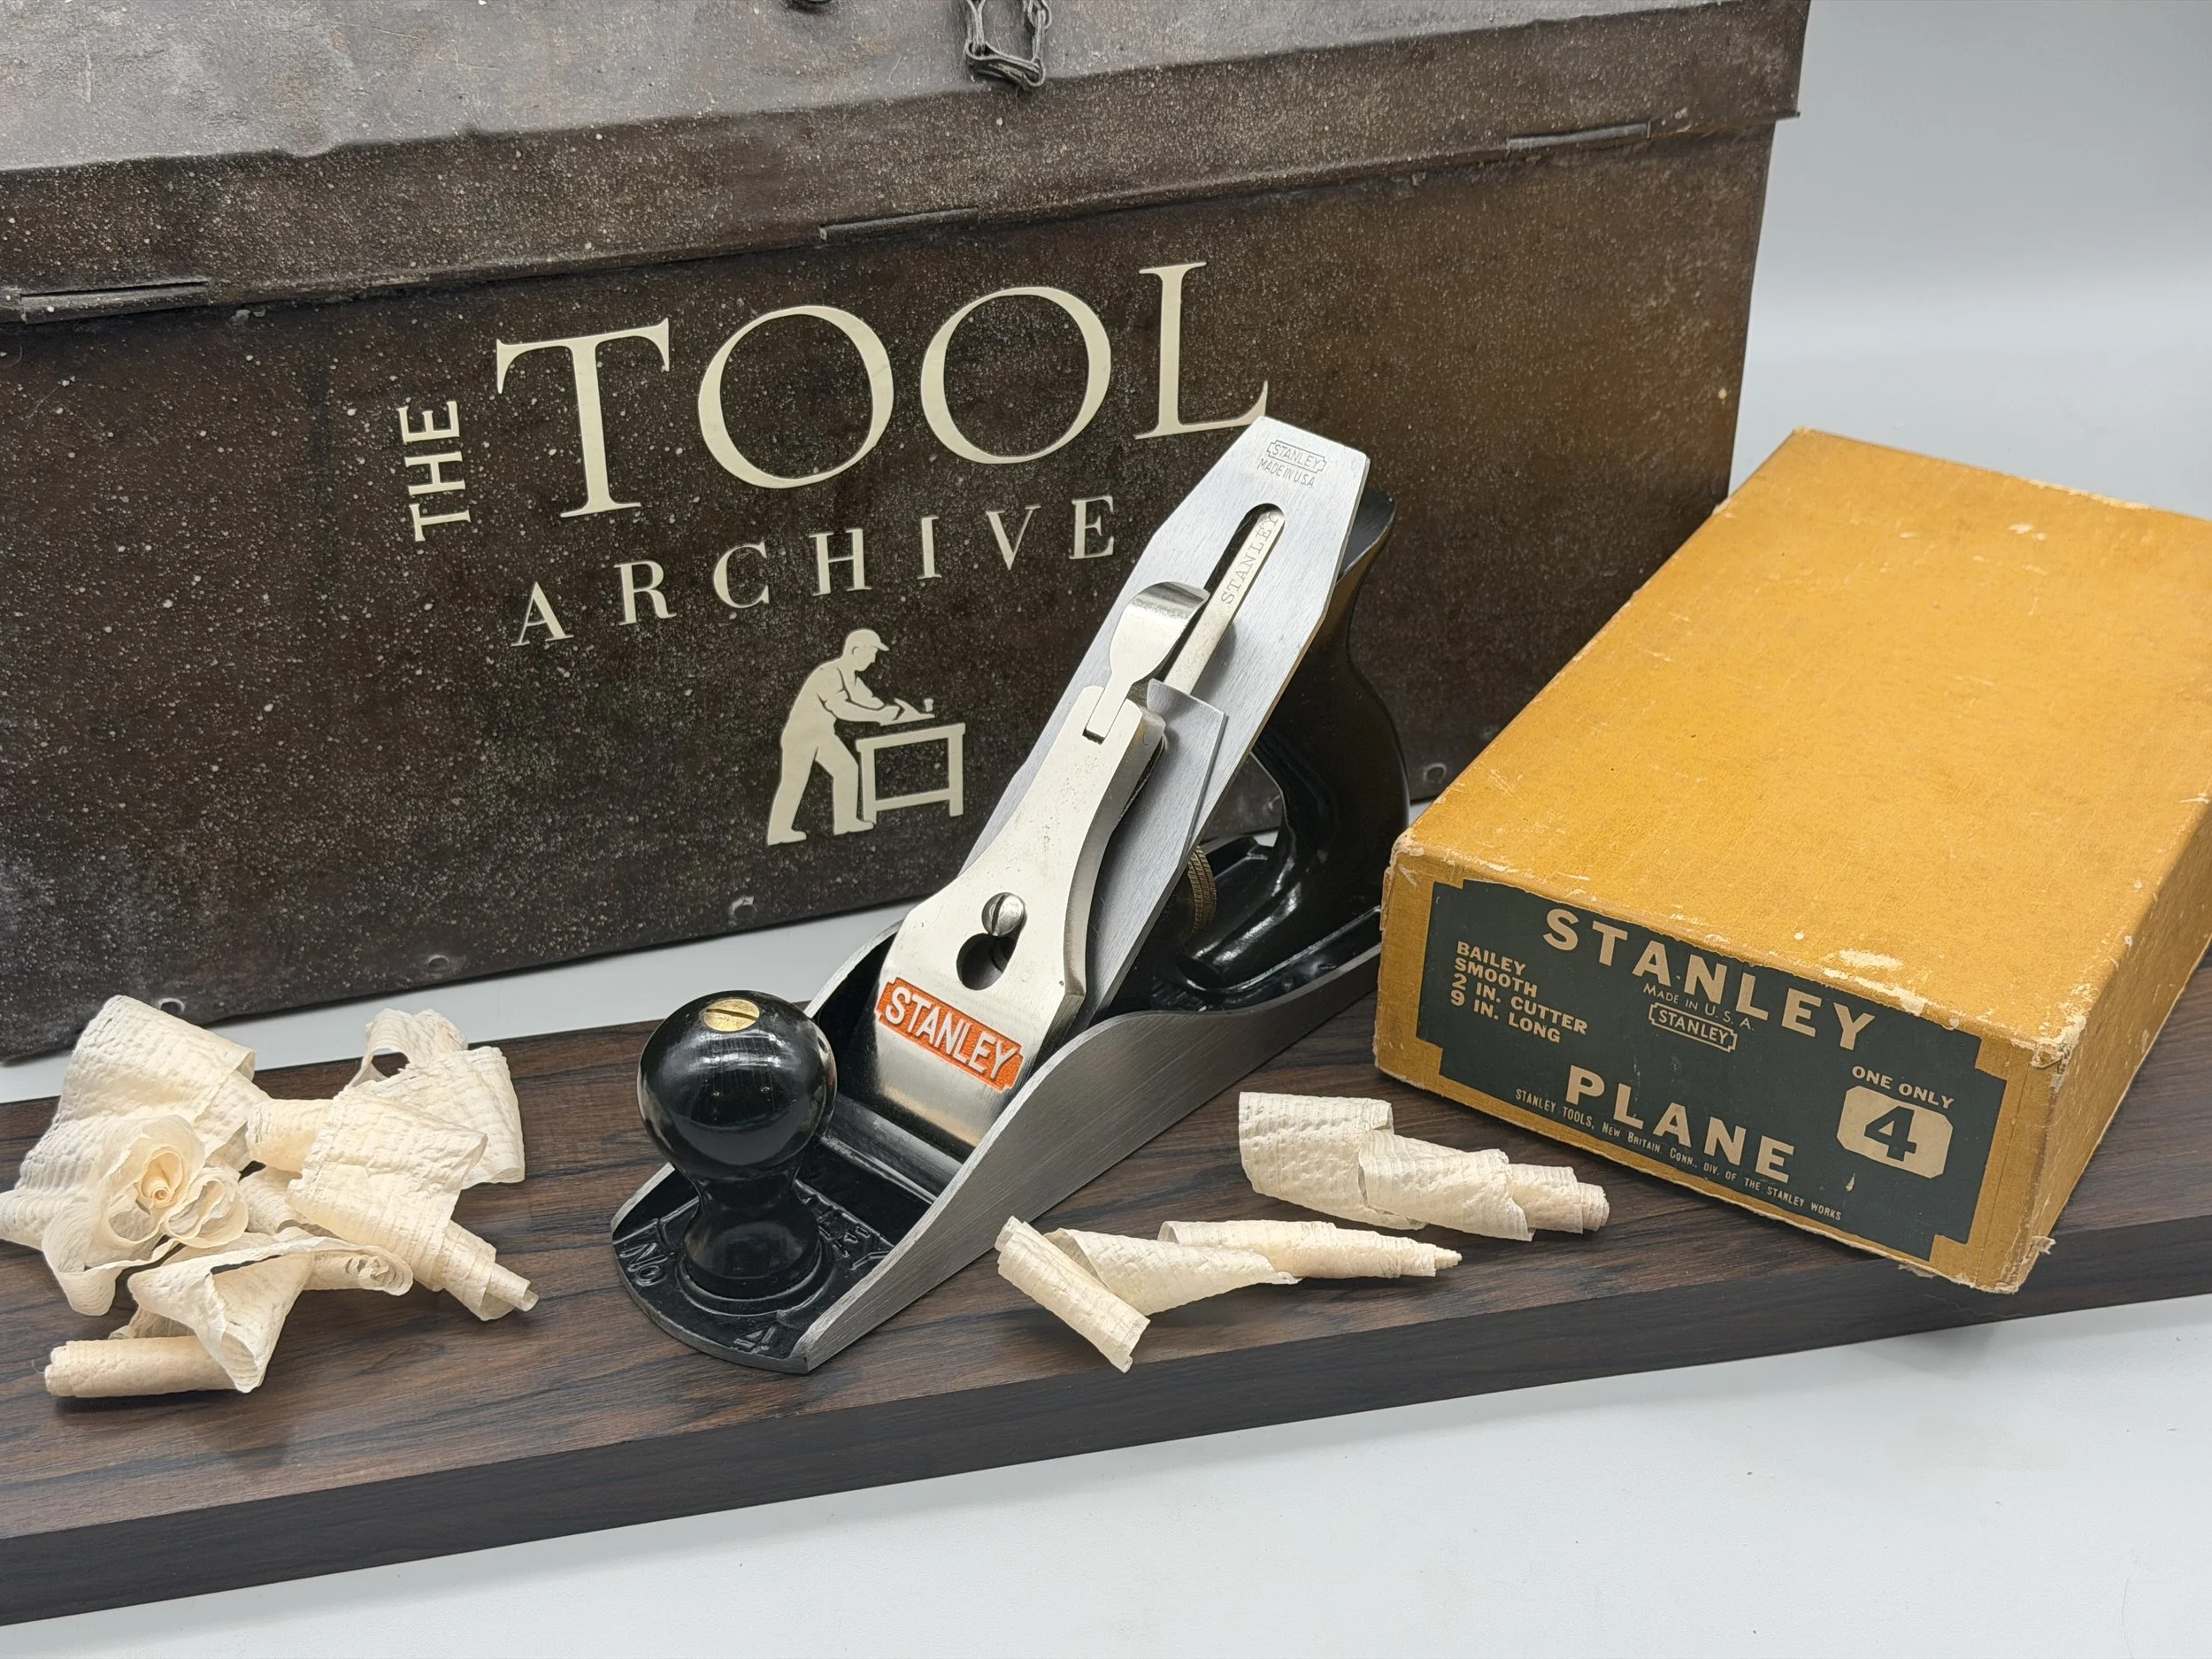
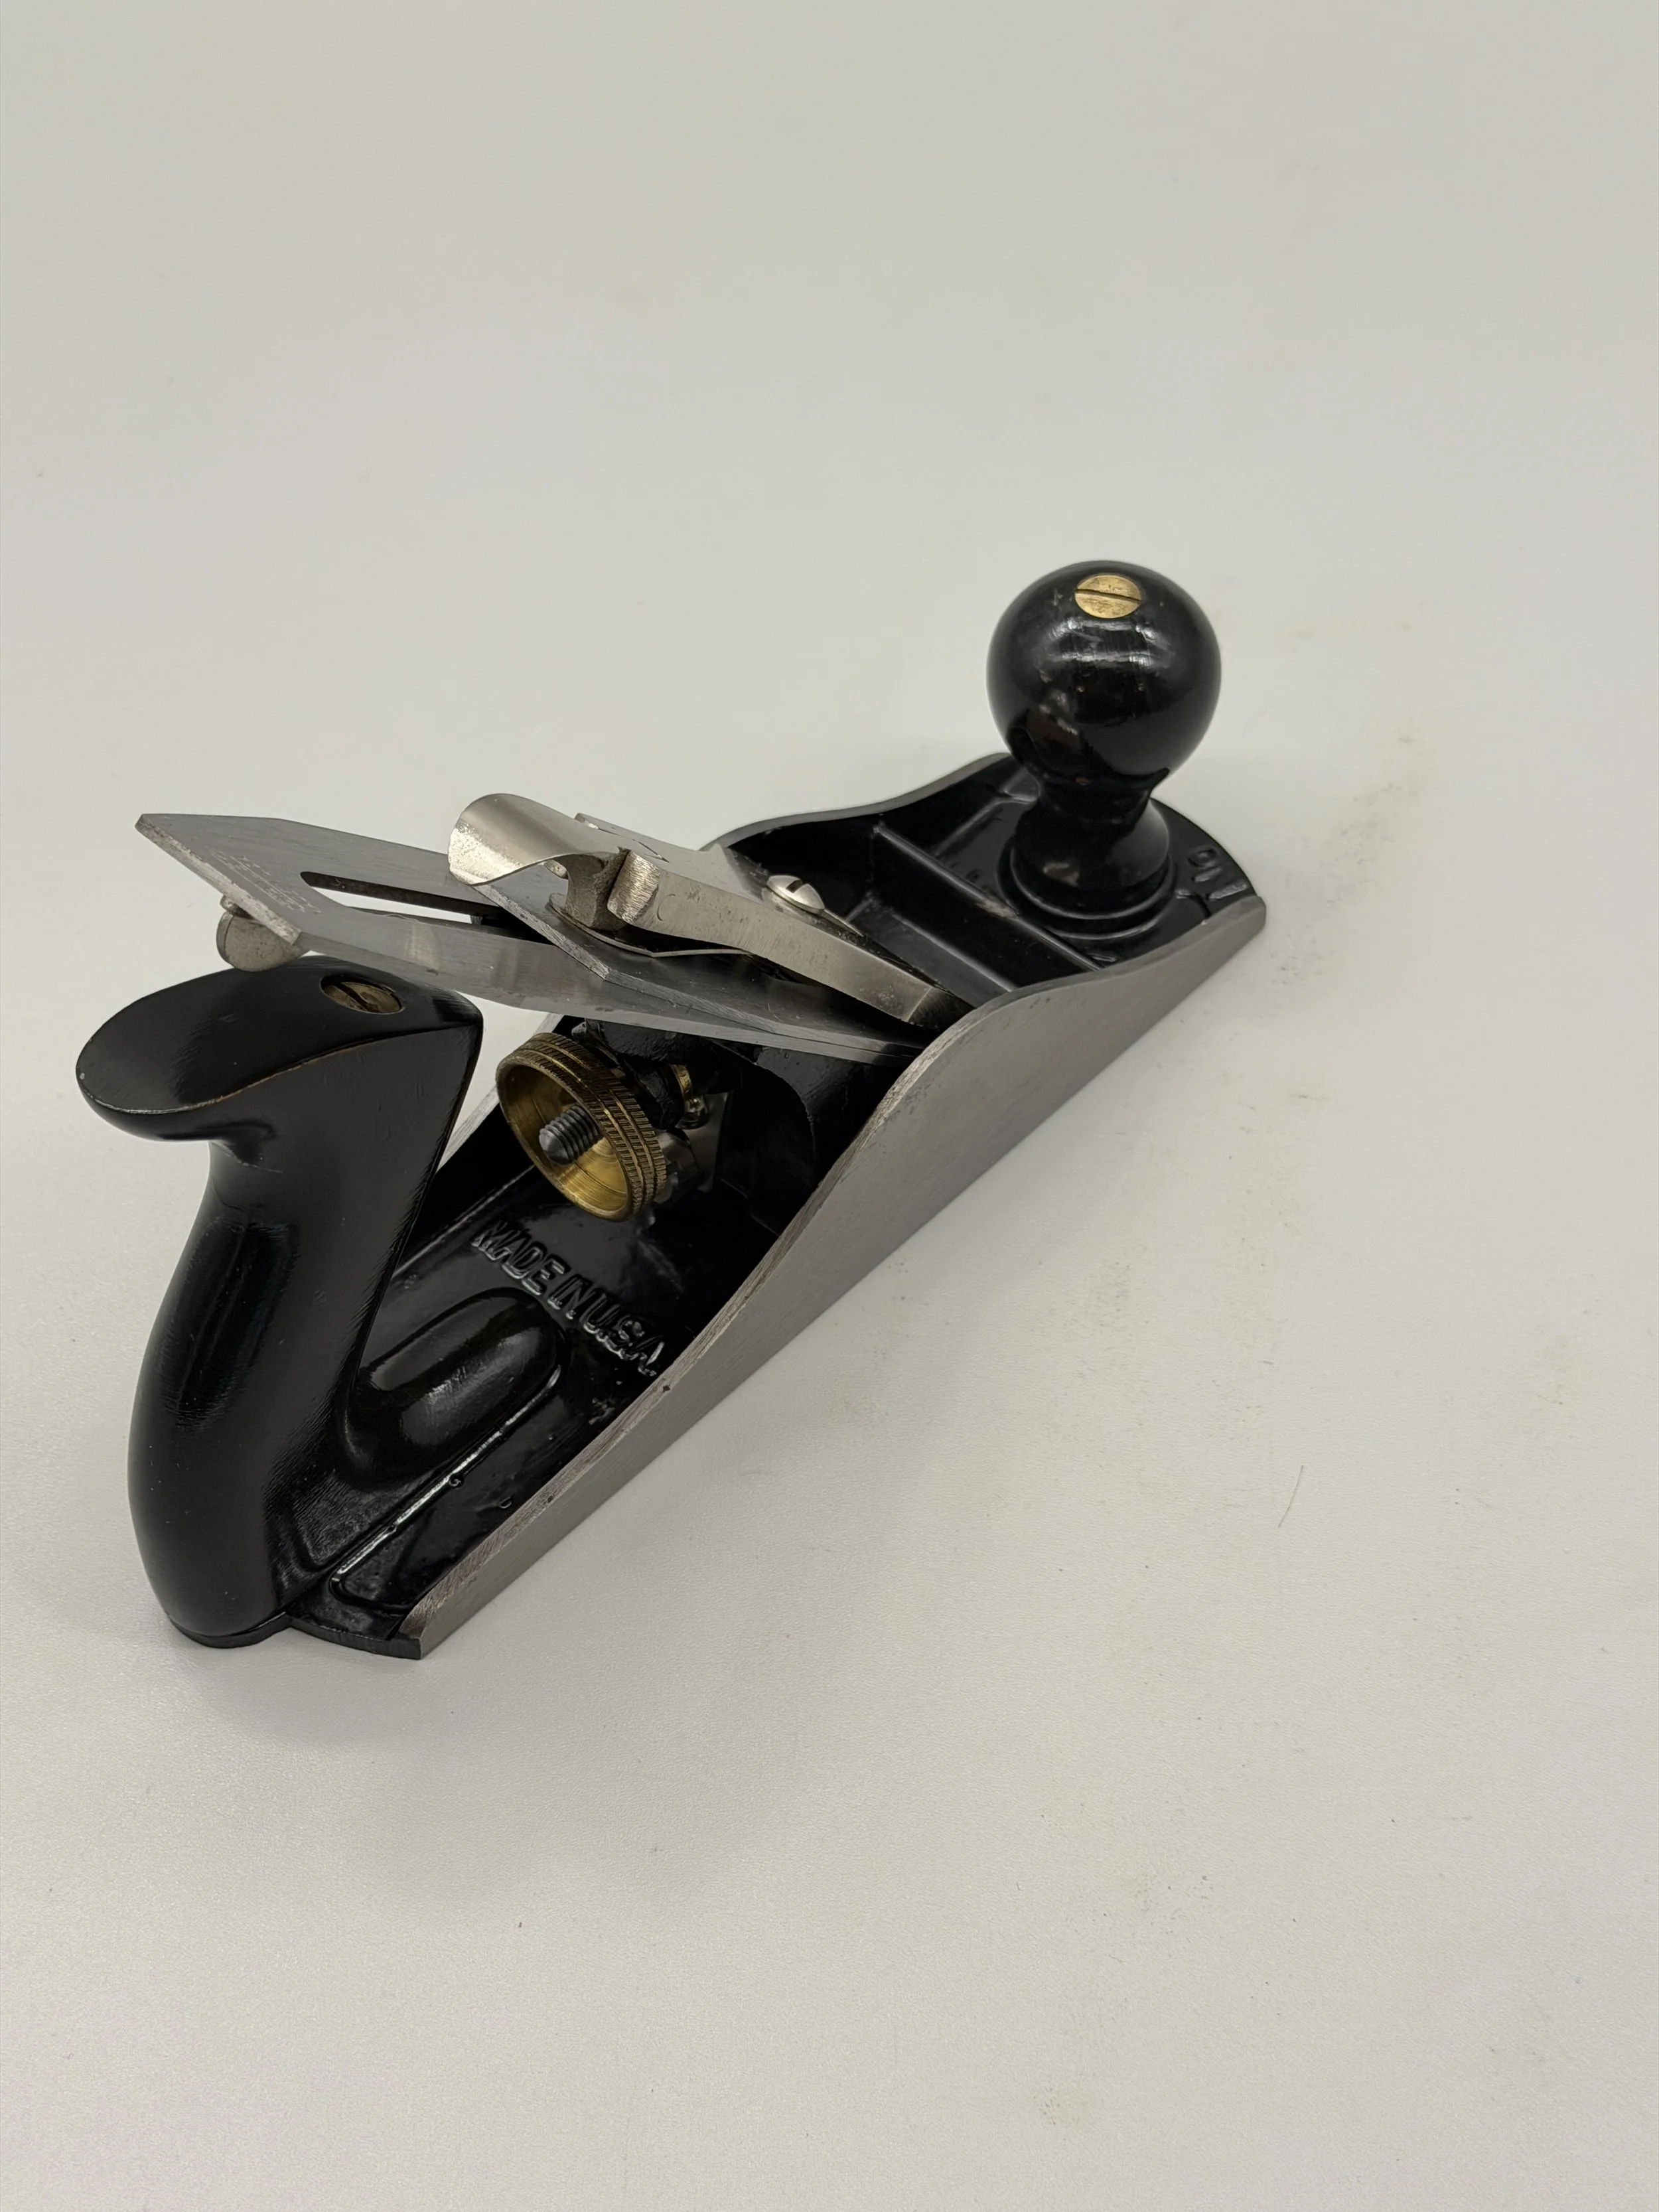
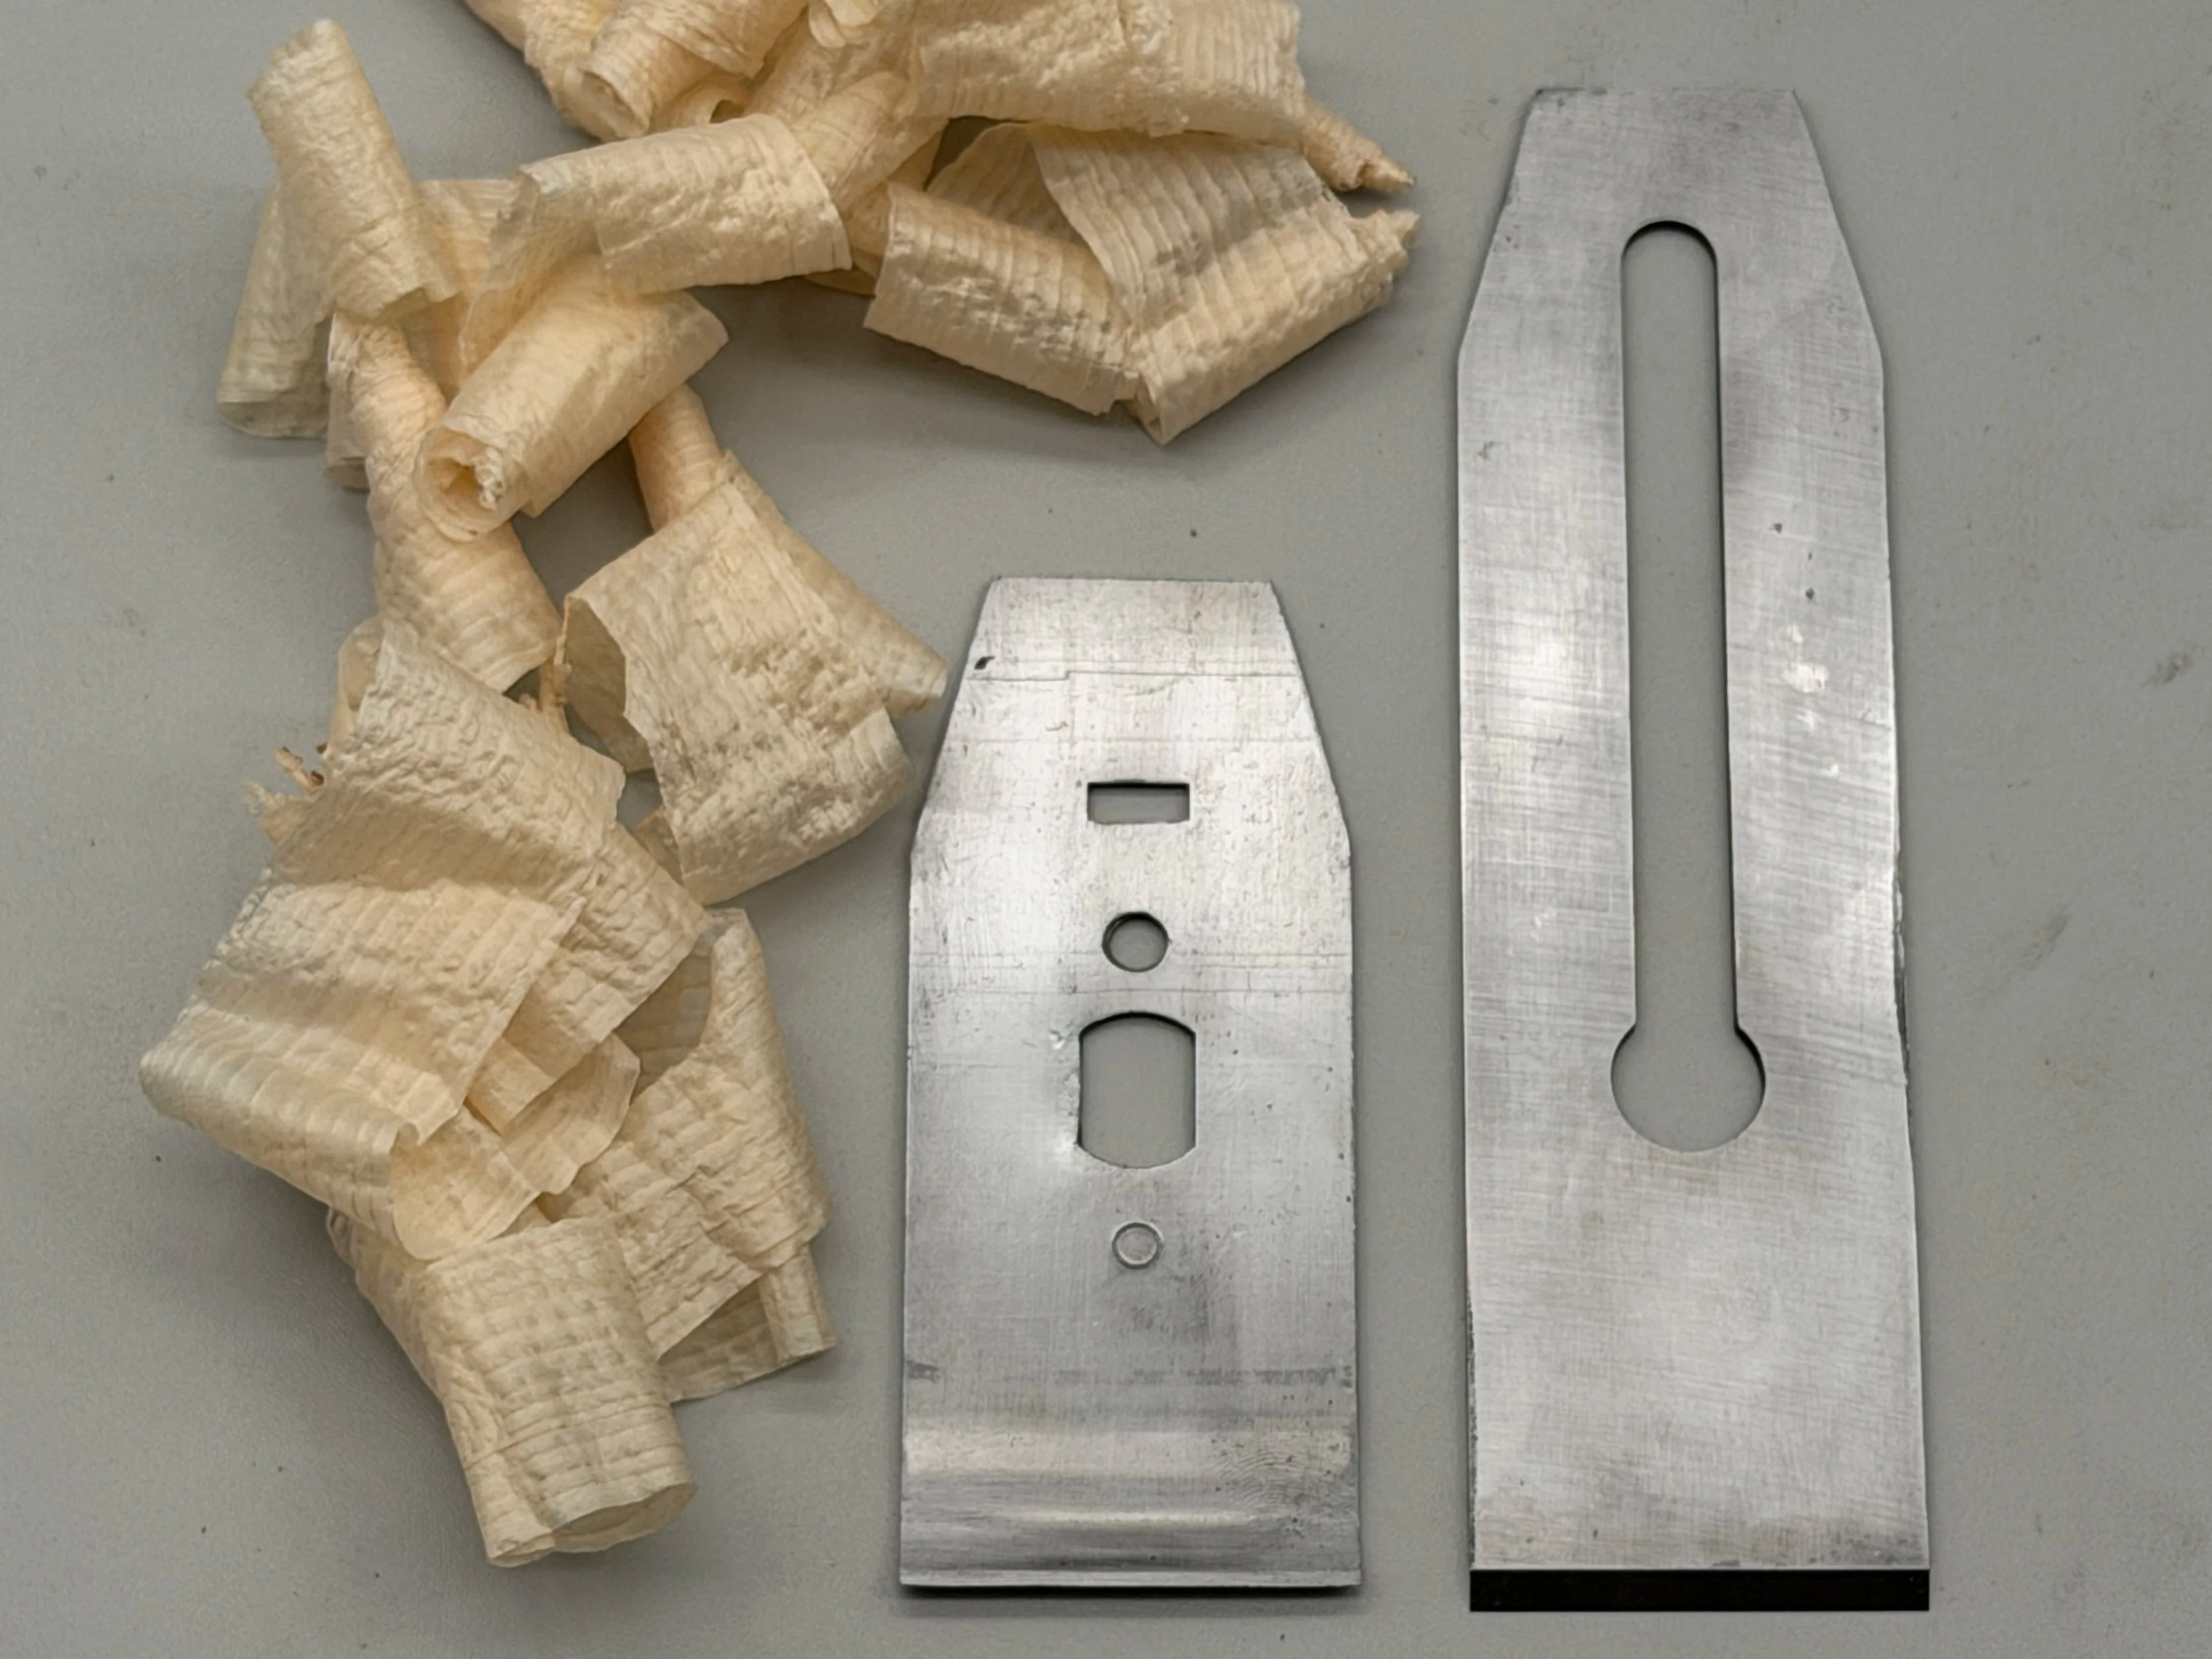
Preamble: The shavings in the pics came off this No. 4 and that’s just the start of what it can do.
Tuning up and sharpening the planes sold at The Tool Archive isn’t usually our thing. Seems to us most people would rather tune them up themselves. It’s like one of those ice-breaker trust games to get to know each other before diving straight into work. But it’s a slippery slope when you start working on a plane and we slipped all the way down that slope this time.
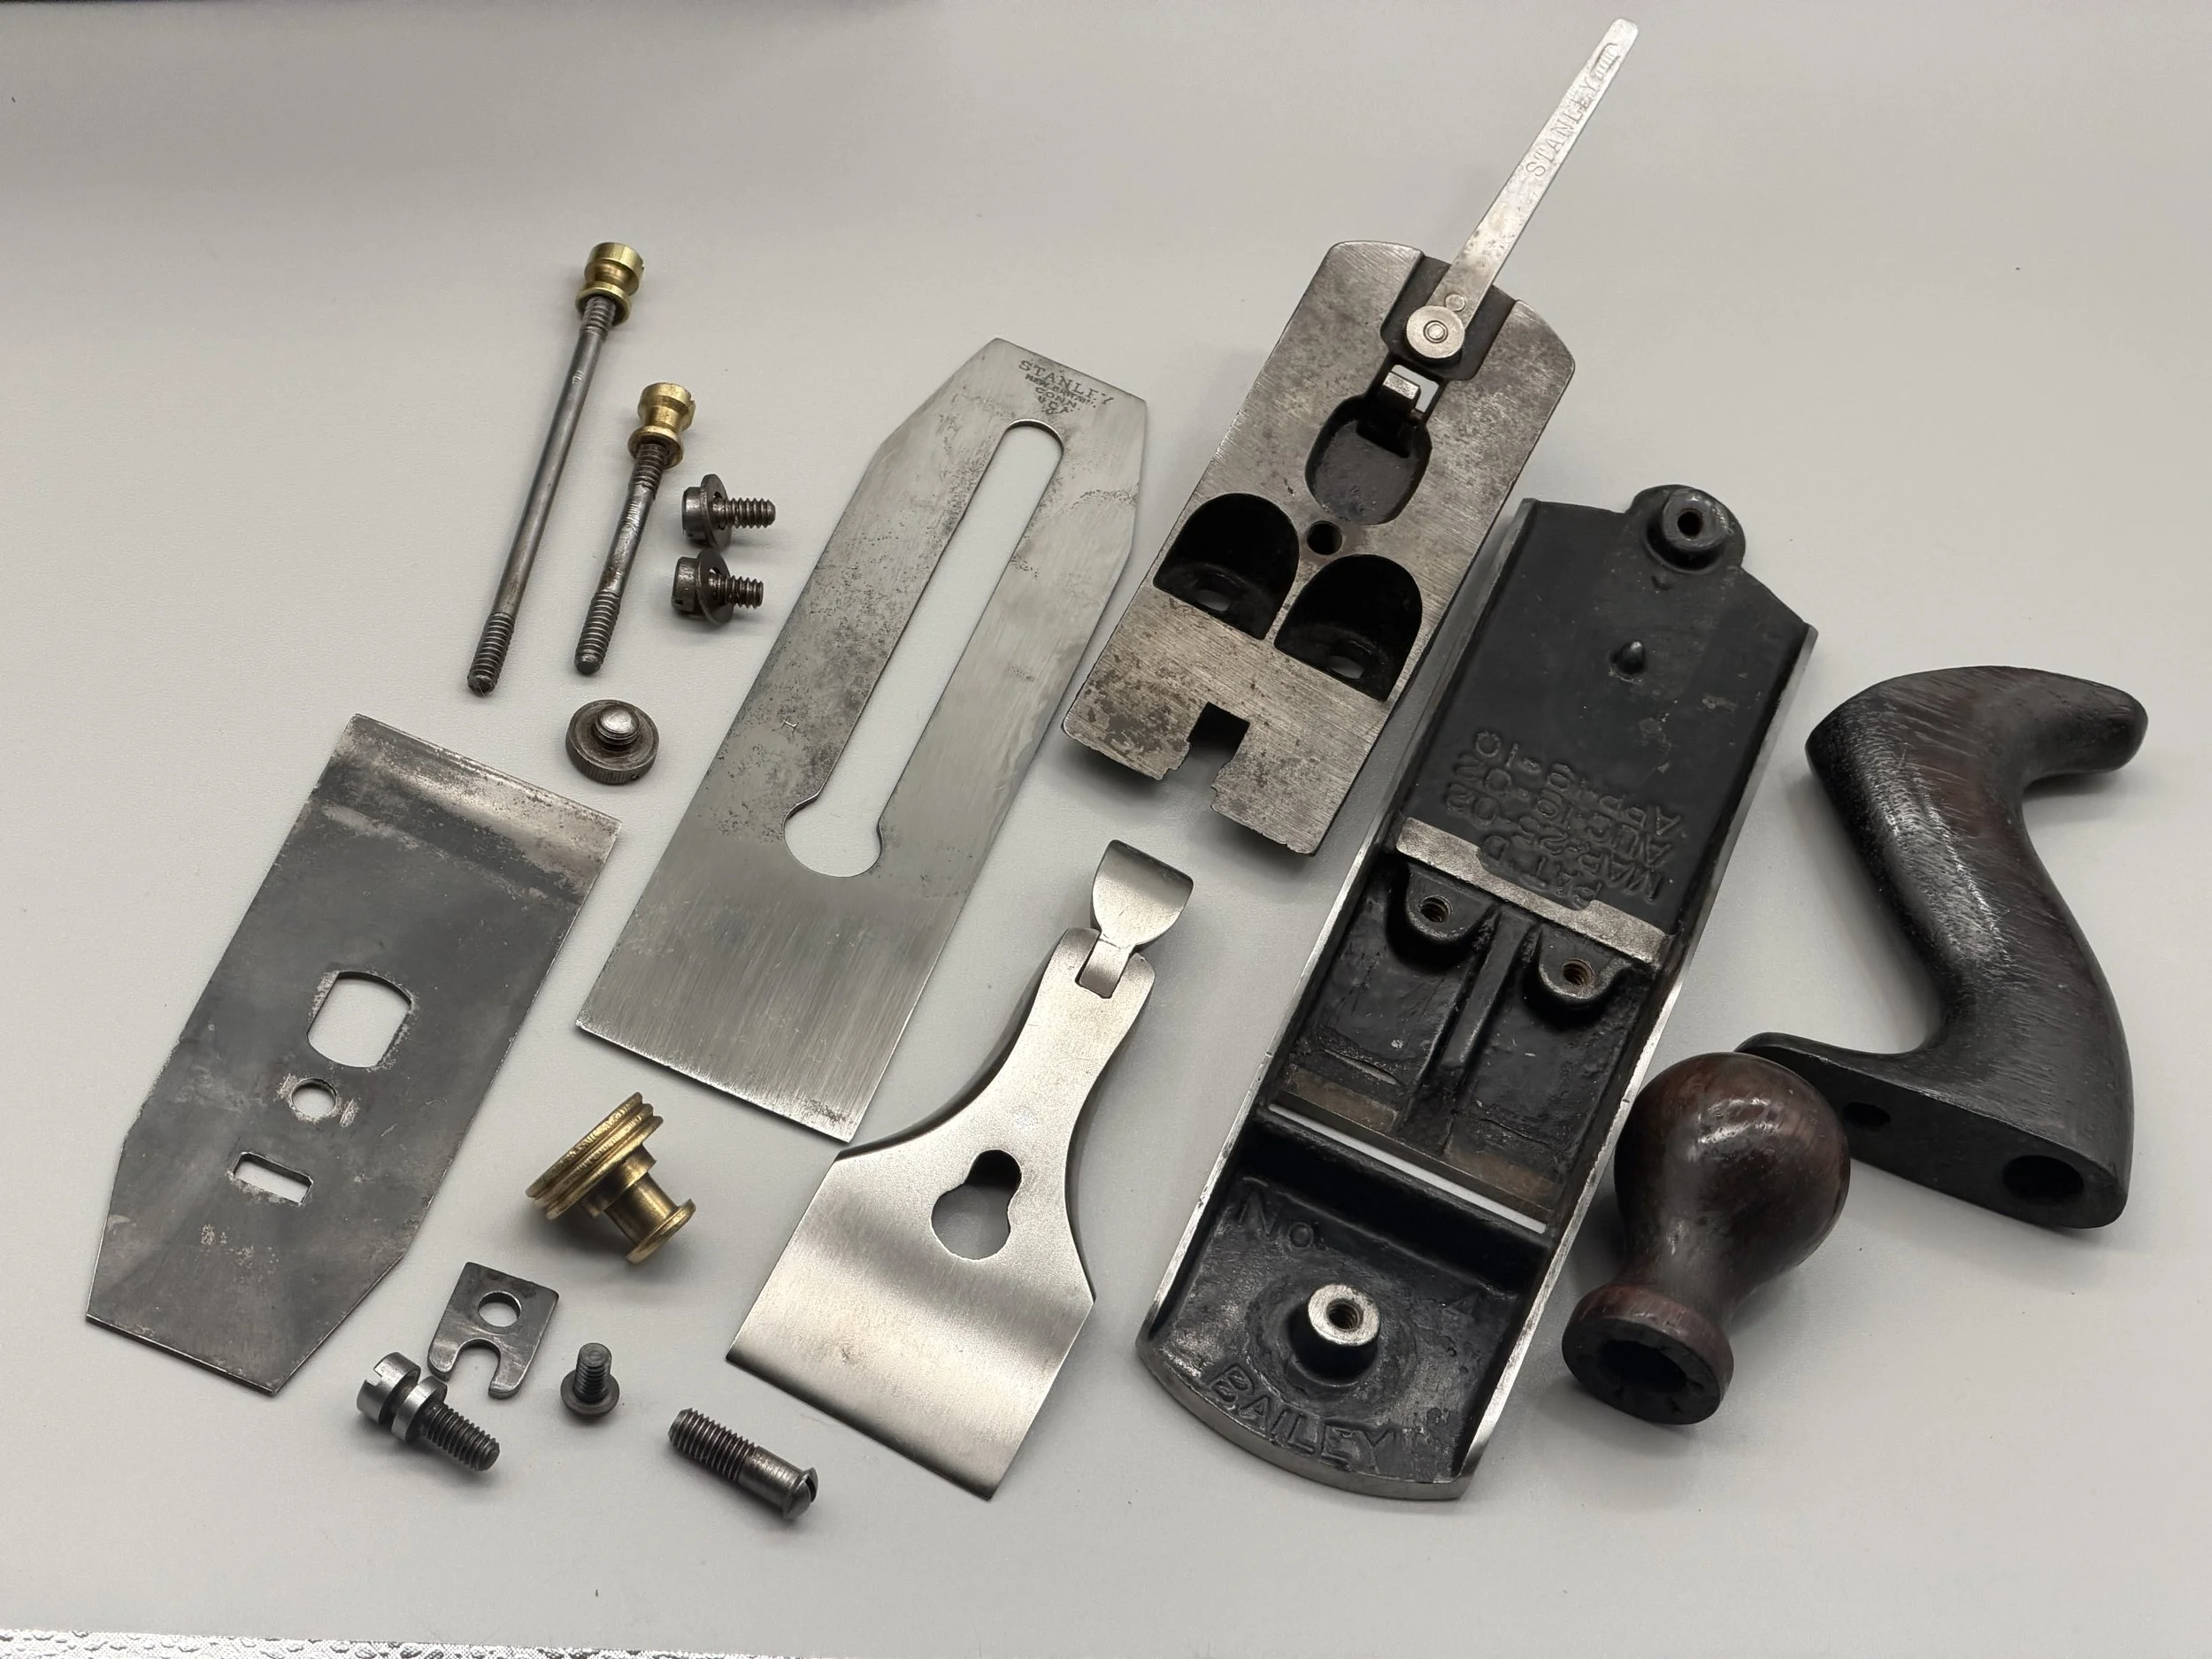
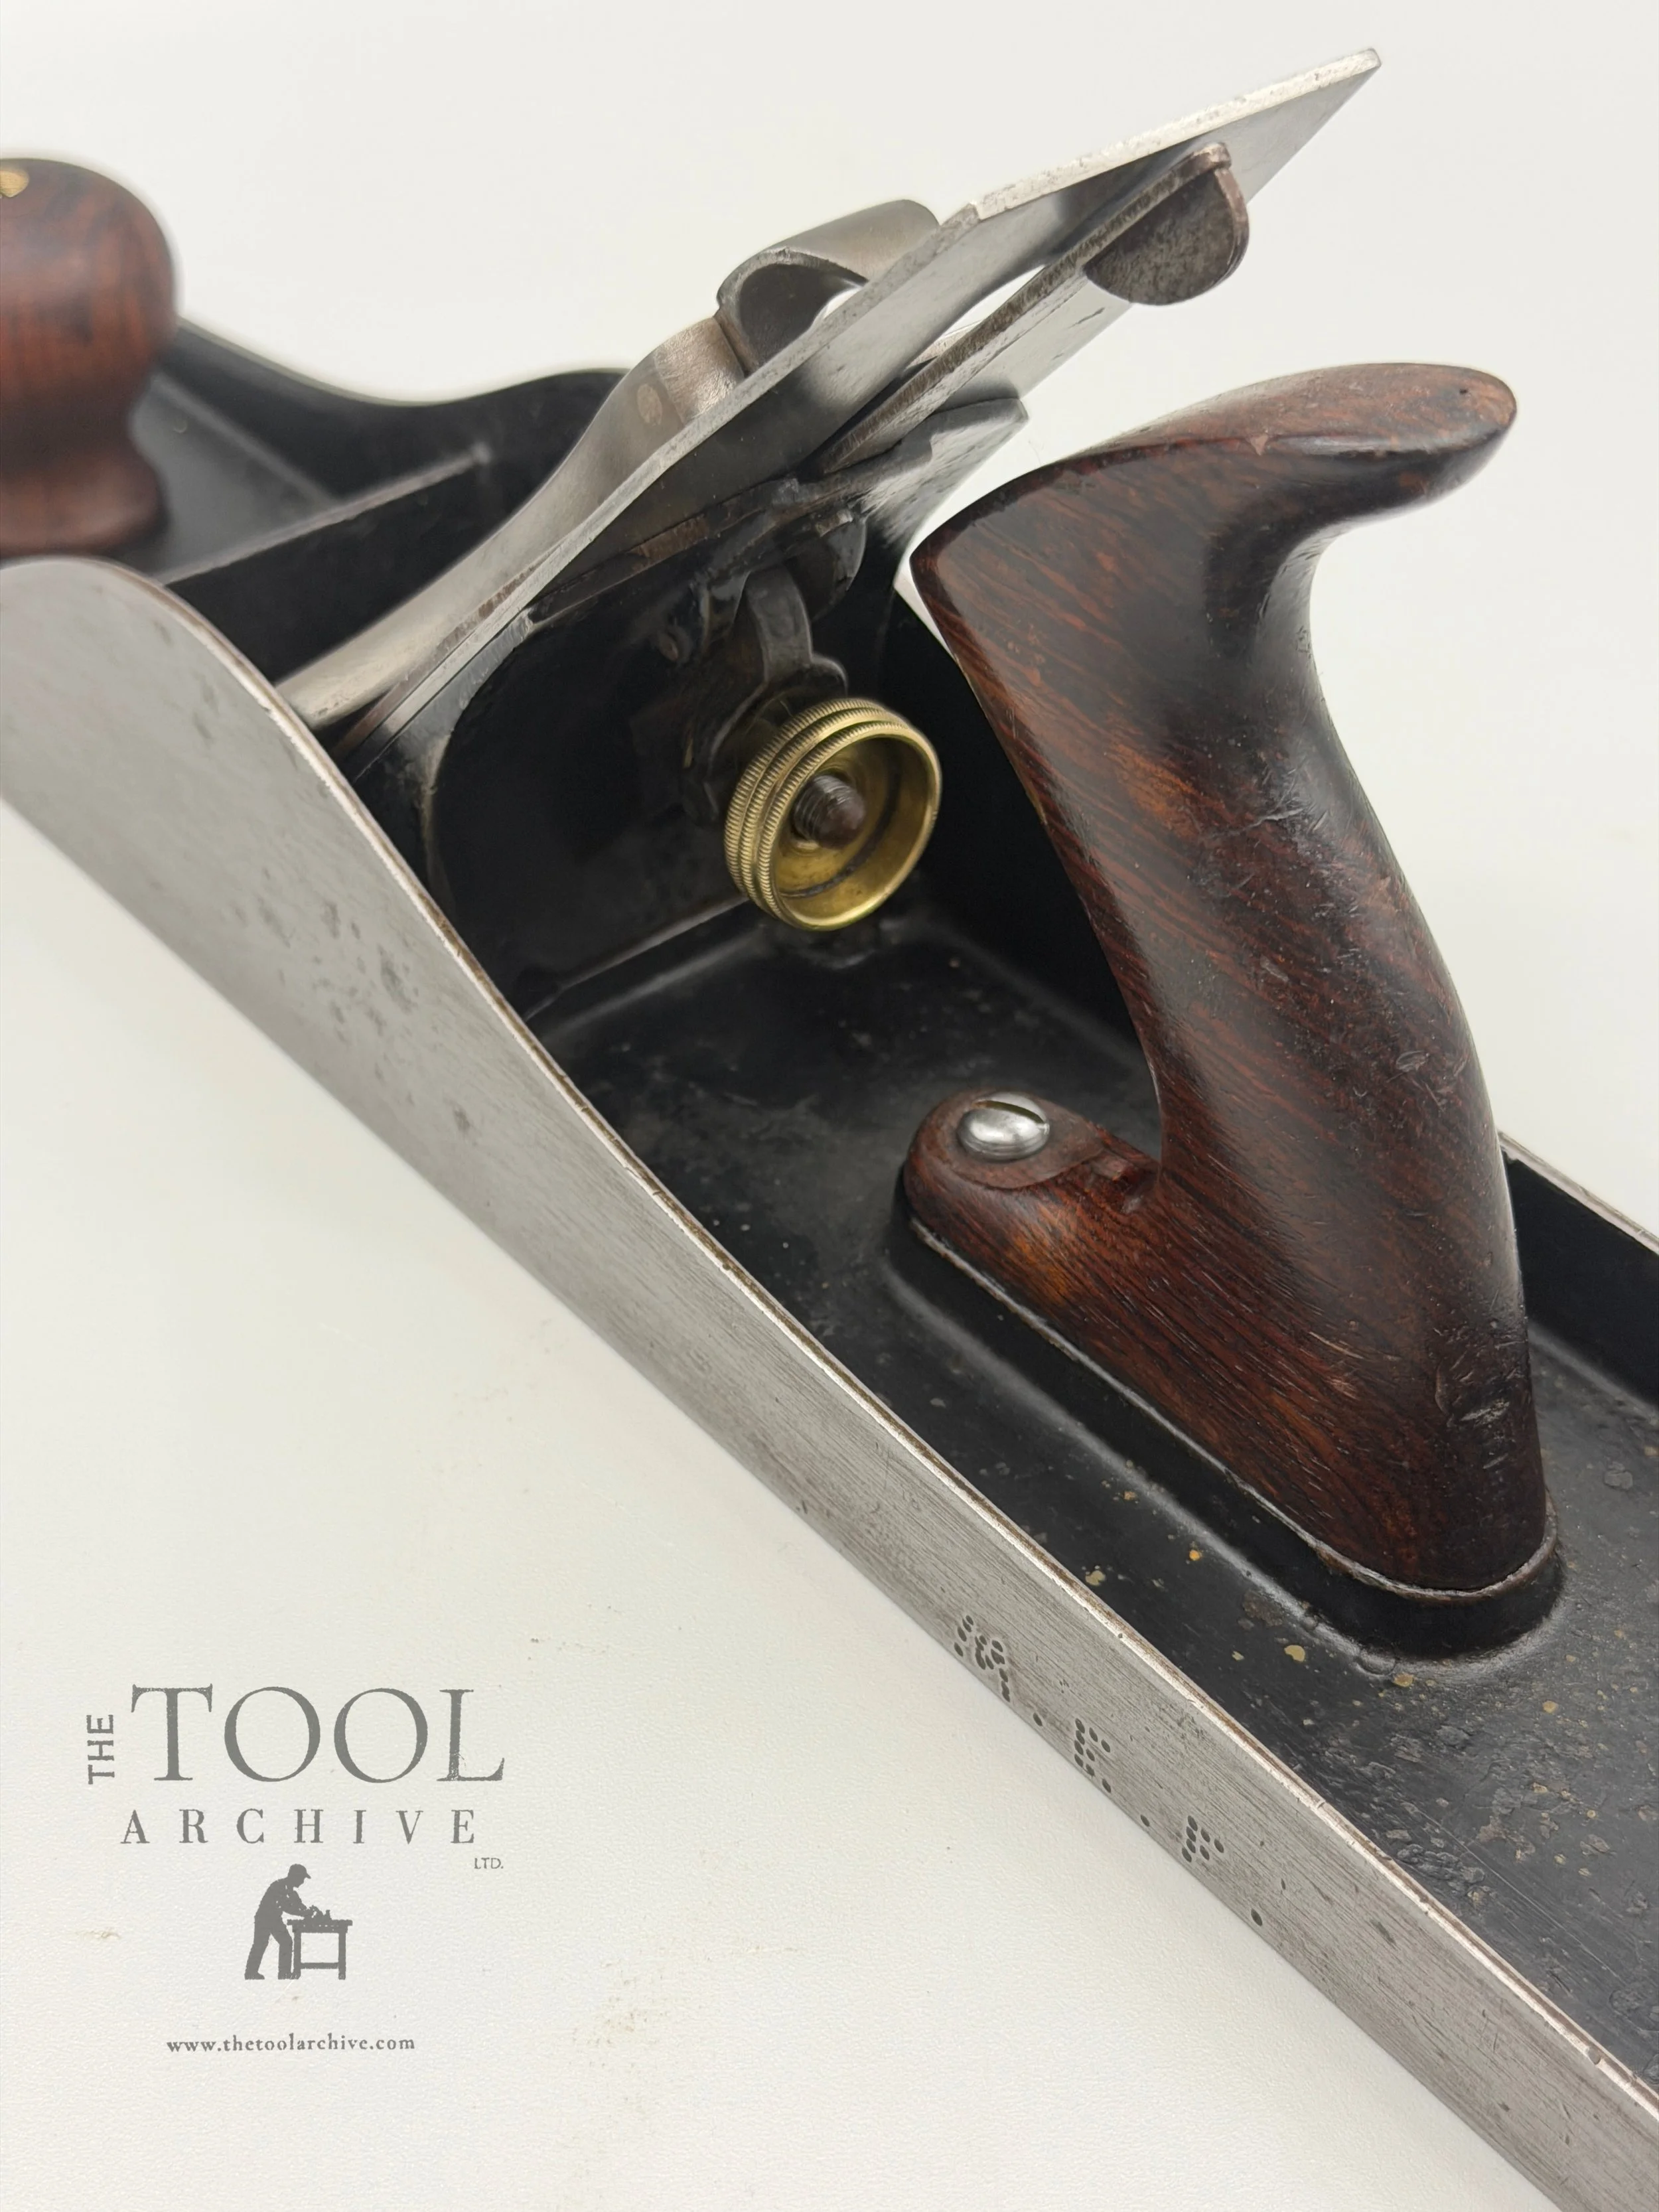
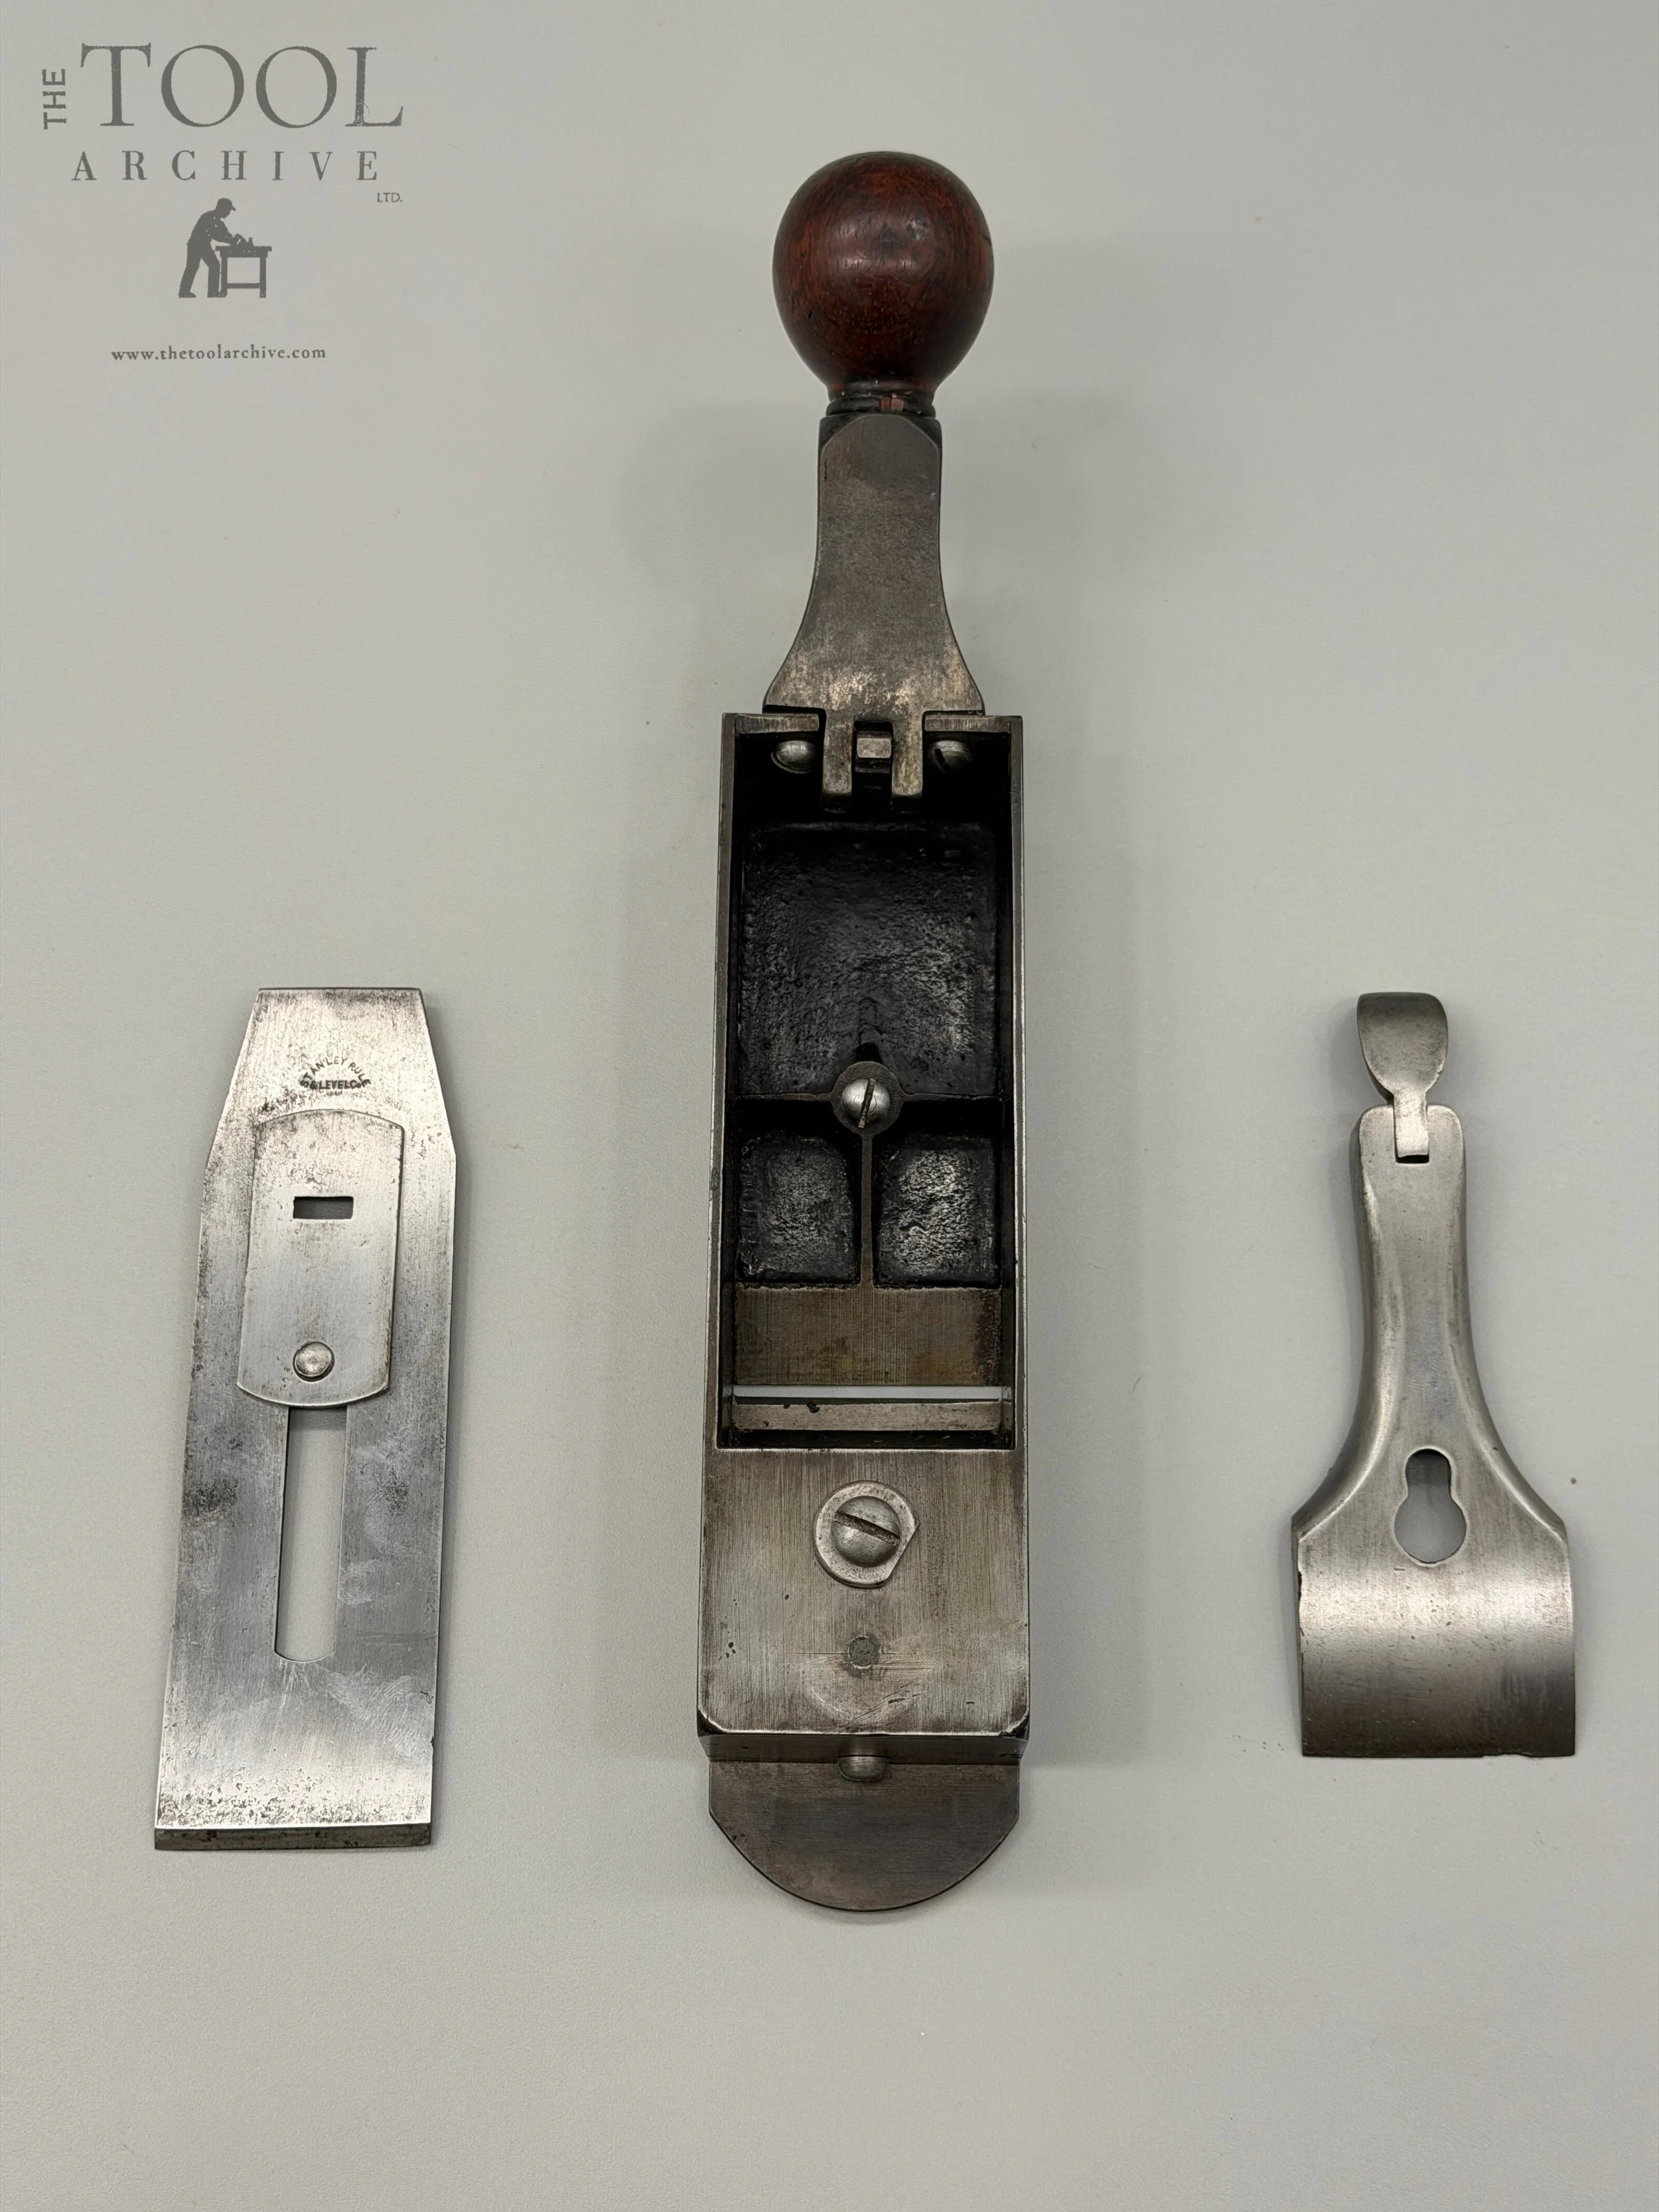
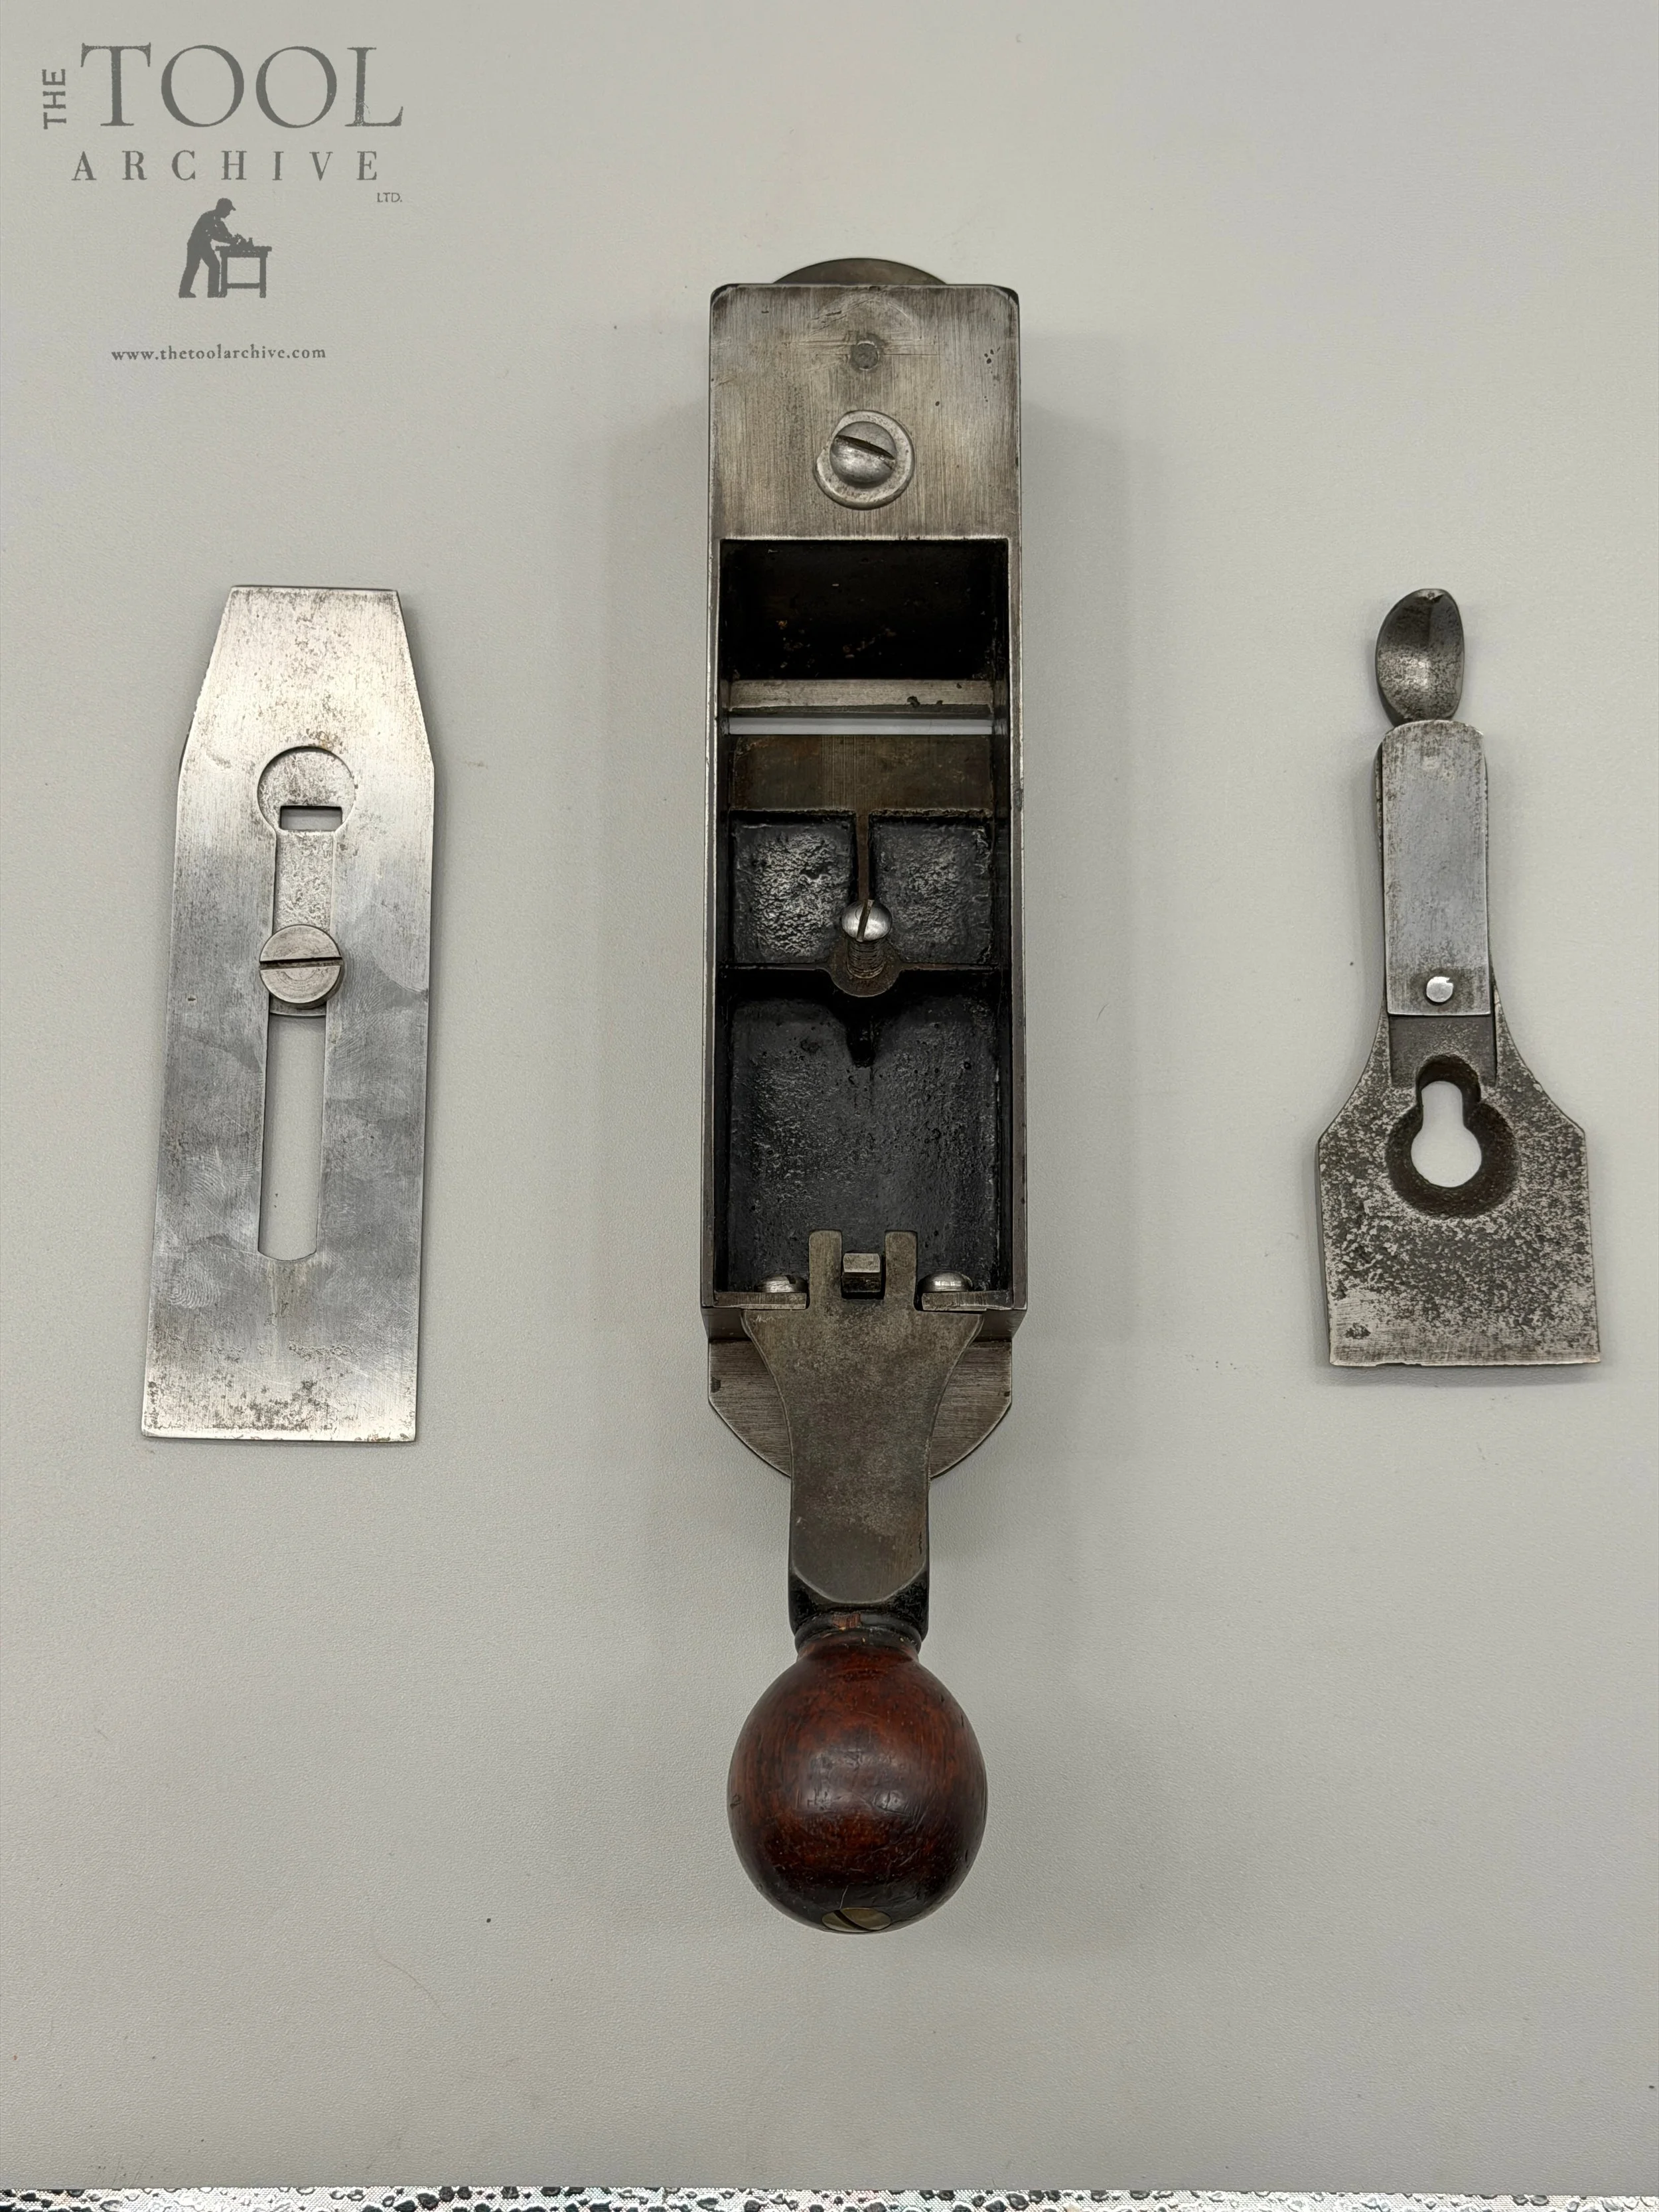
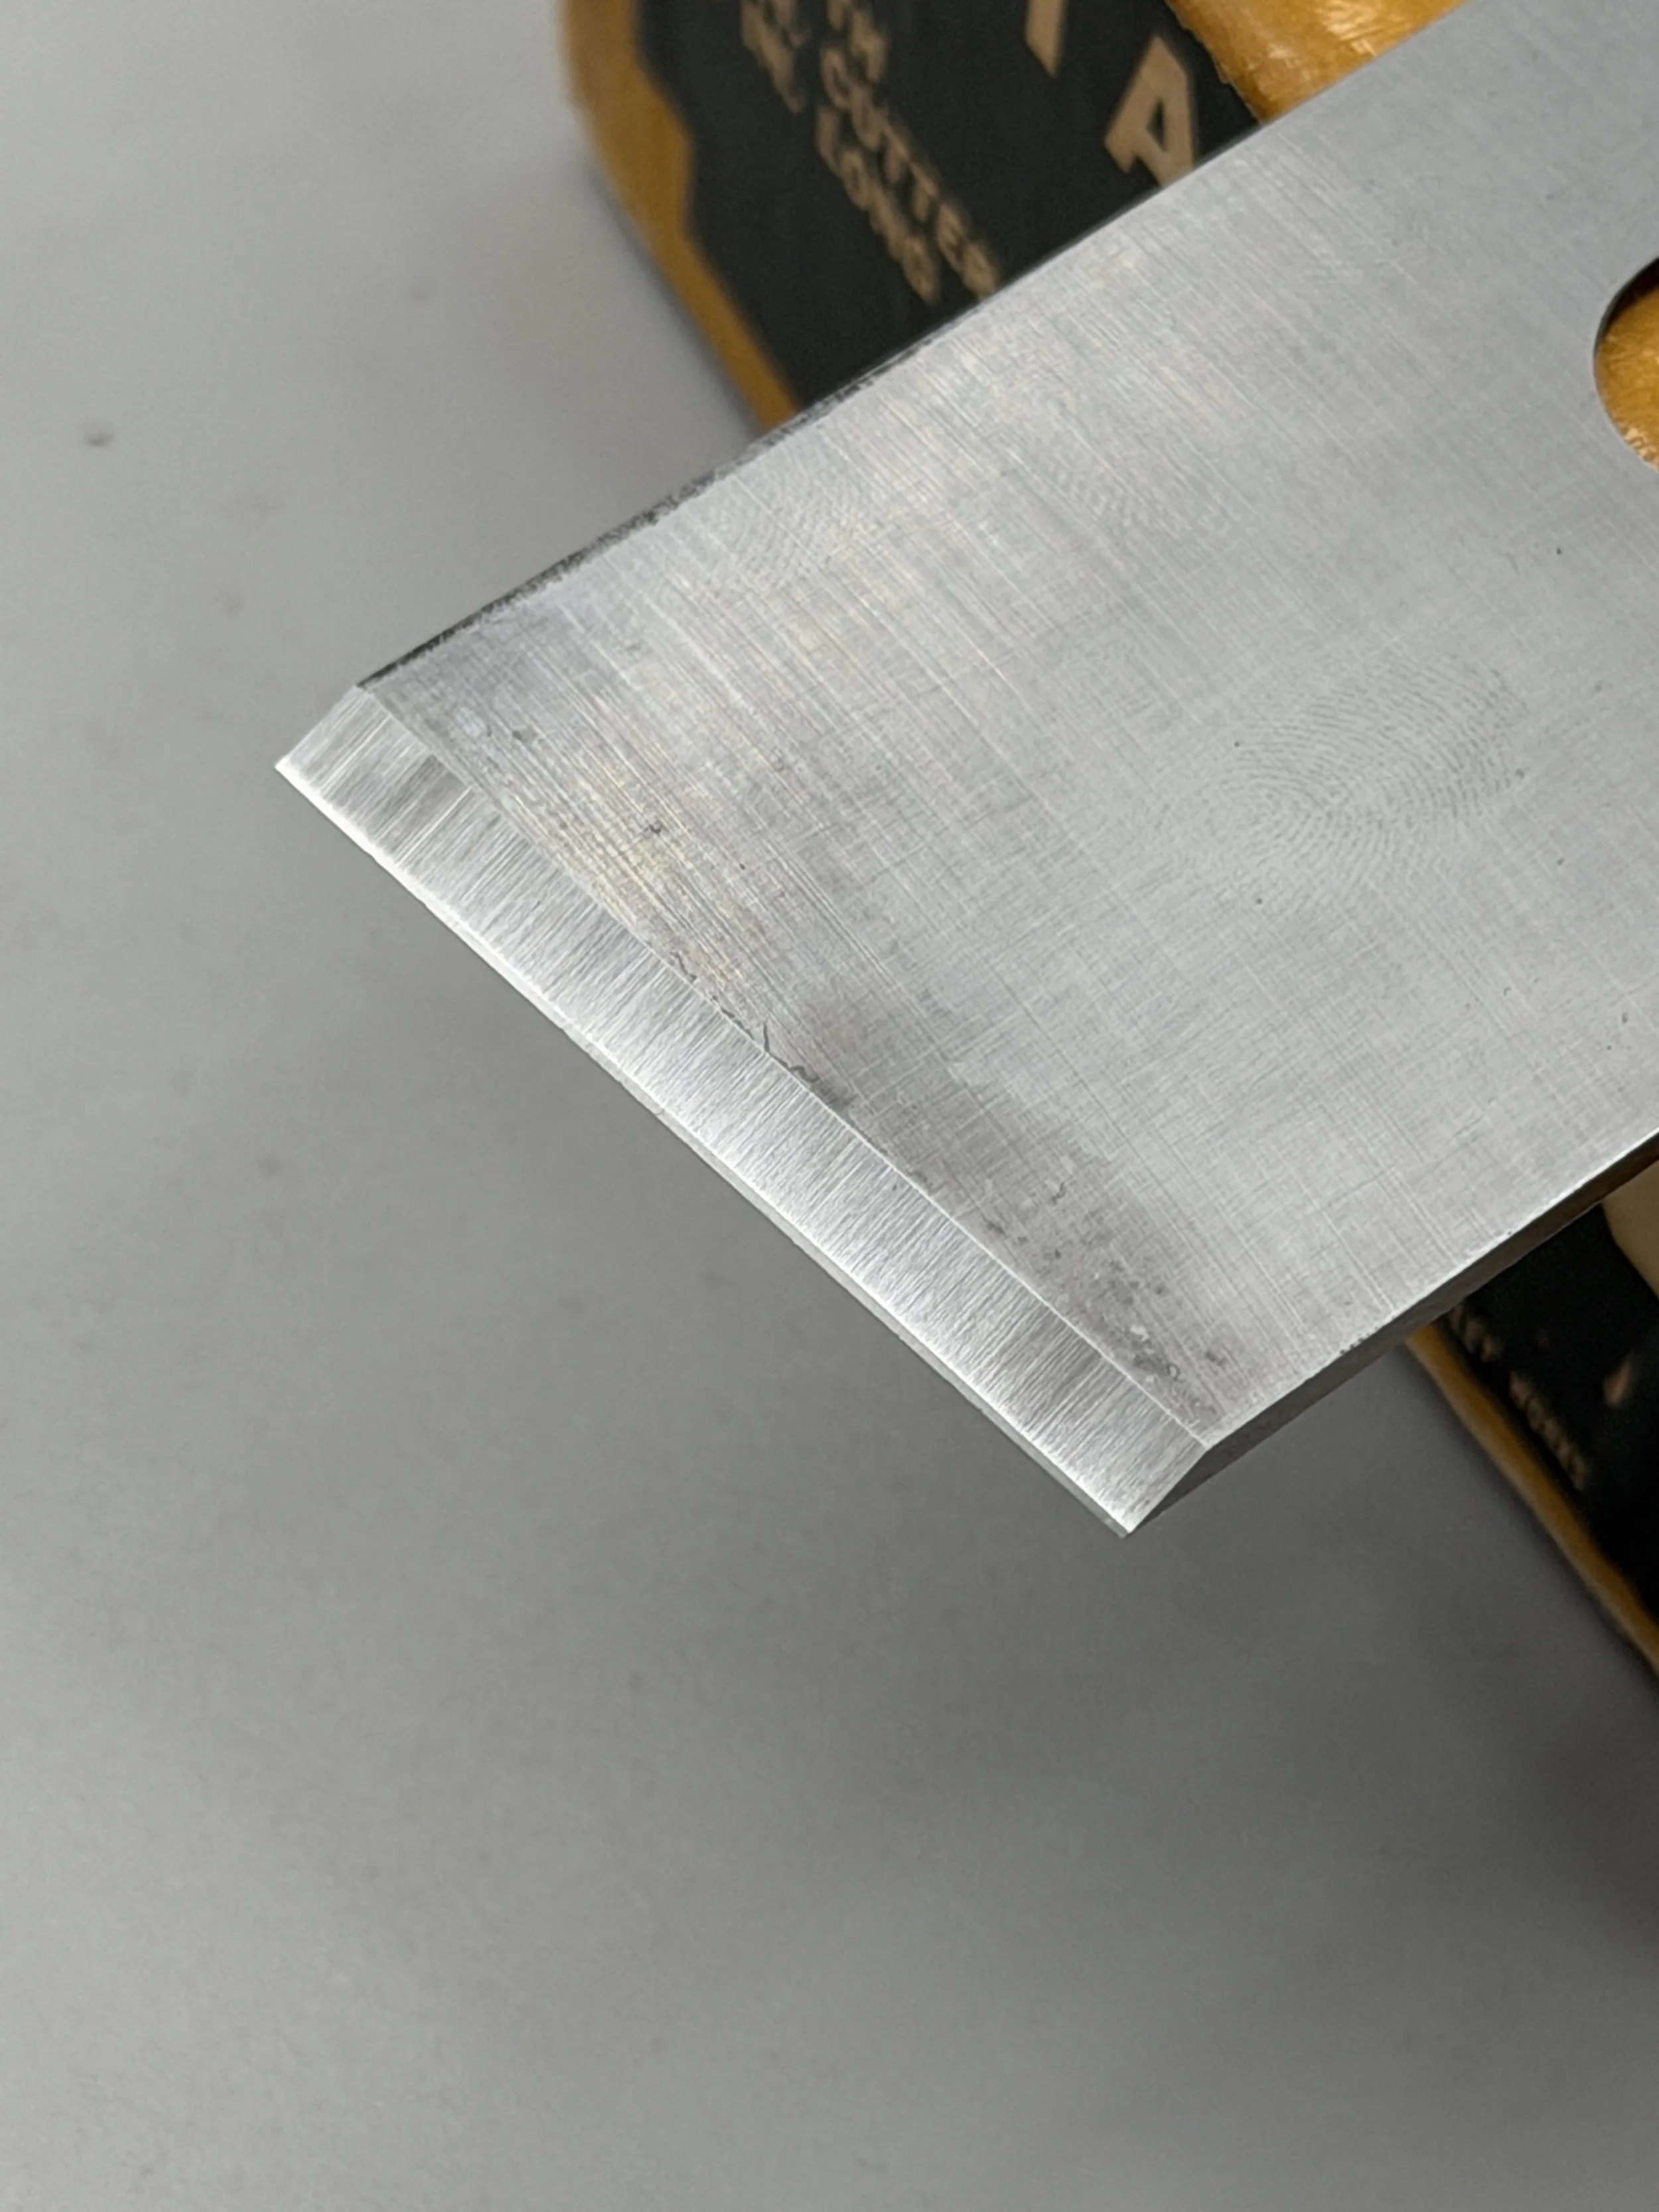
We first intended only to hone the iron and give the back a quick polish, thinking this plane looks like someone tuned it up before, so it would probably perform with a few passes on the whetstone. Nope. Turned out the primary bevel had a bunch of different angles on it going every which way (it reminded us of an M.C. Escher drawing with all those staircases going in every direction). So, we ground a new primary bevel at 25 degrees, which was a lot of grinding to take out all those angles (still have no idea how someone could have made such a multi-angle mess).
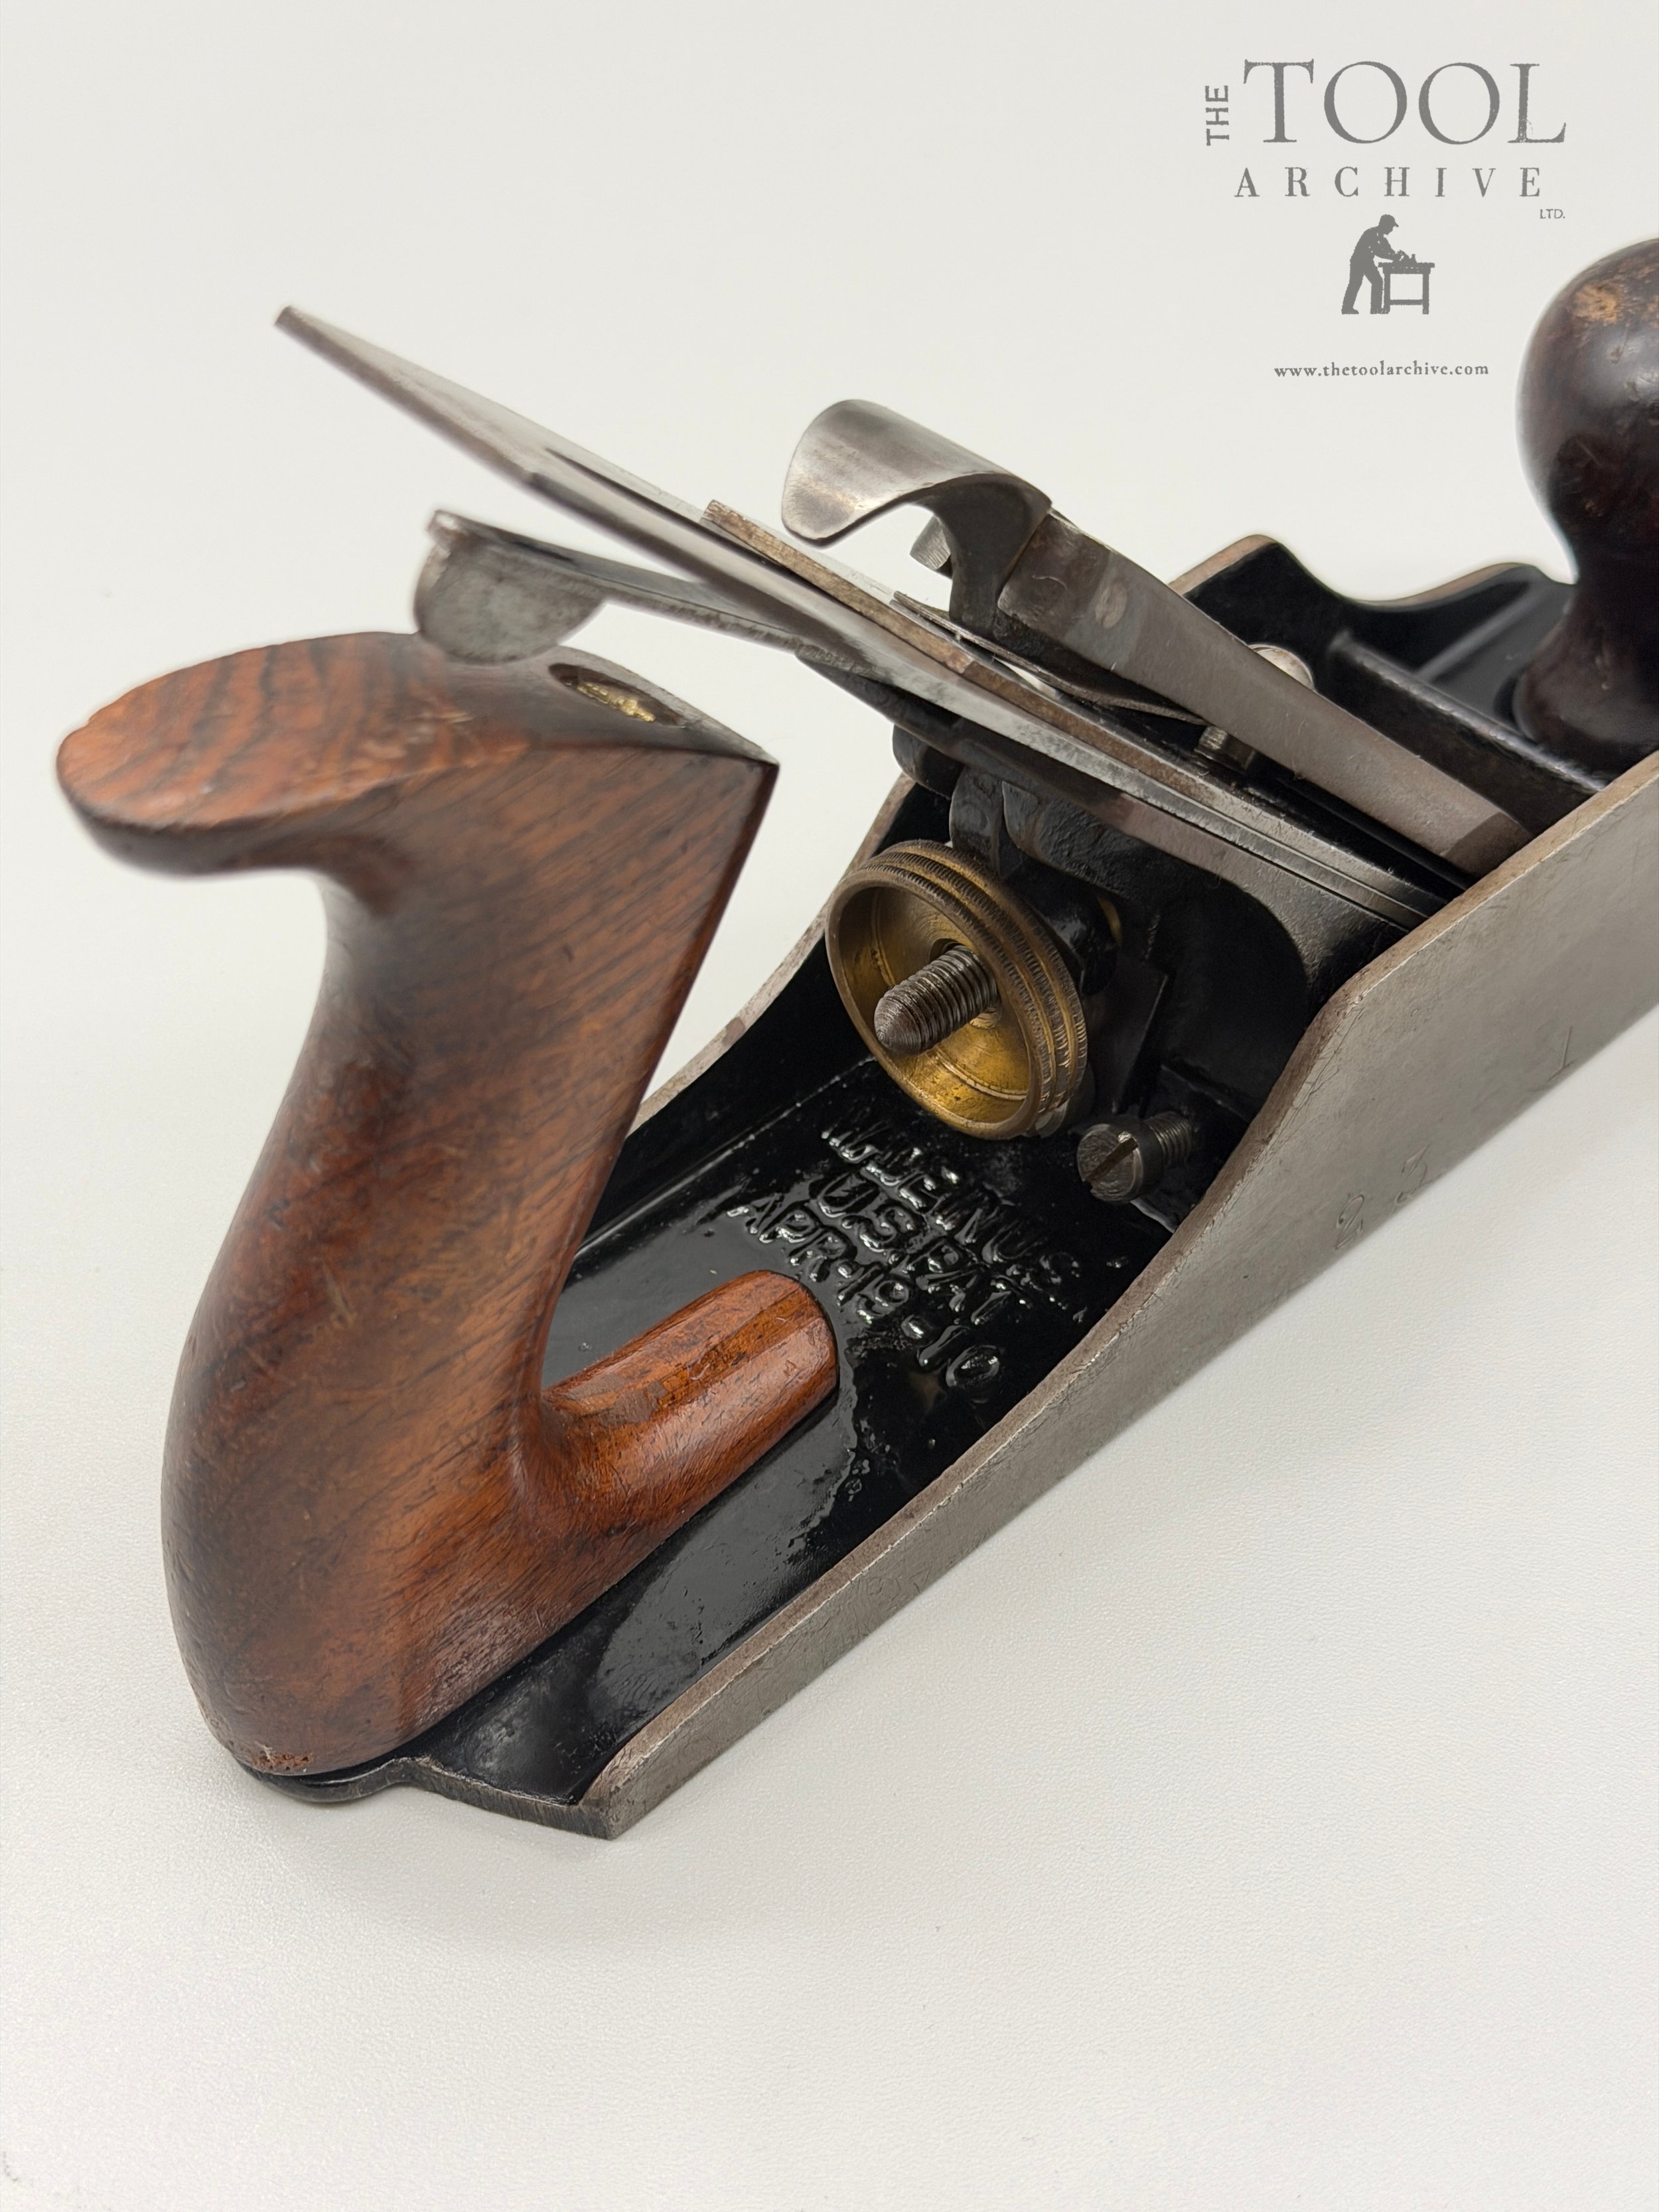
Having put a new bevel on, we figured we had to flatten the back. It too was an odd array of peaks and valleys. But we got it flat and shiny where it counts. At that point it only made sense to hone a secondary bevel at 30 degrees up to the super-fine grits. Hone, flatten, hone, flatten . . . Strop. Phew.
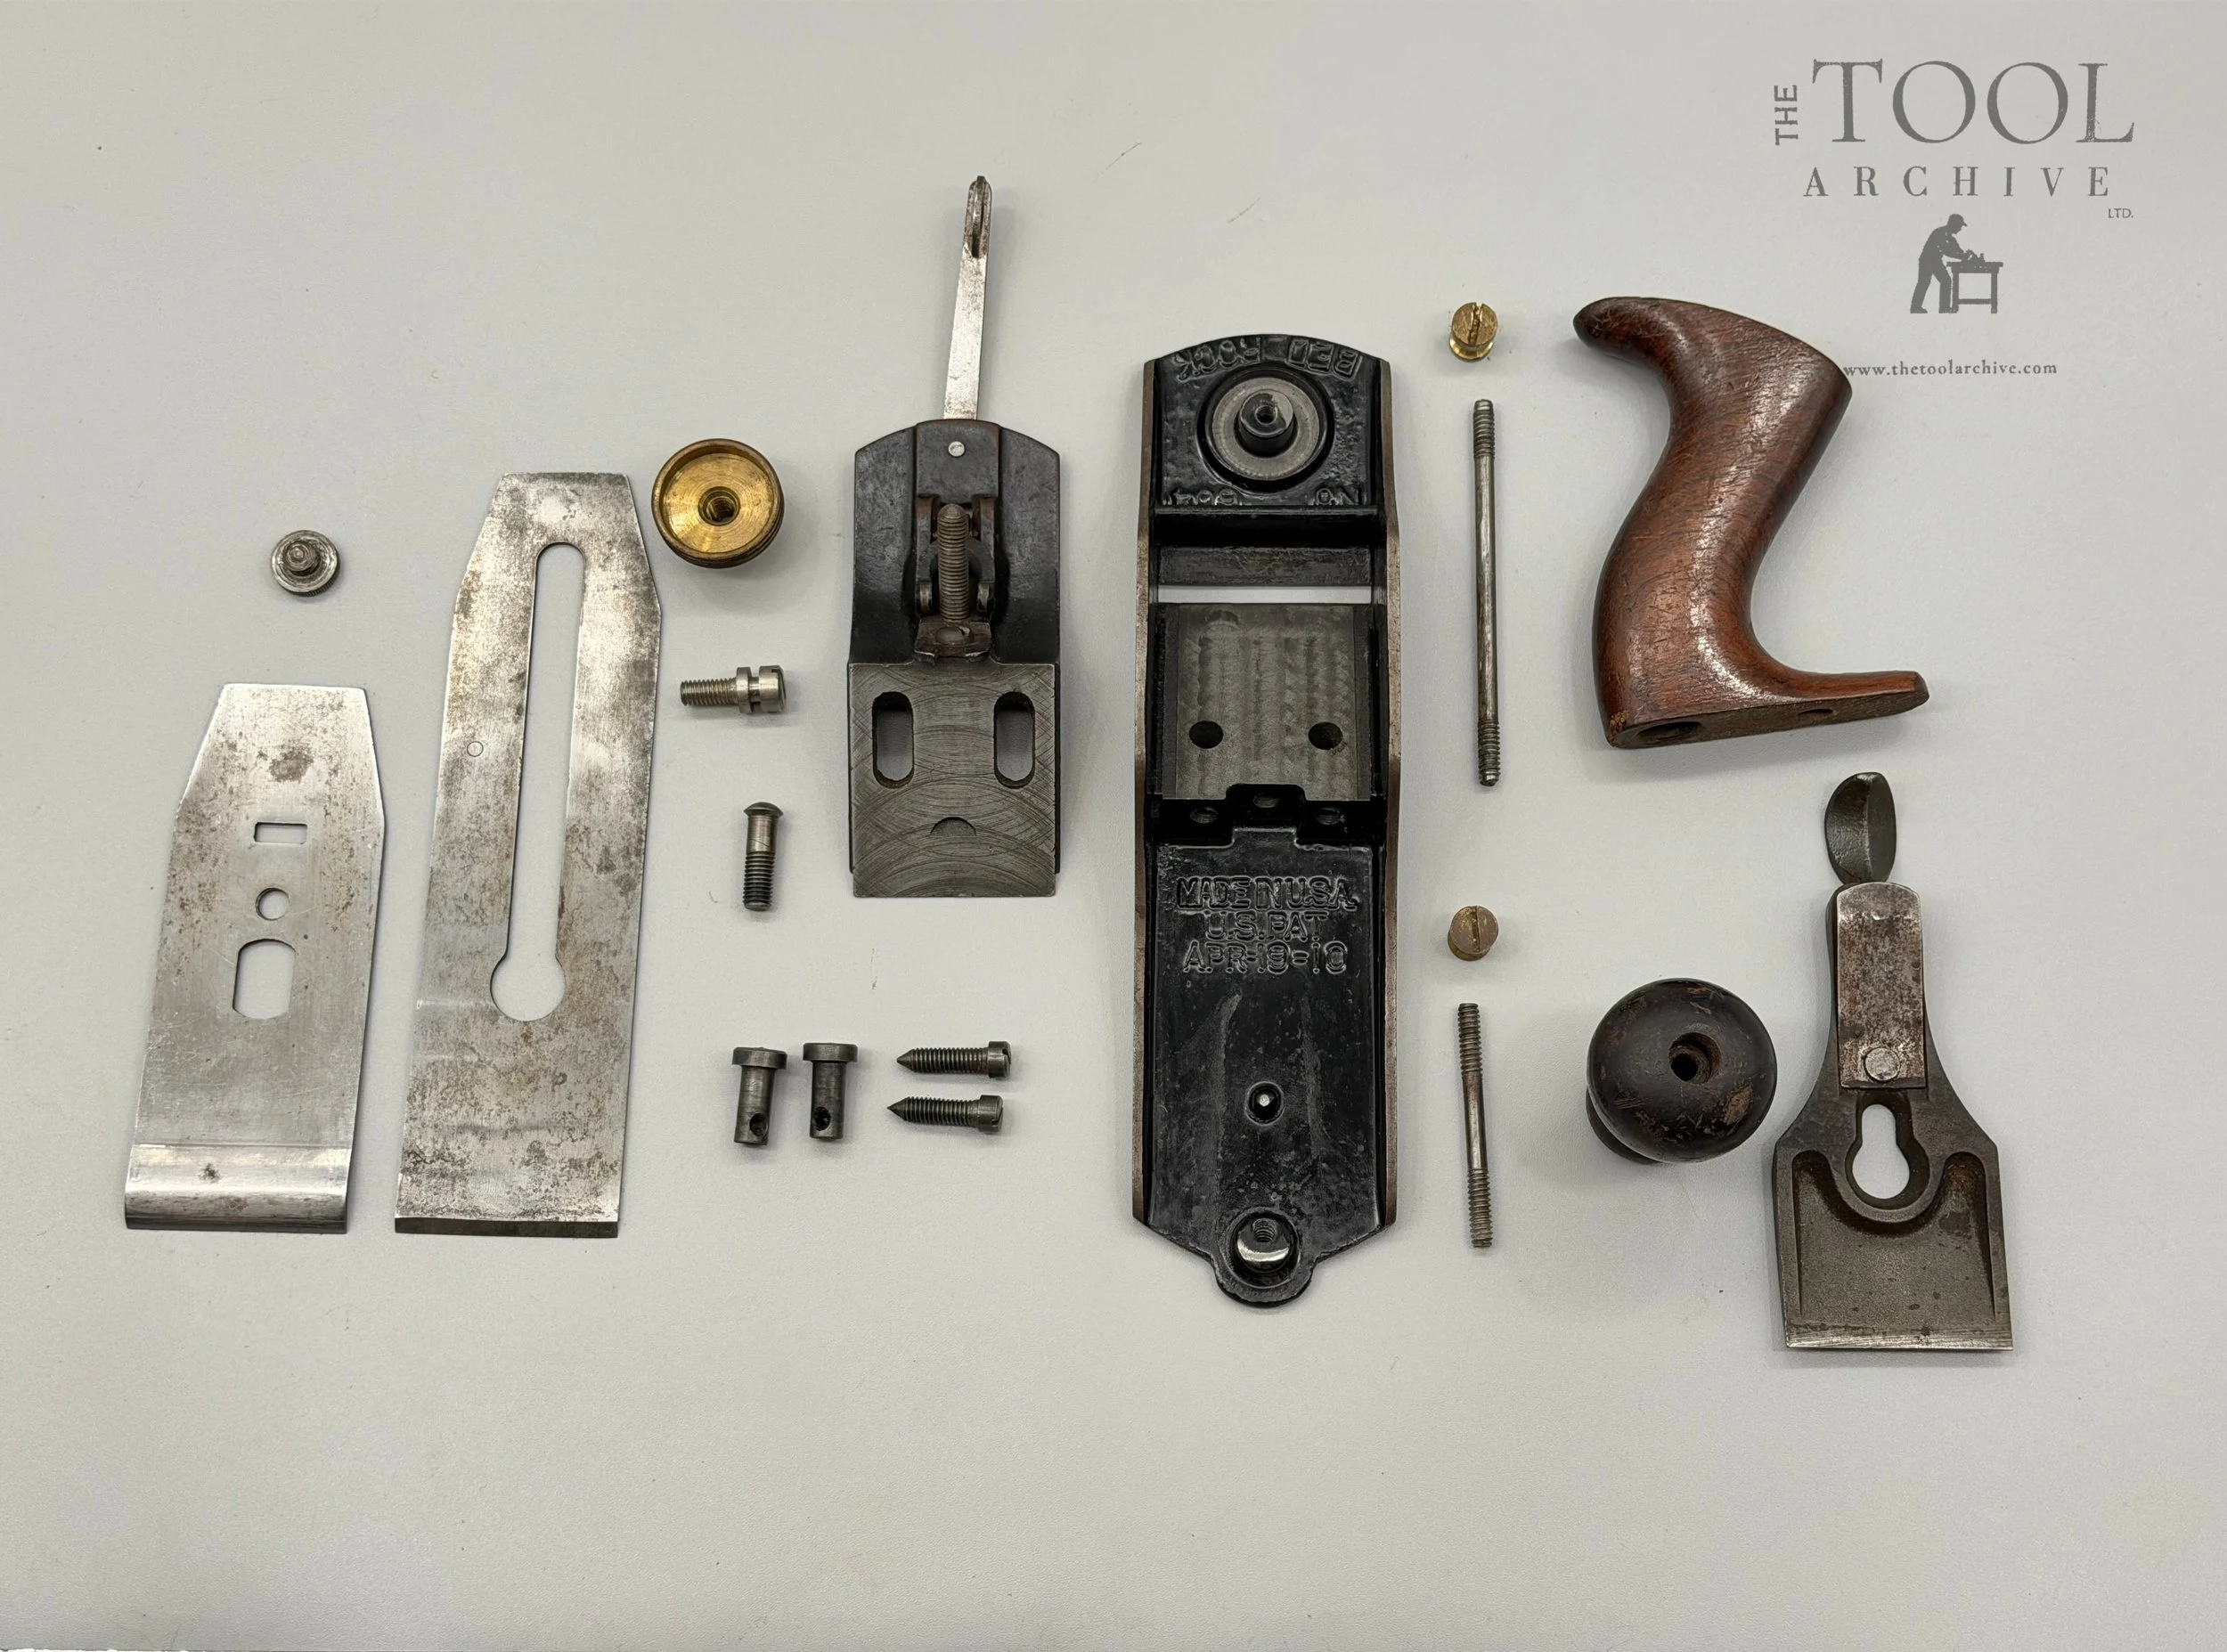
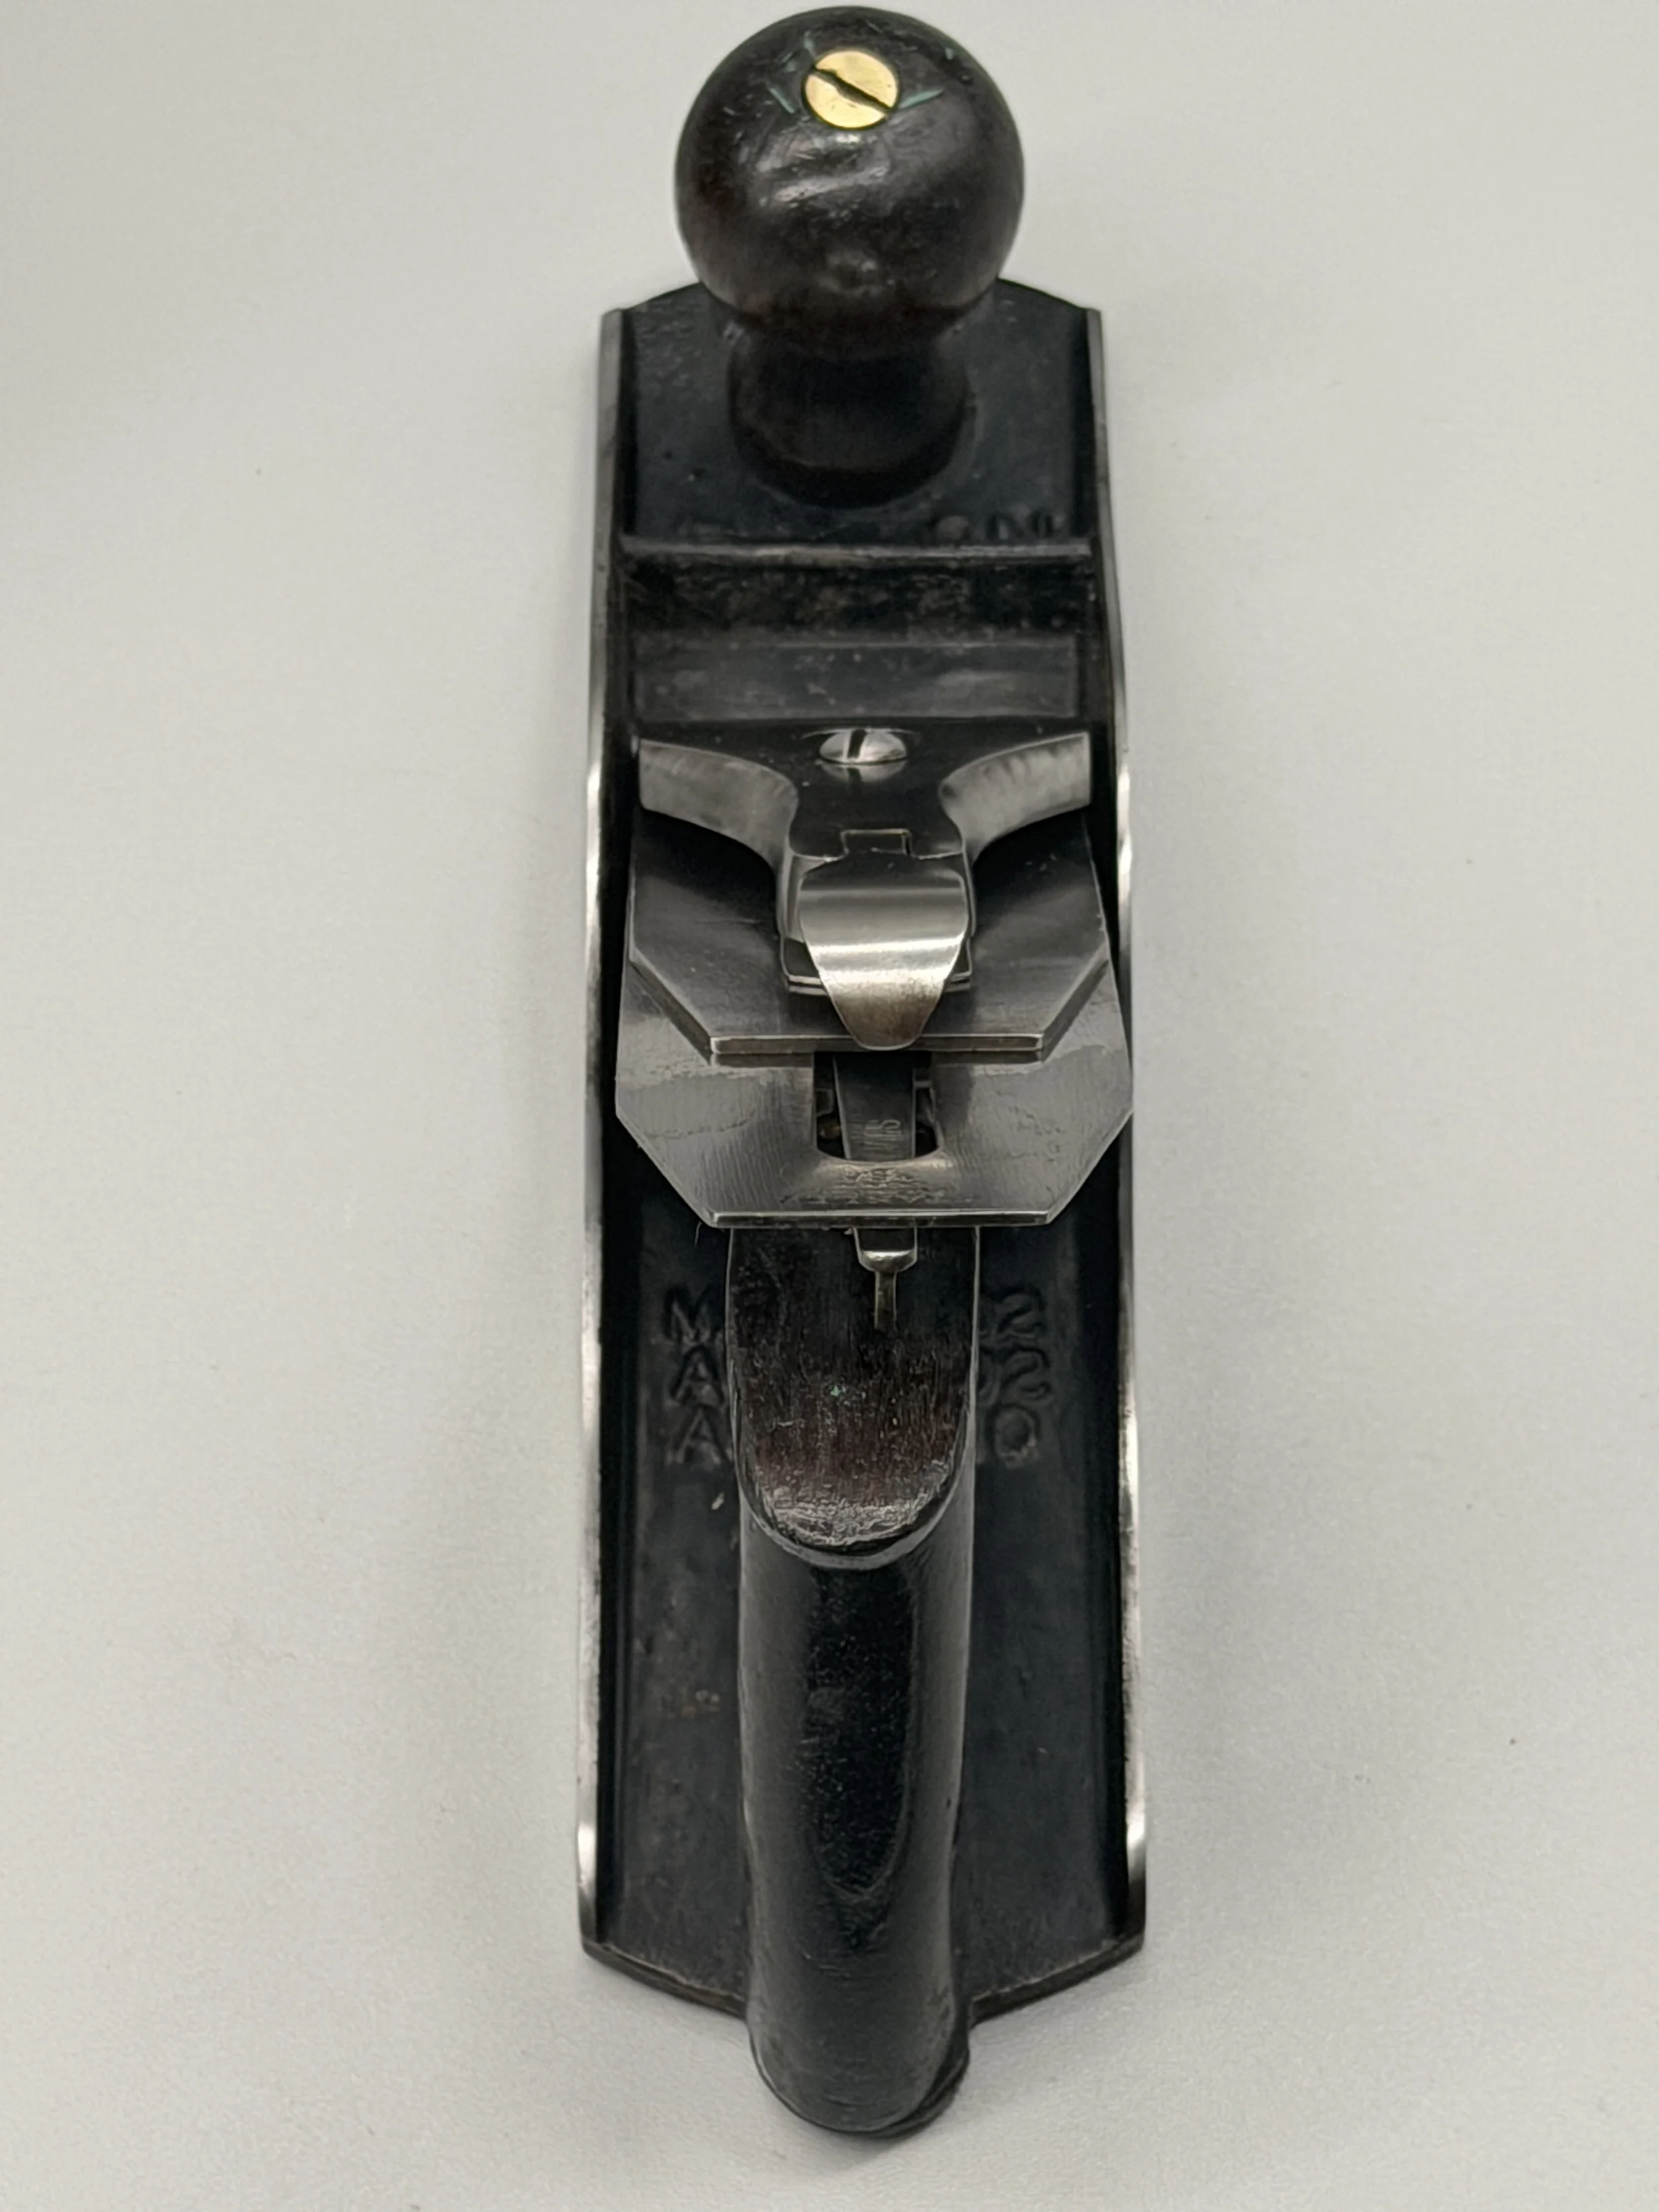
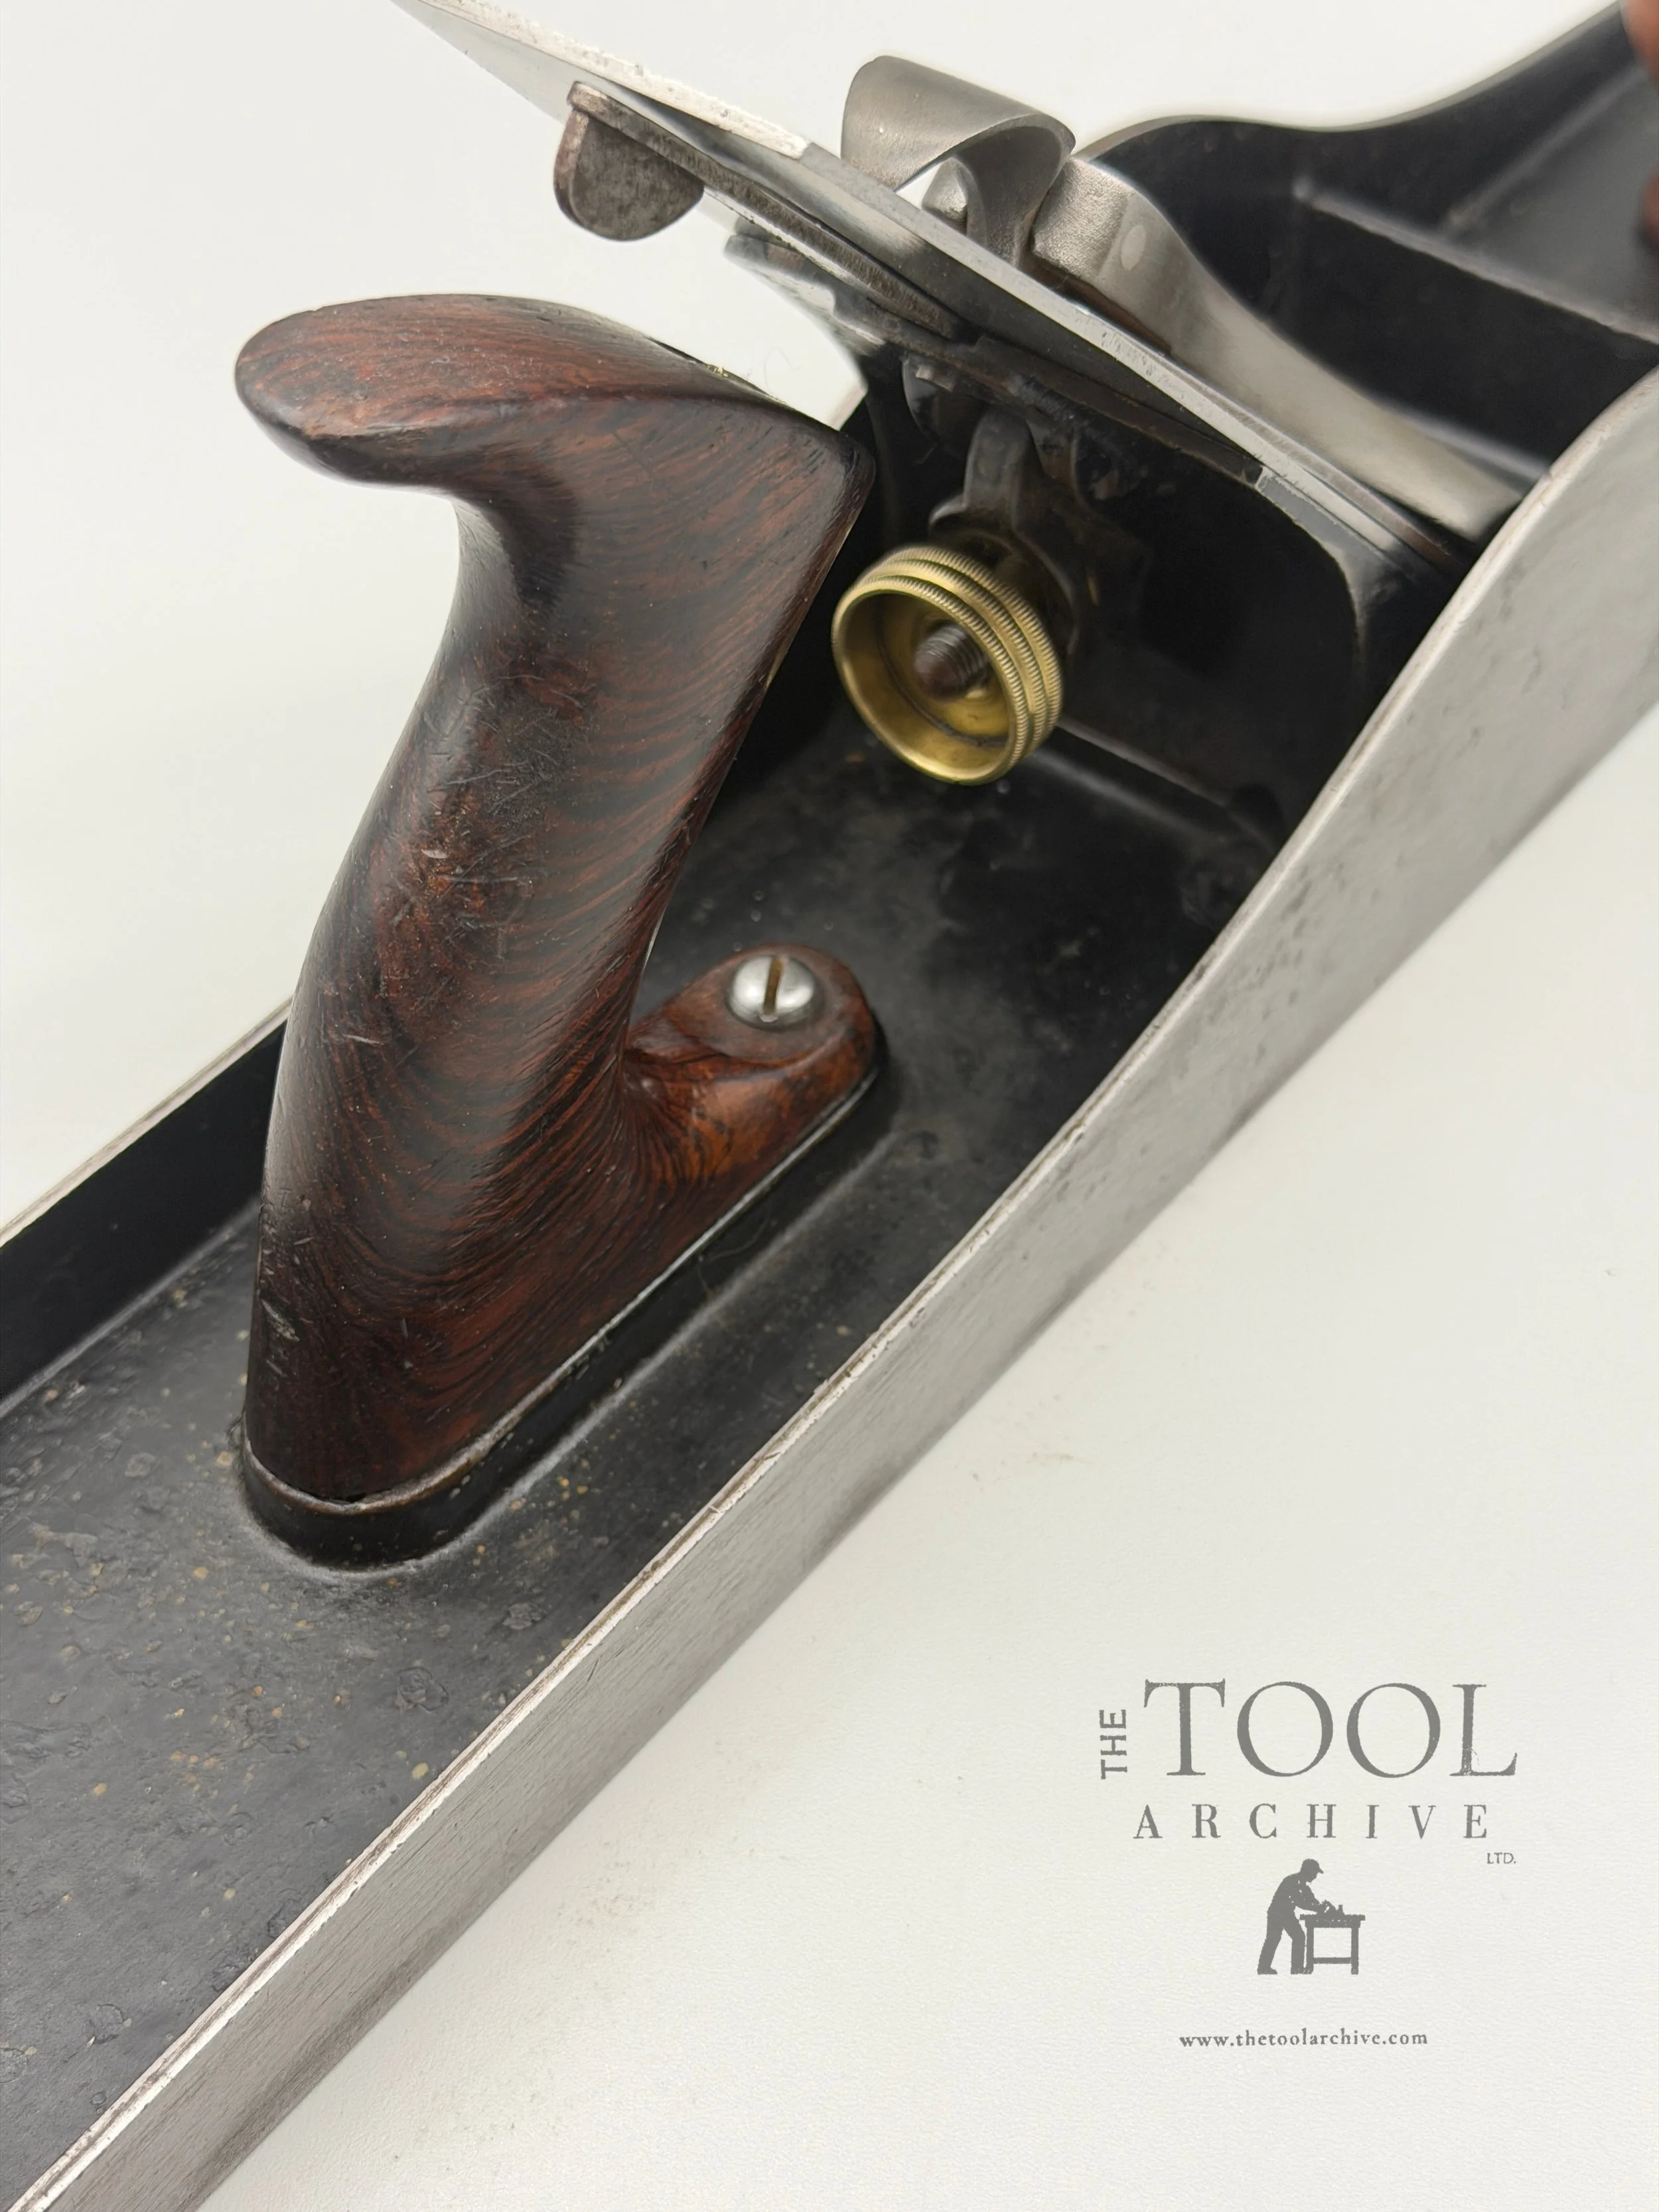
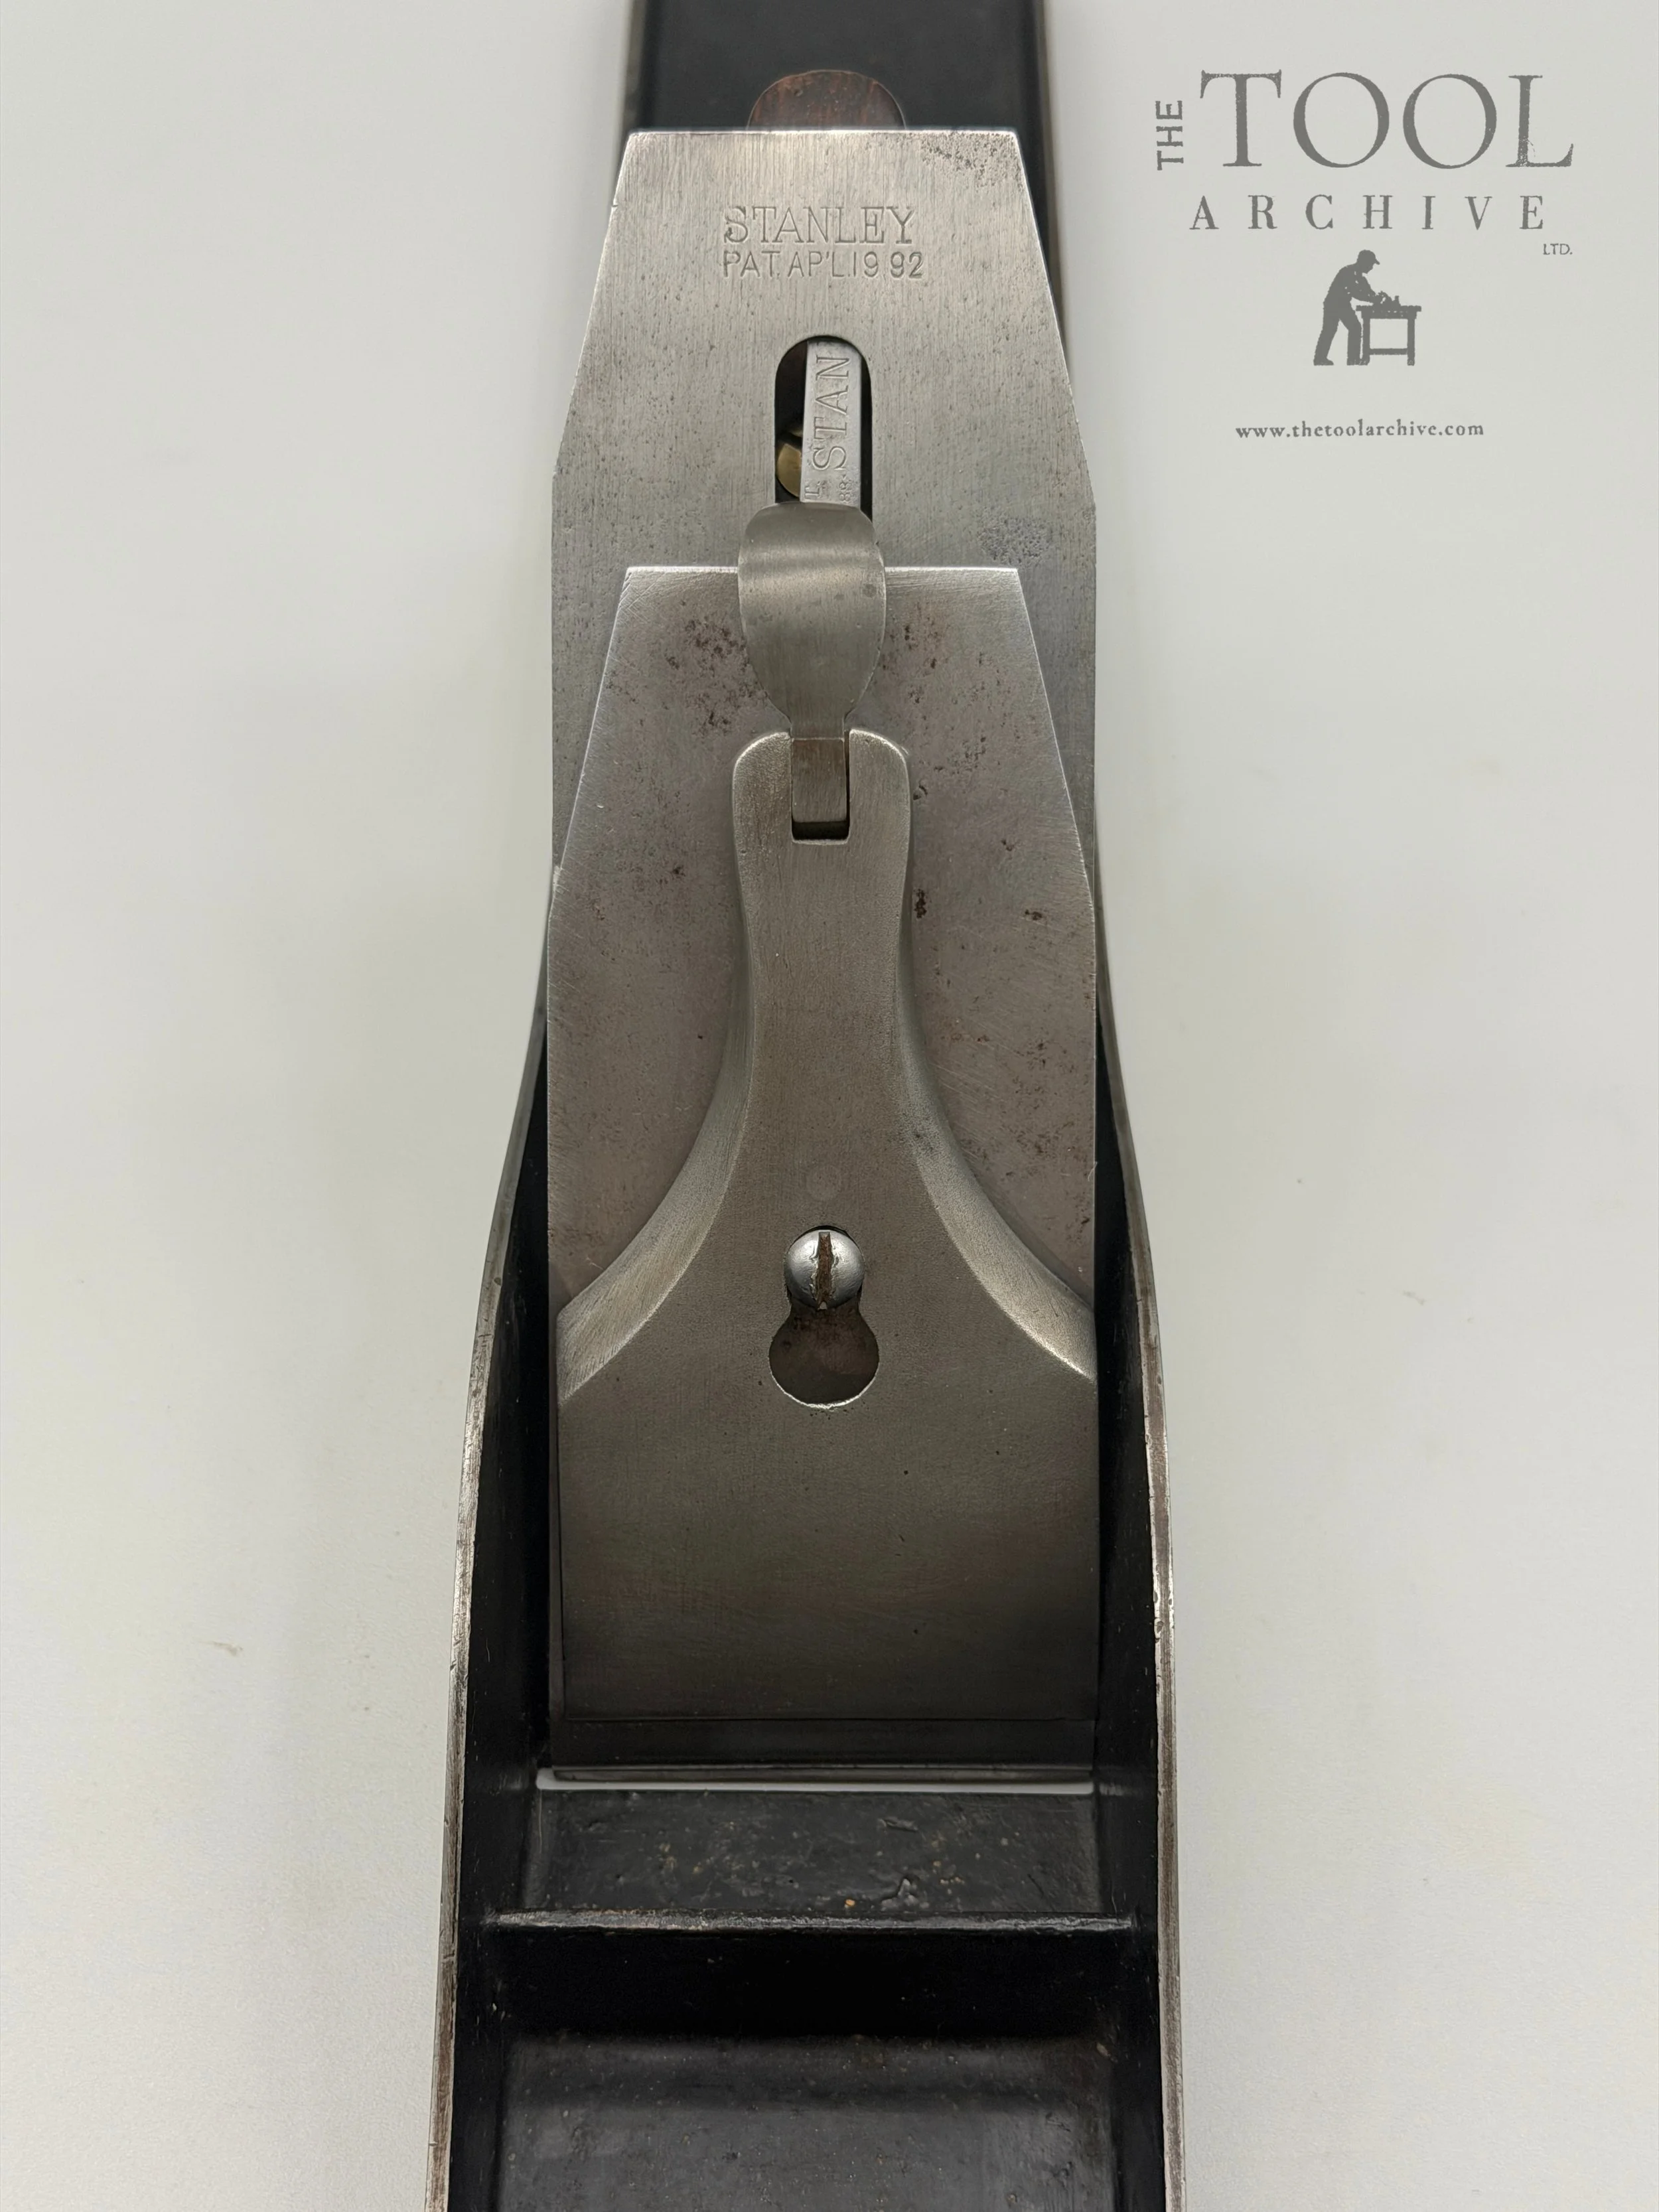
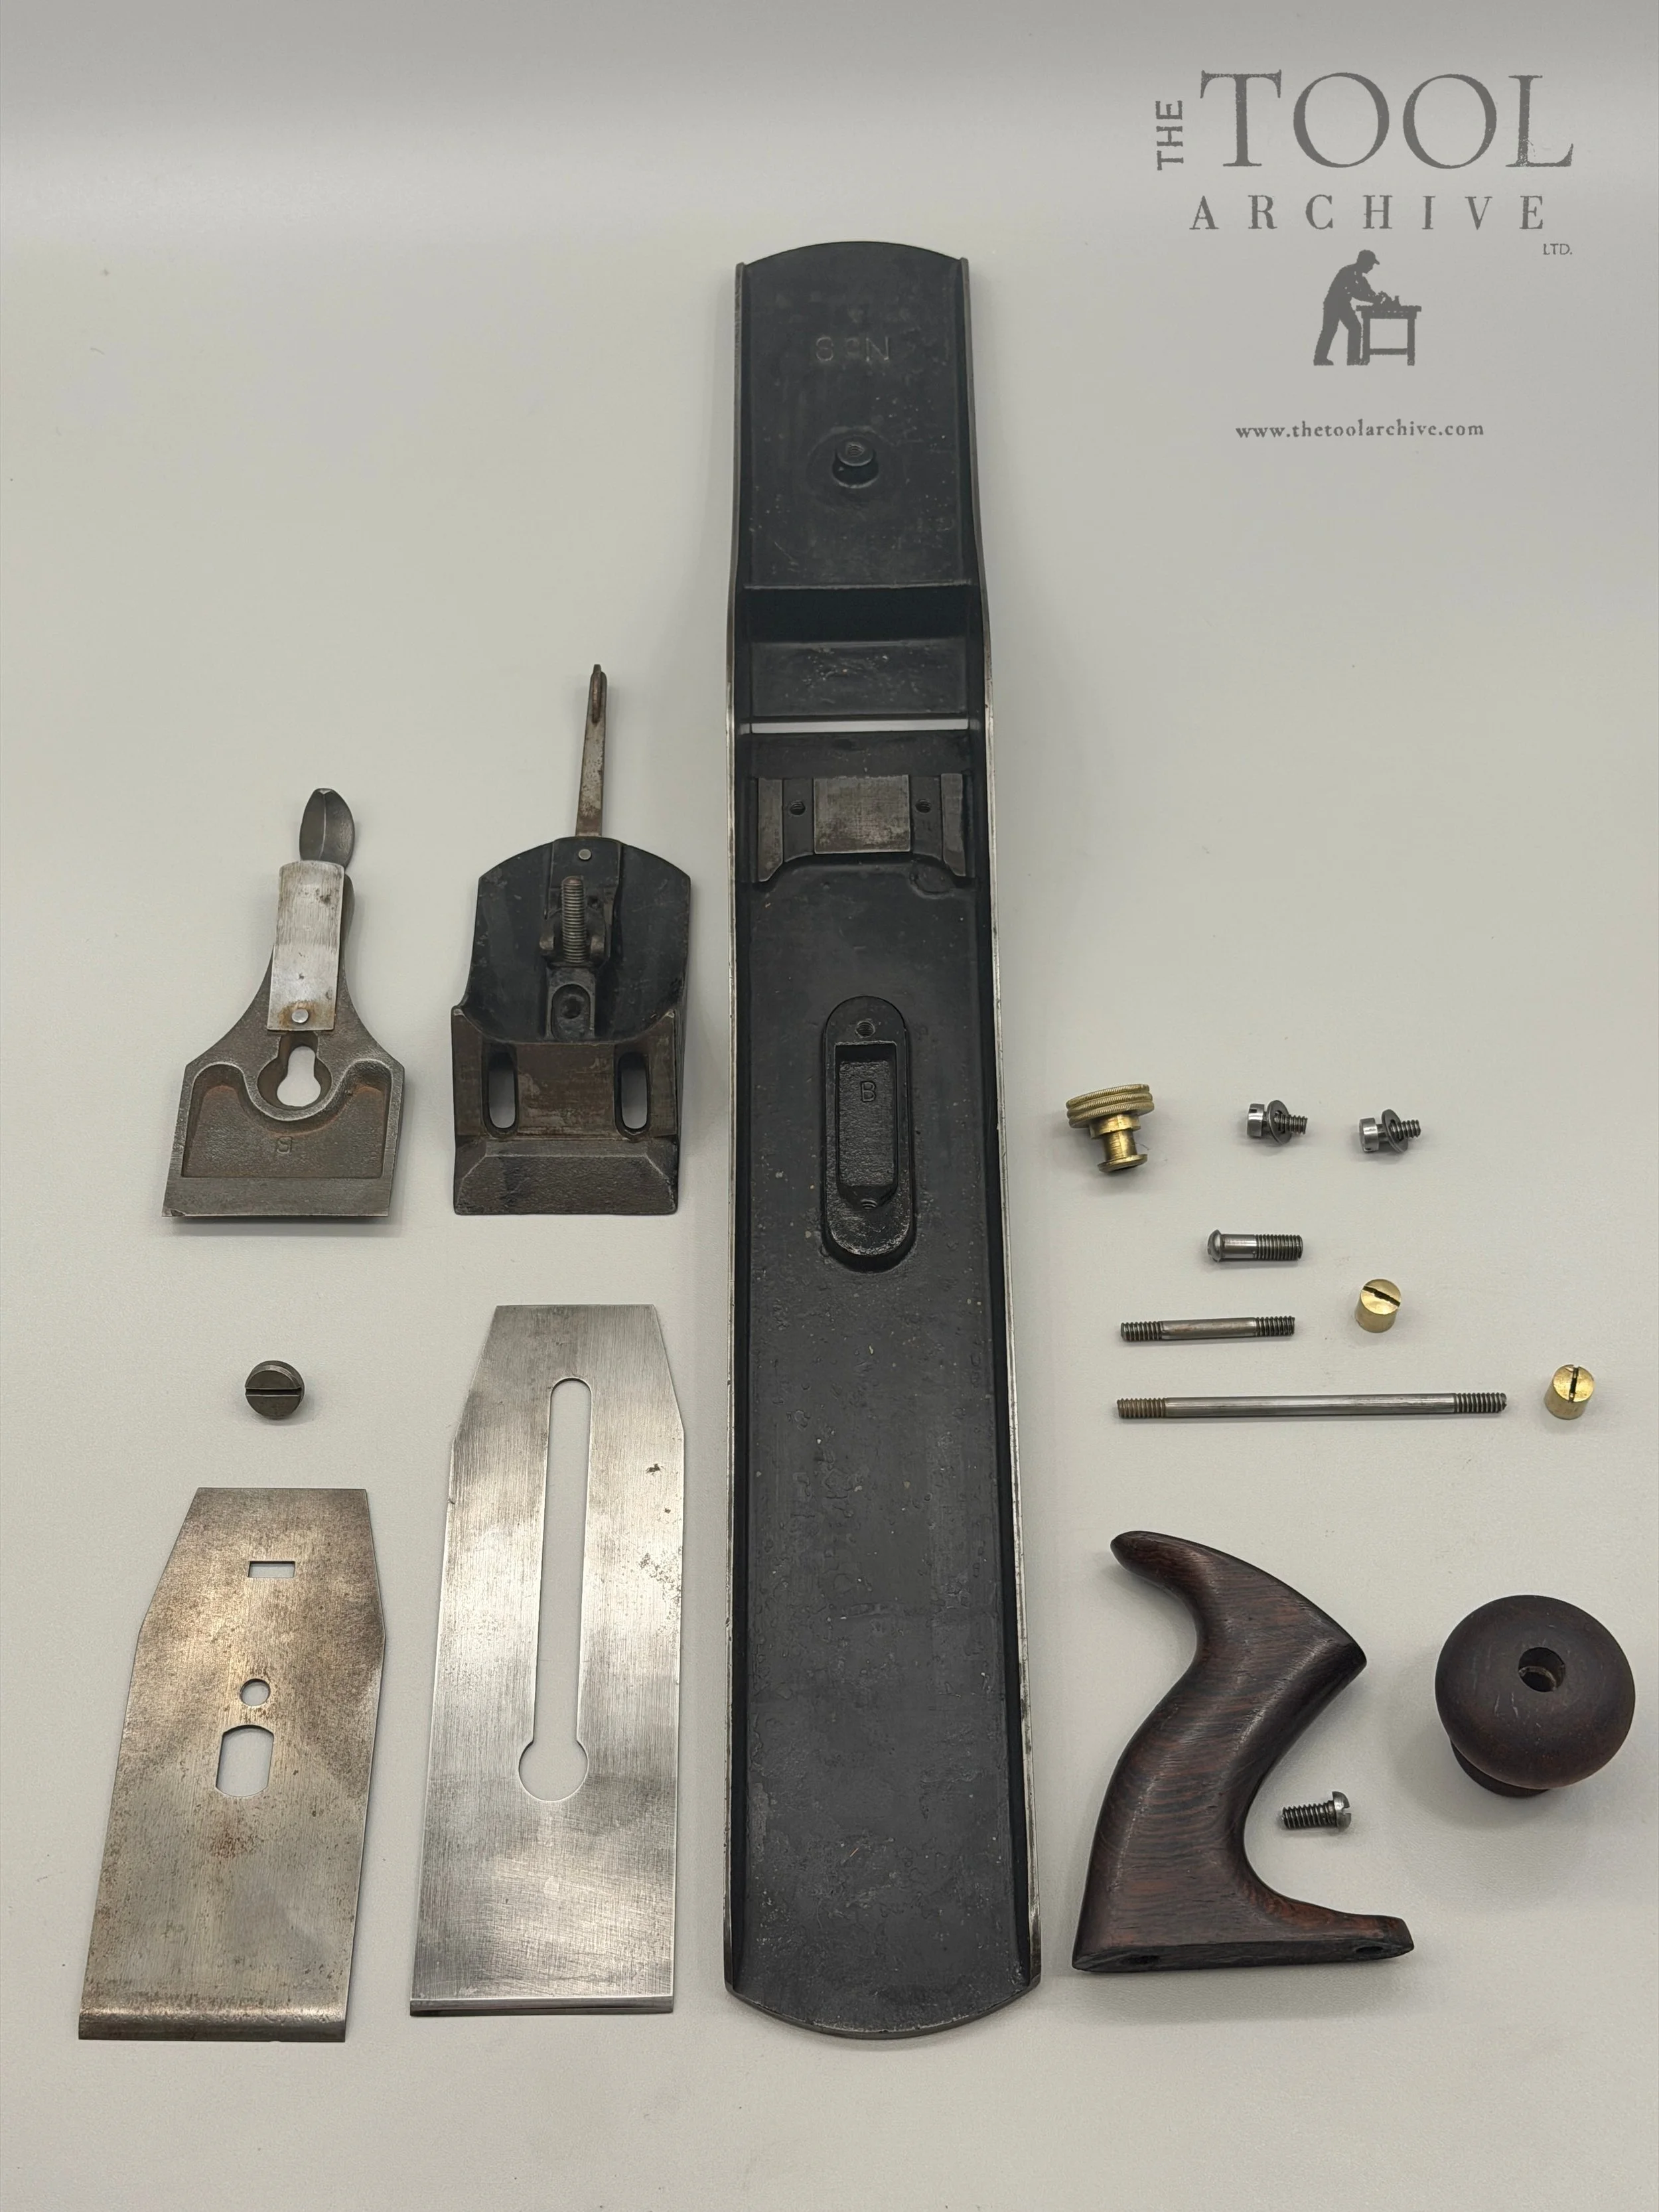
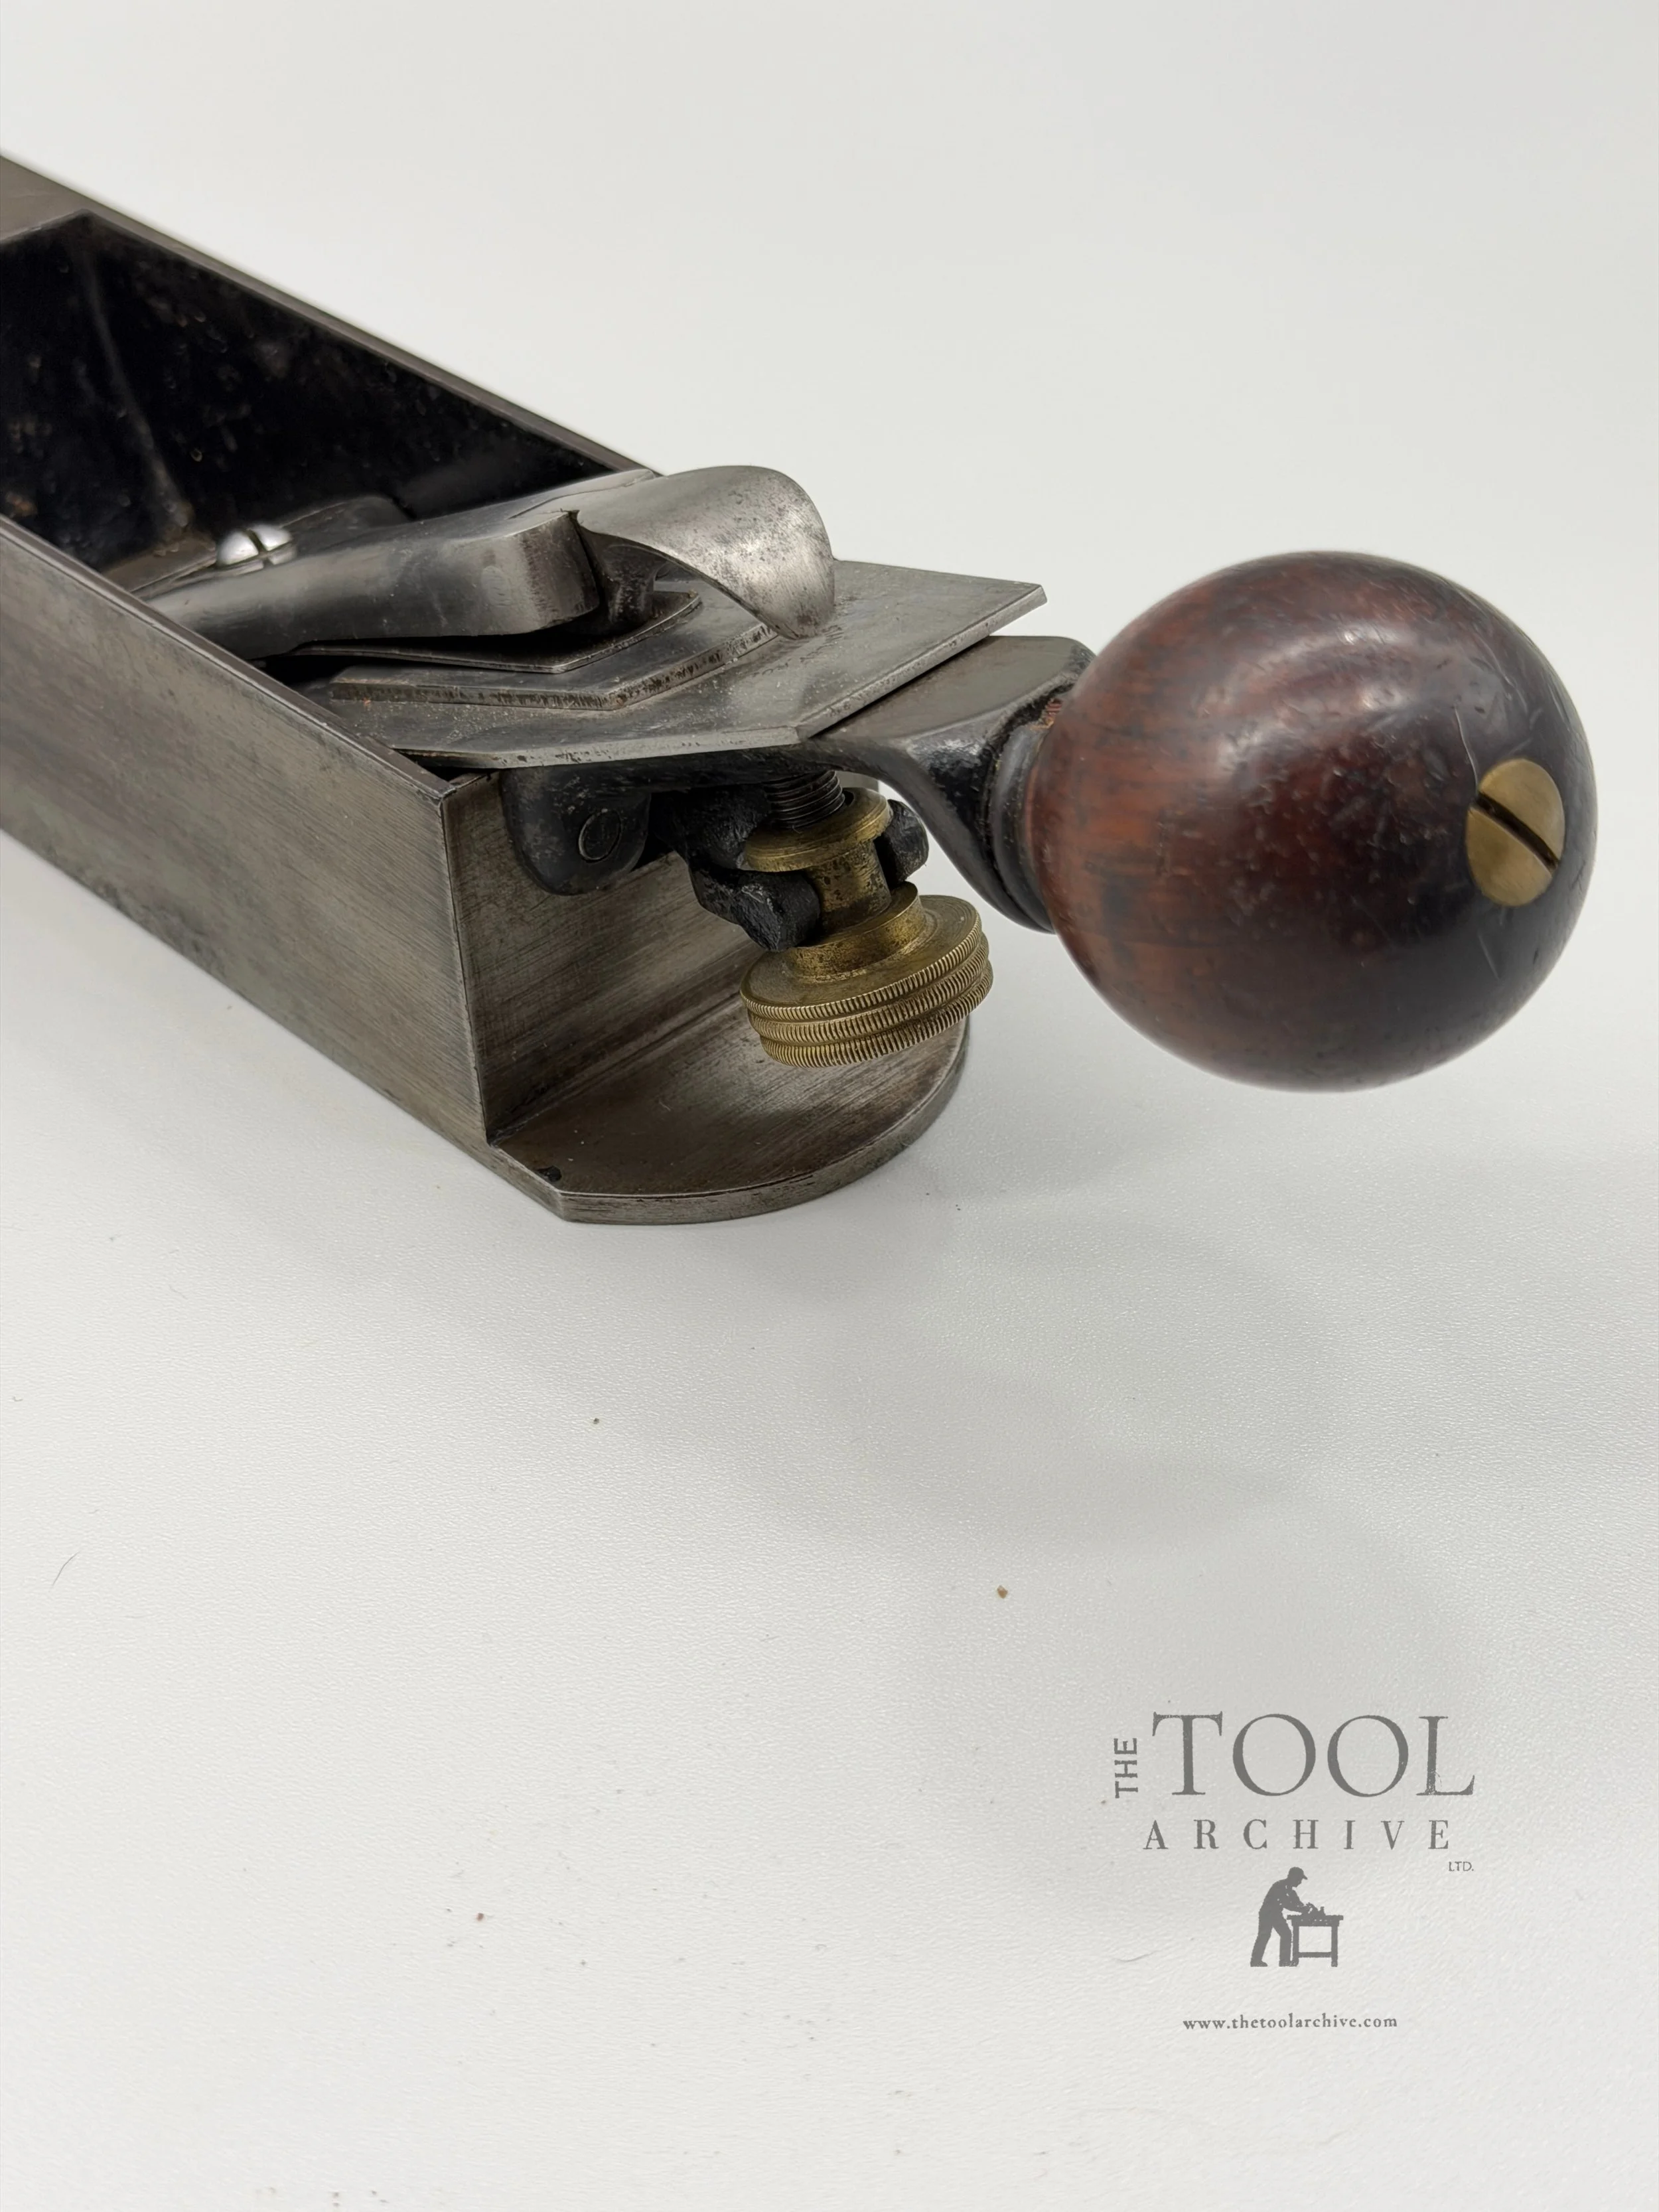
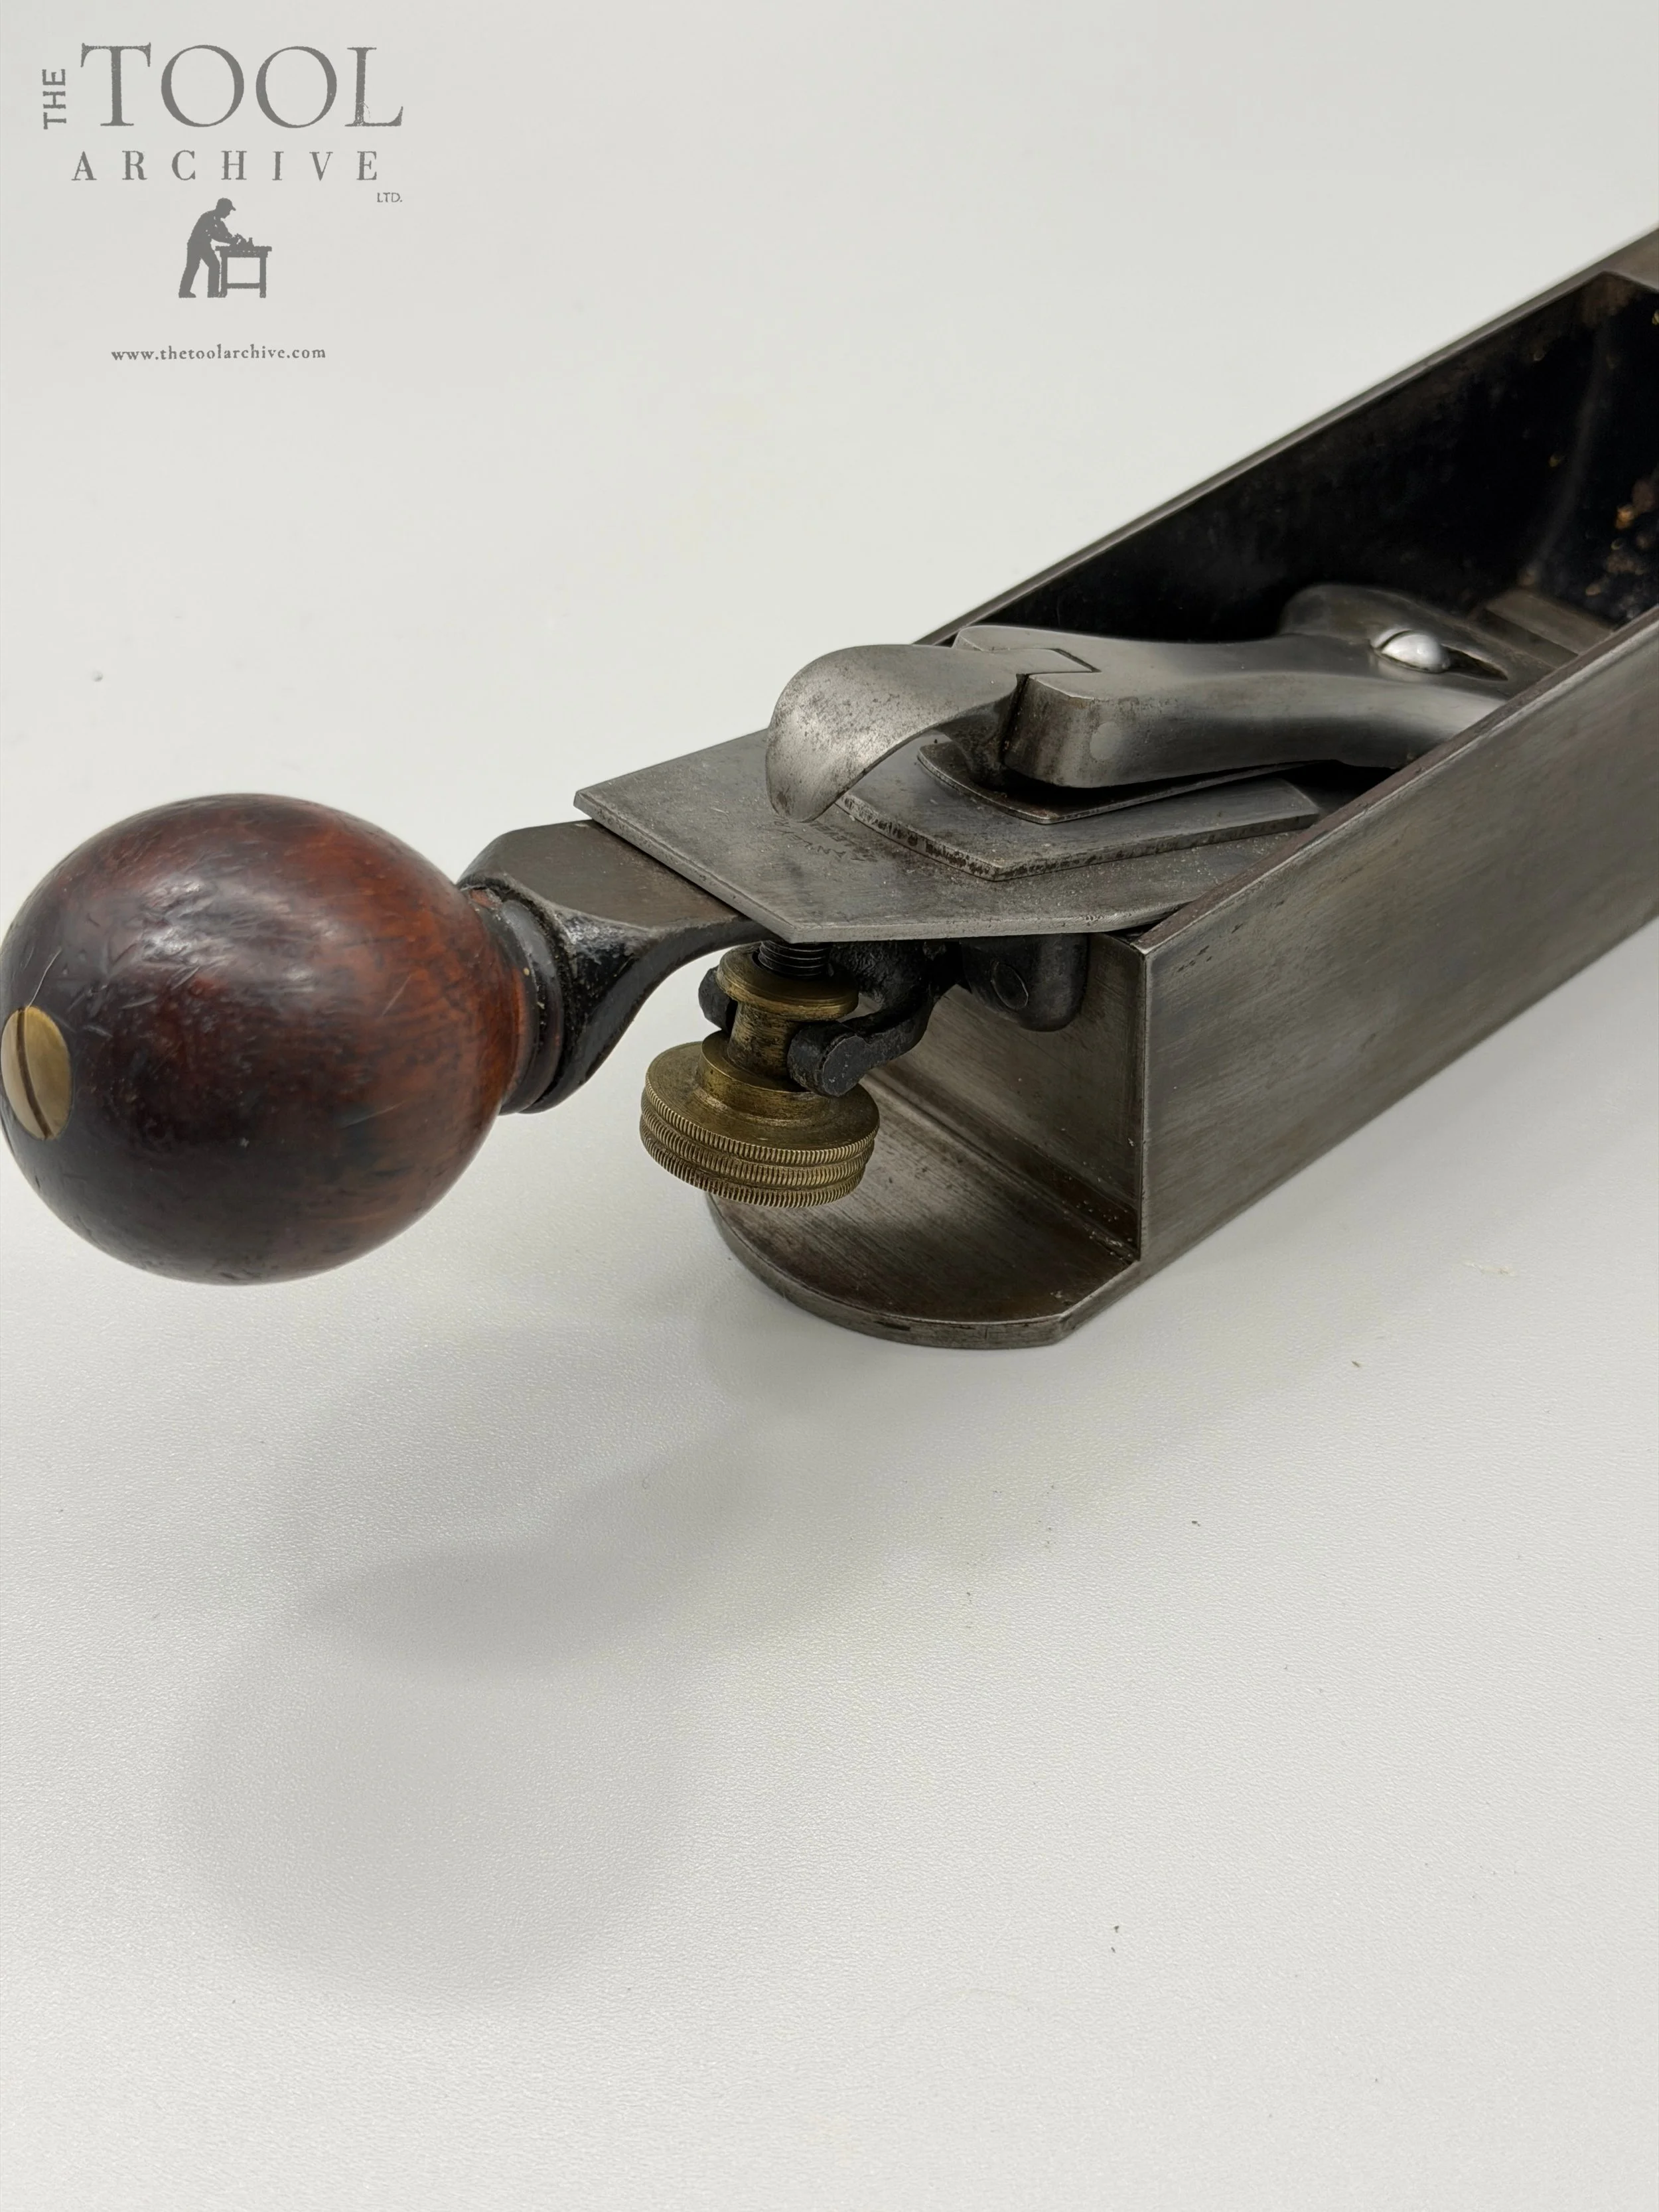
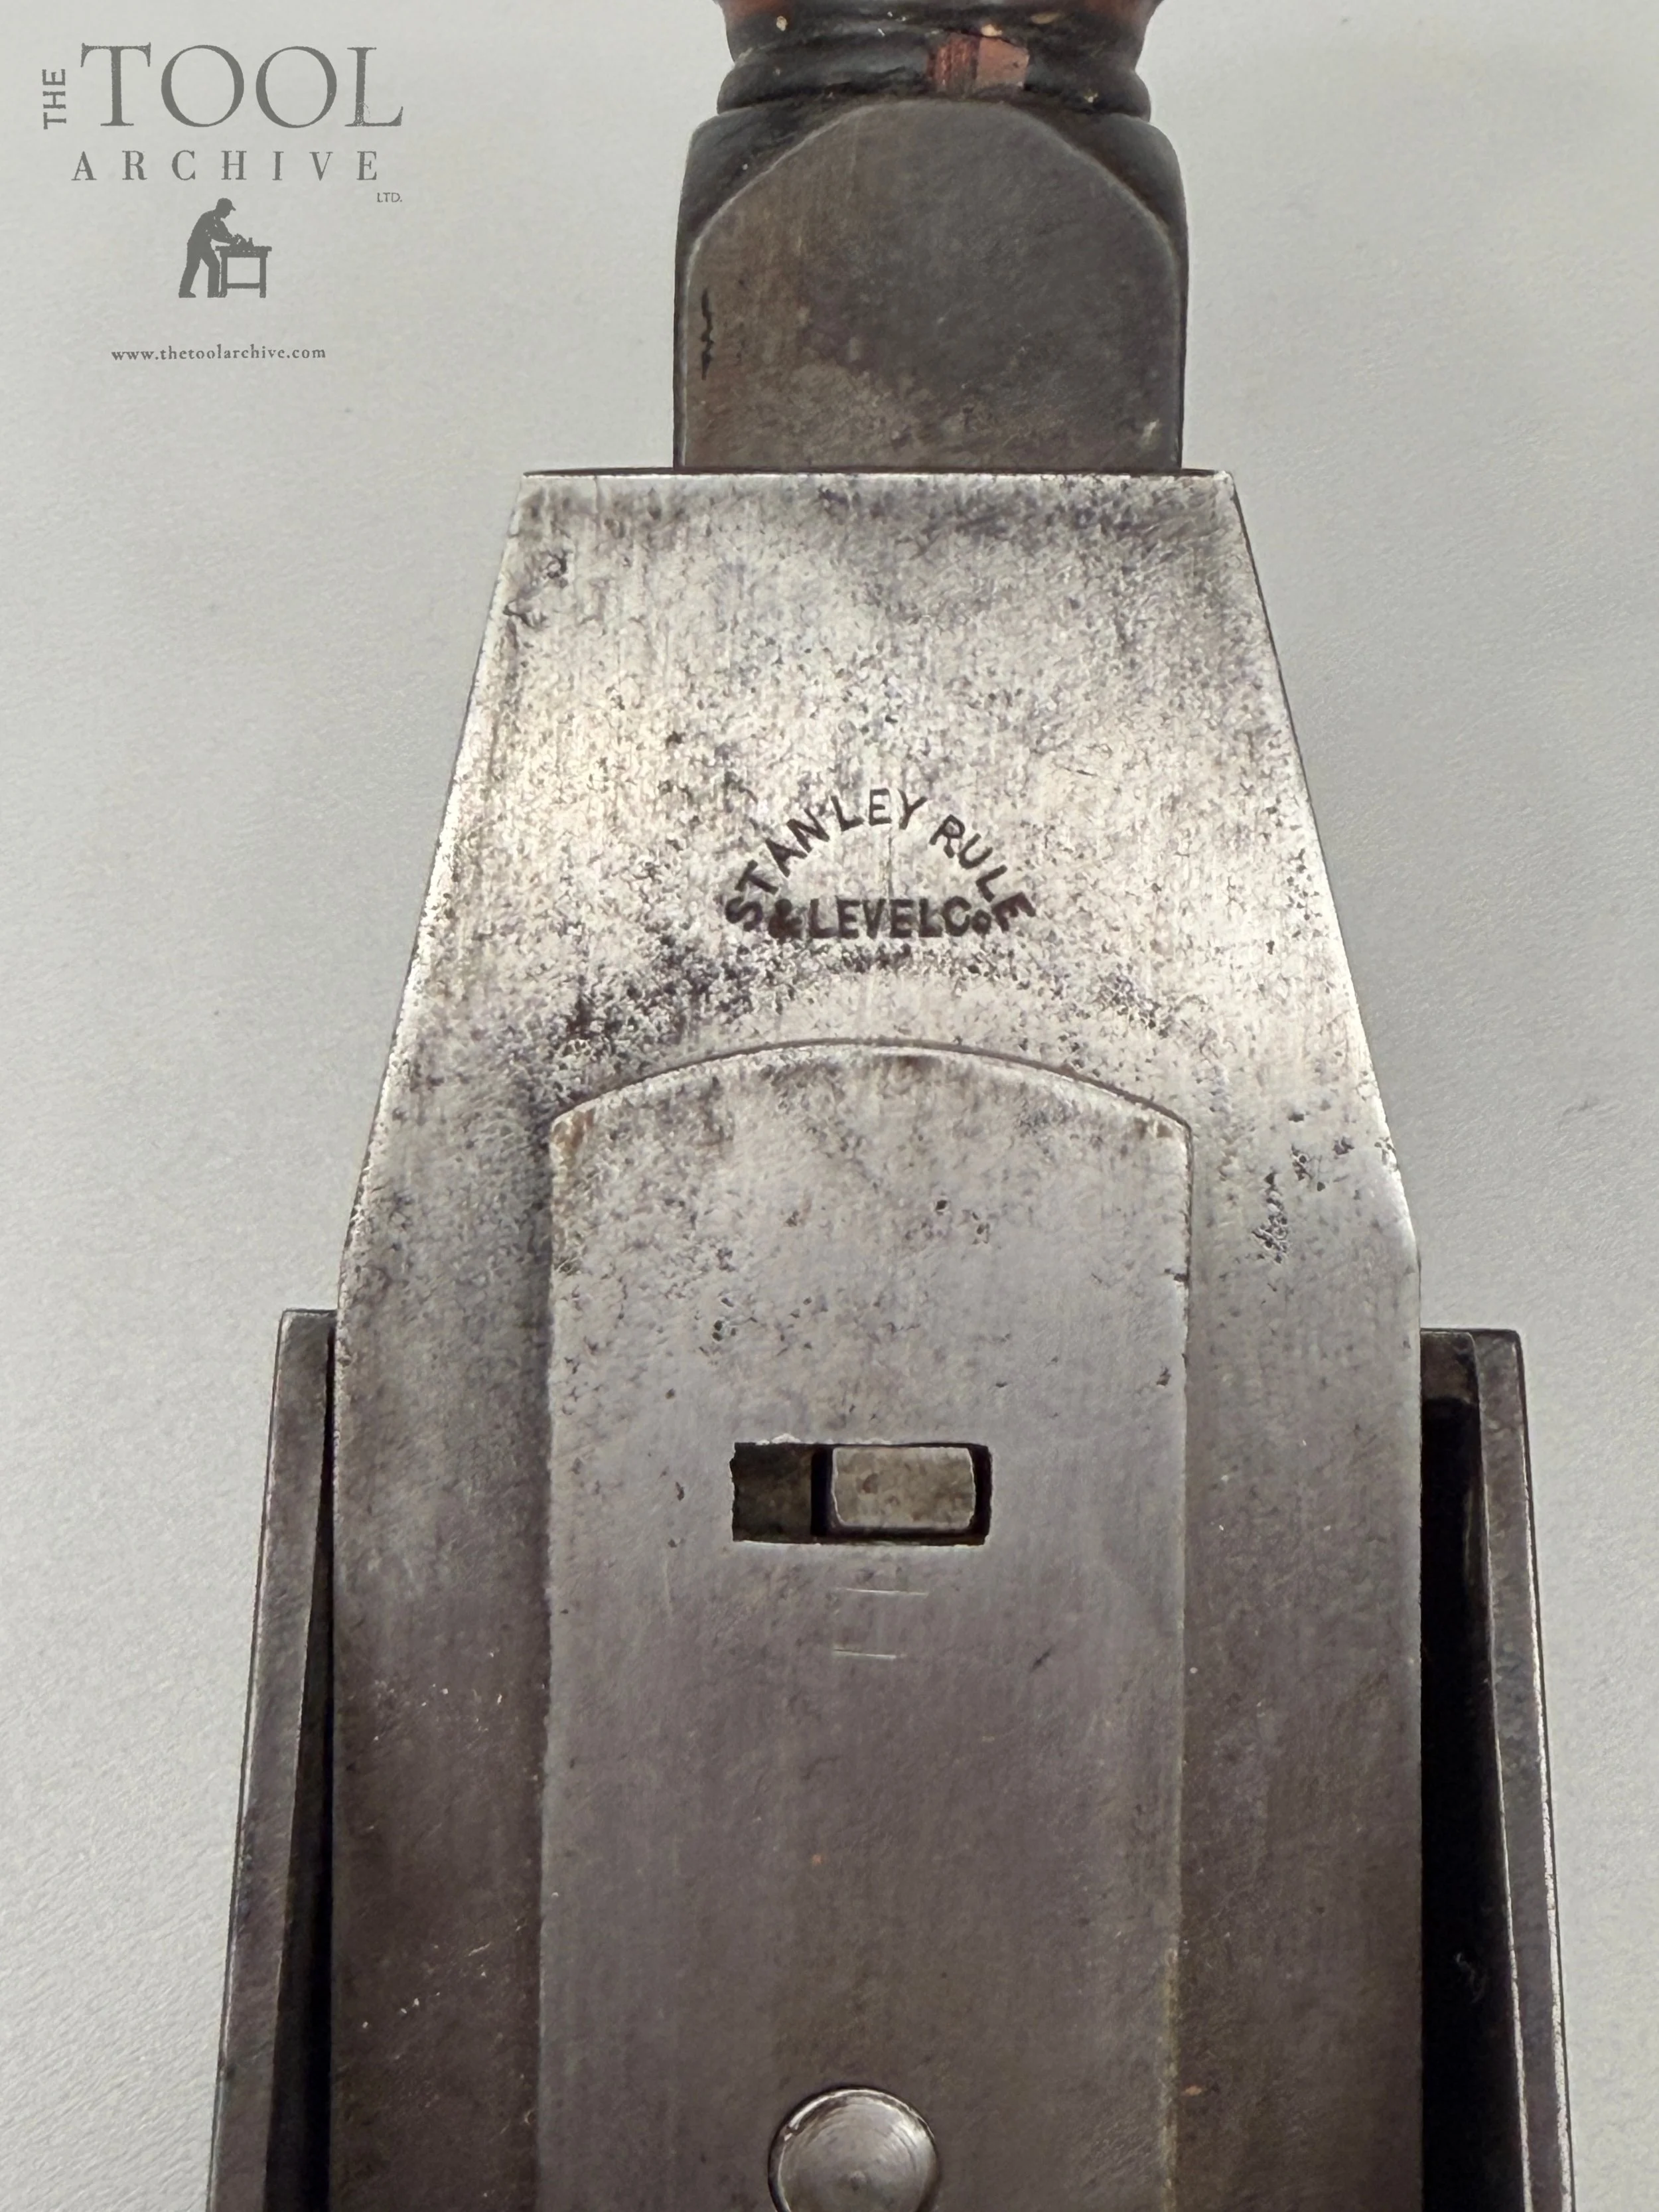
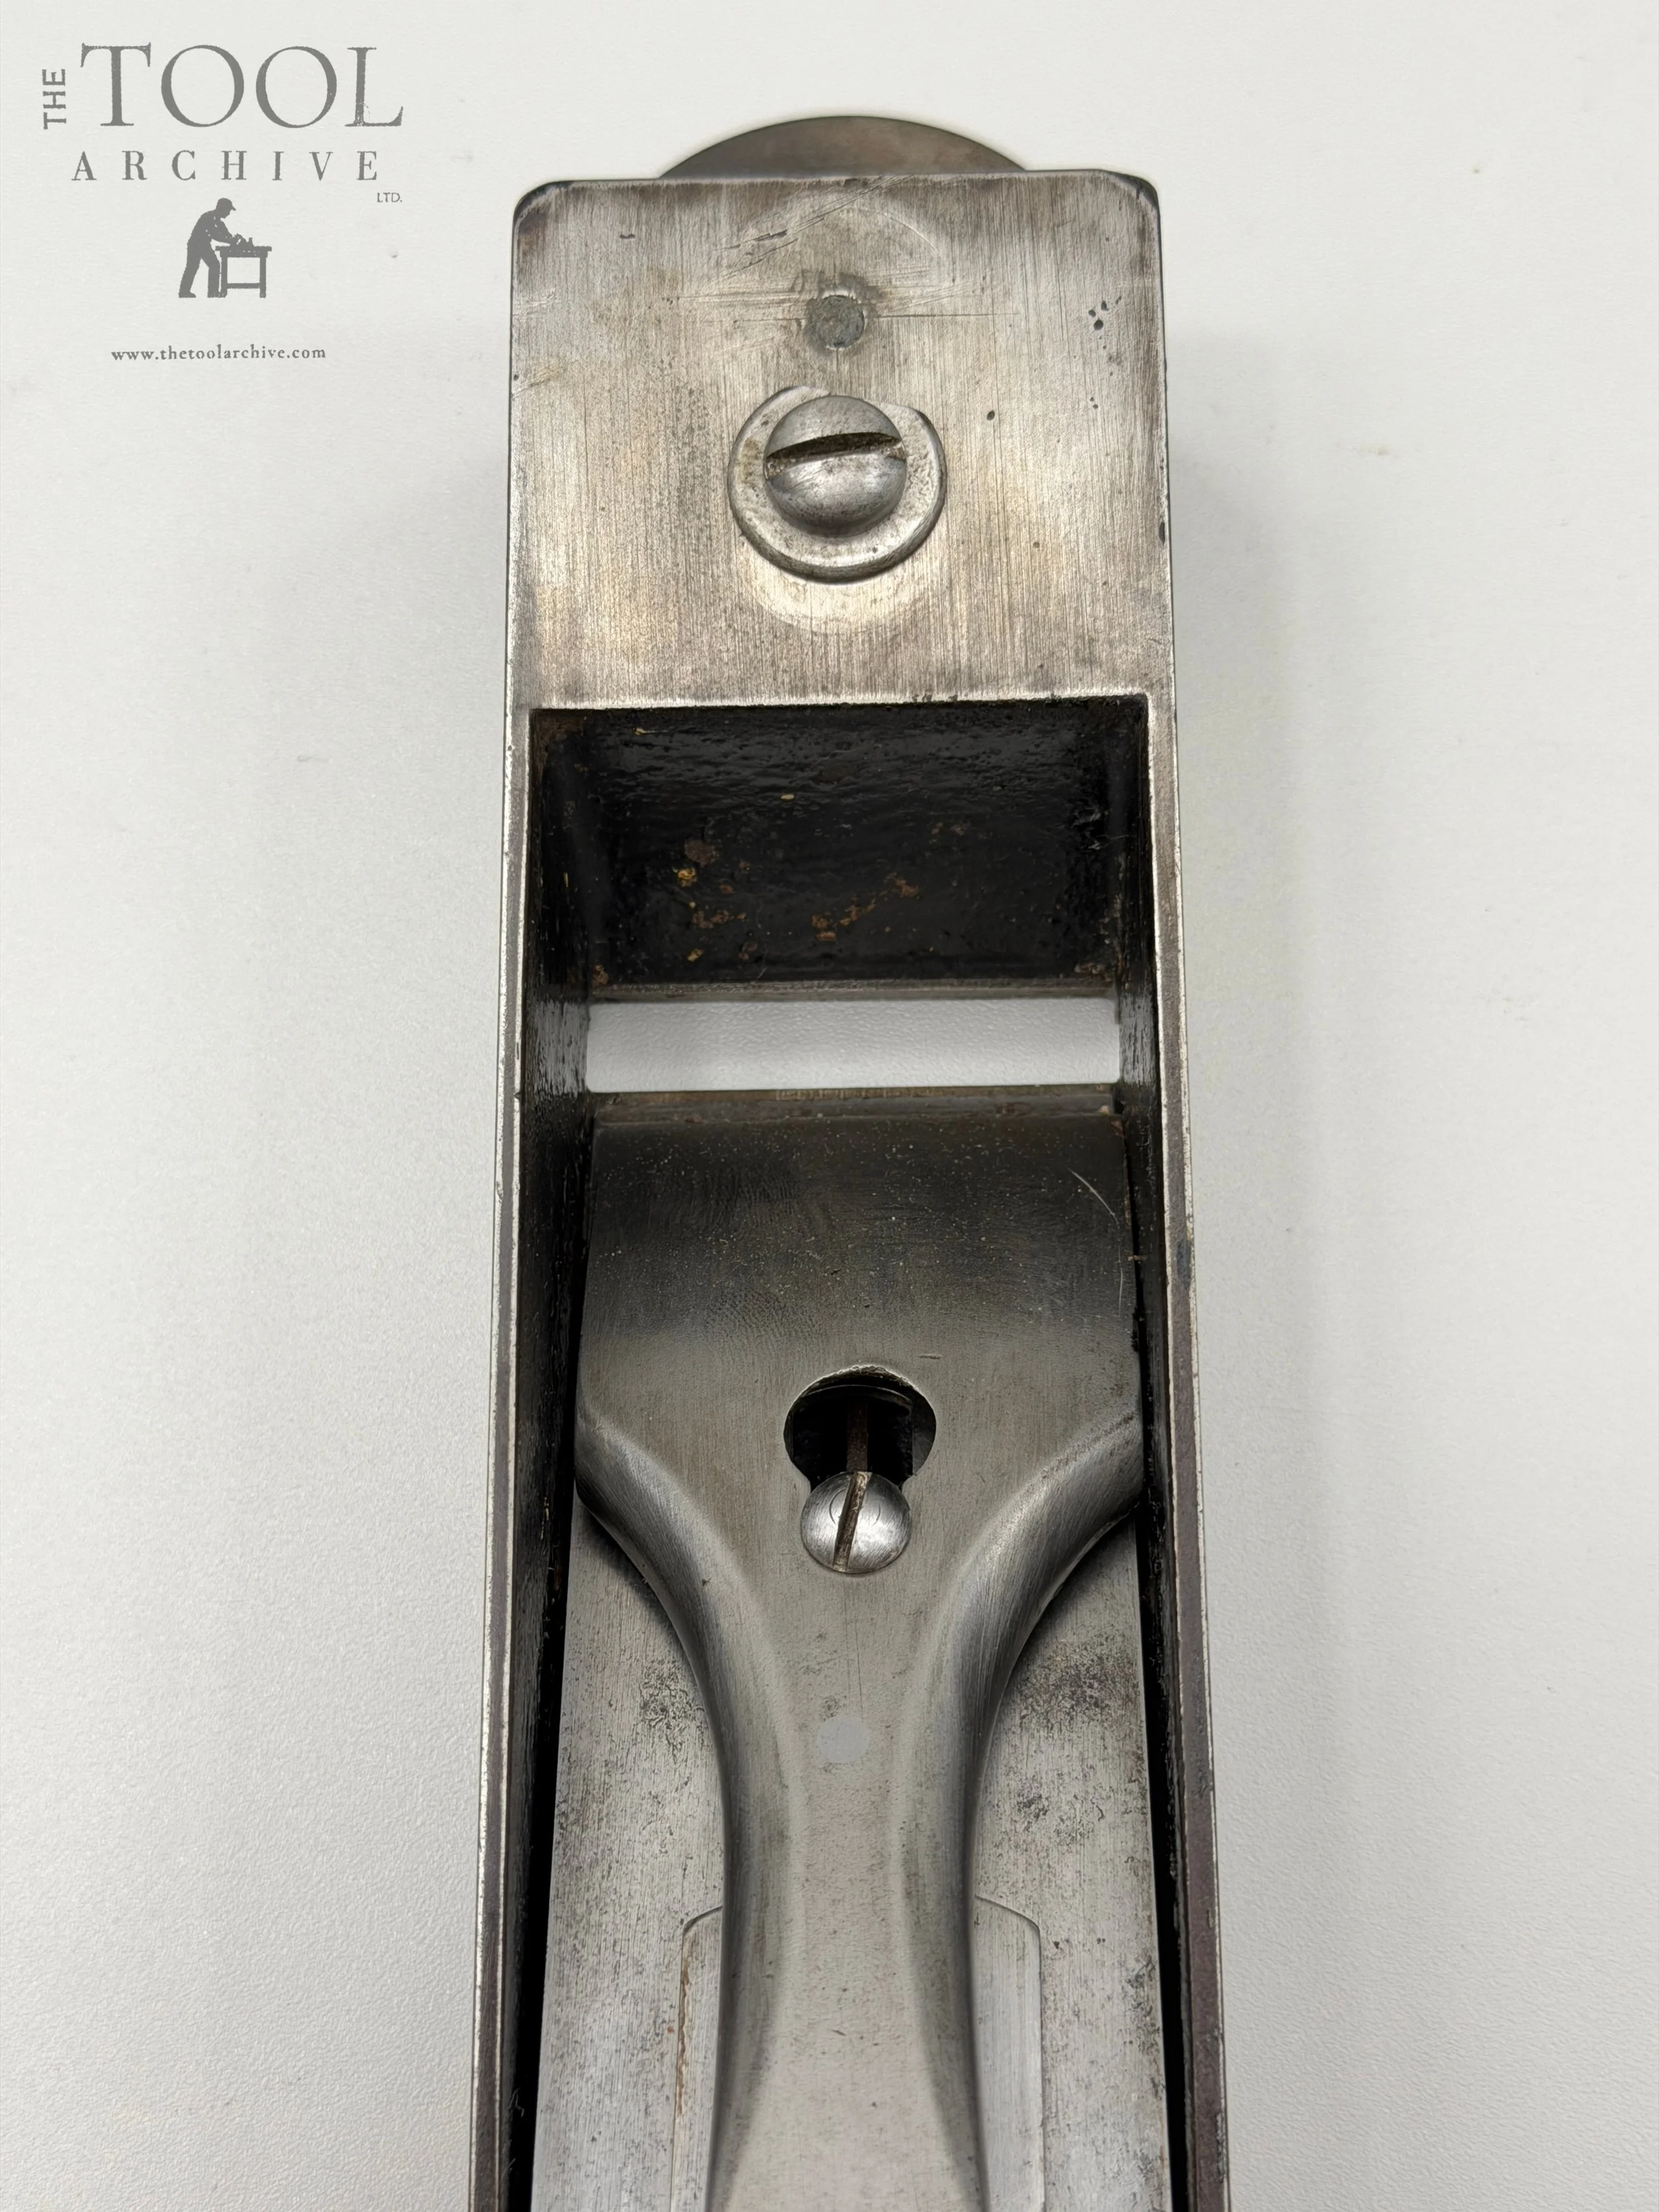
With that done, we screwed the chipbreaker on only to find at least a millimeter of space between it and the iron on one side, and contact on the other side. Yep, twisted! How? No clue. But through a combination of targeted bending and sandpaper grinding the chipbreaker edge, we got it mating well enough that nothing’s going to get in there.
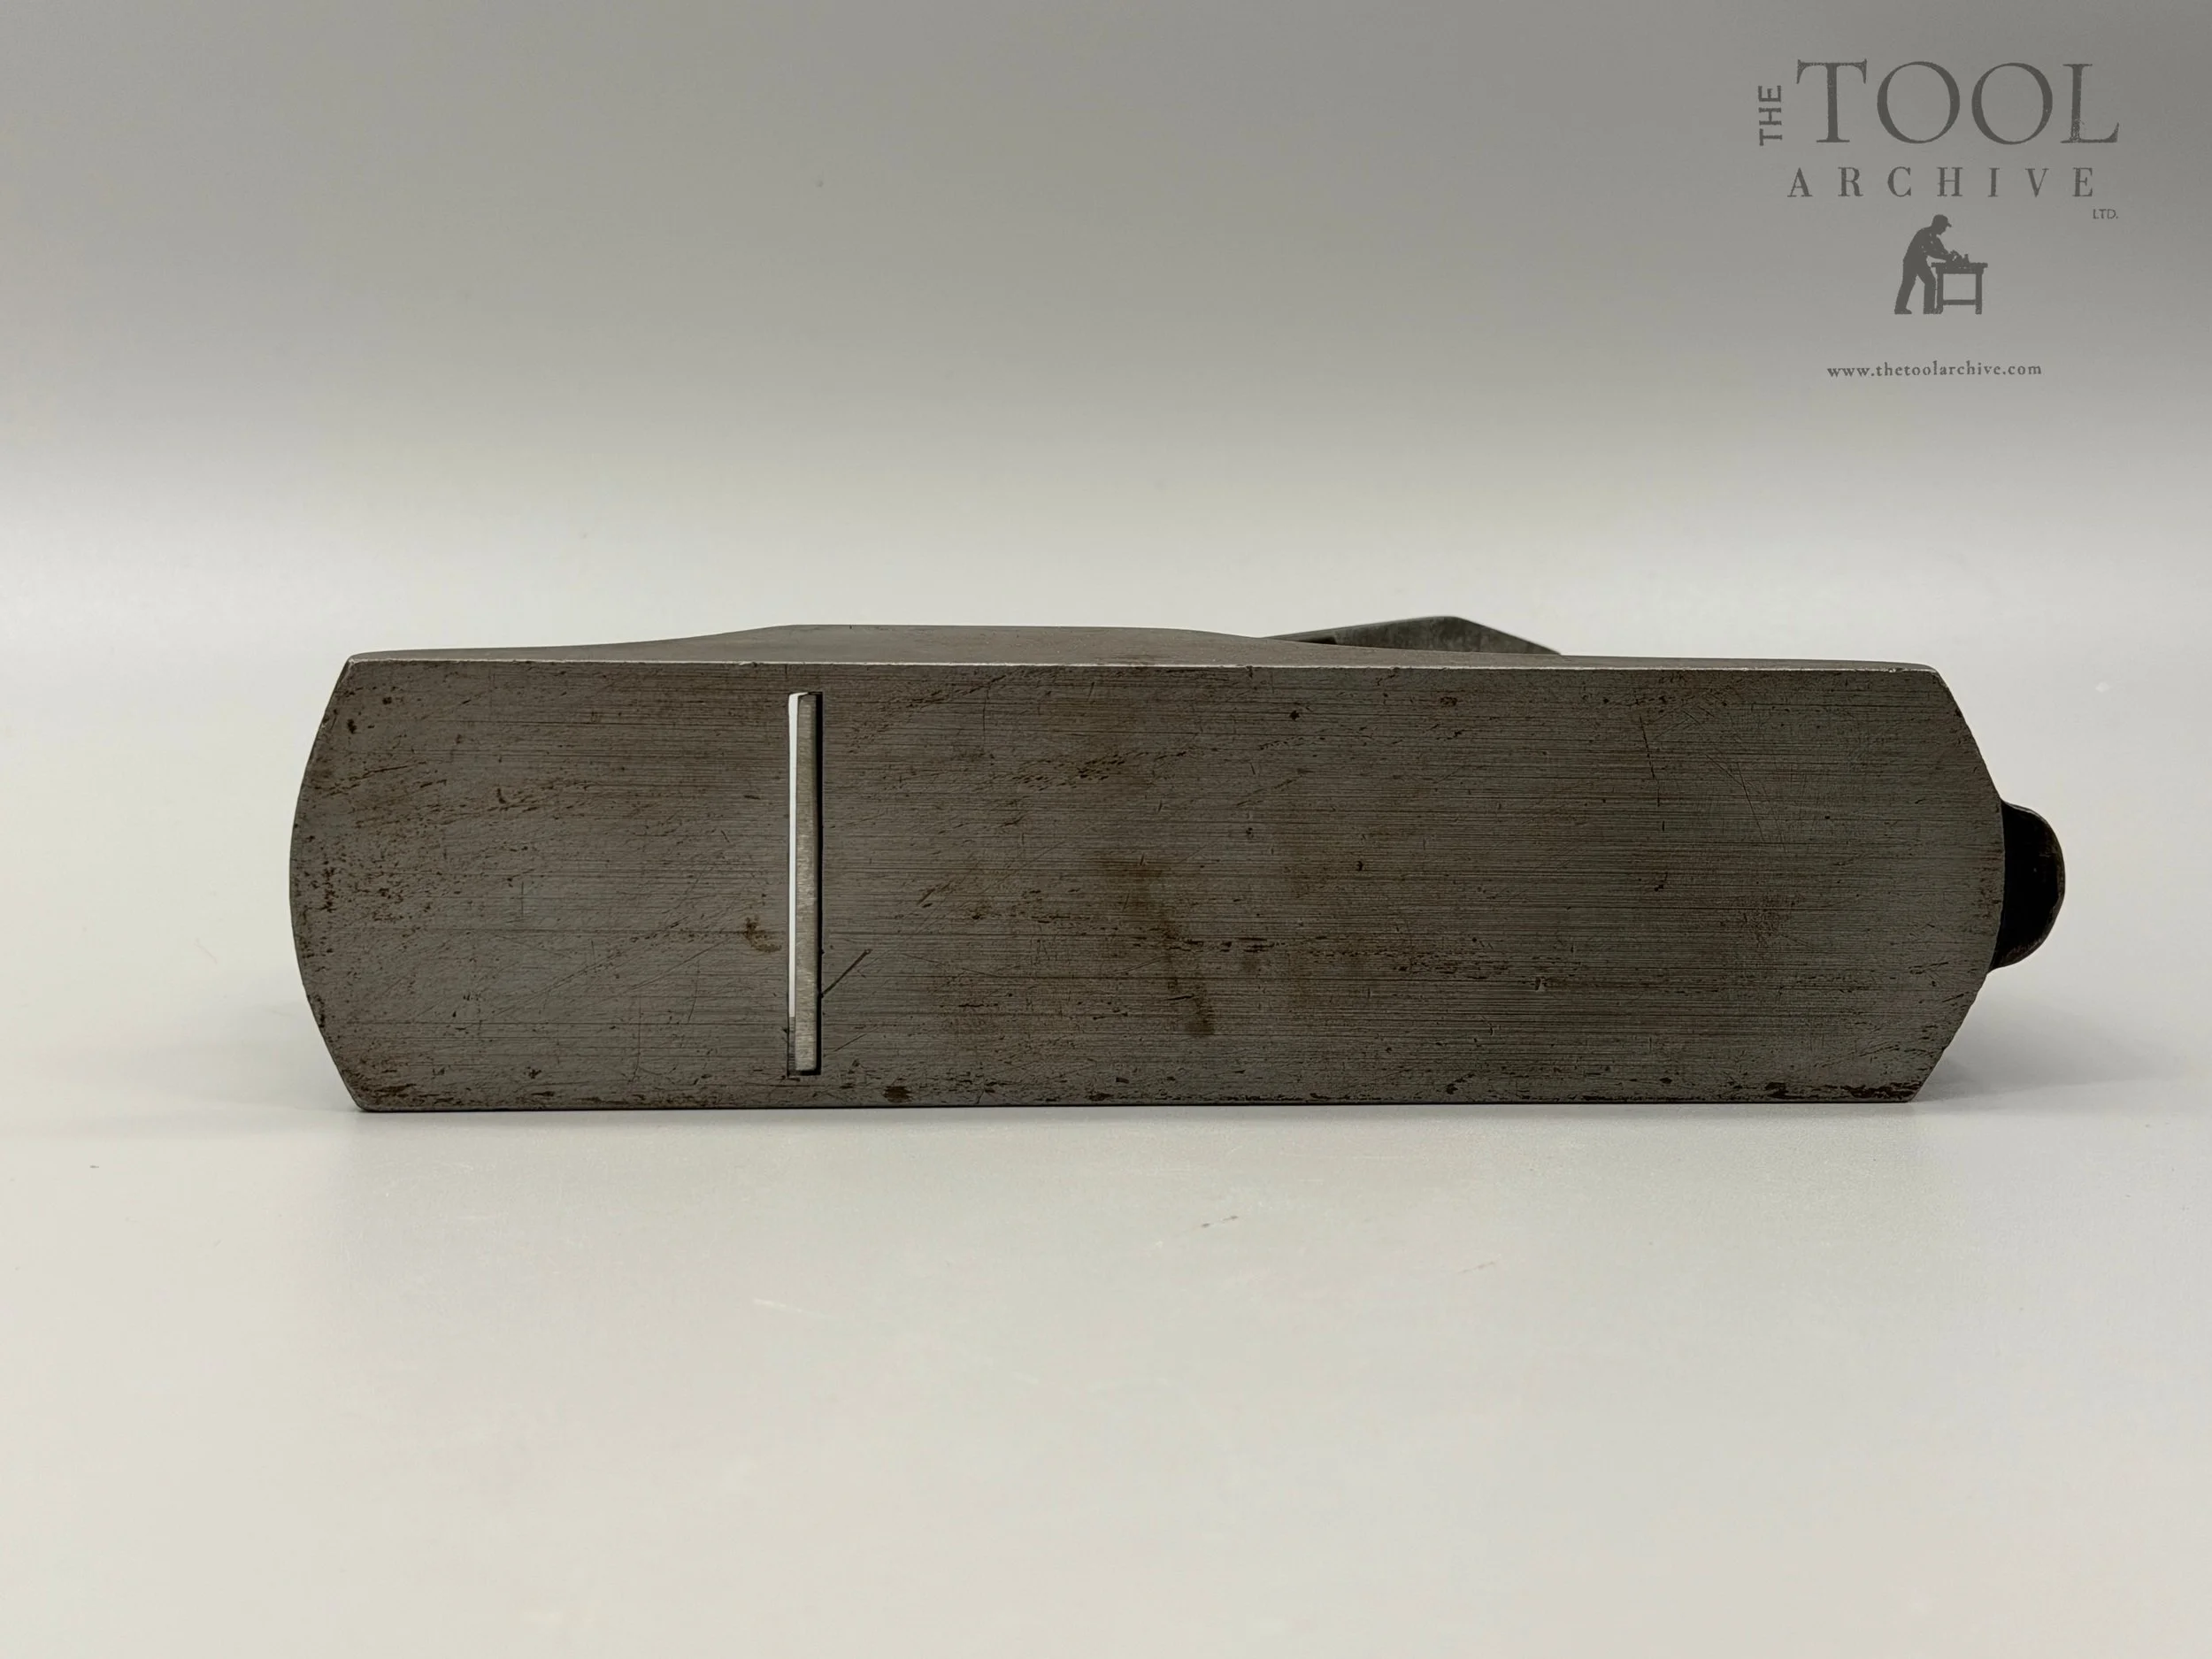
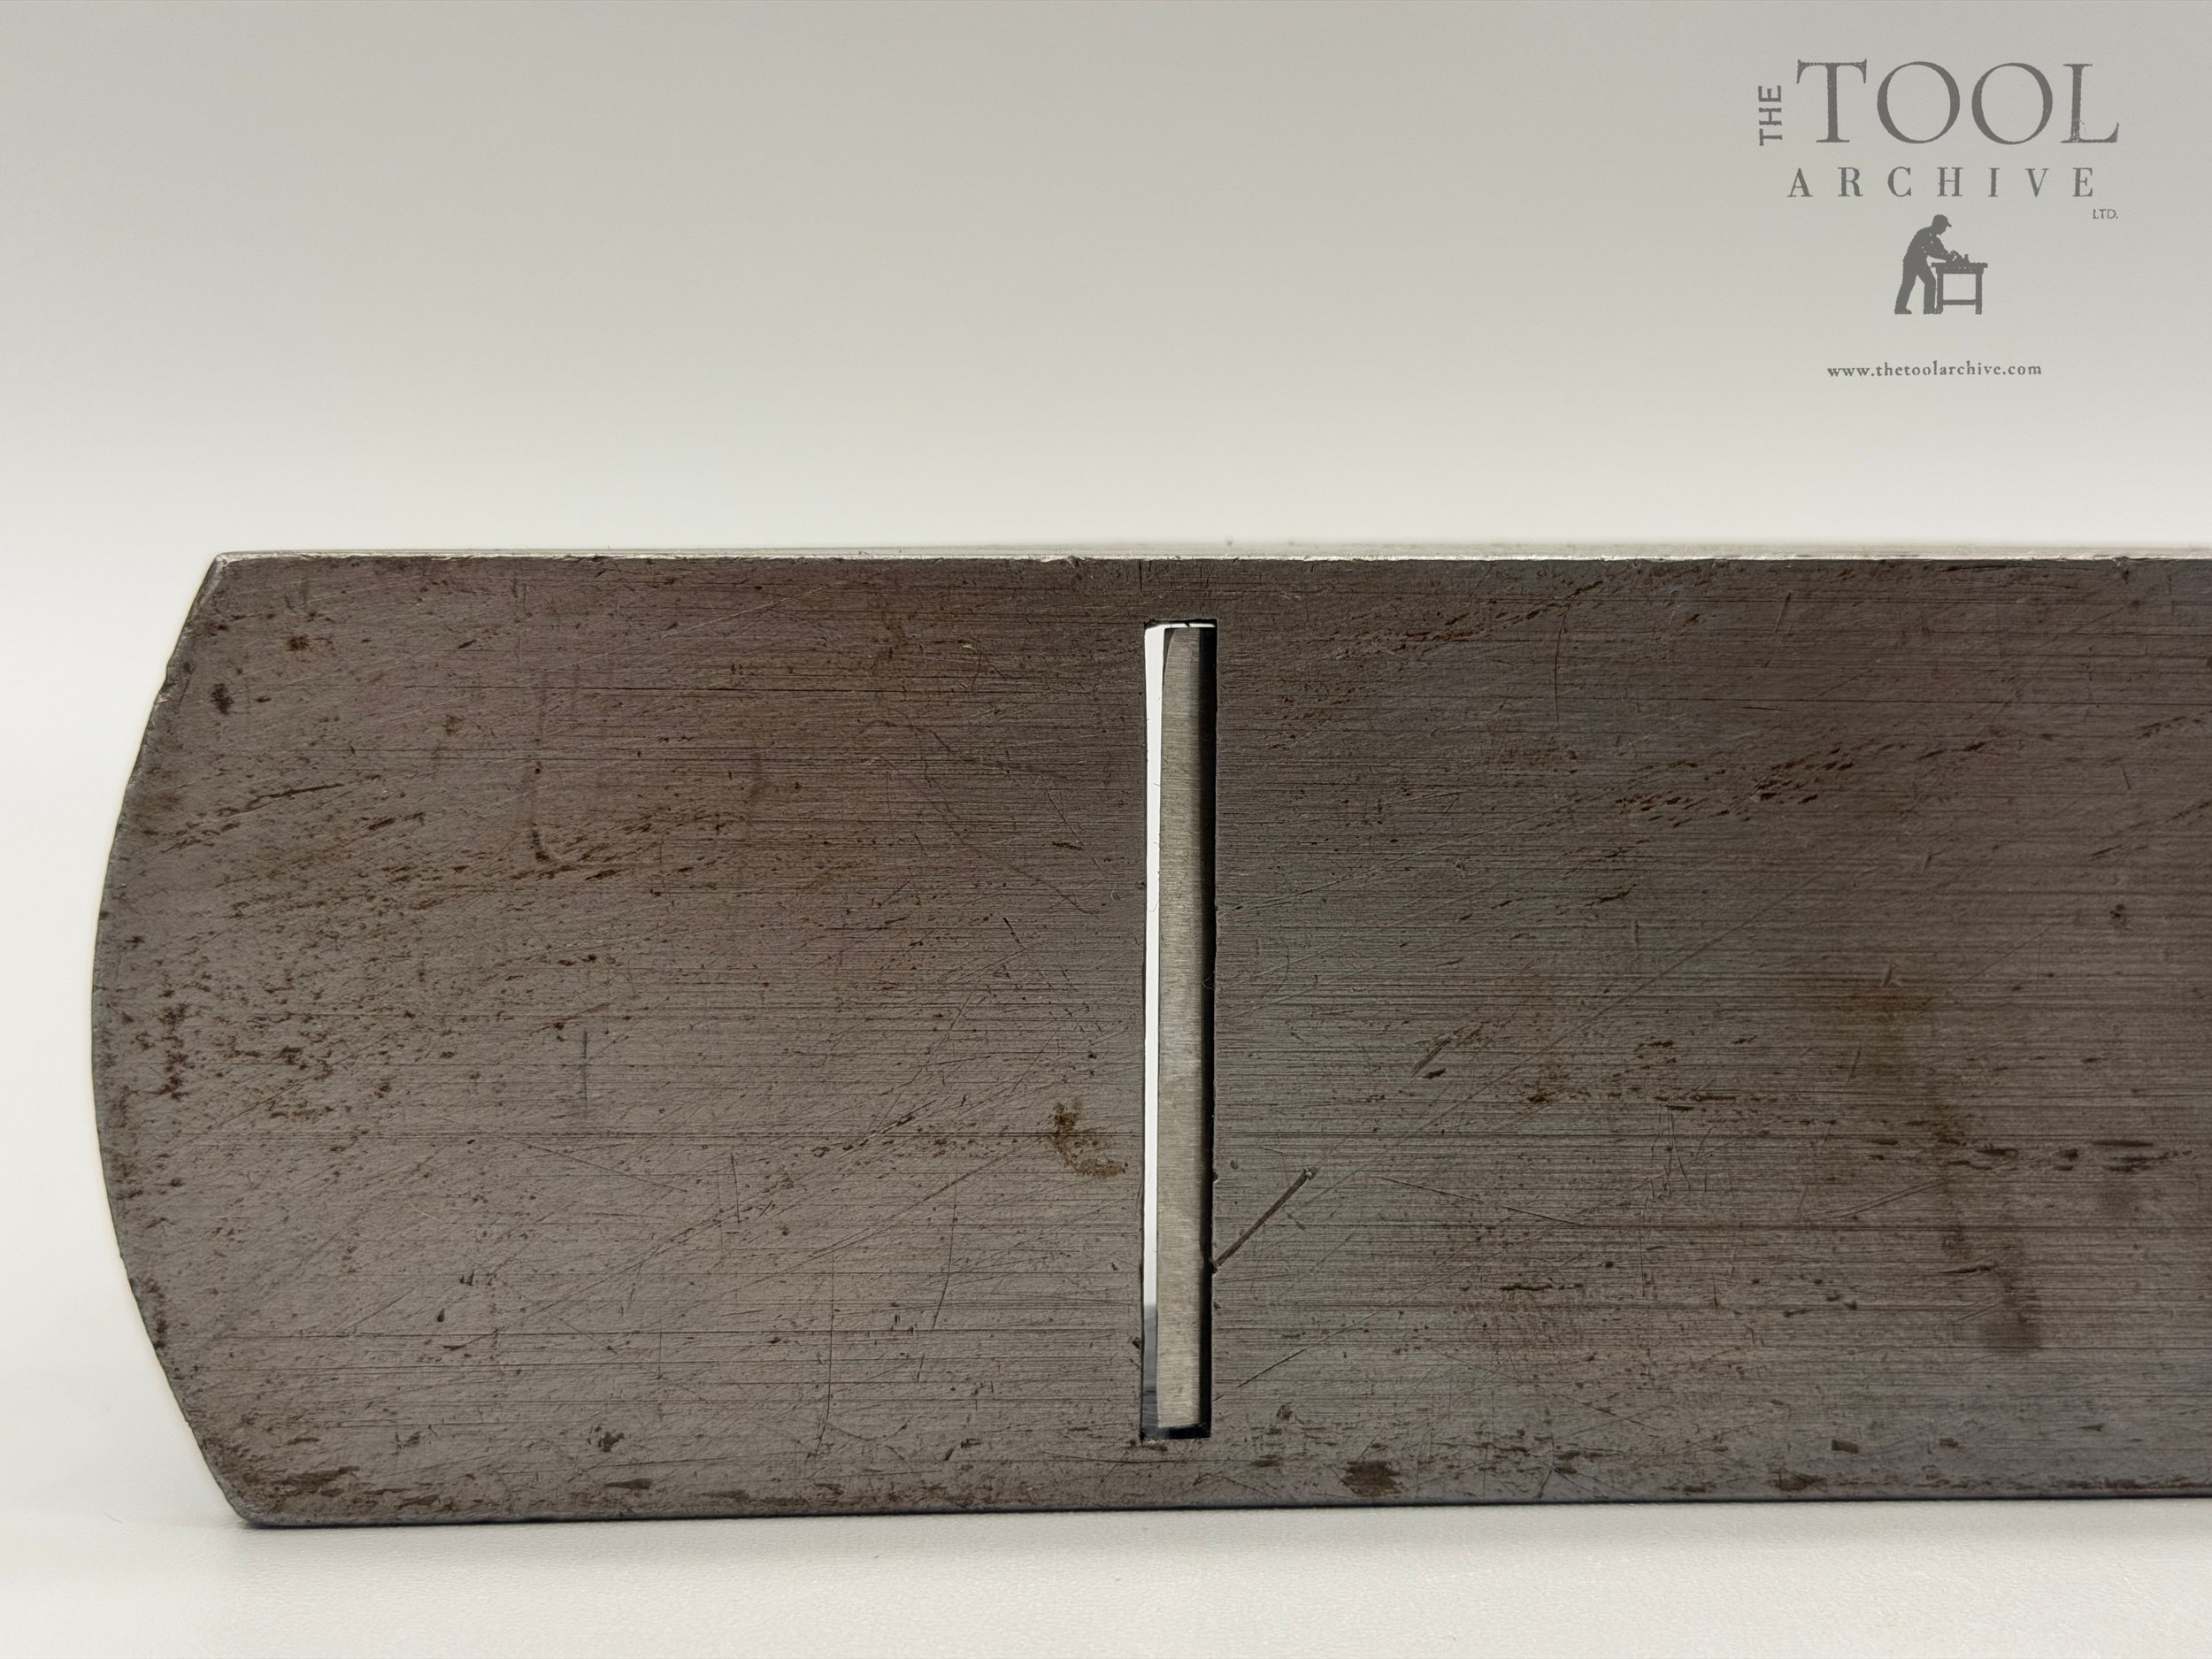
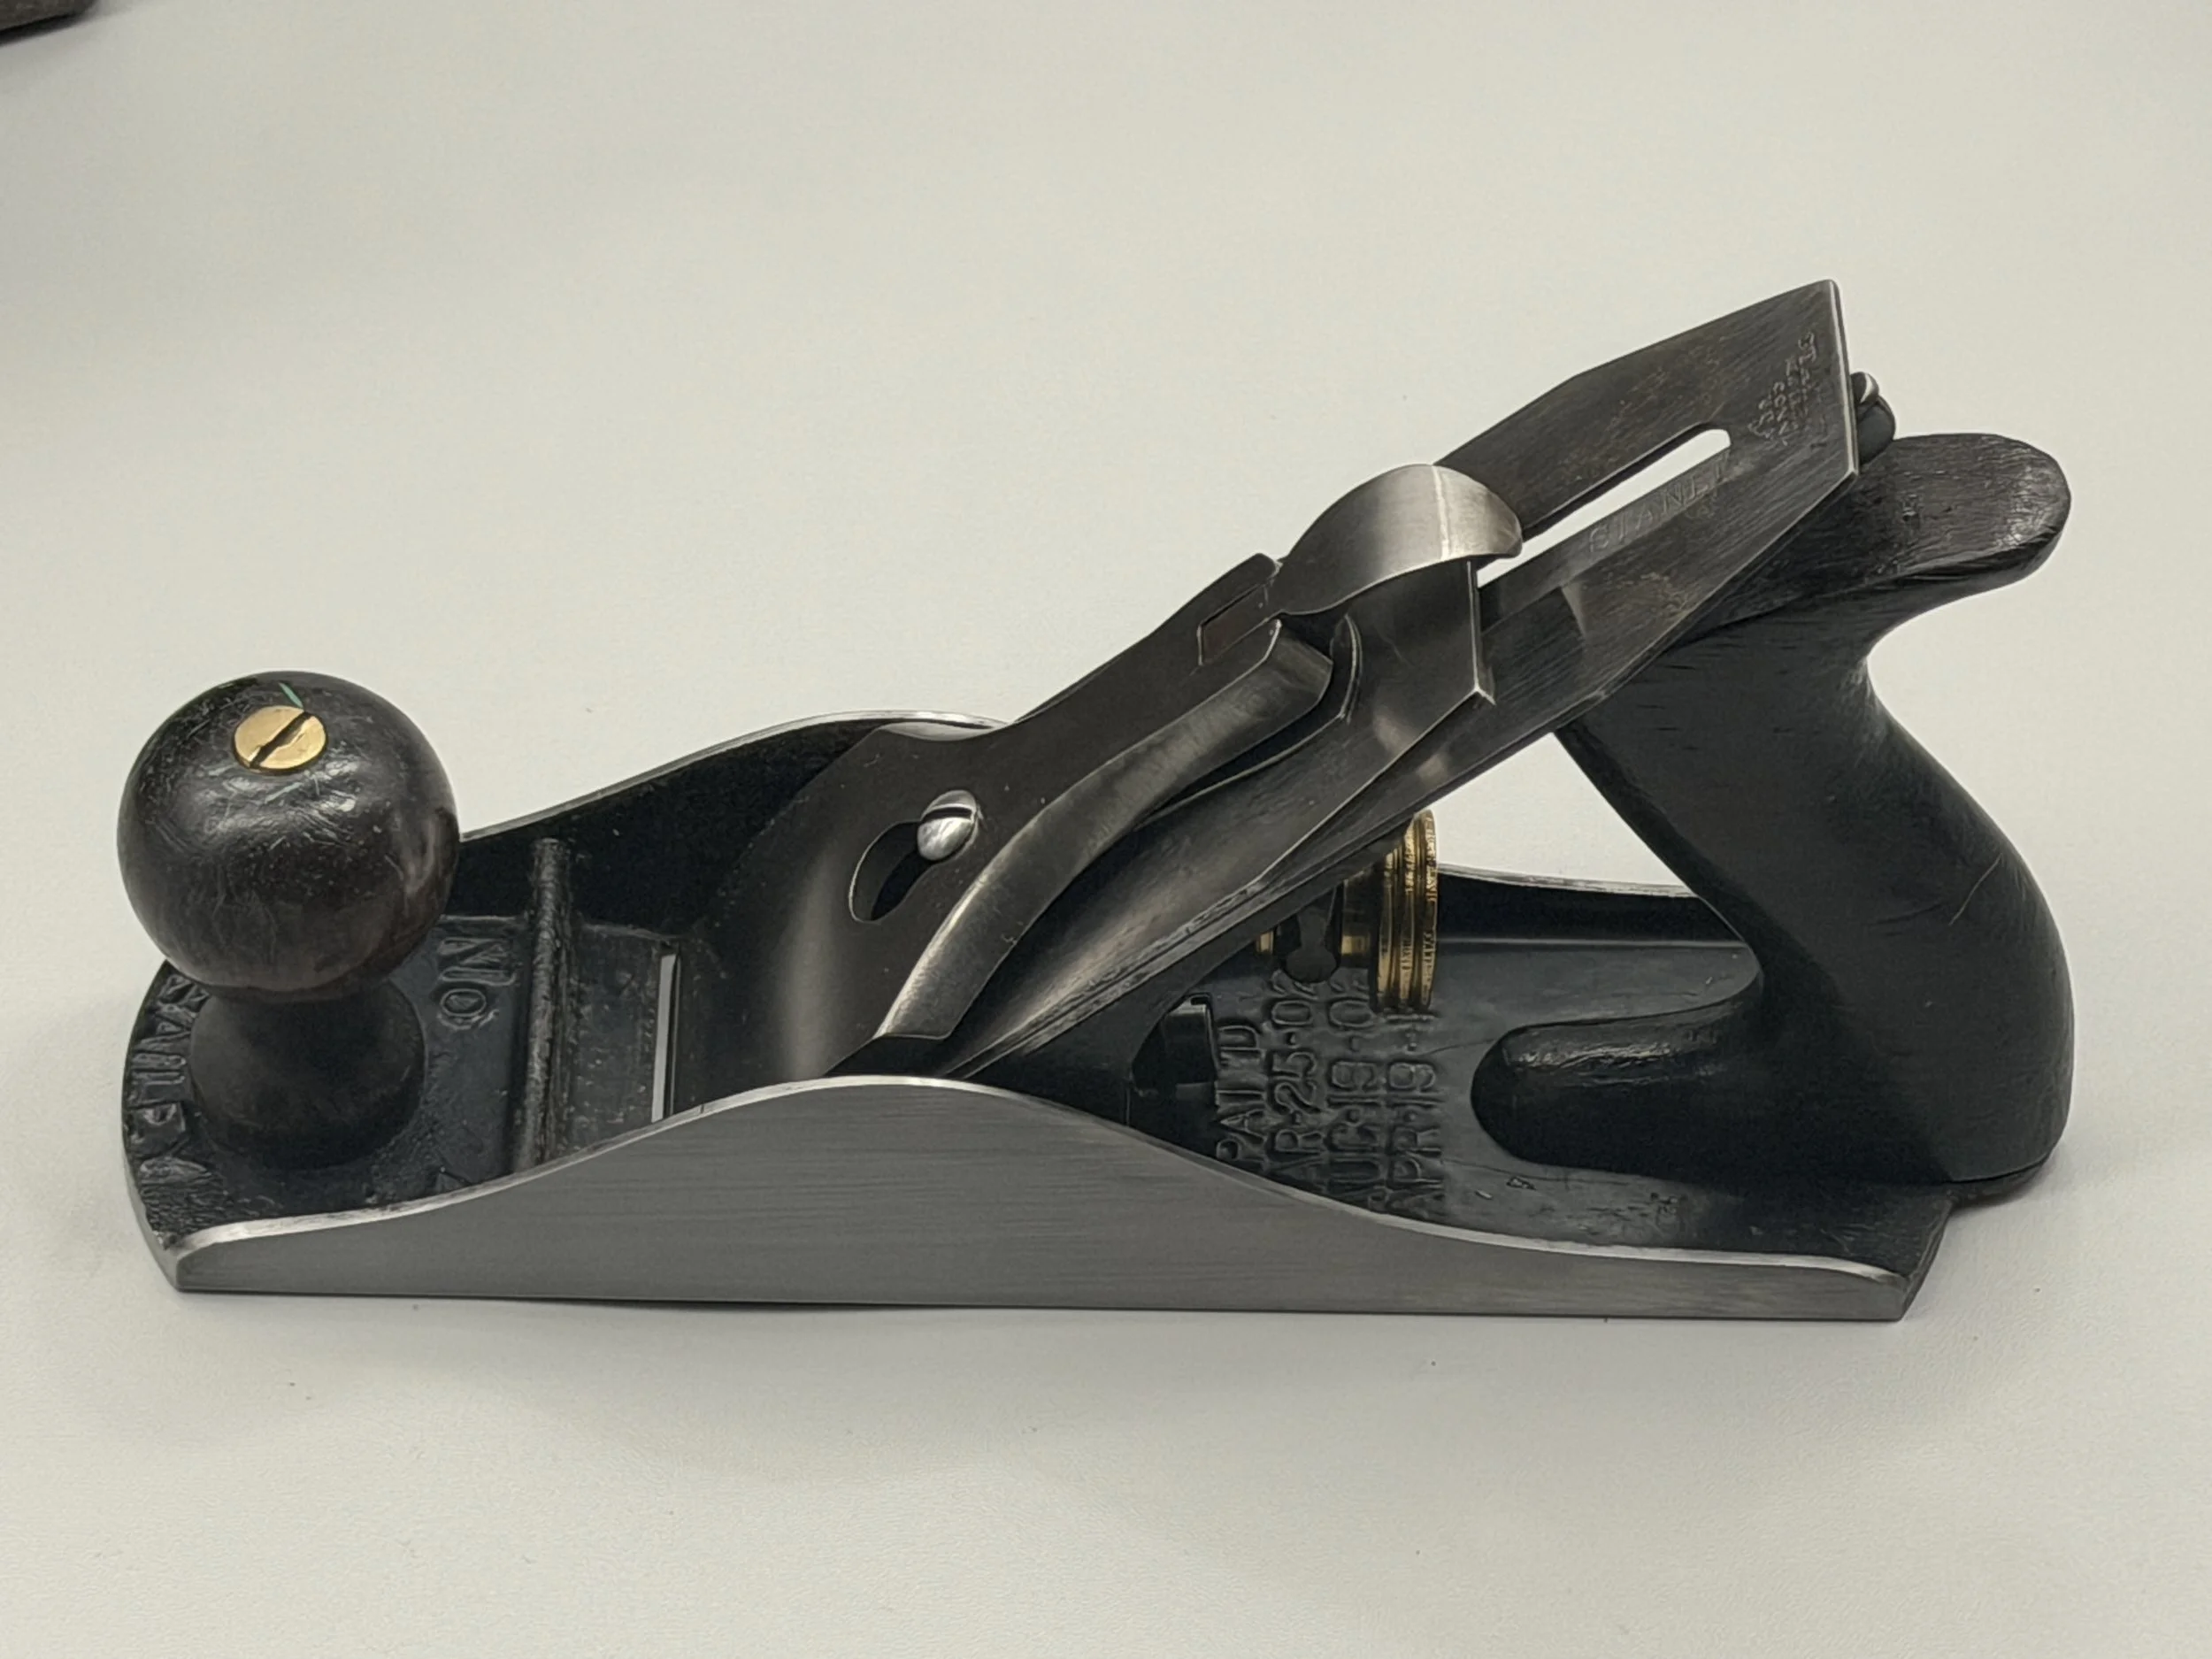
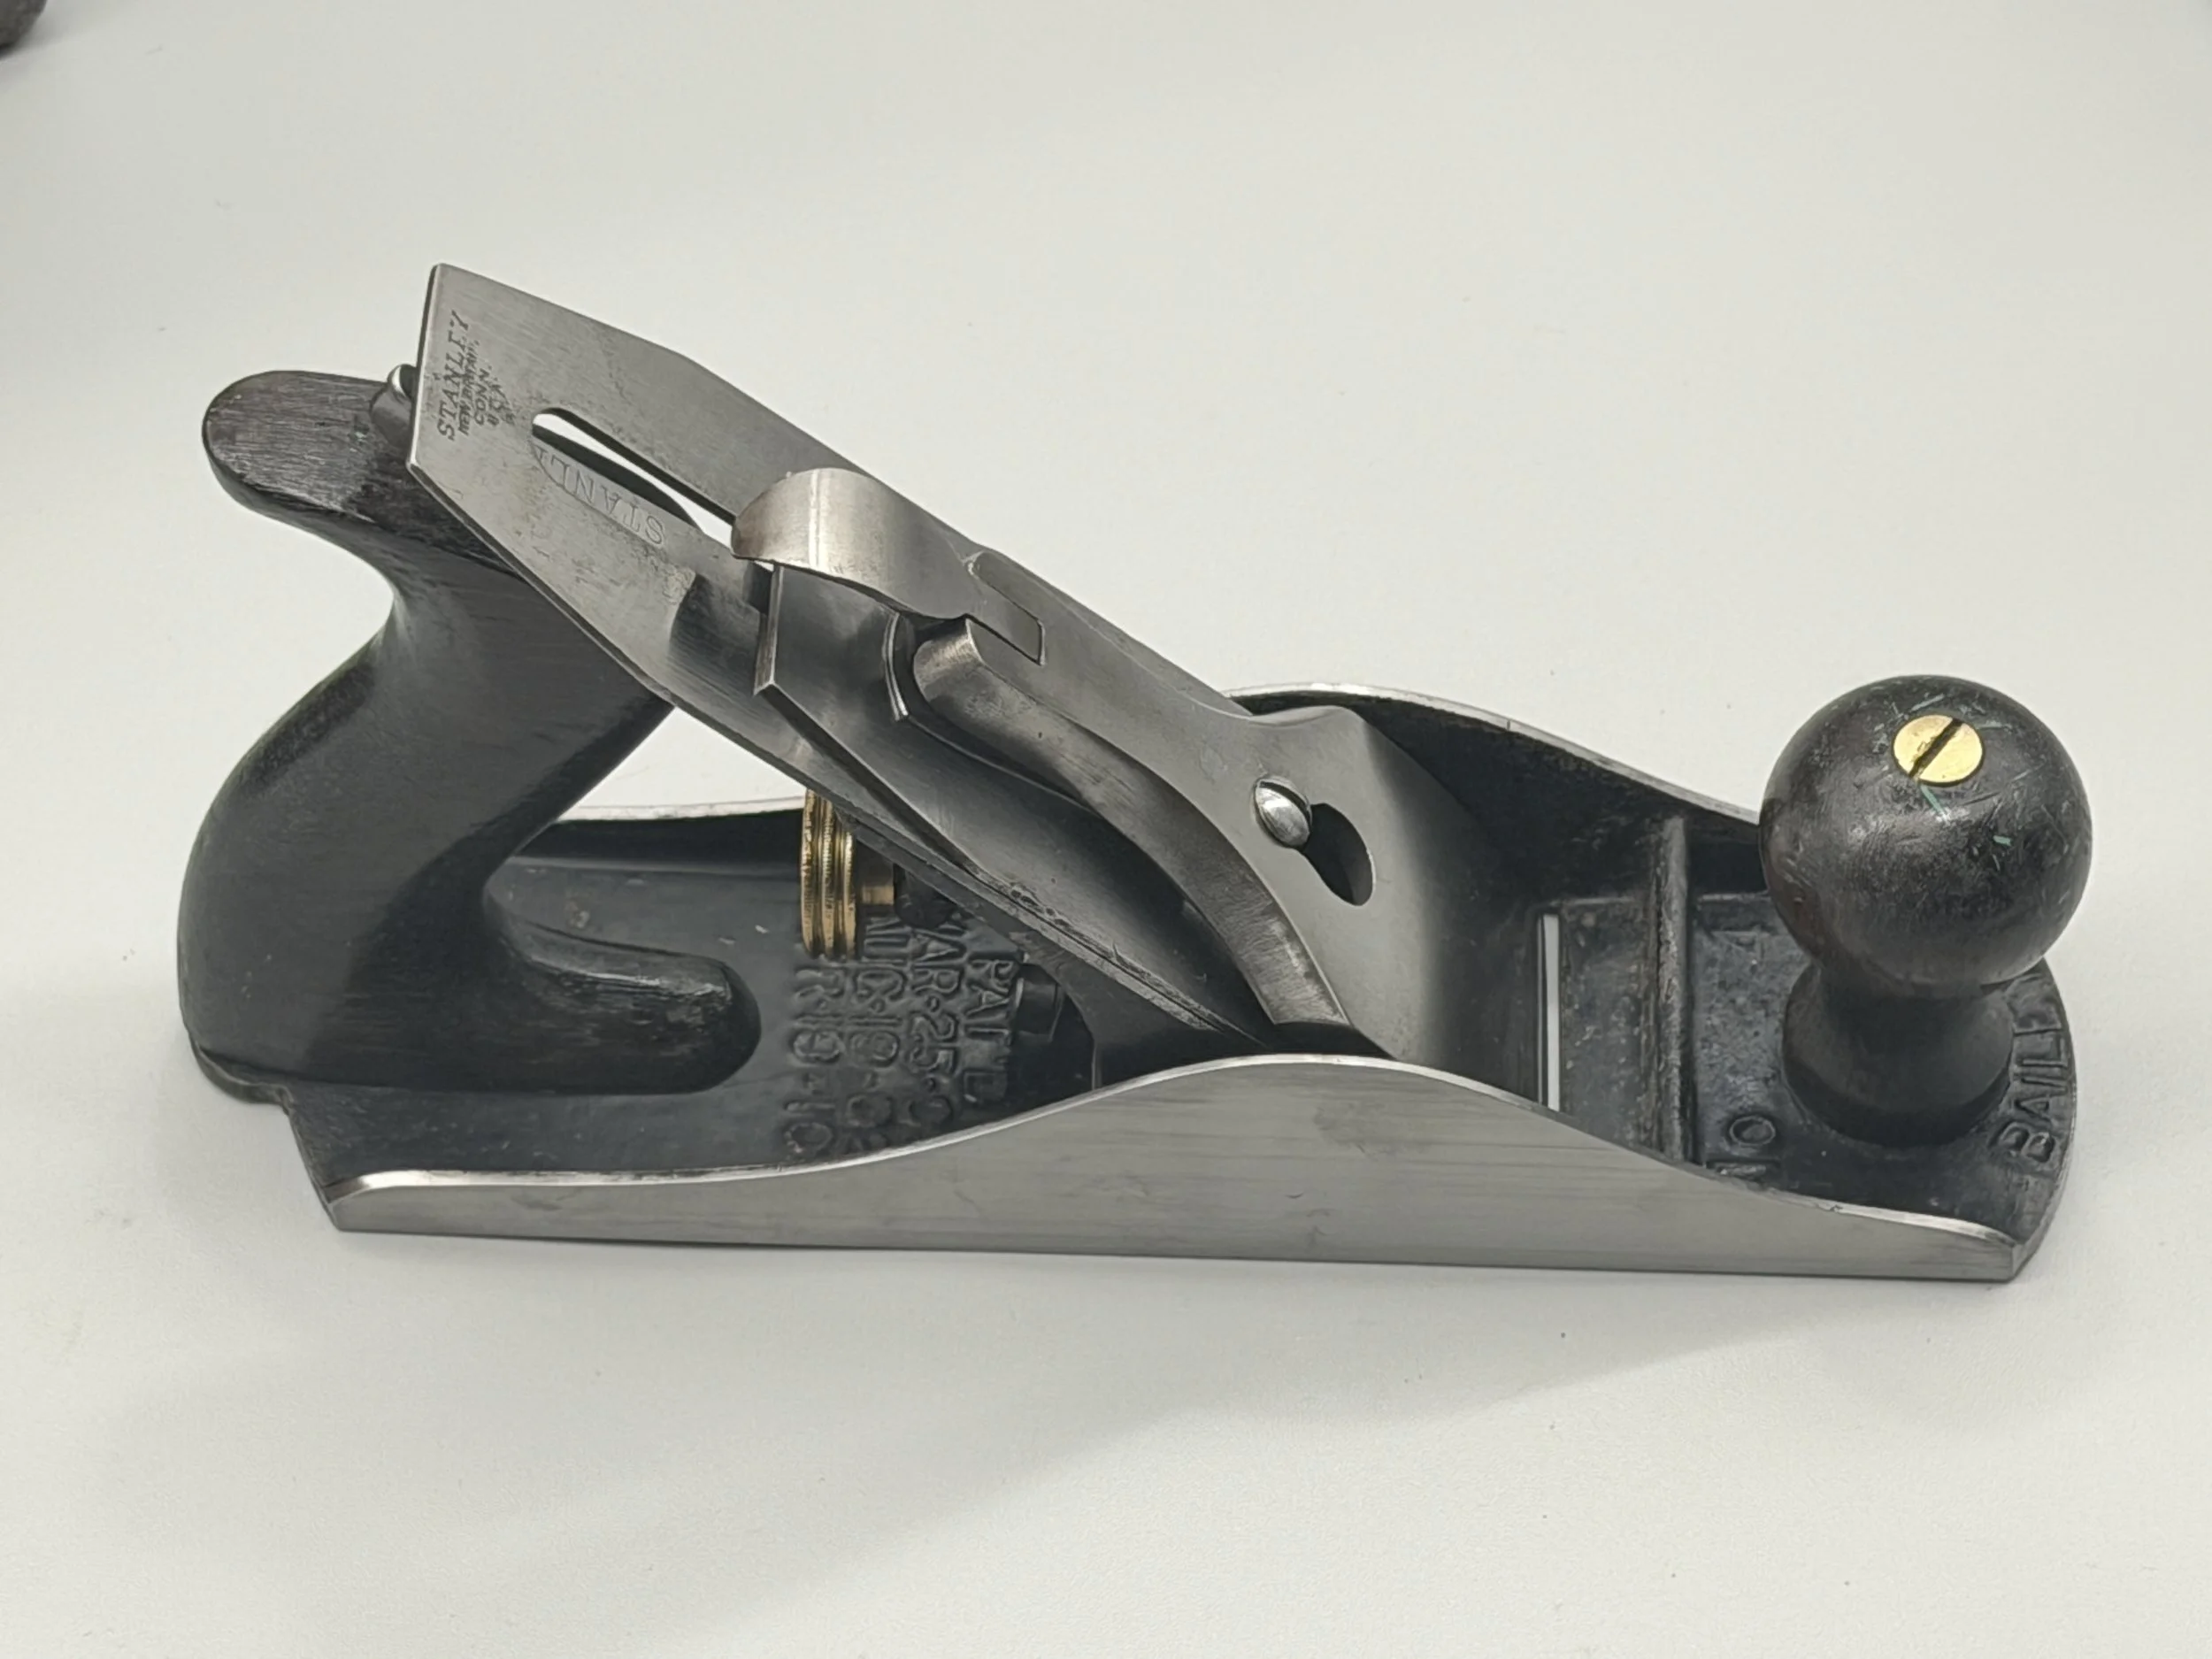
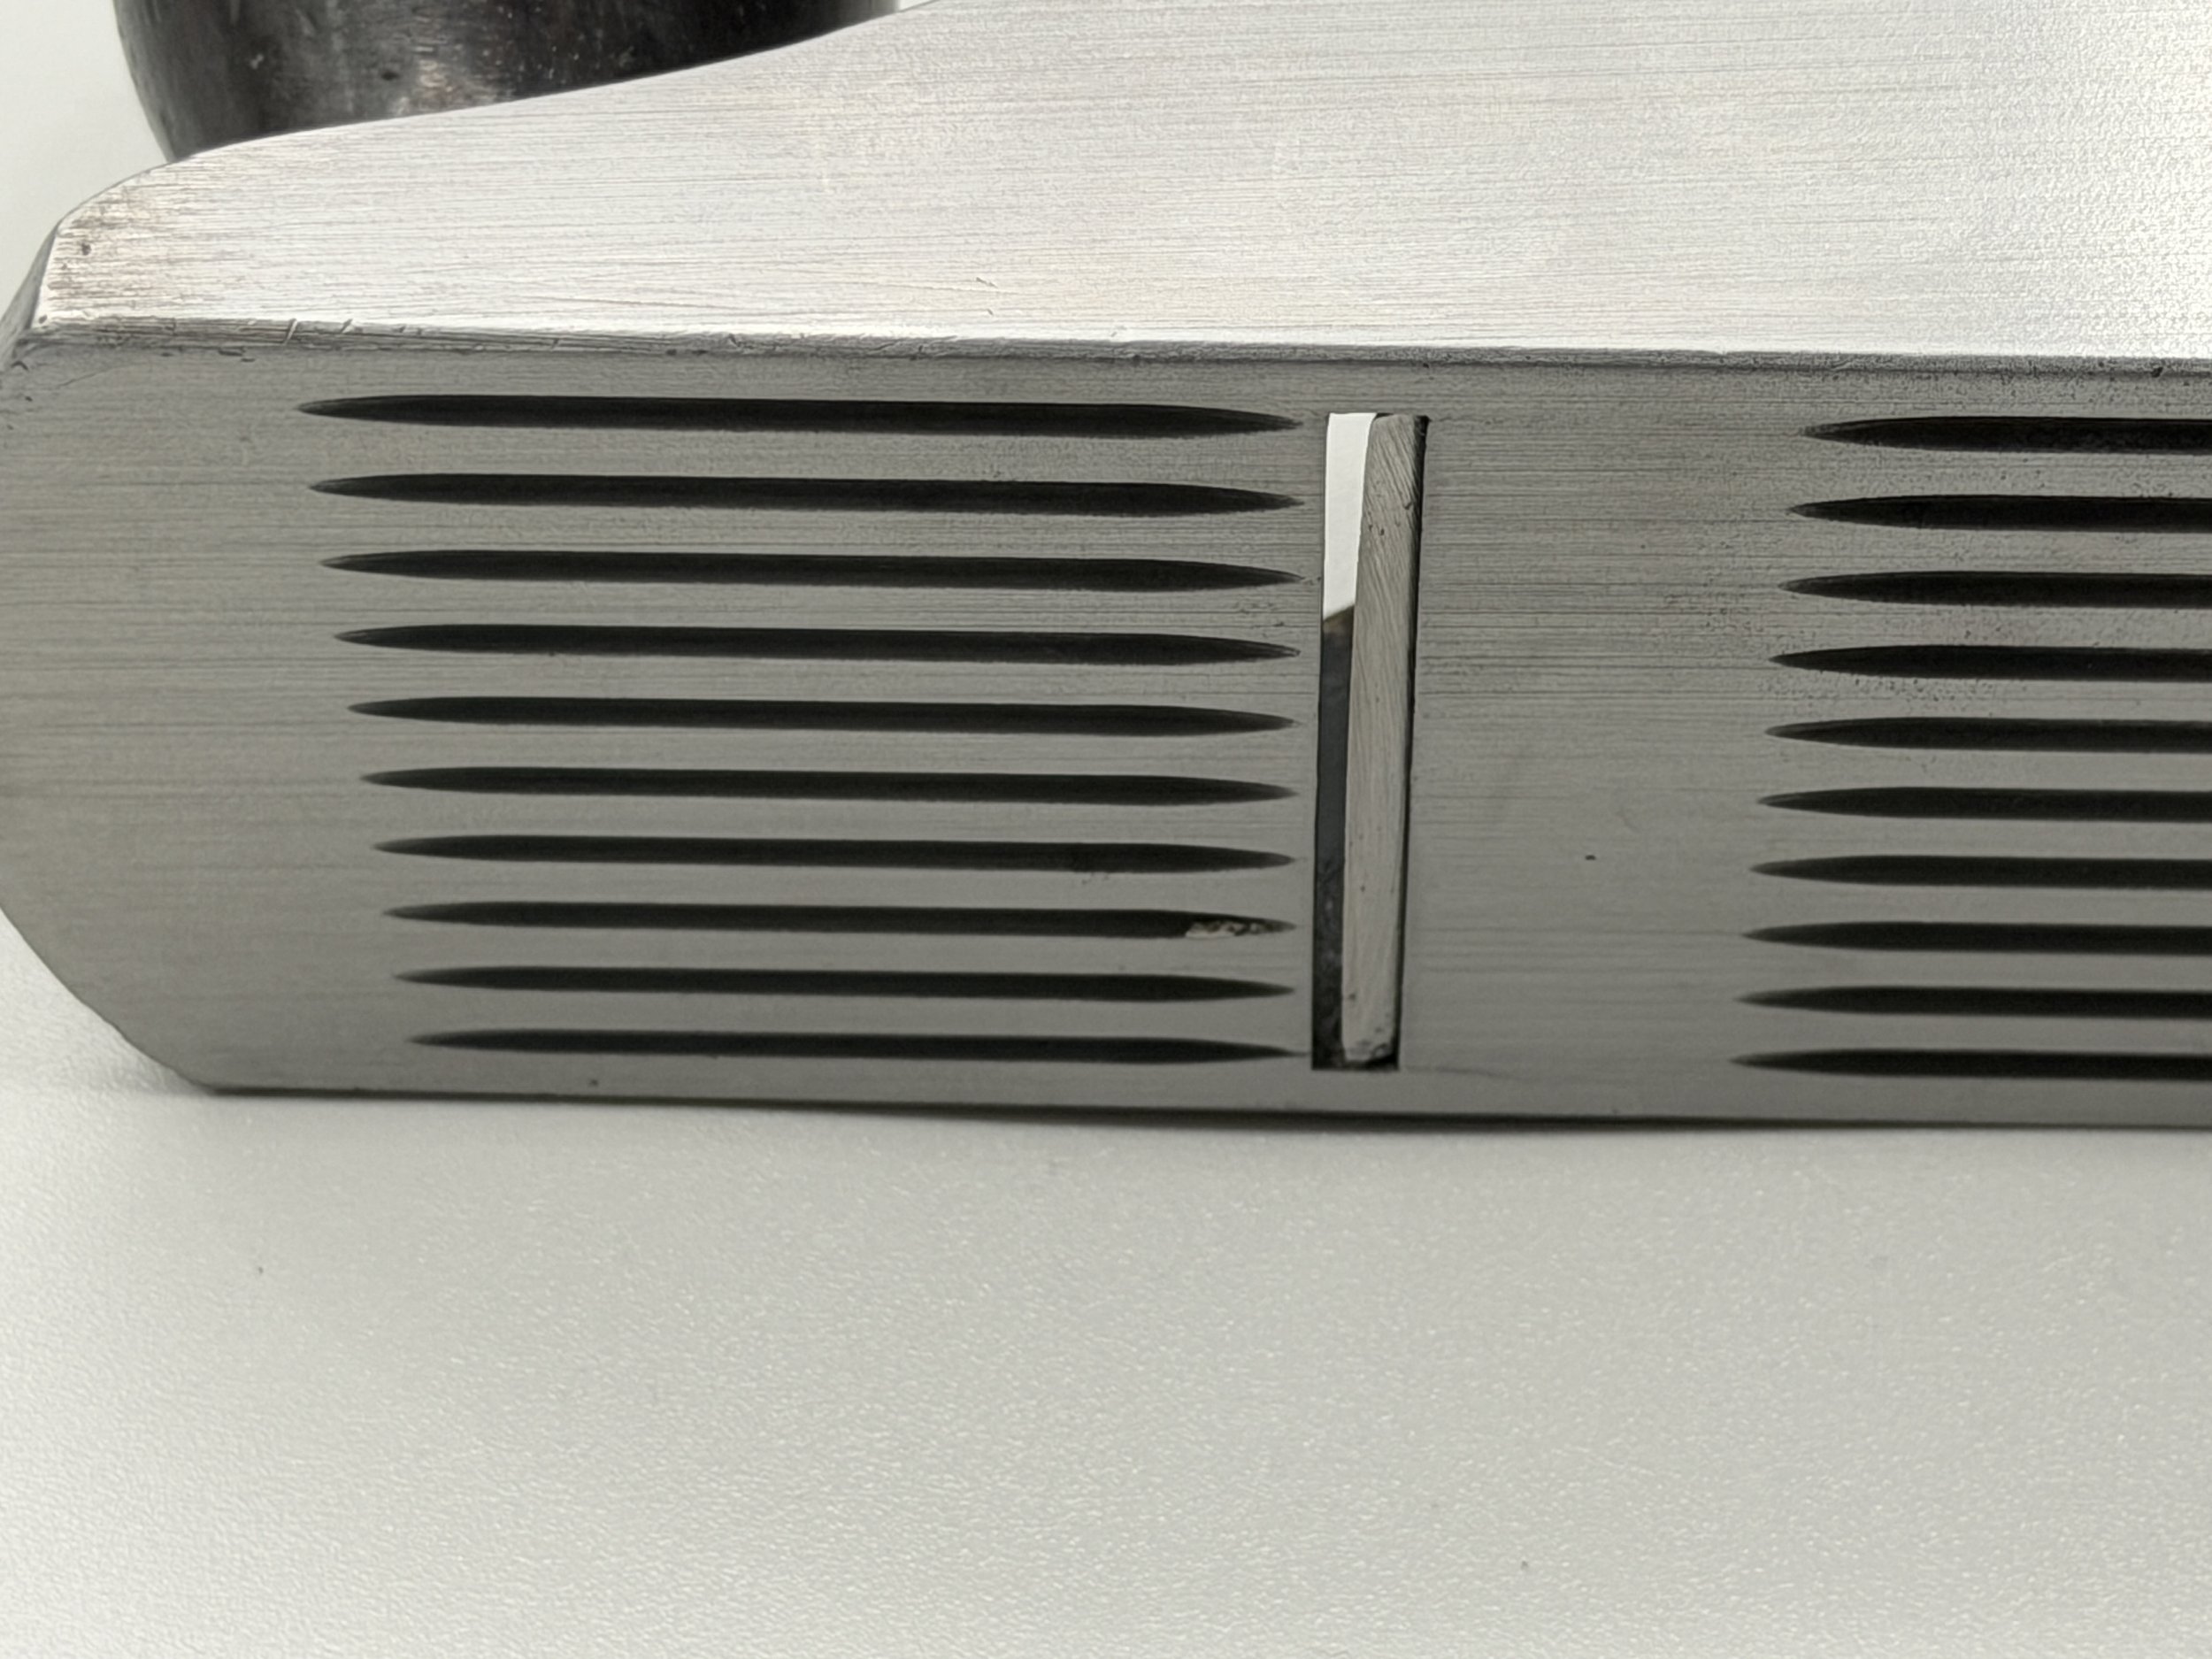
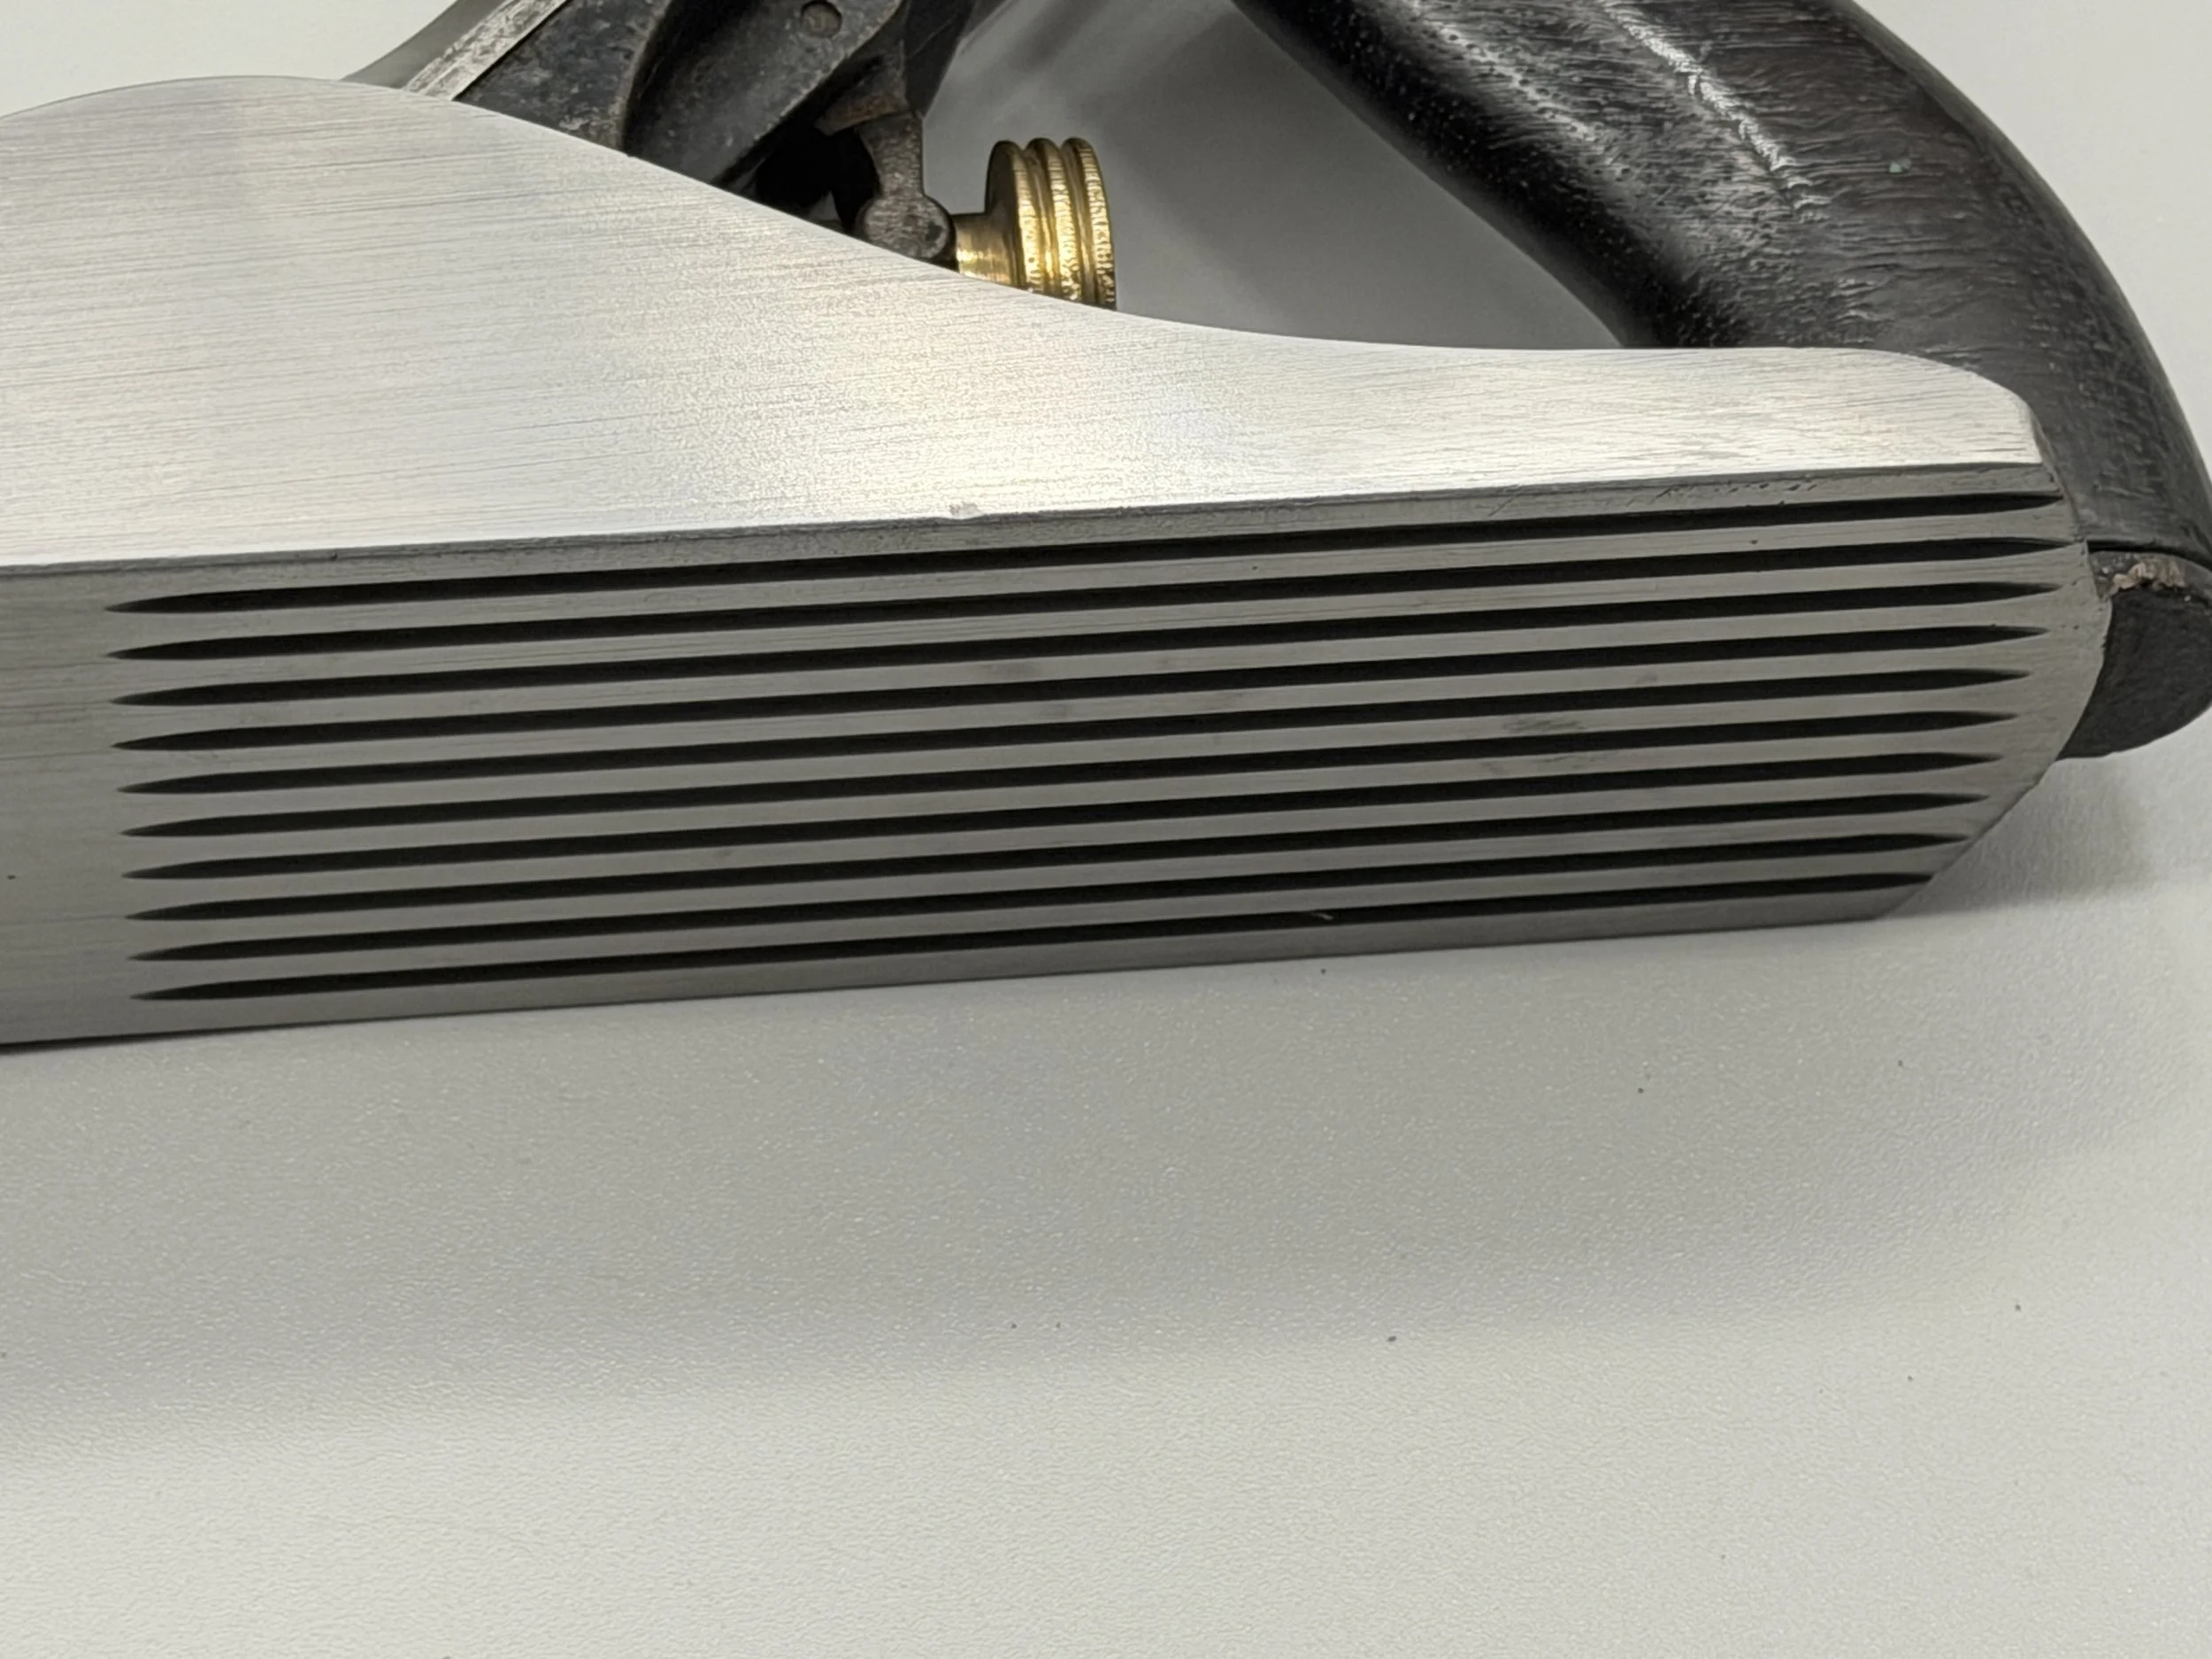
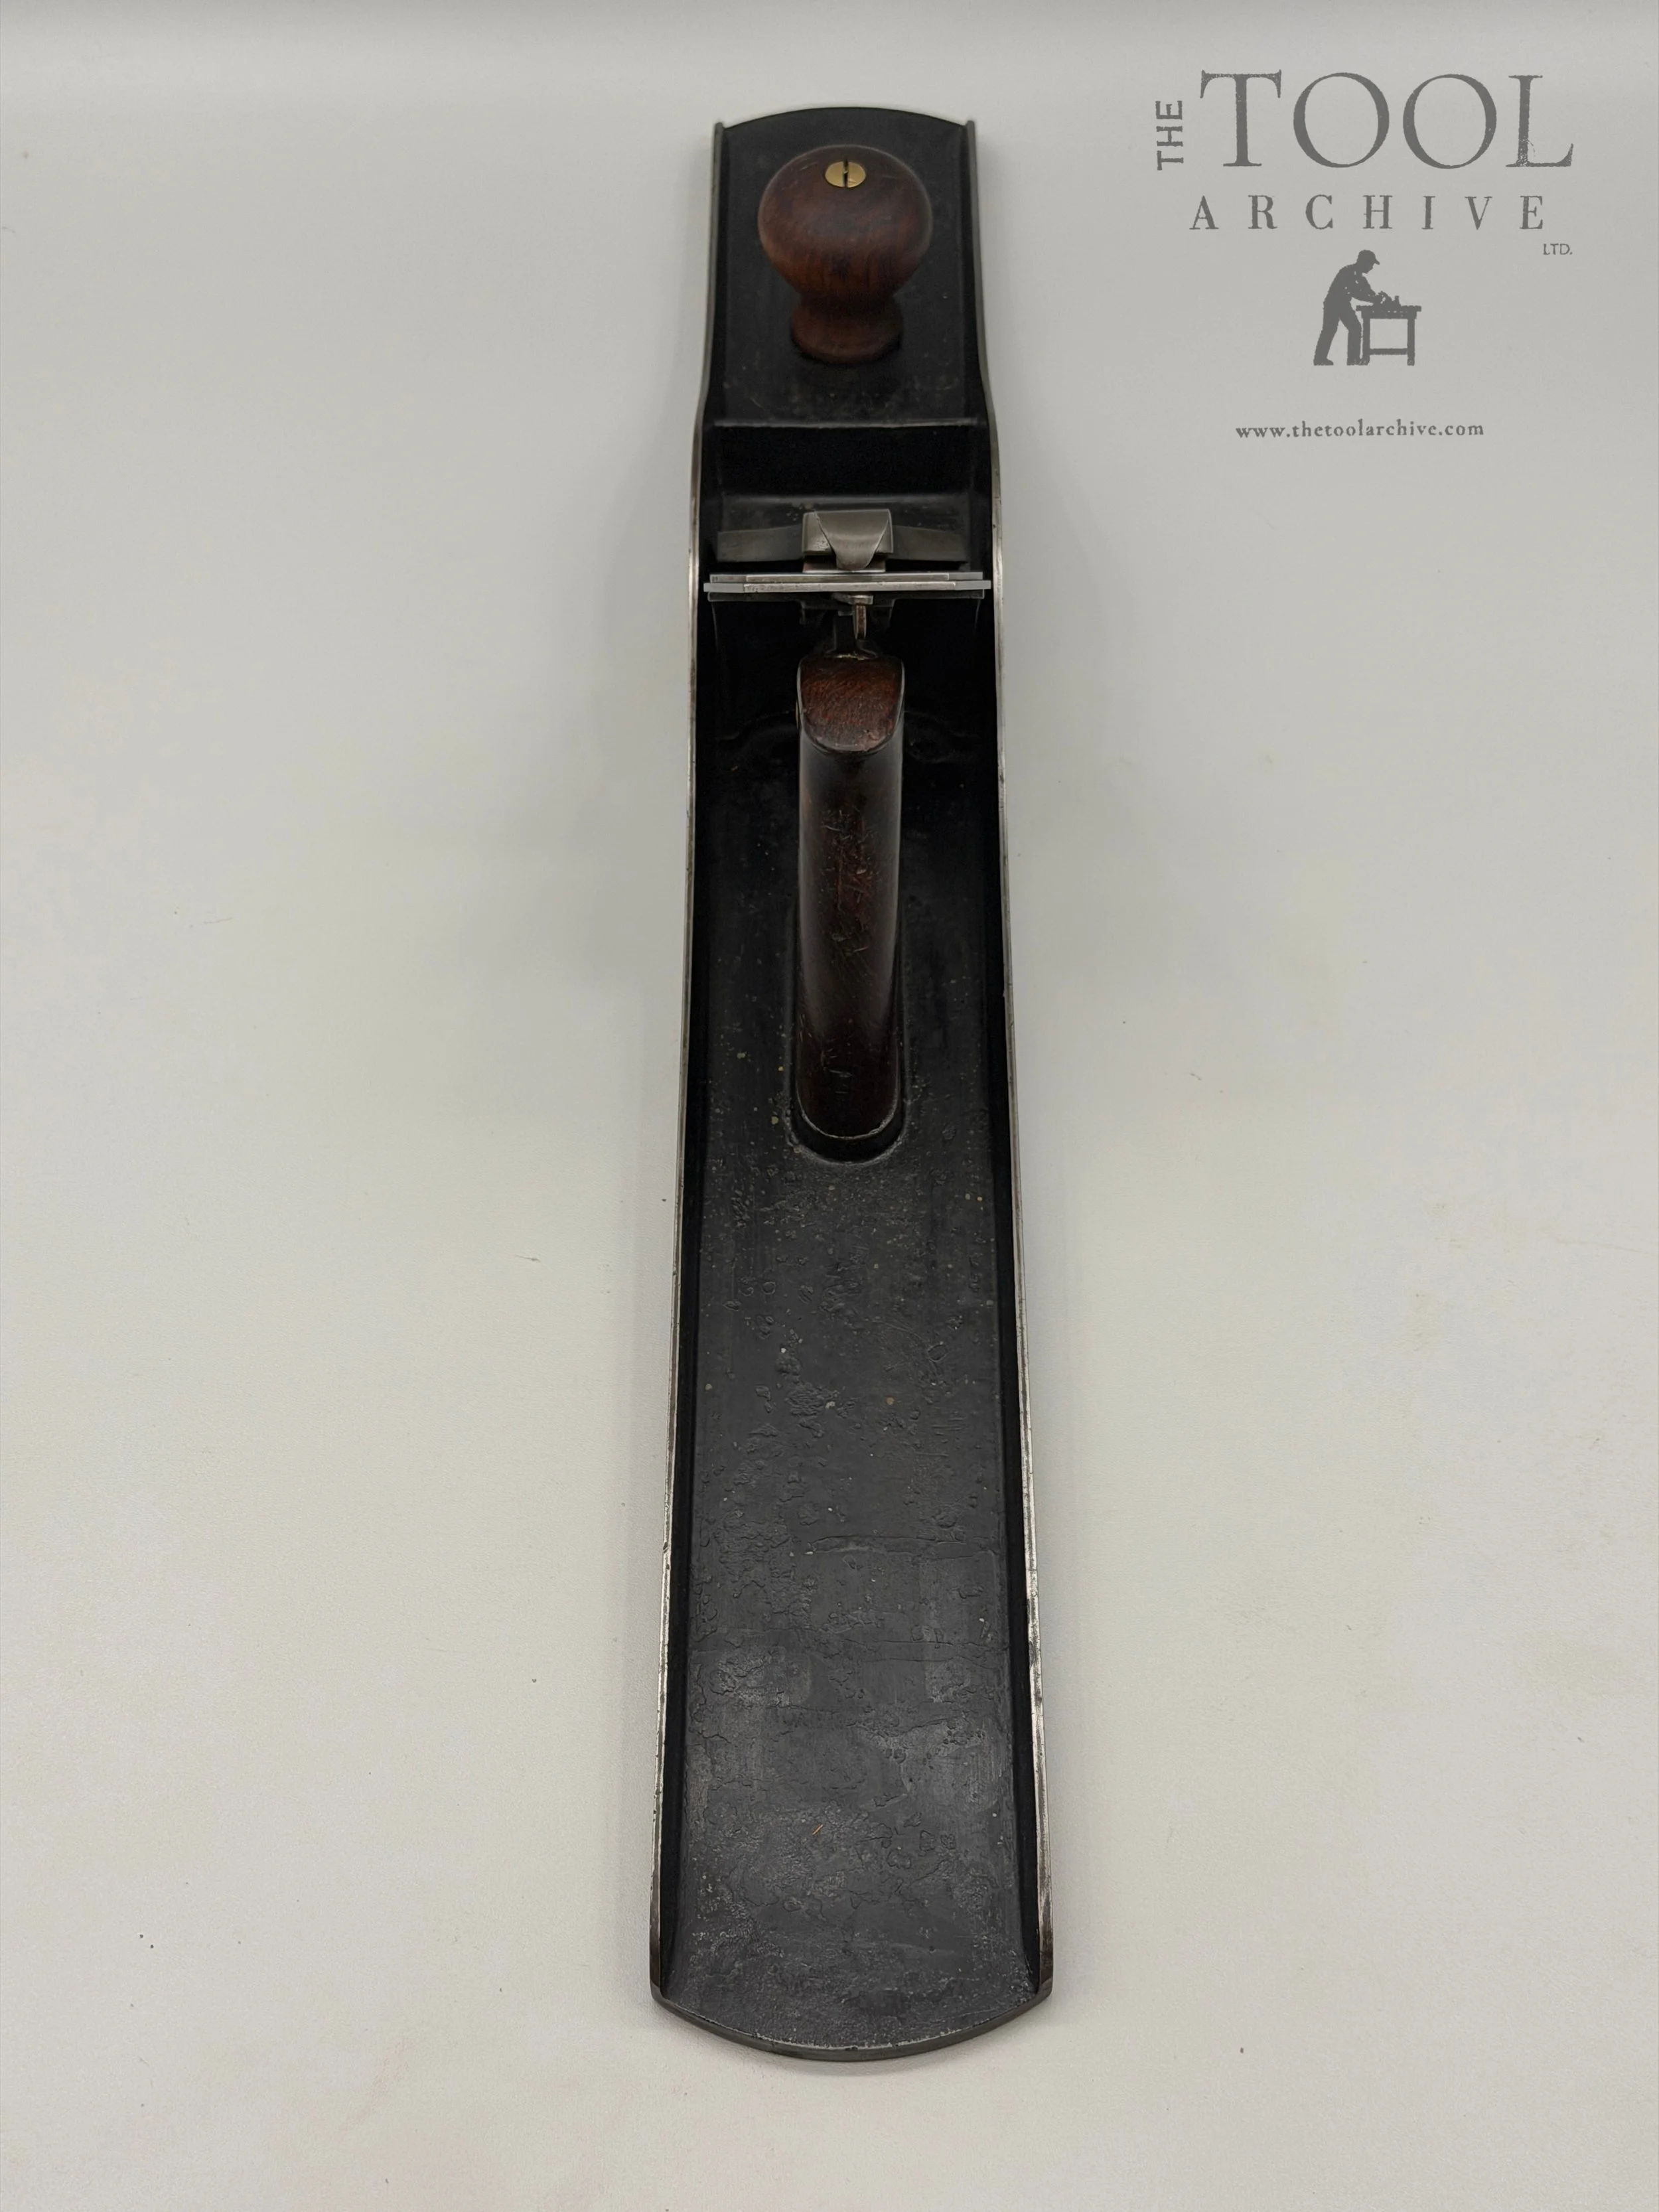
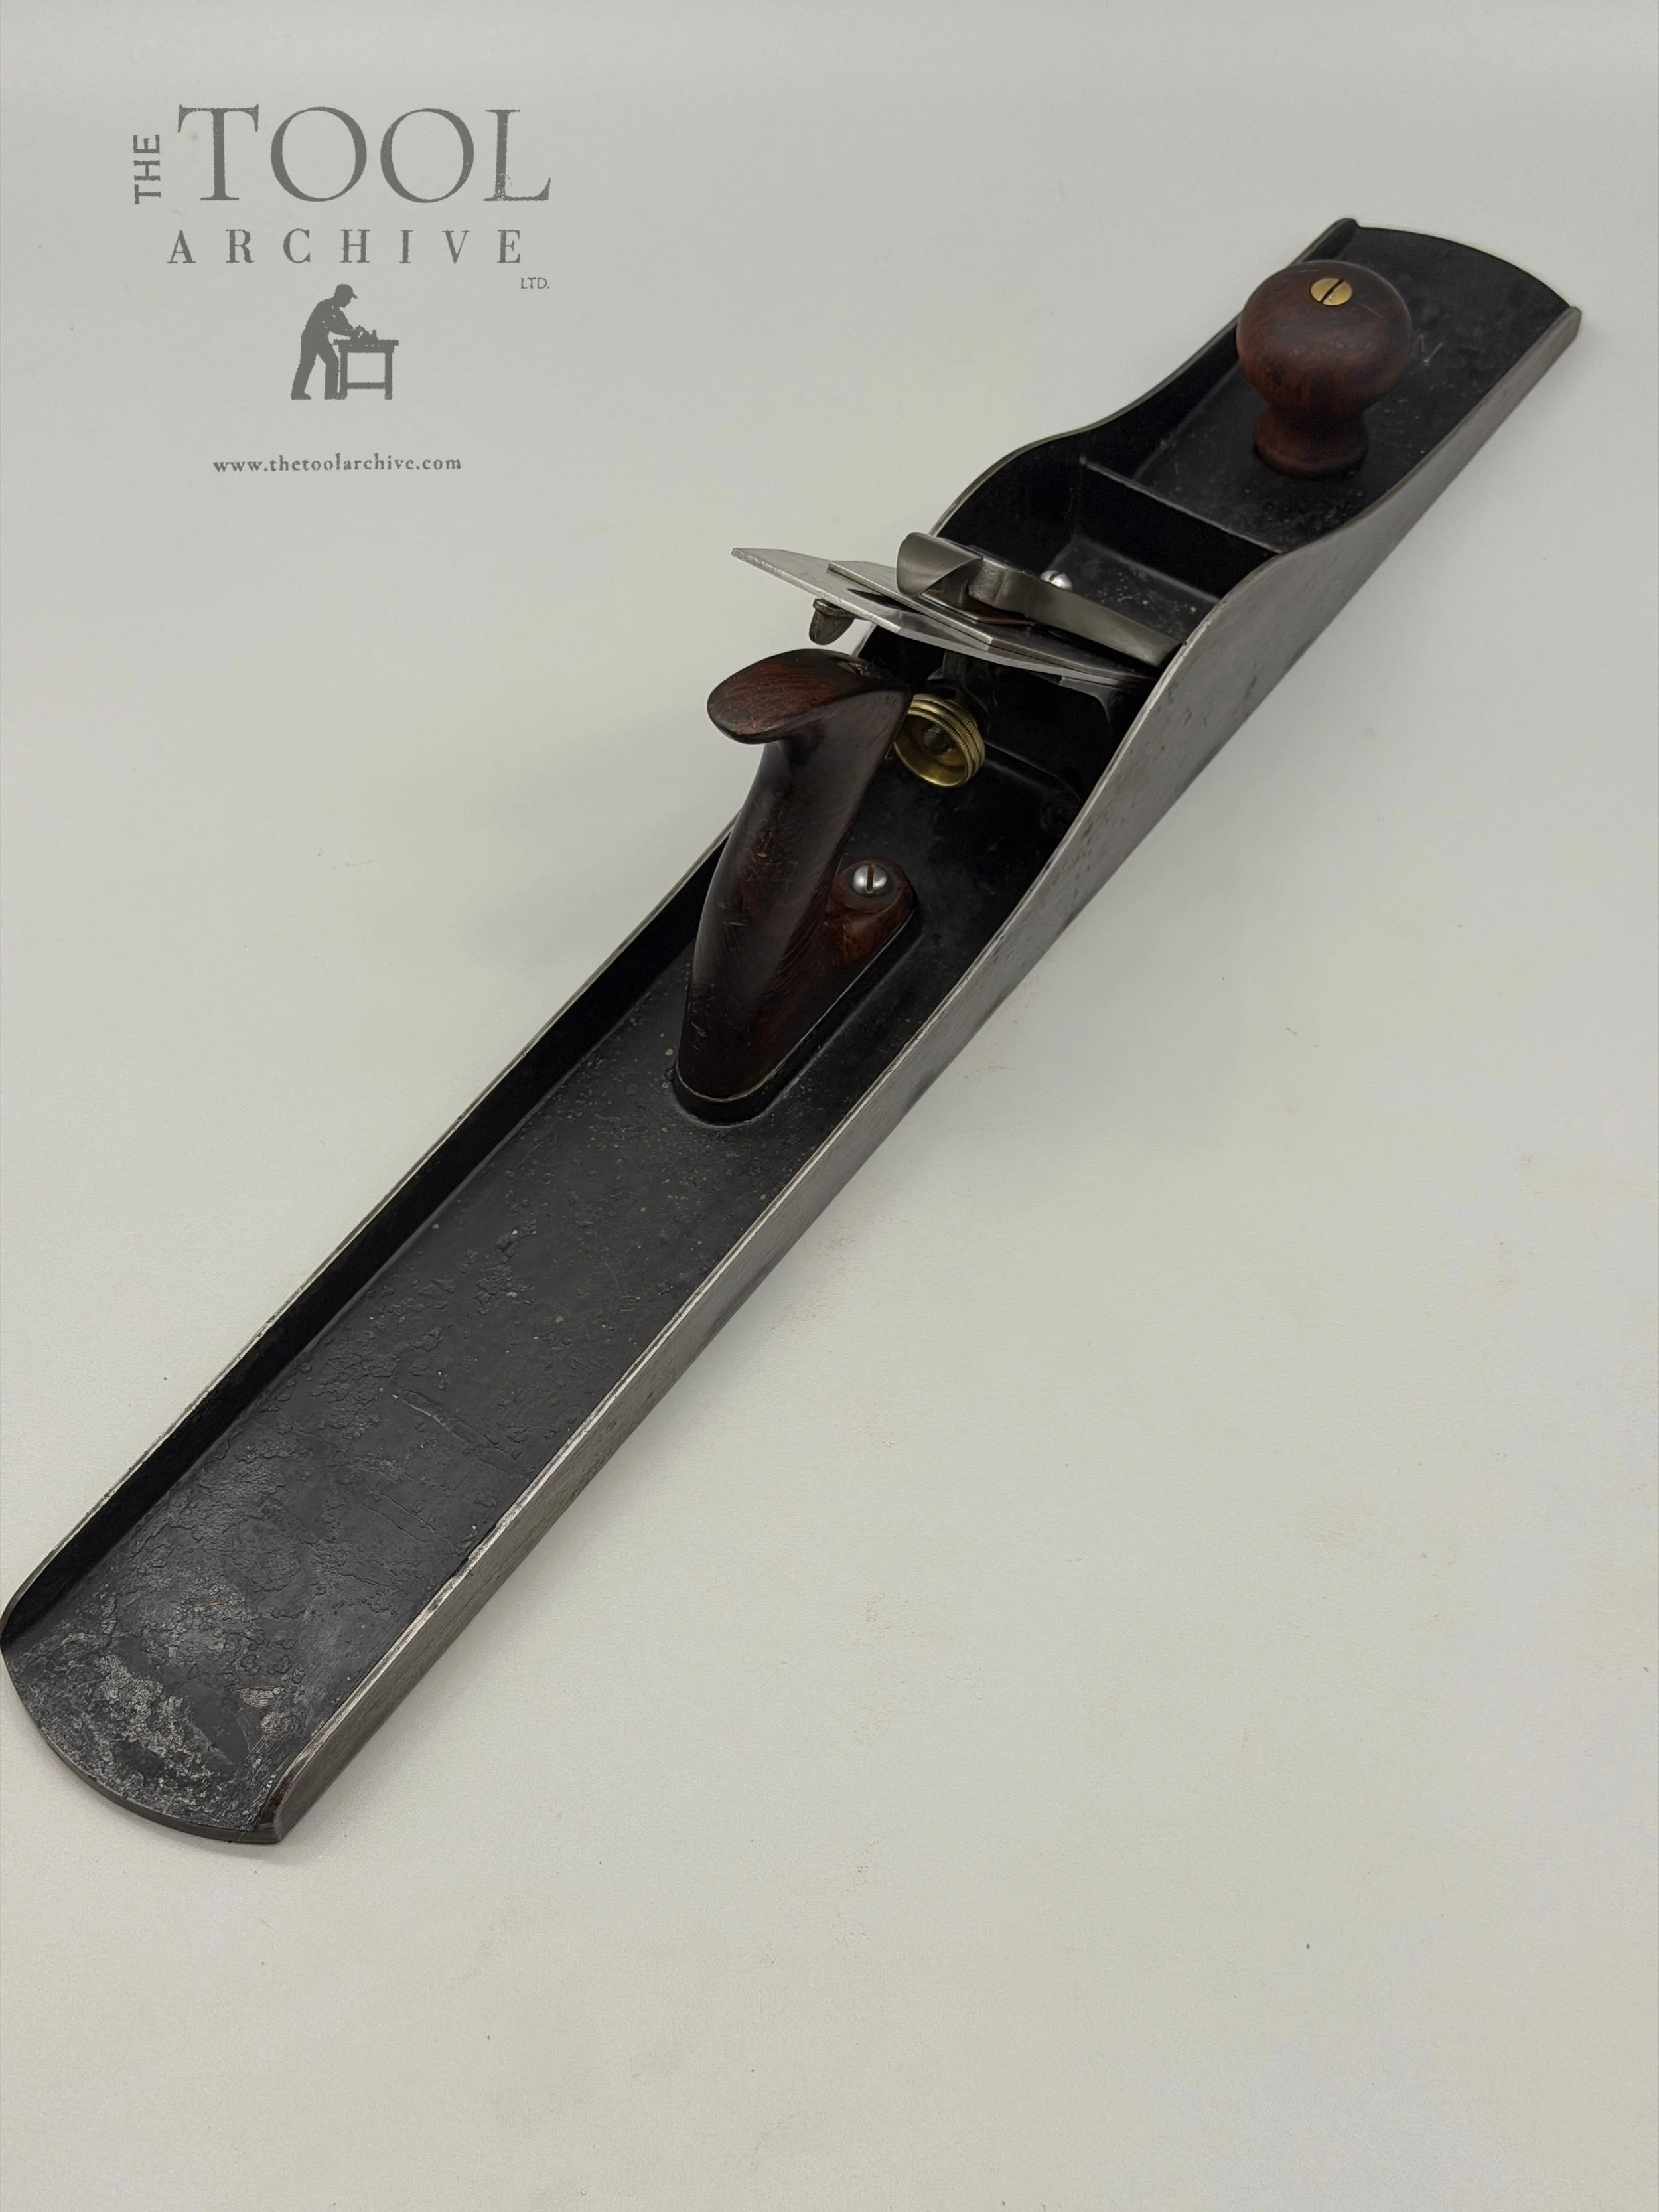
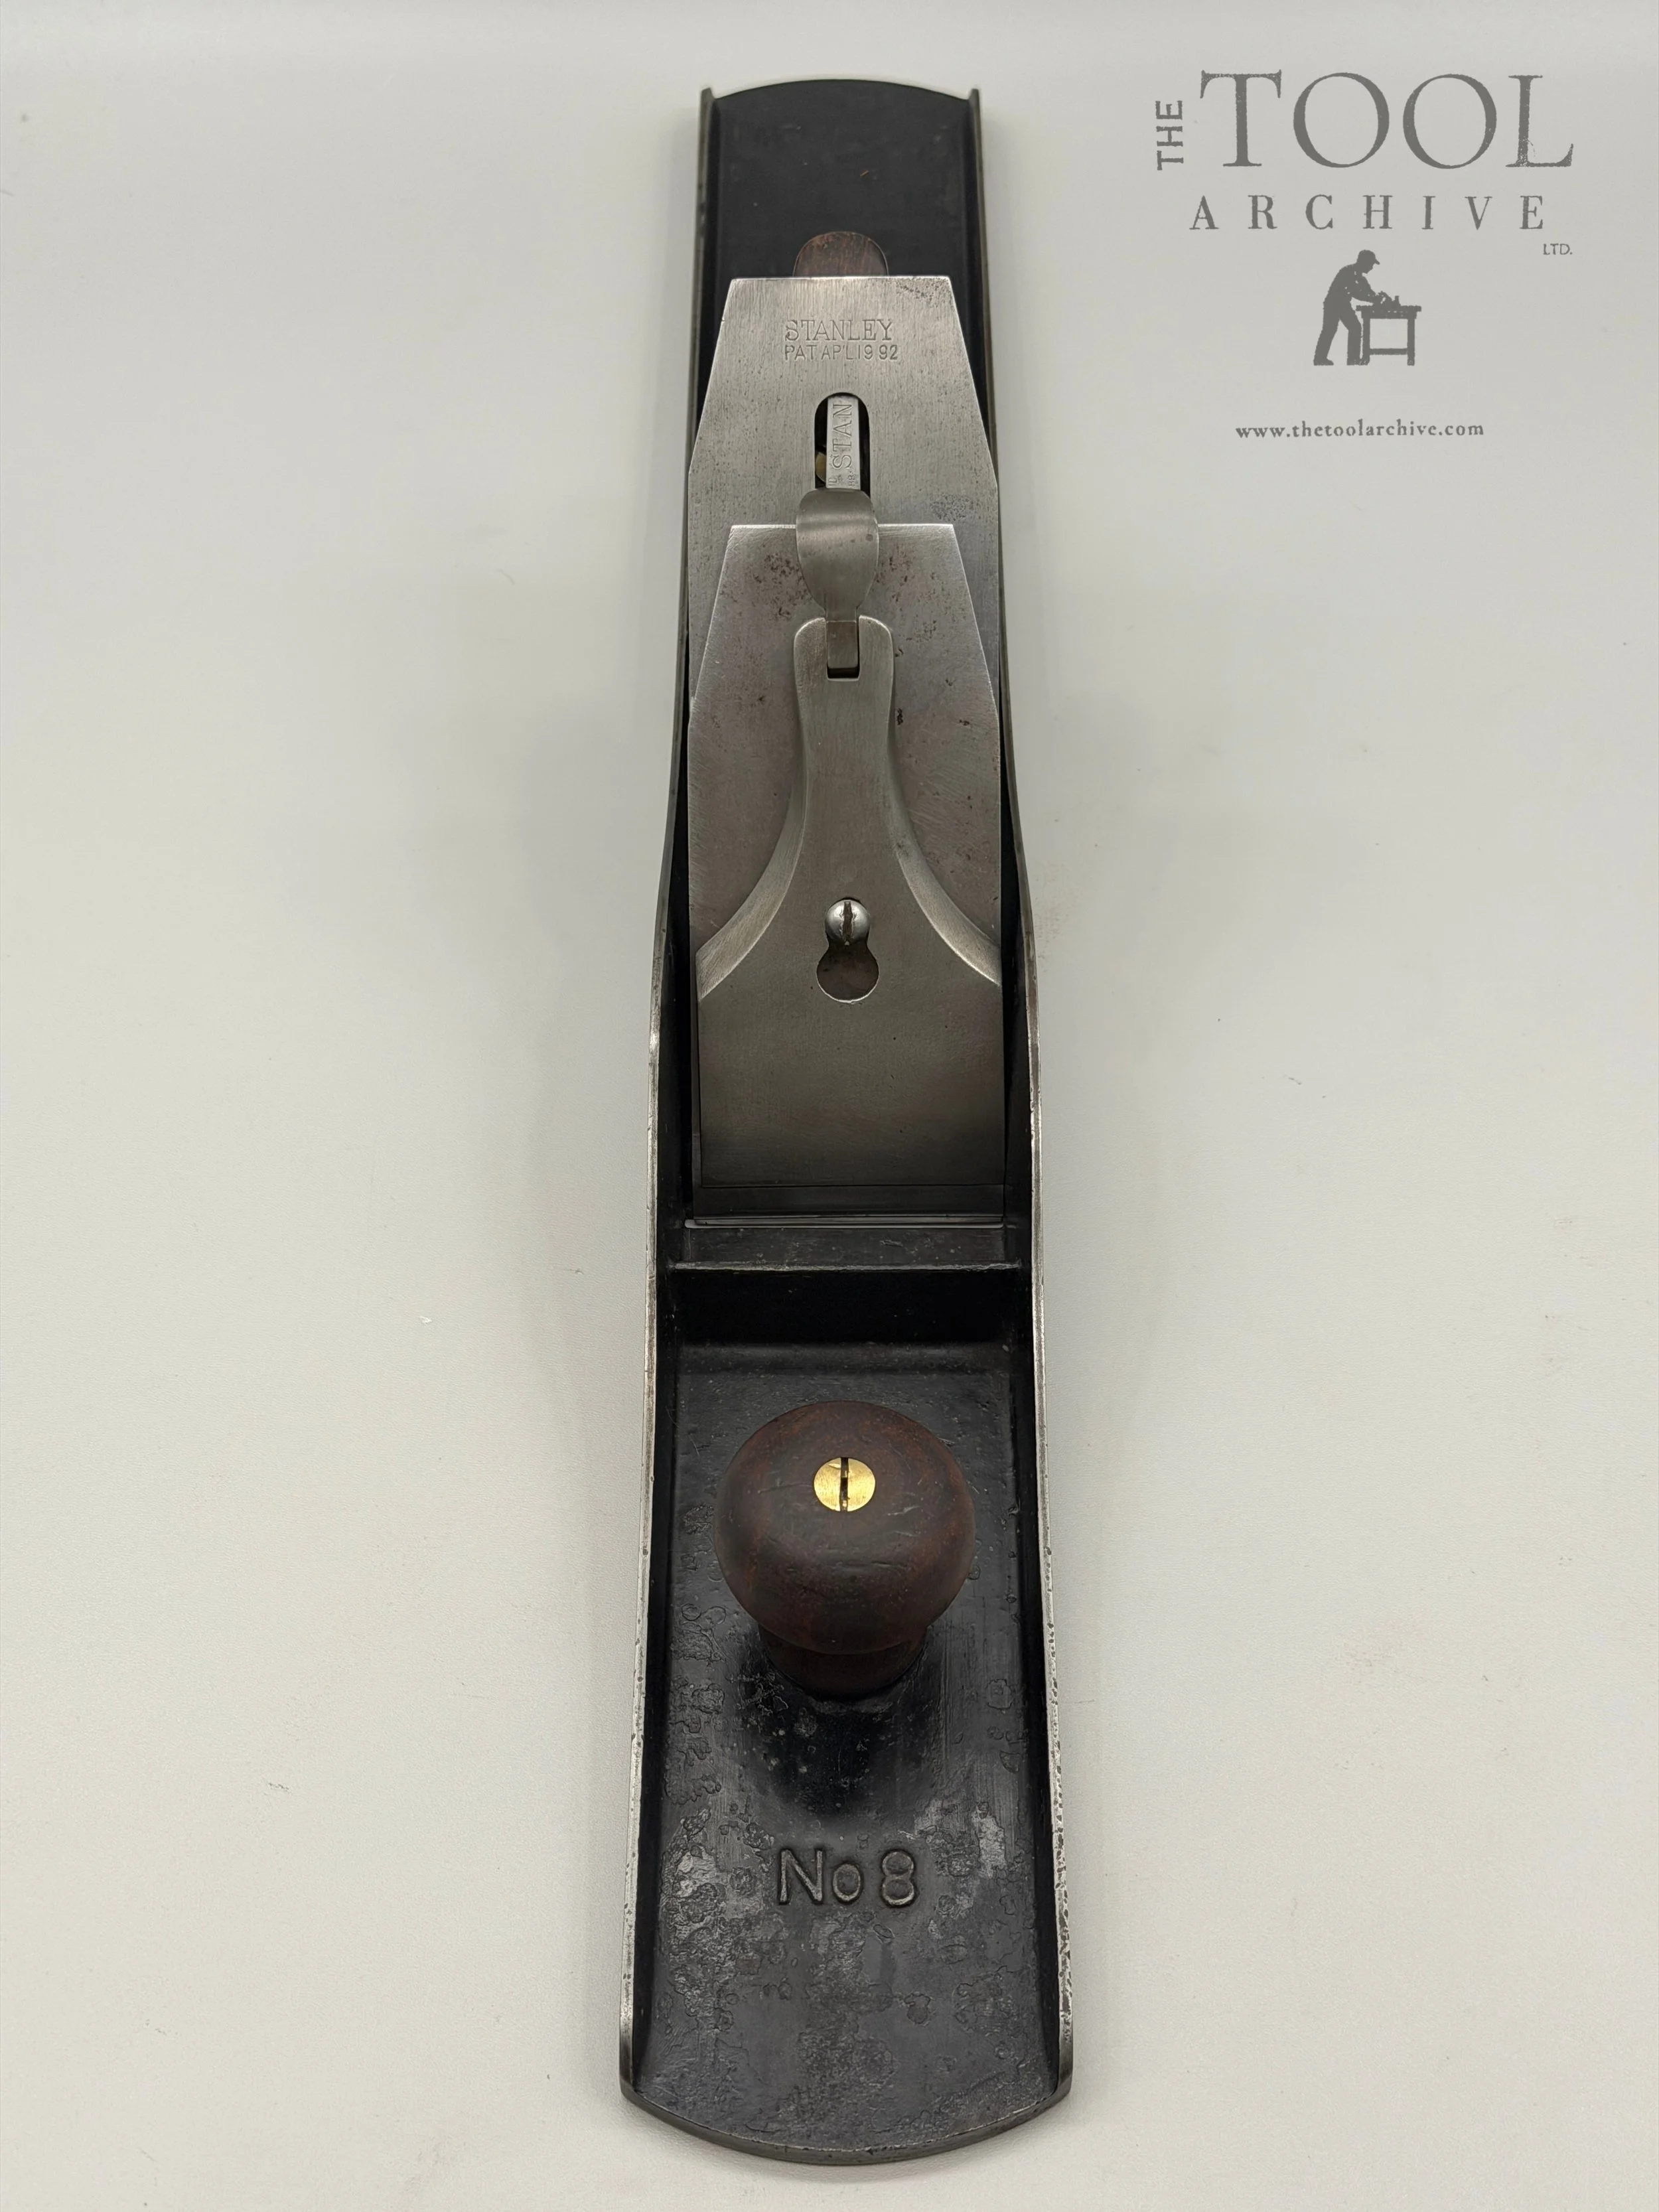
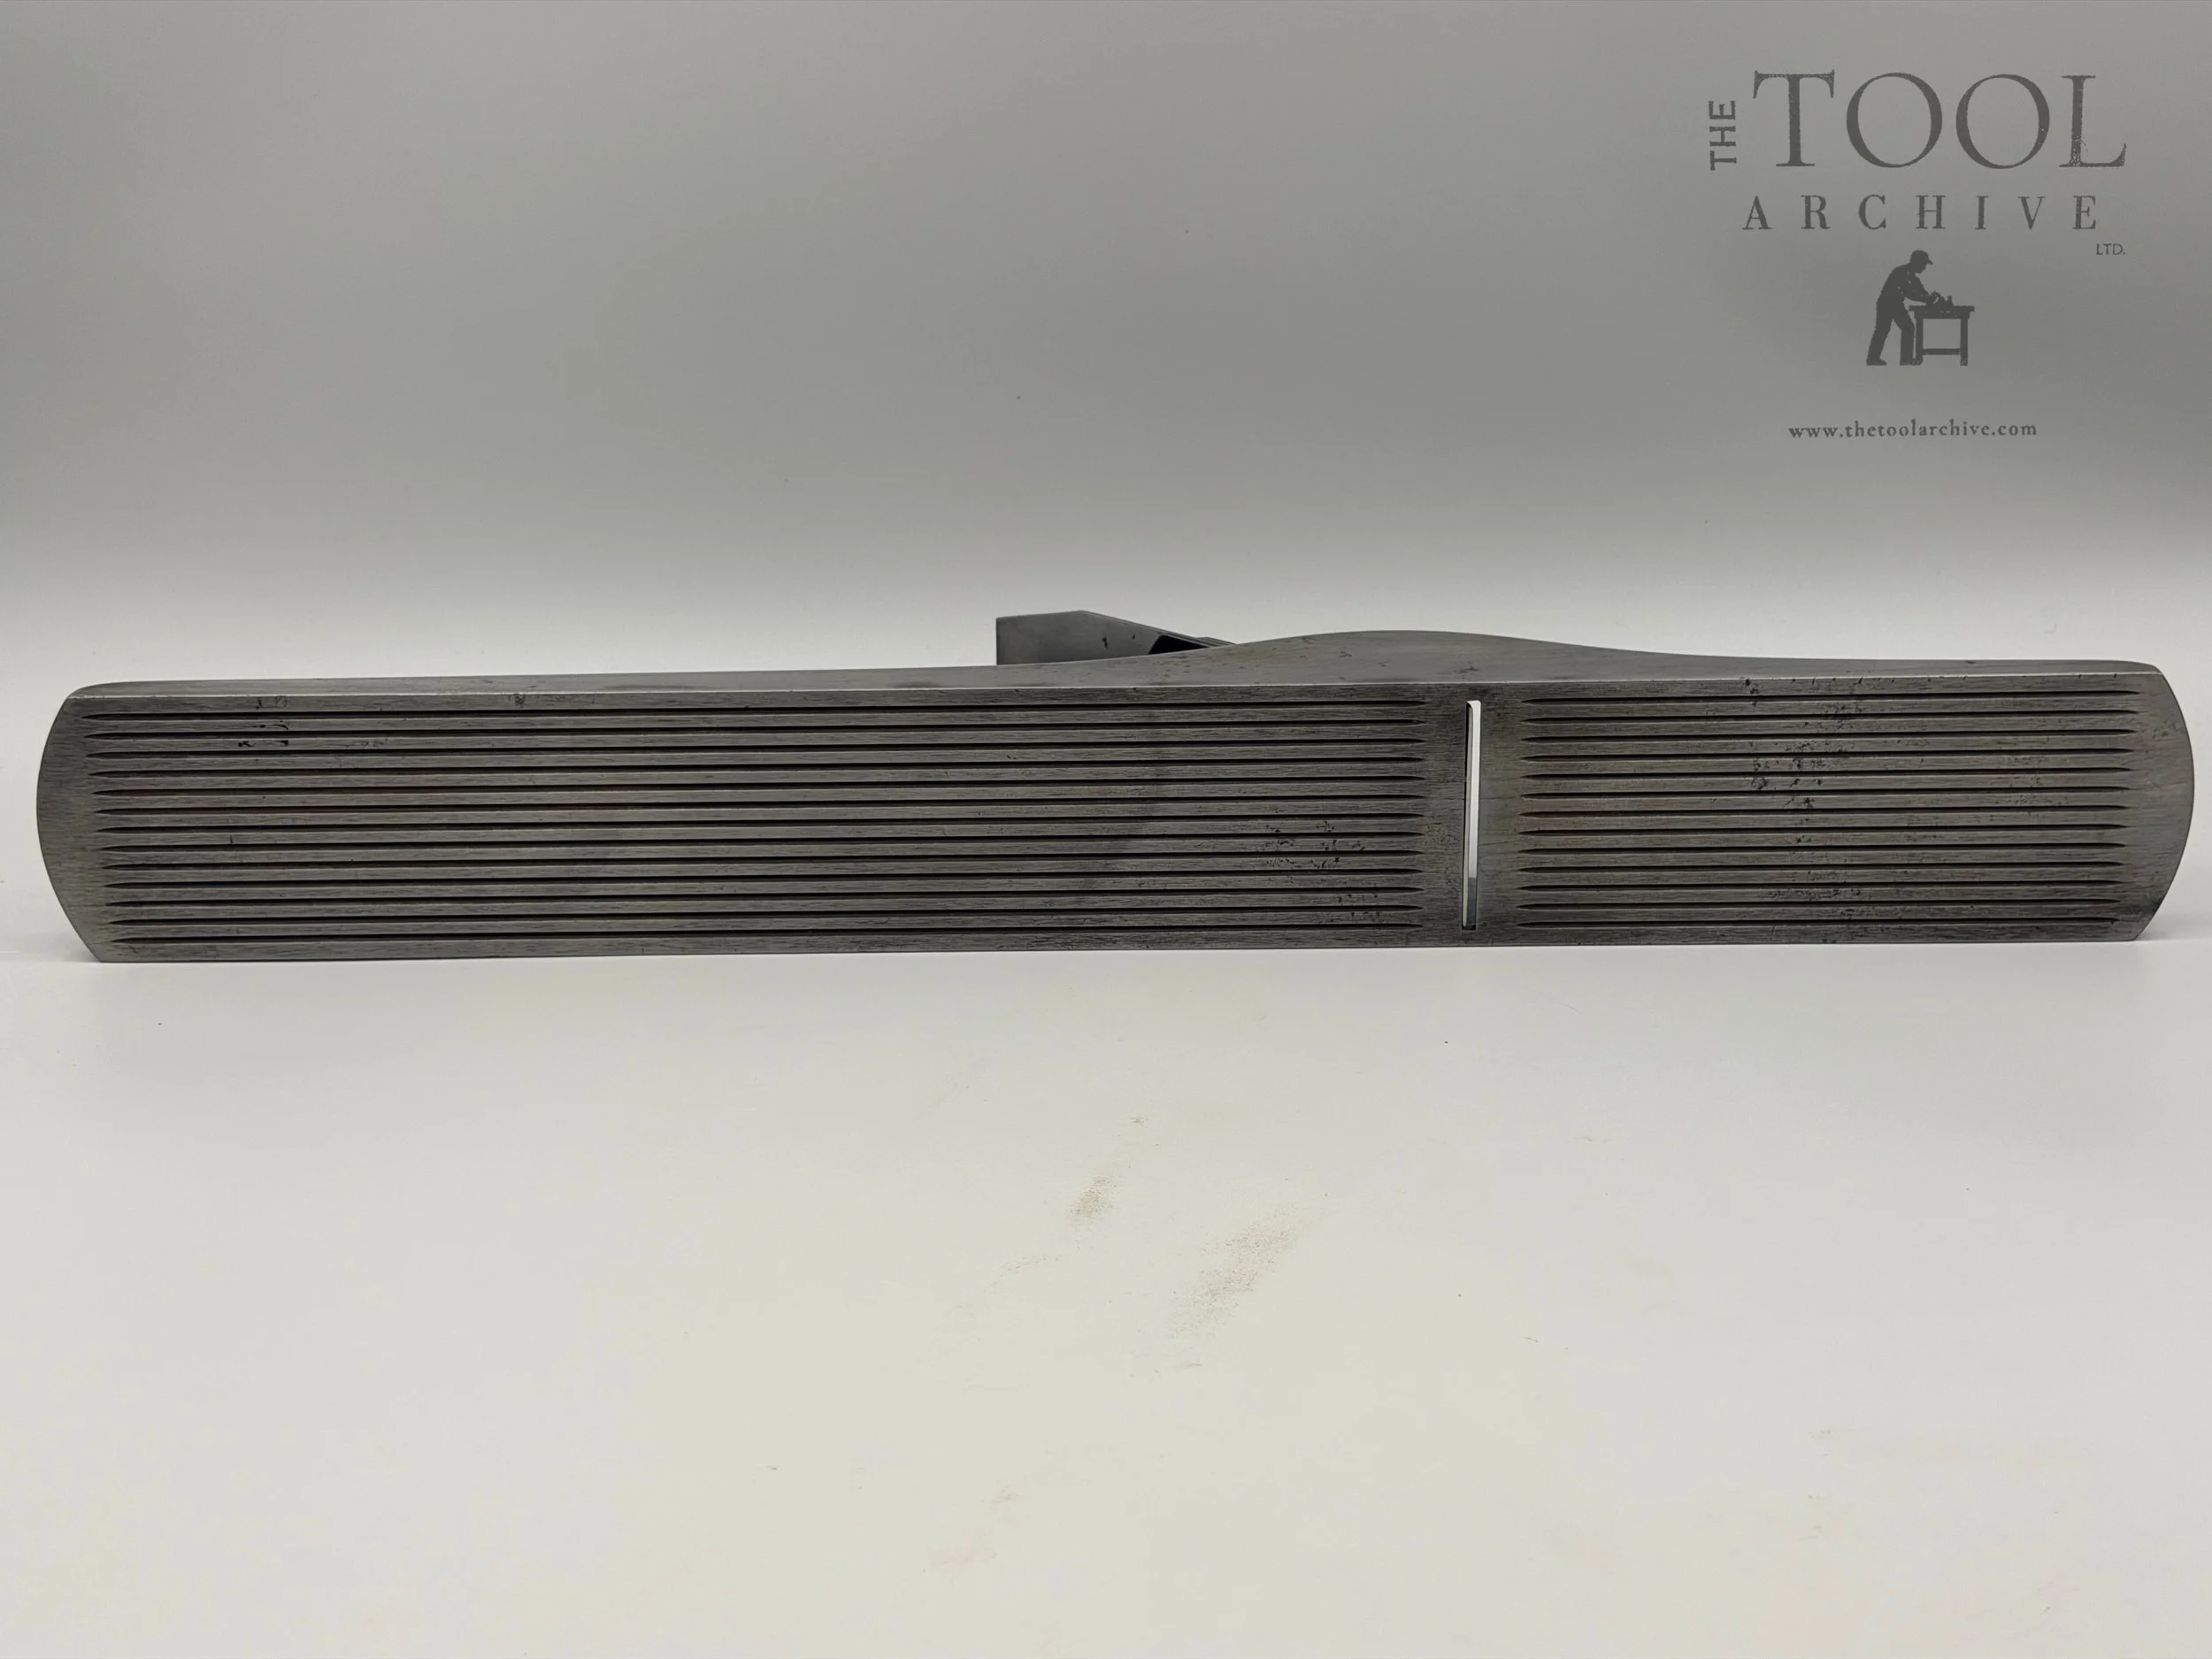
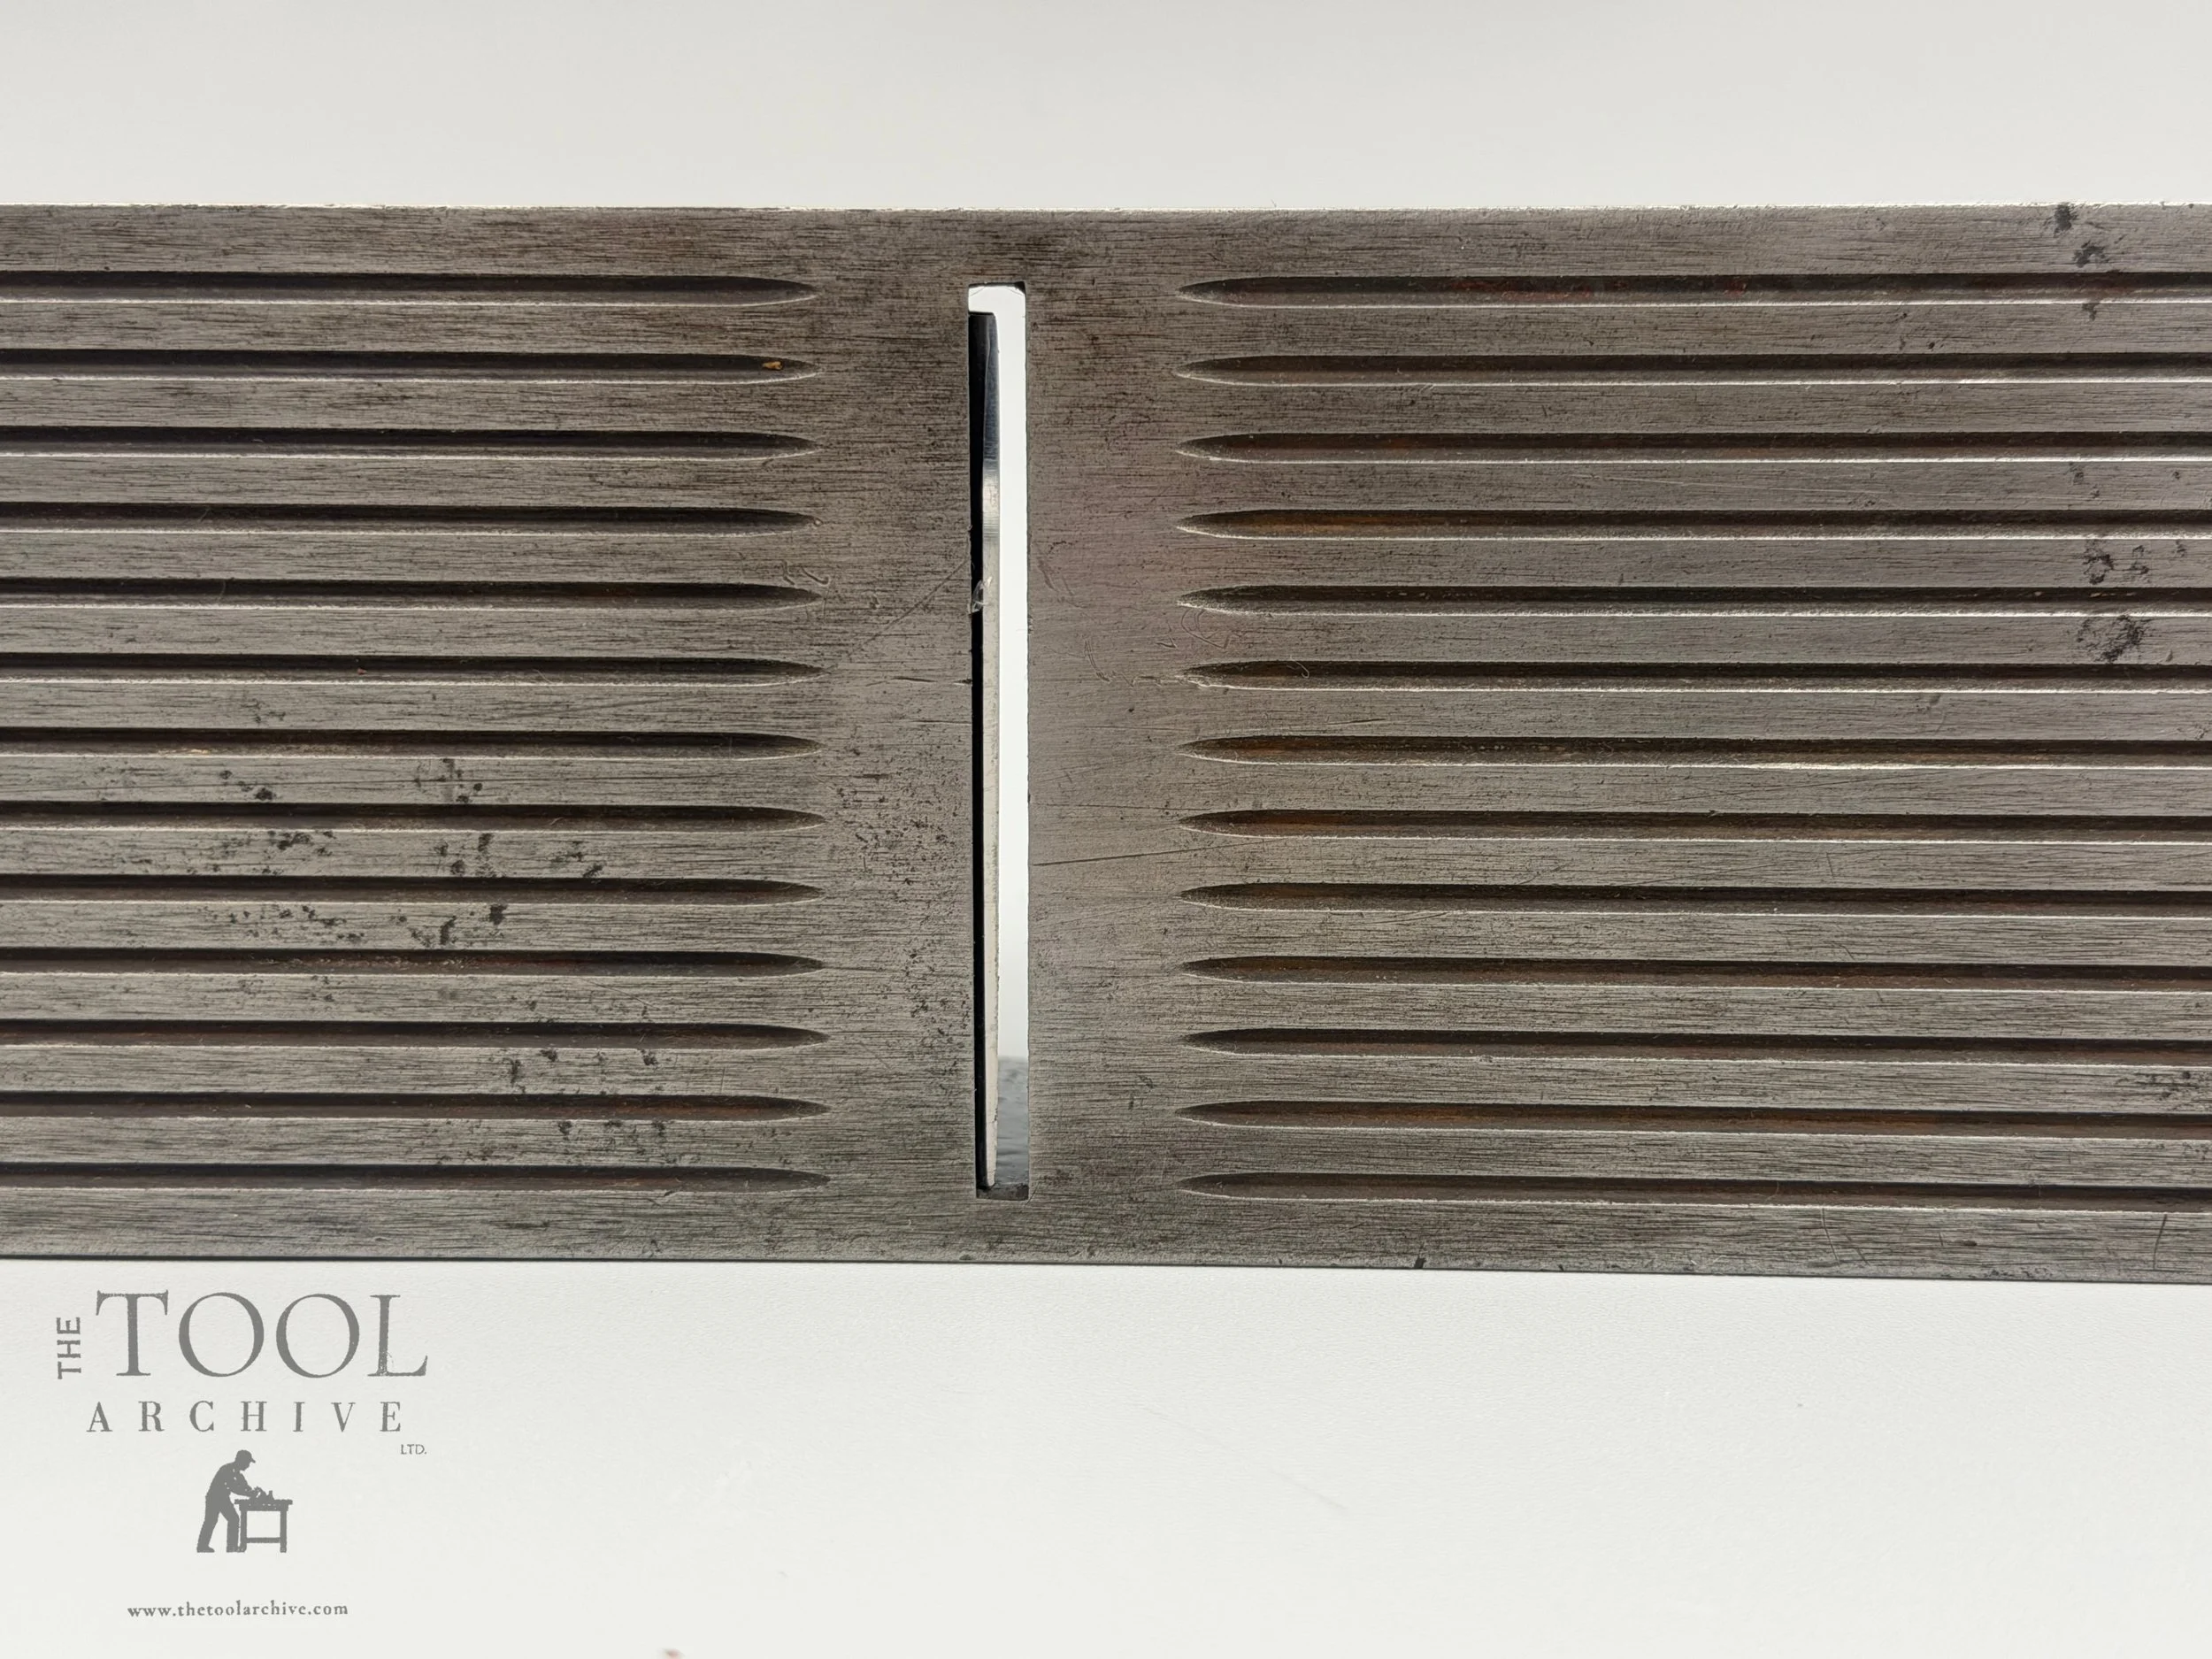
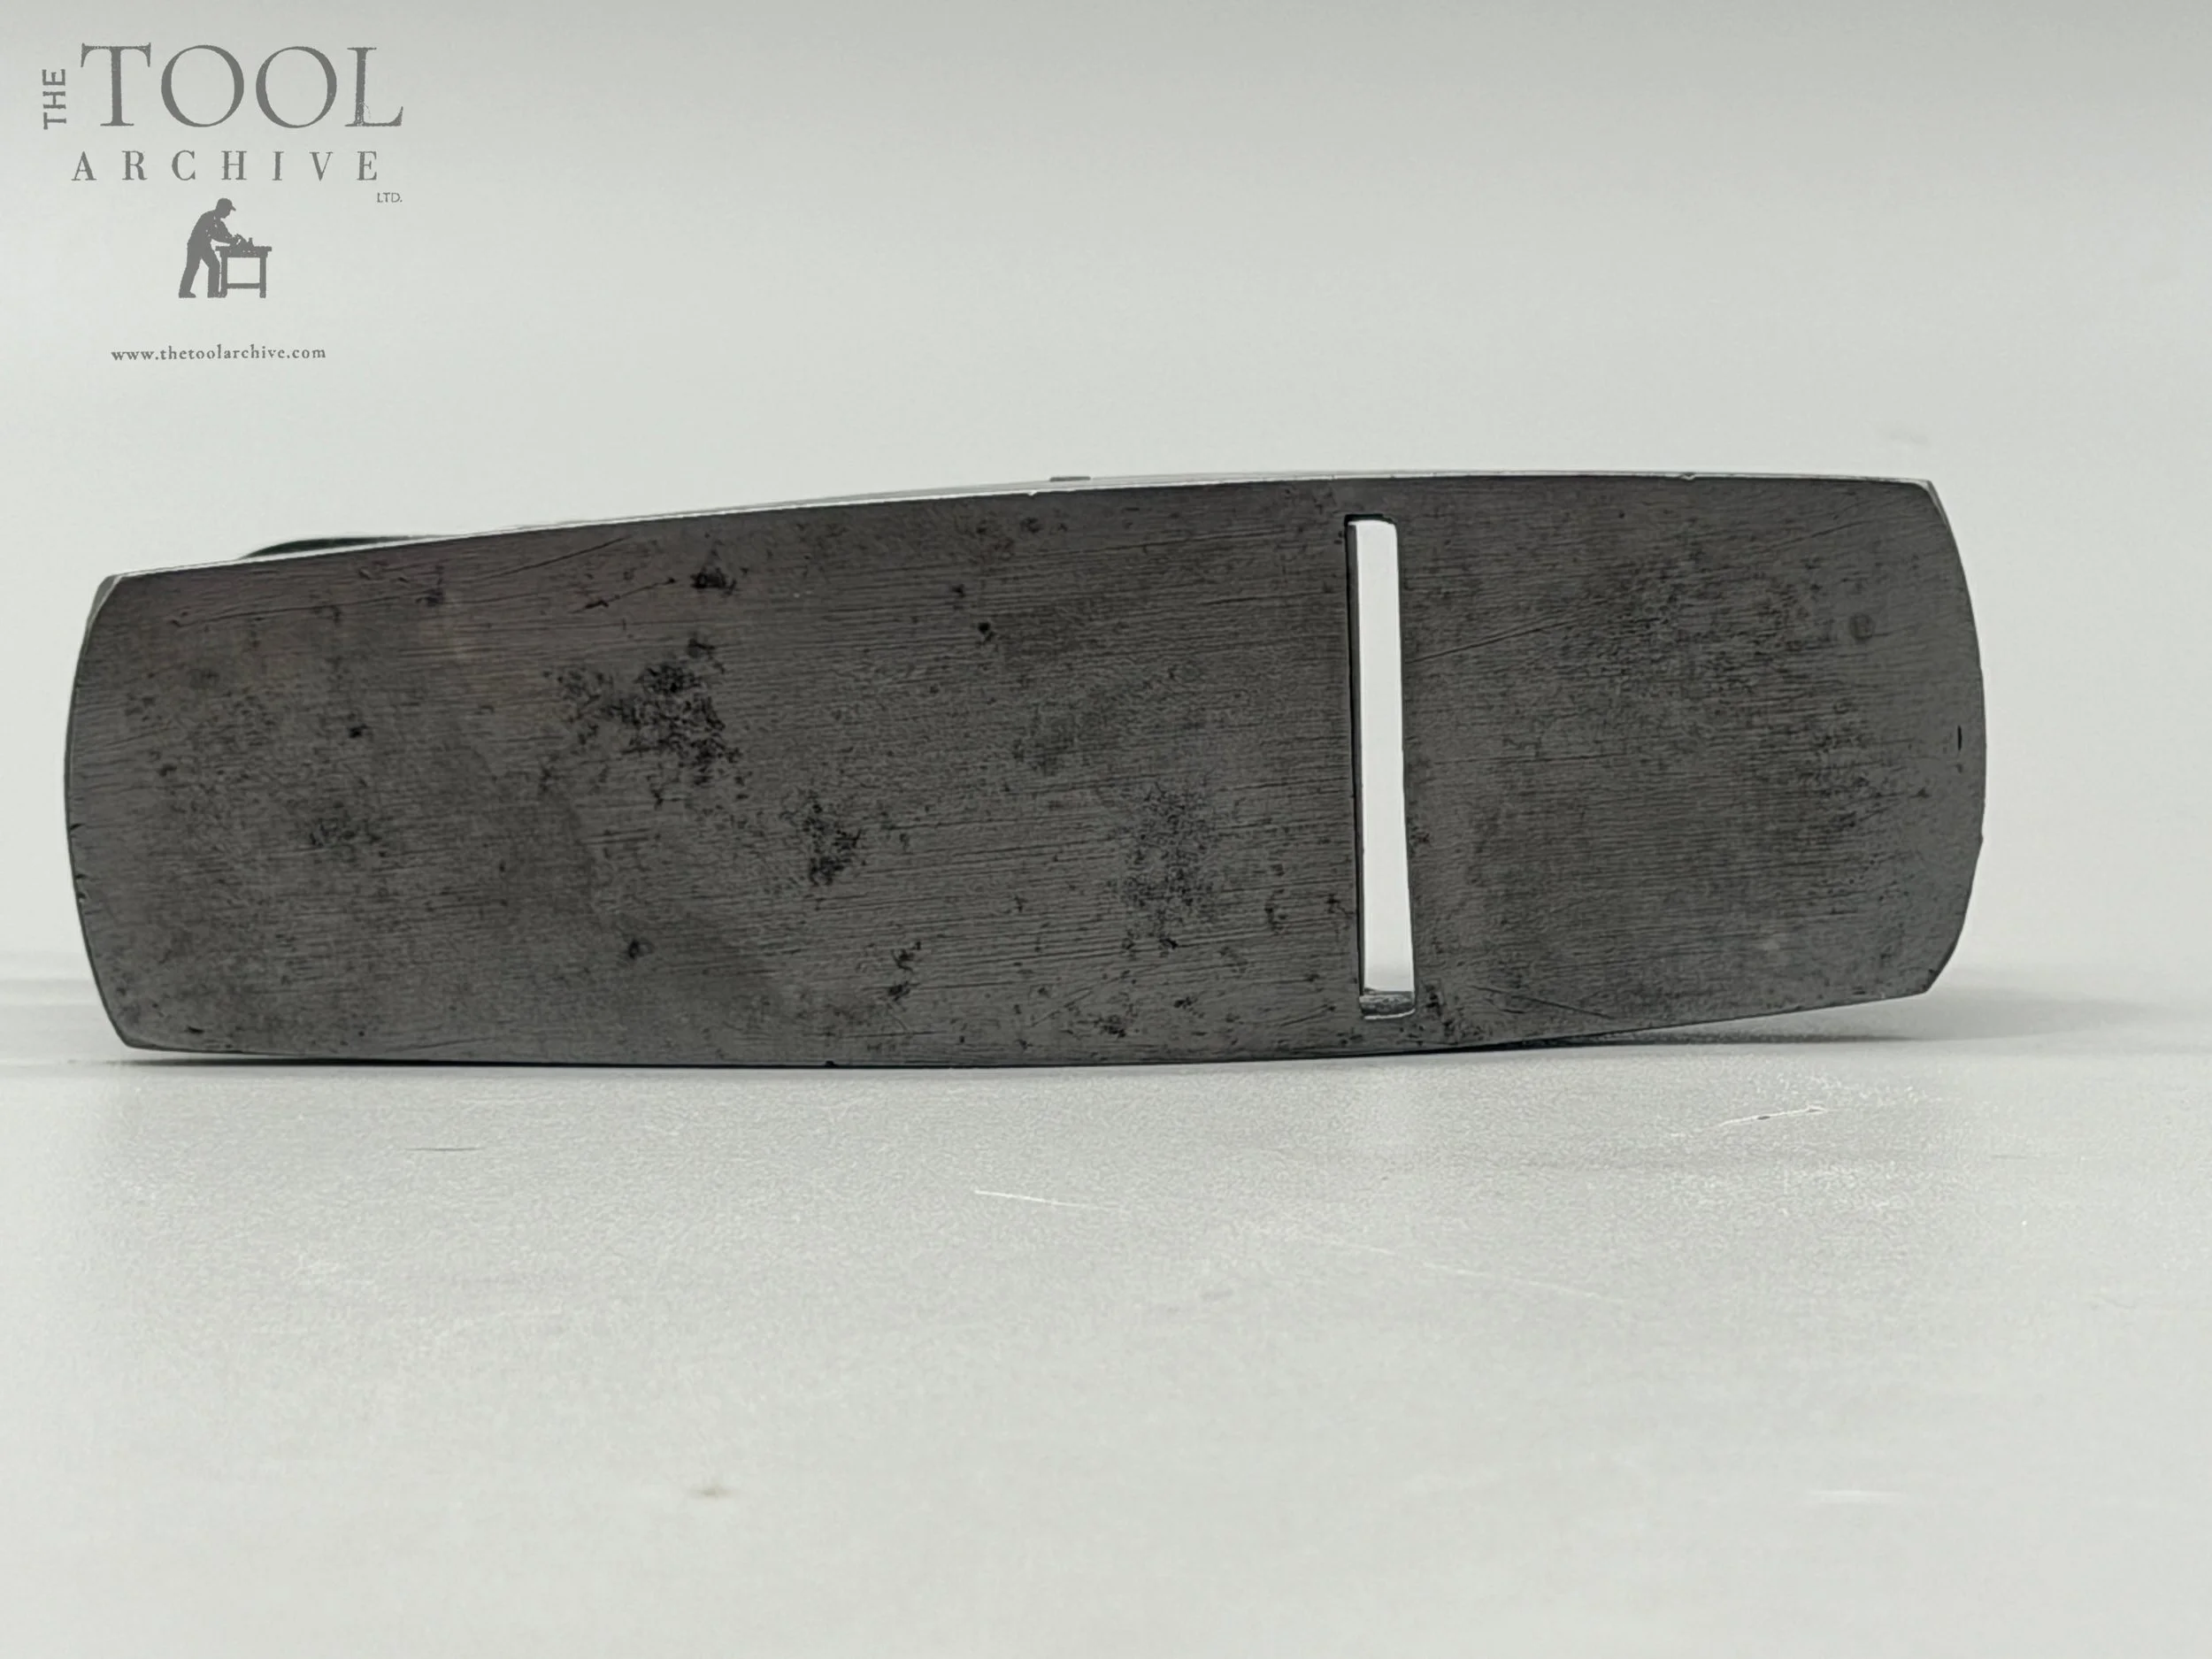
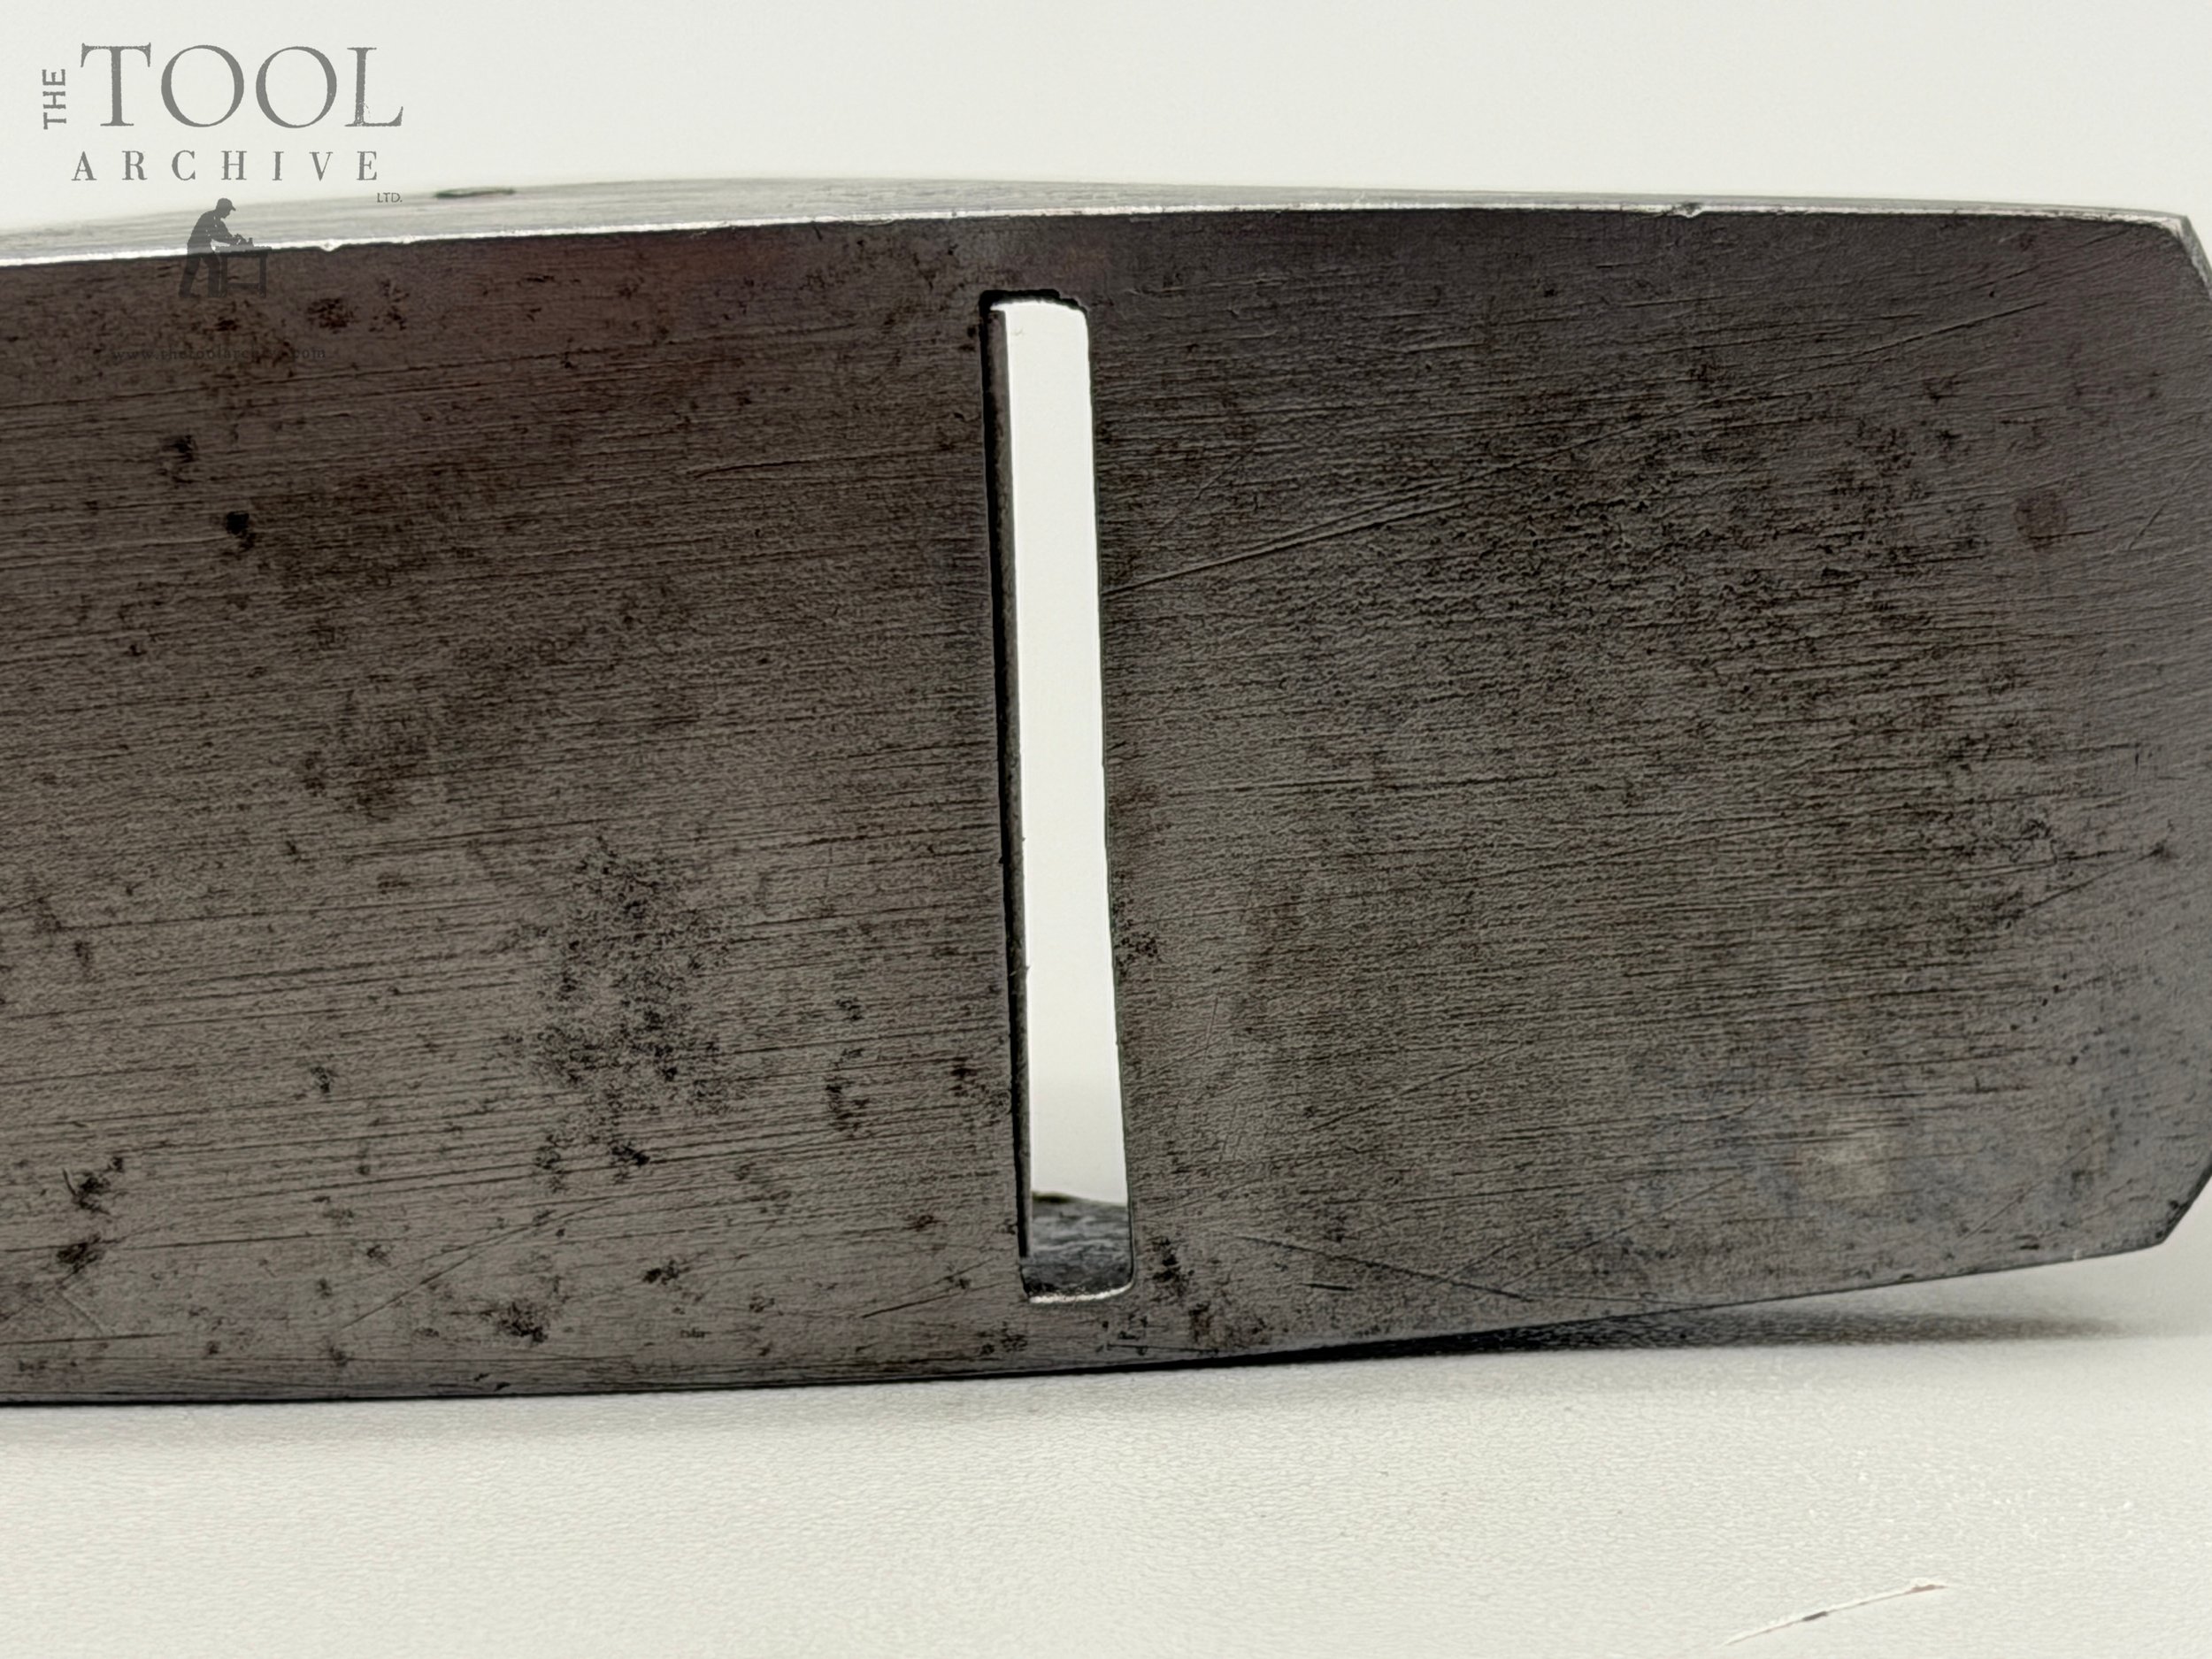
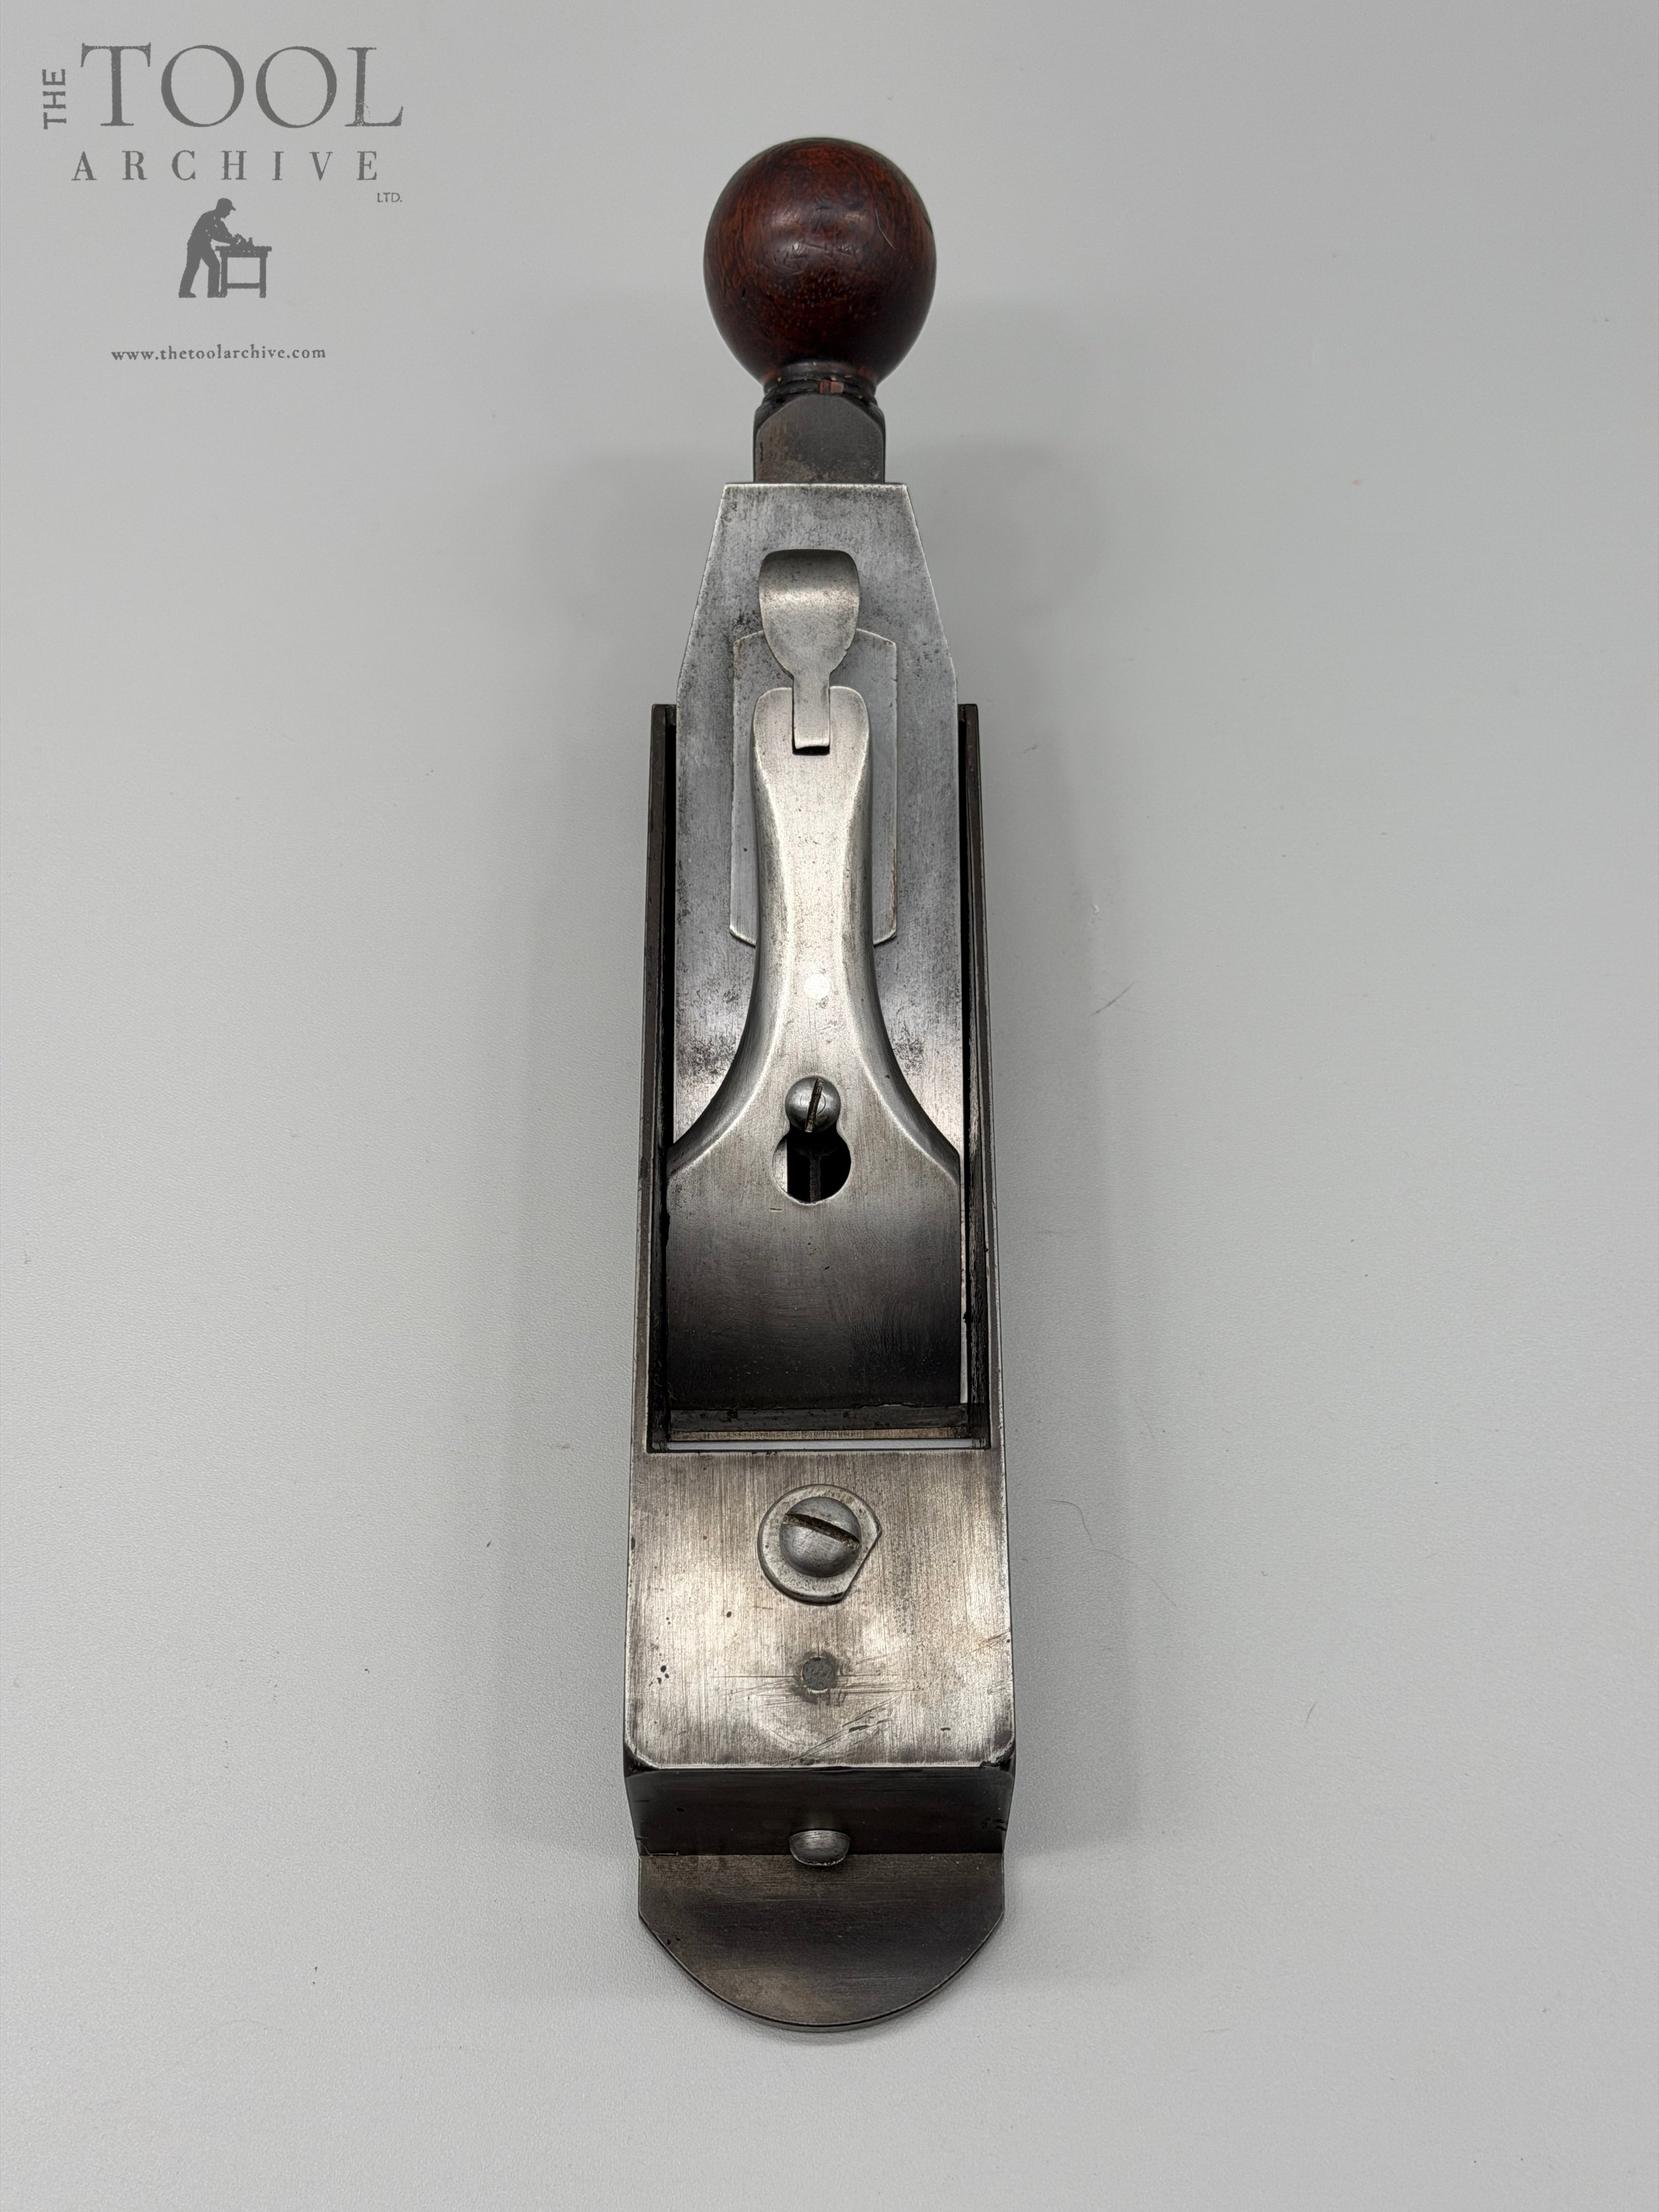
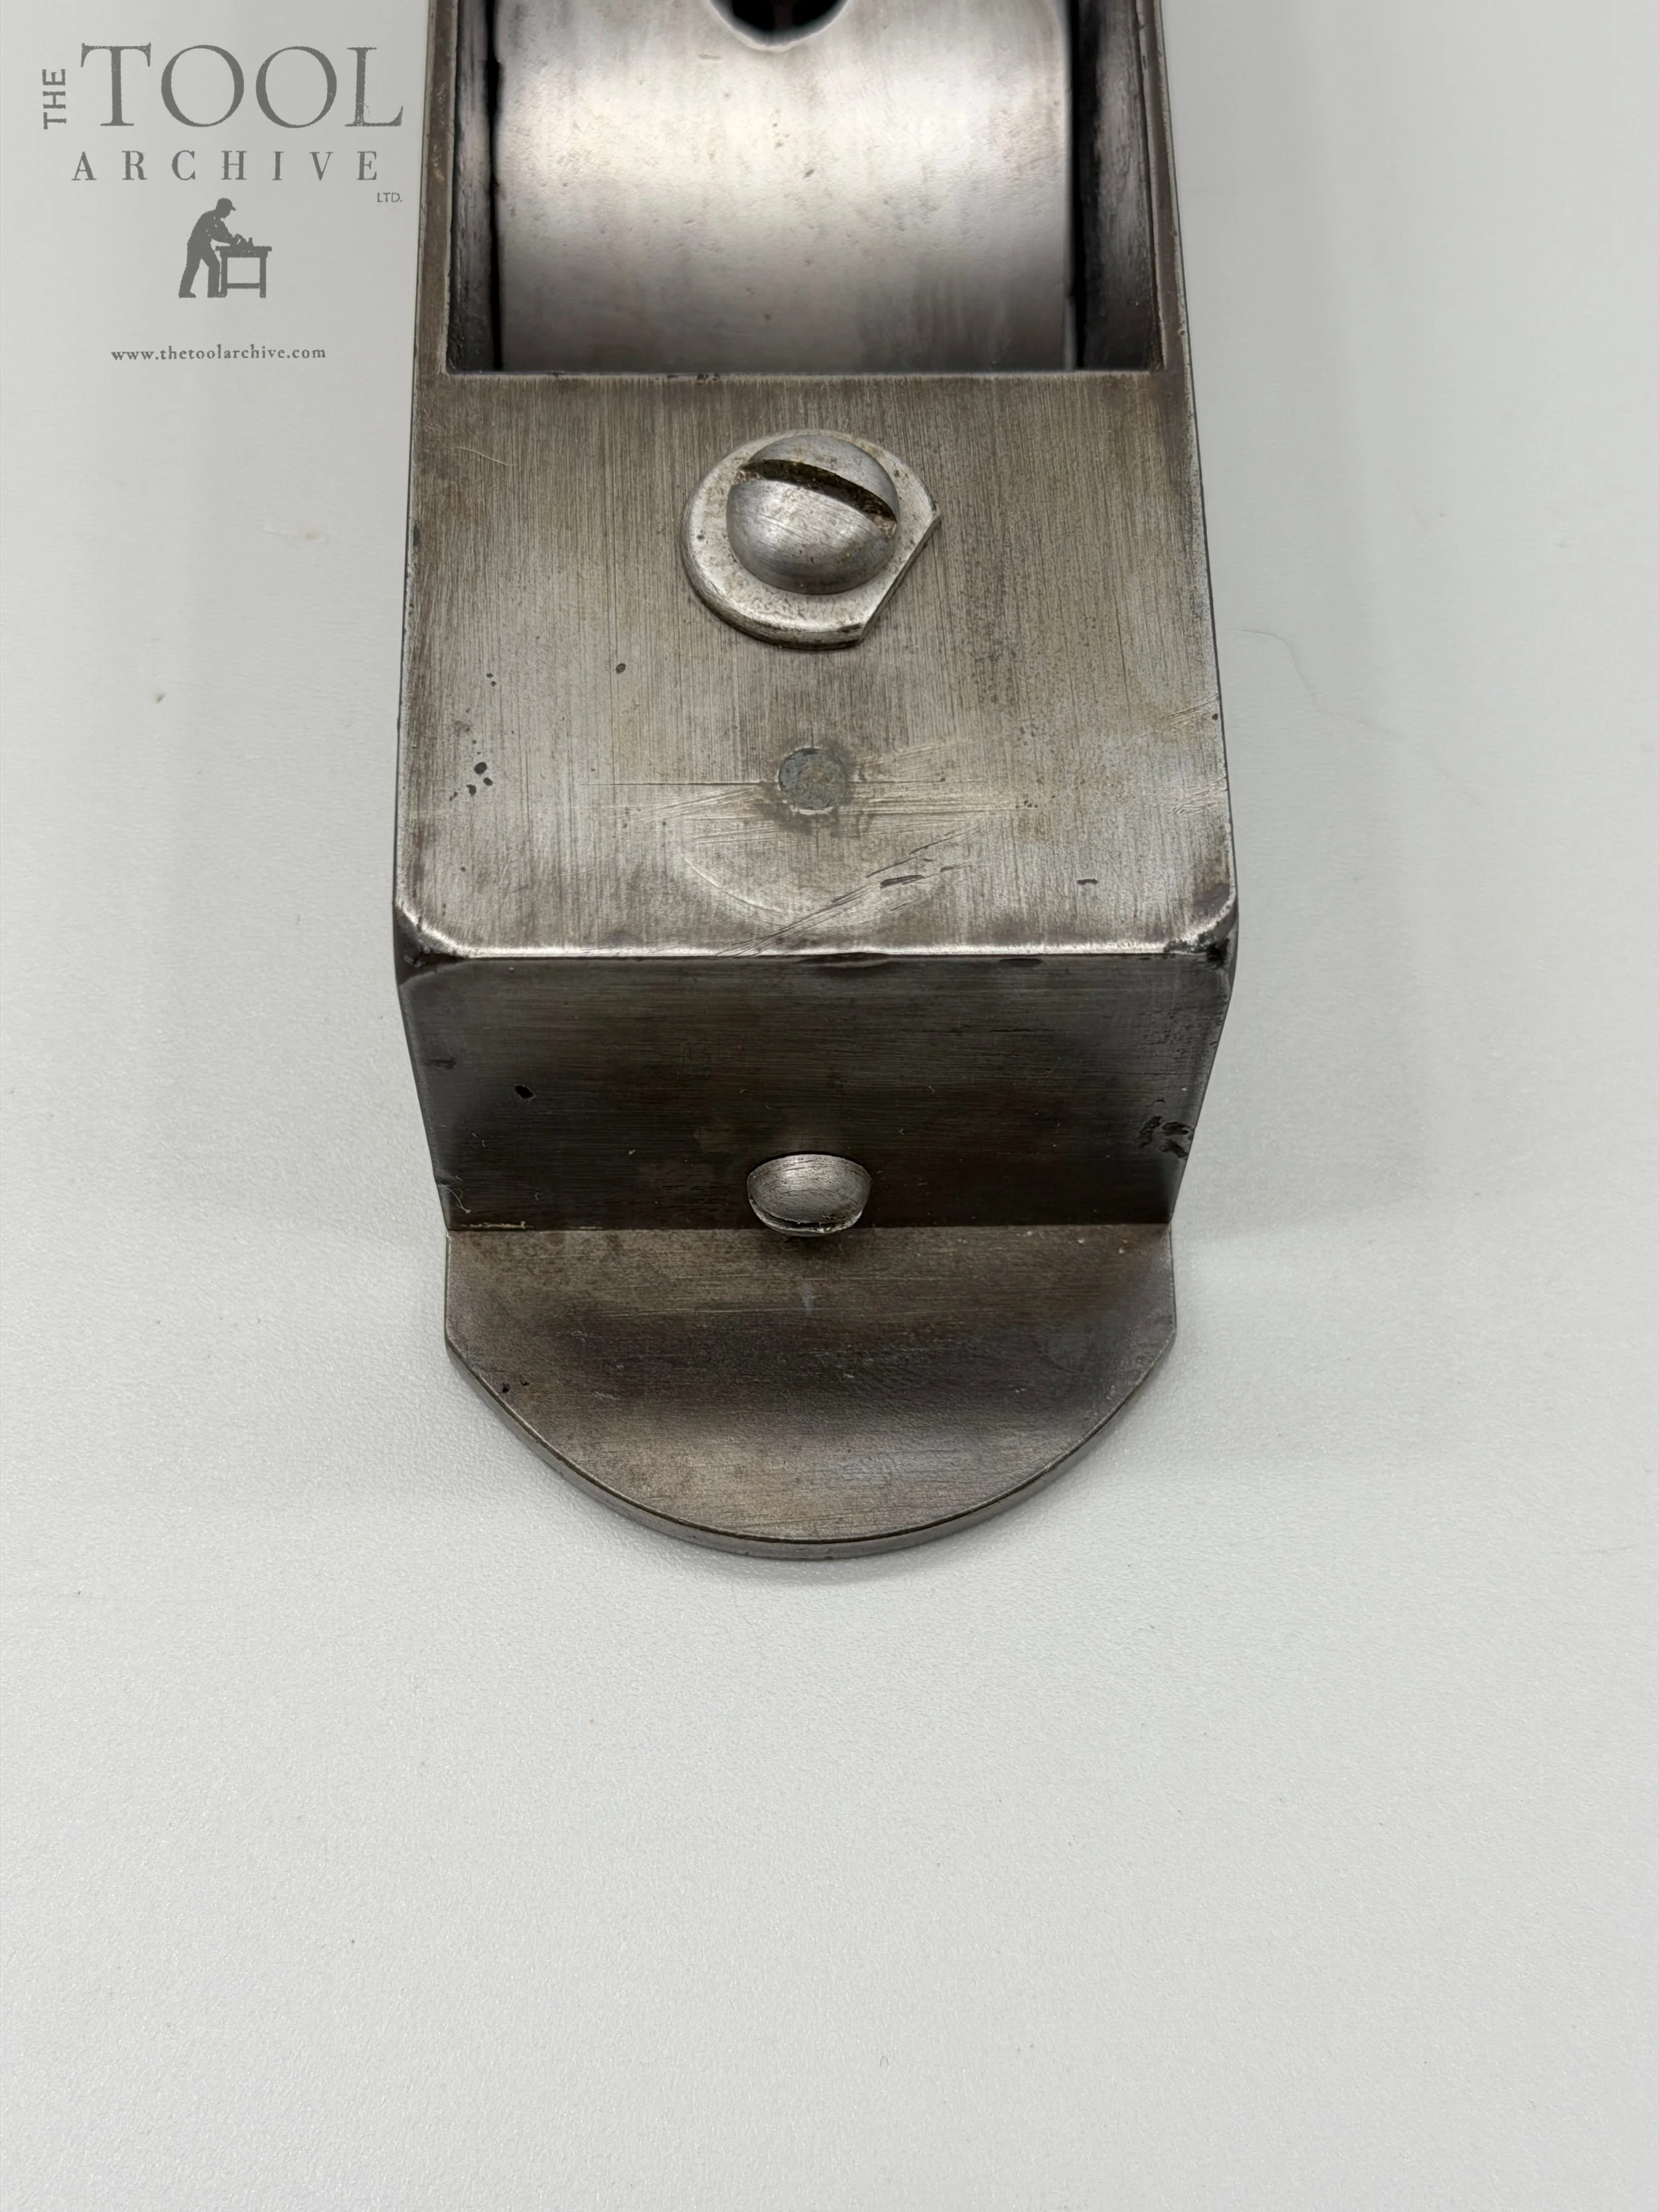
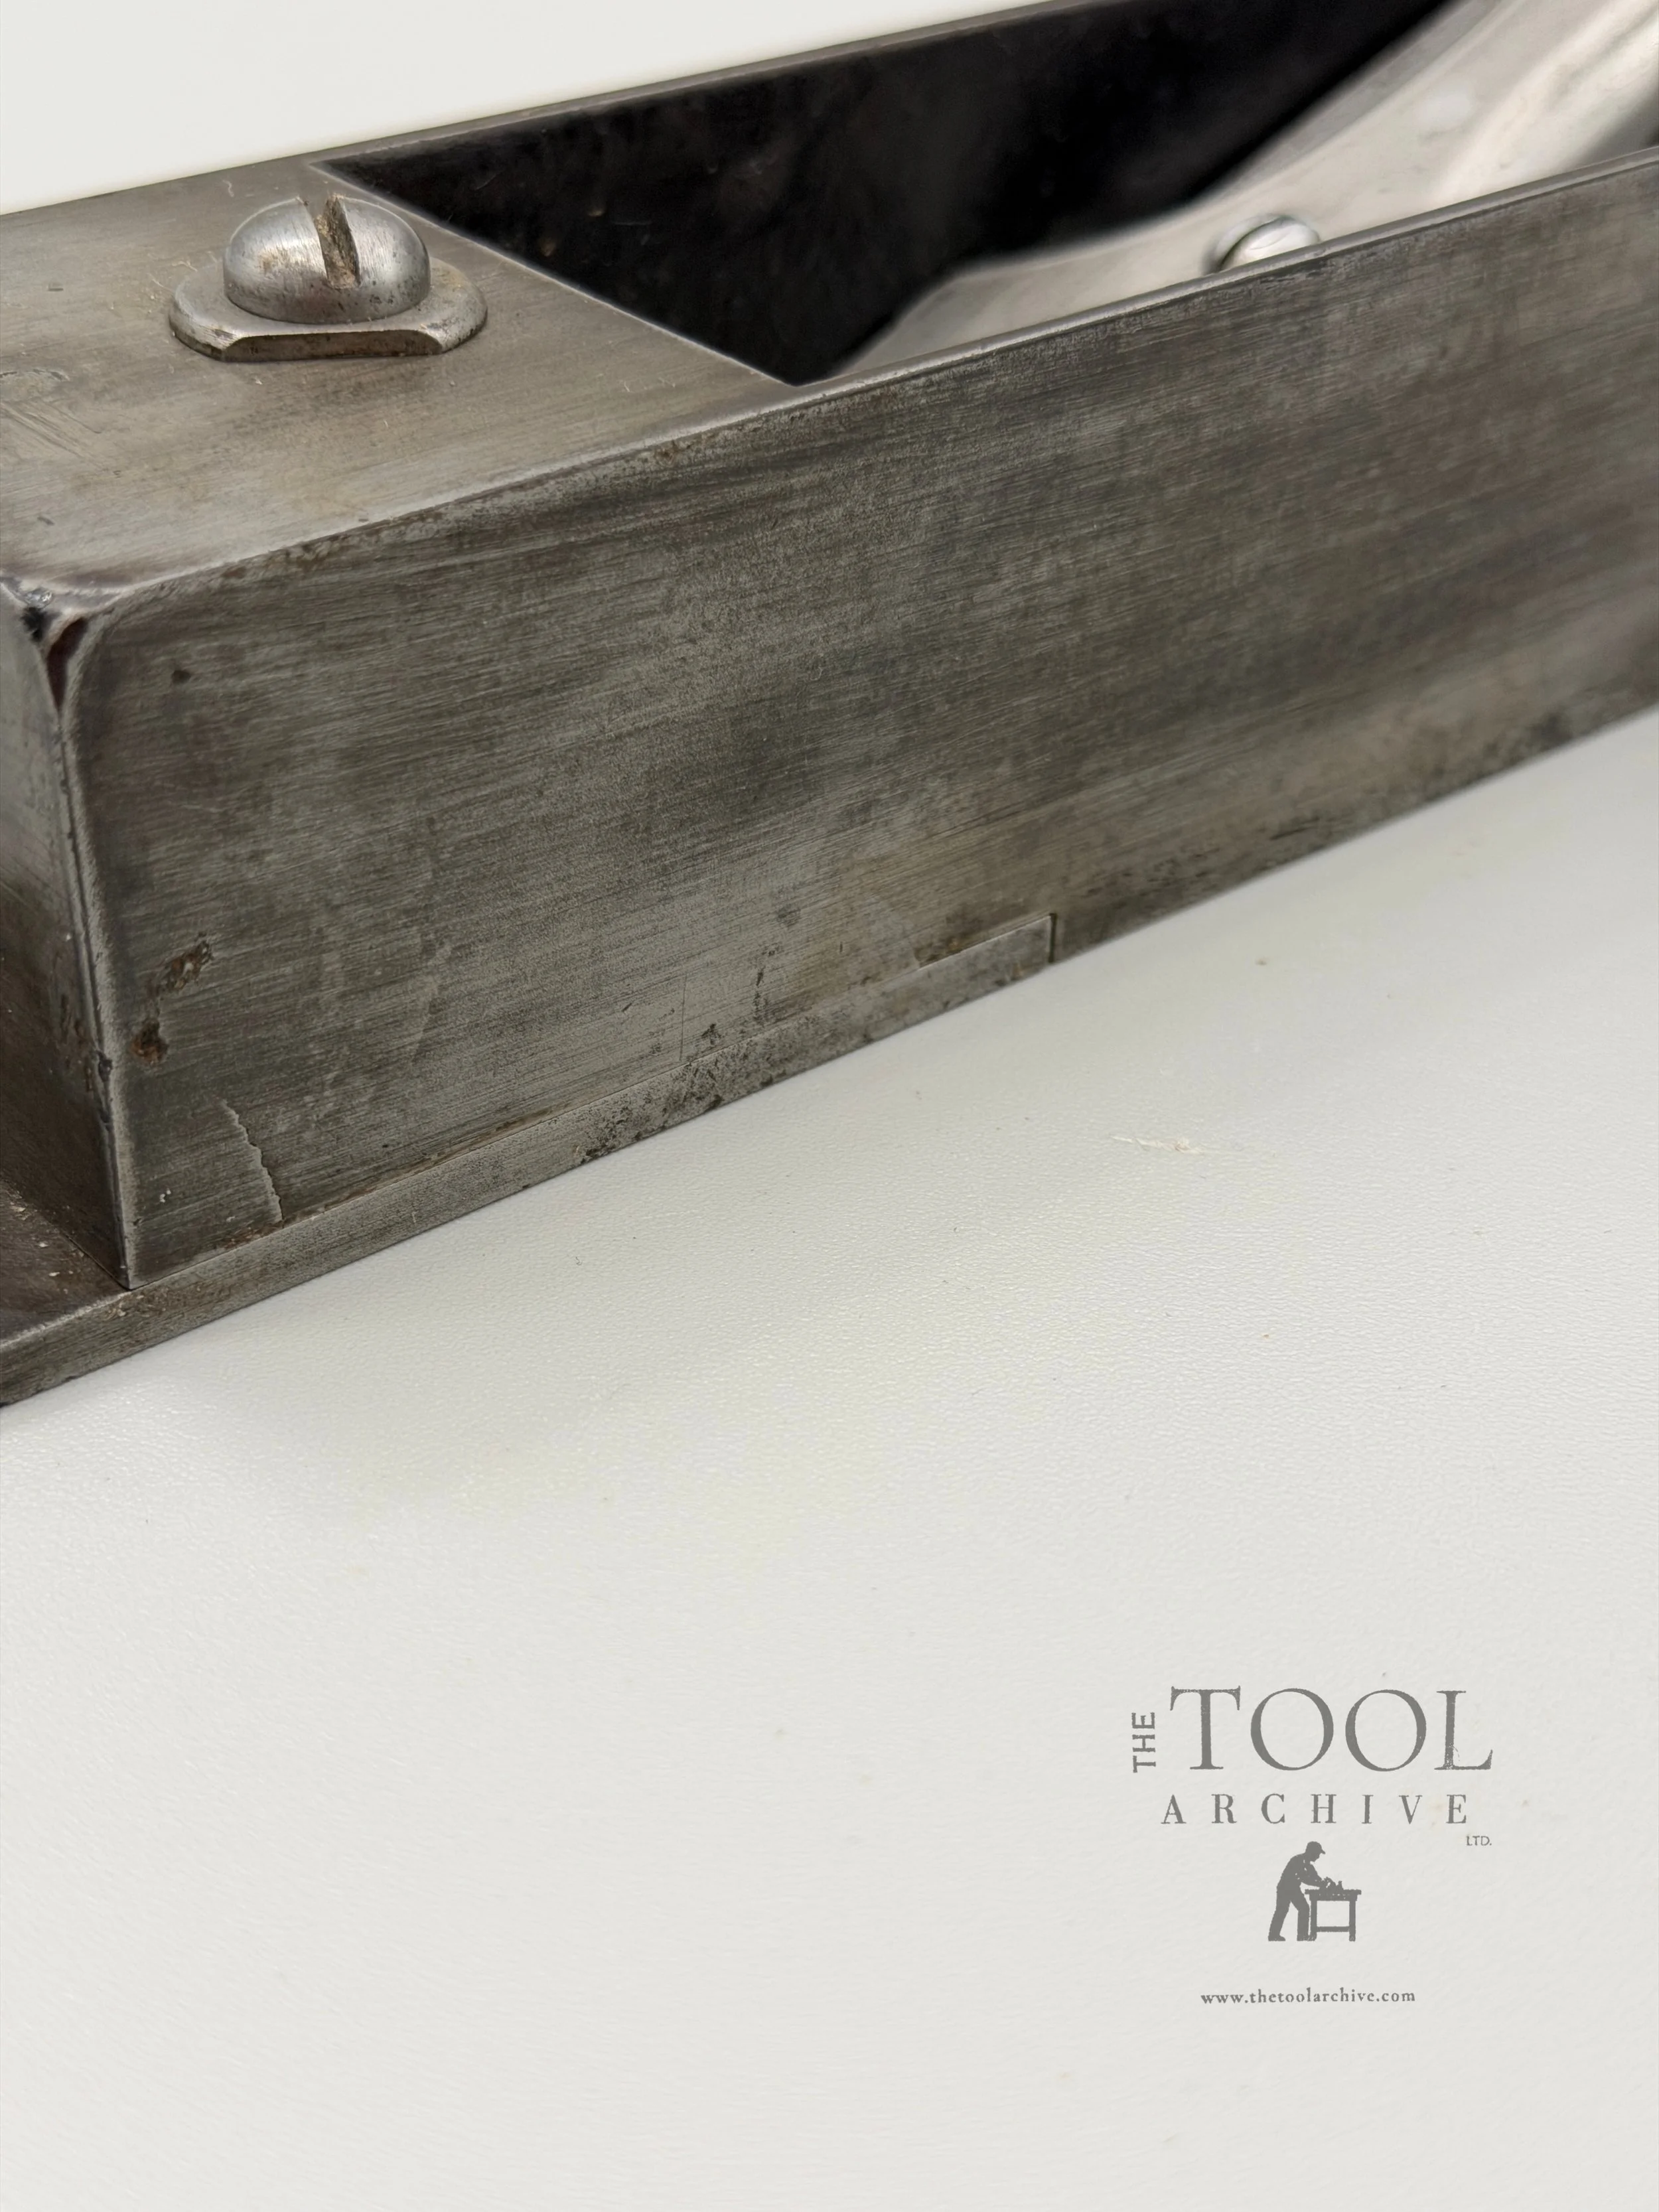
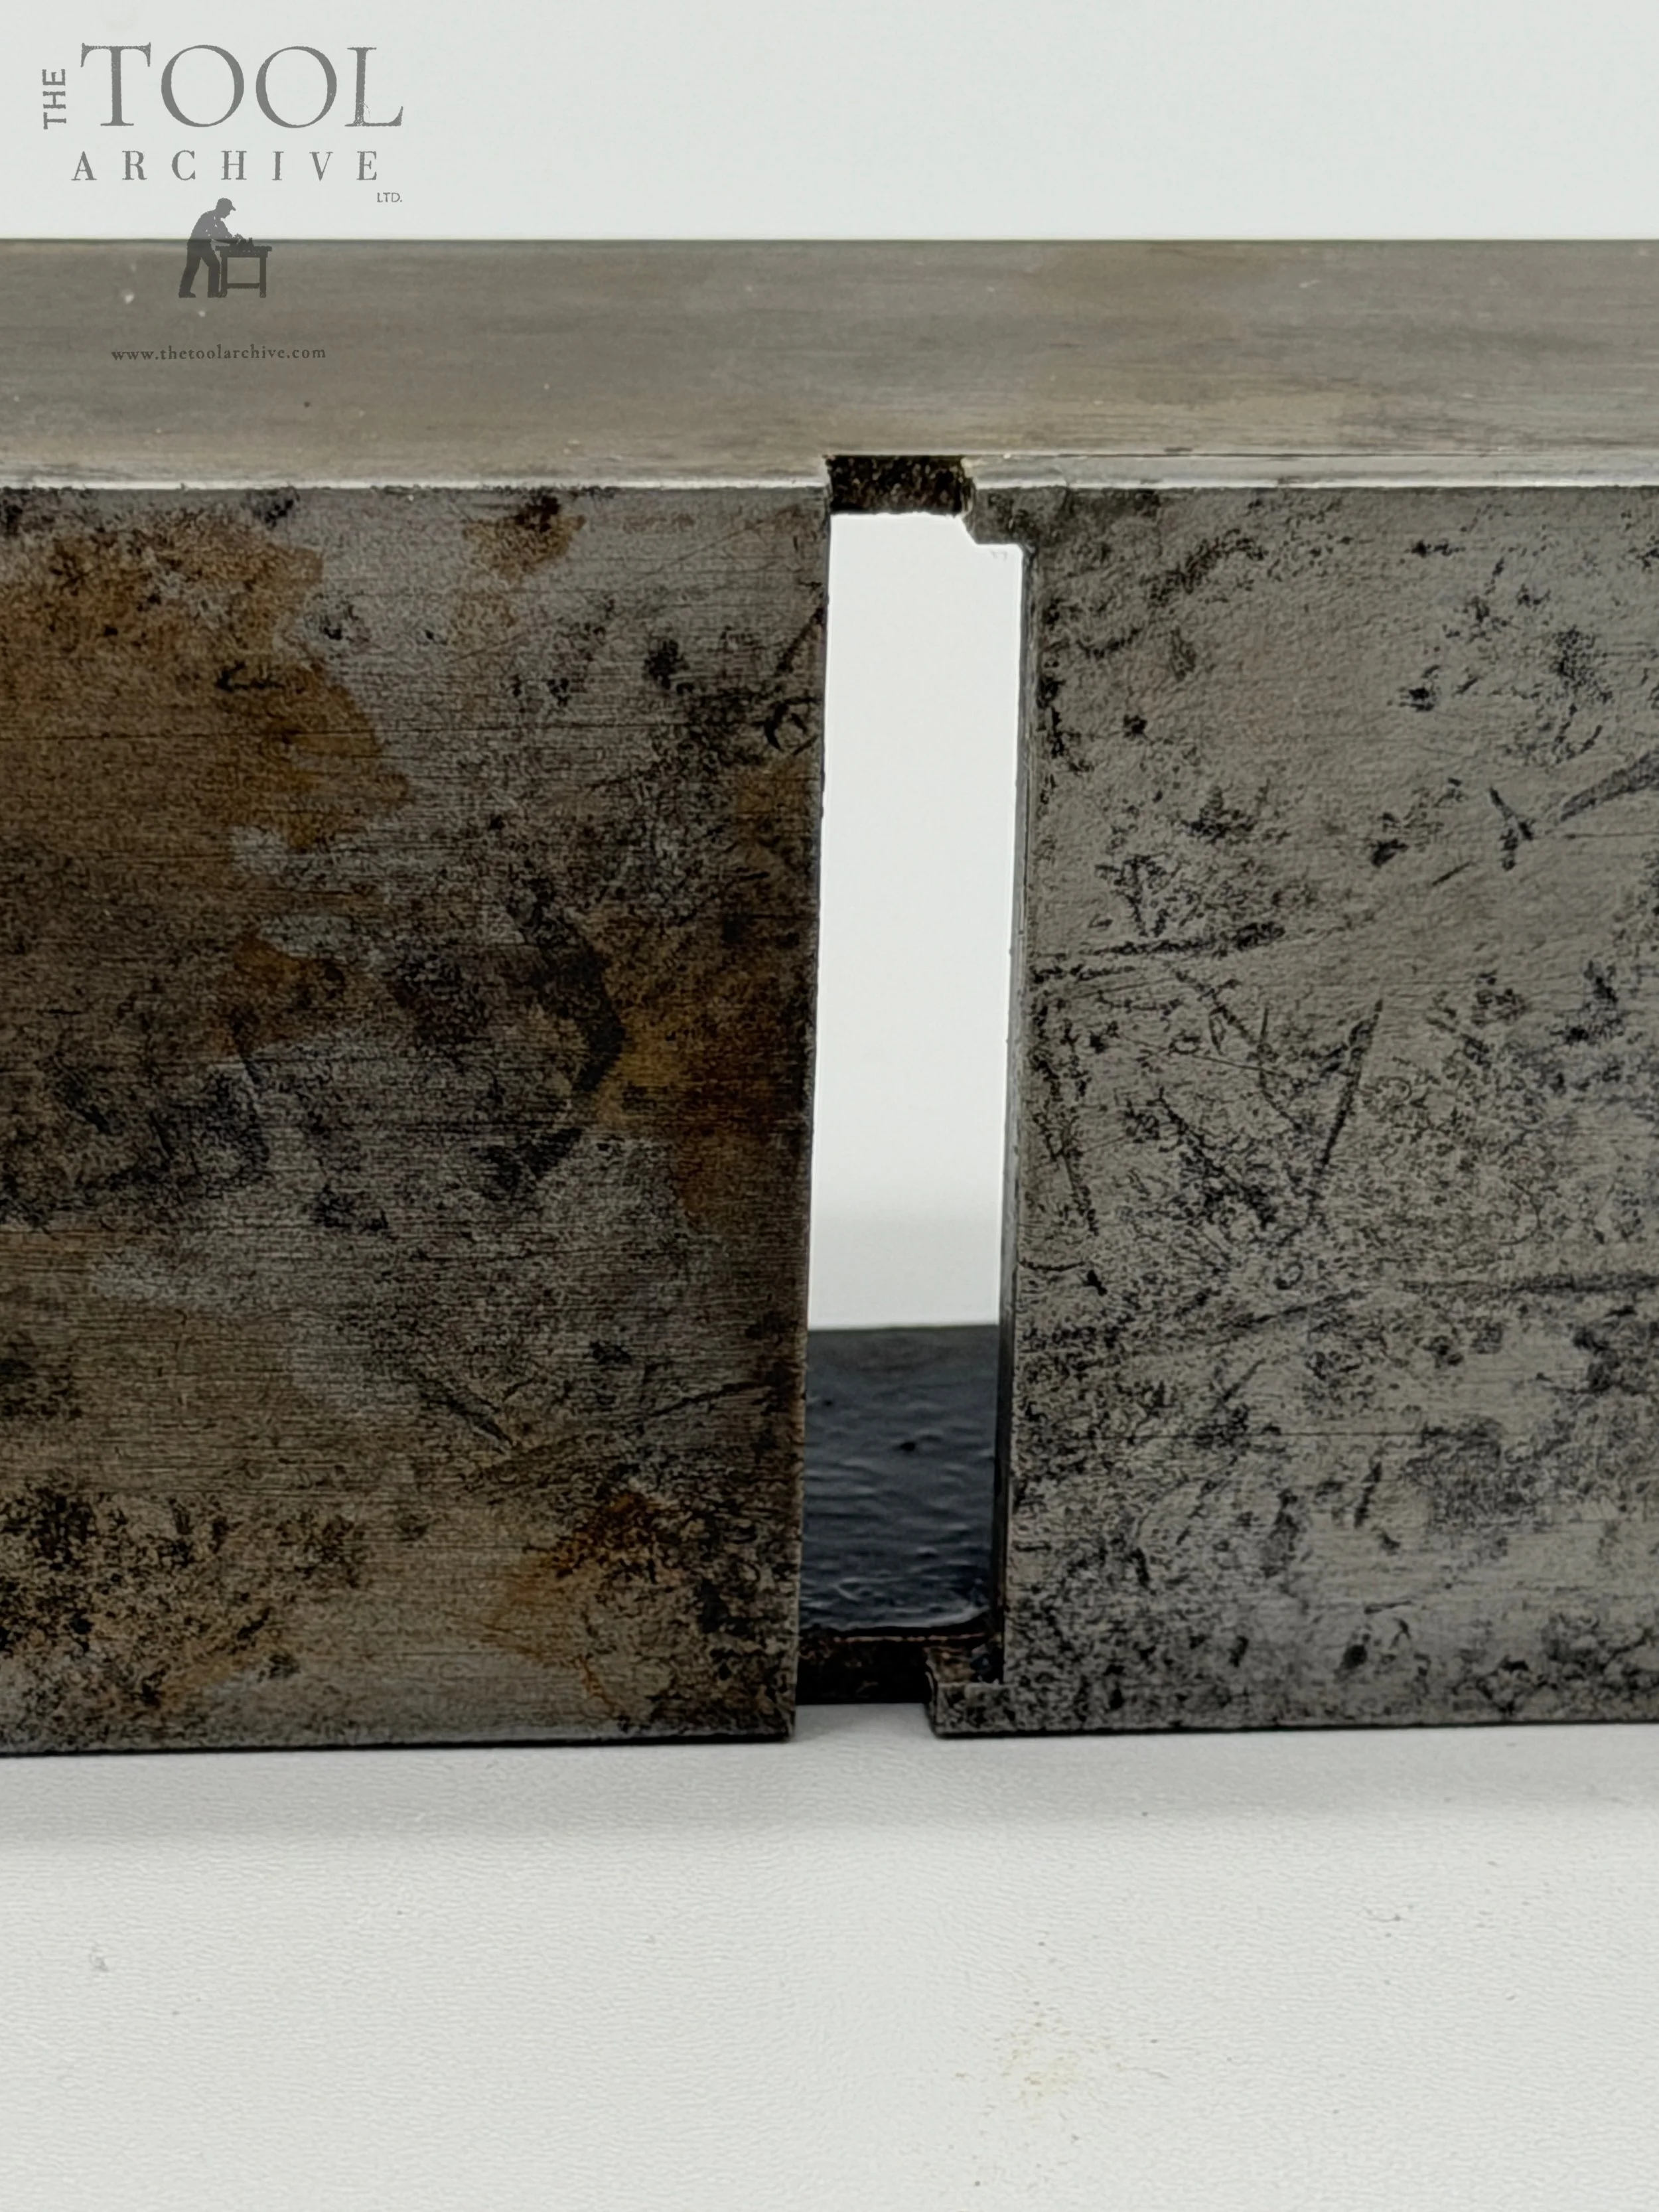
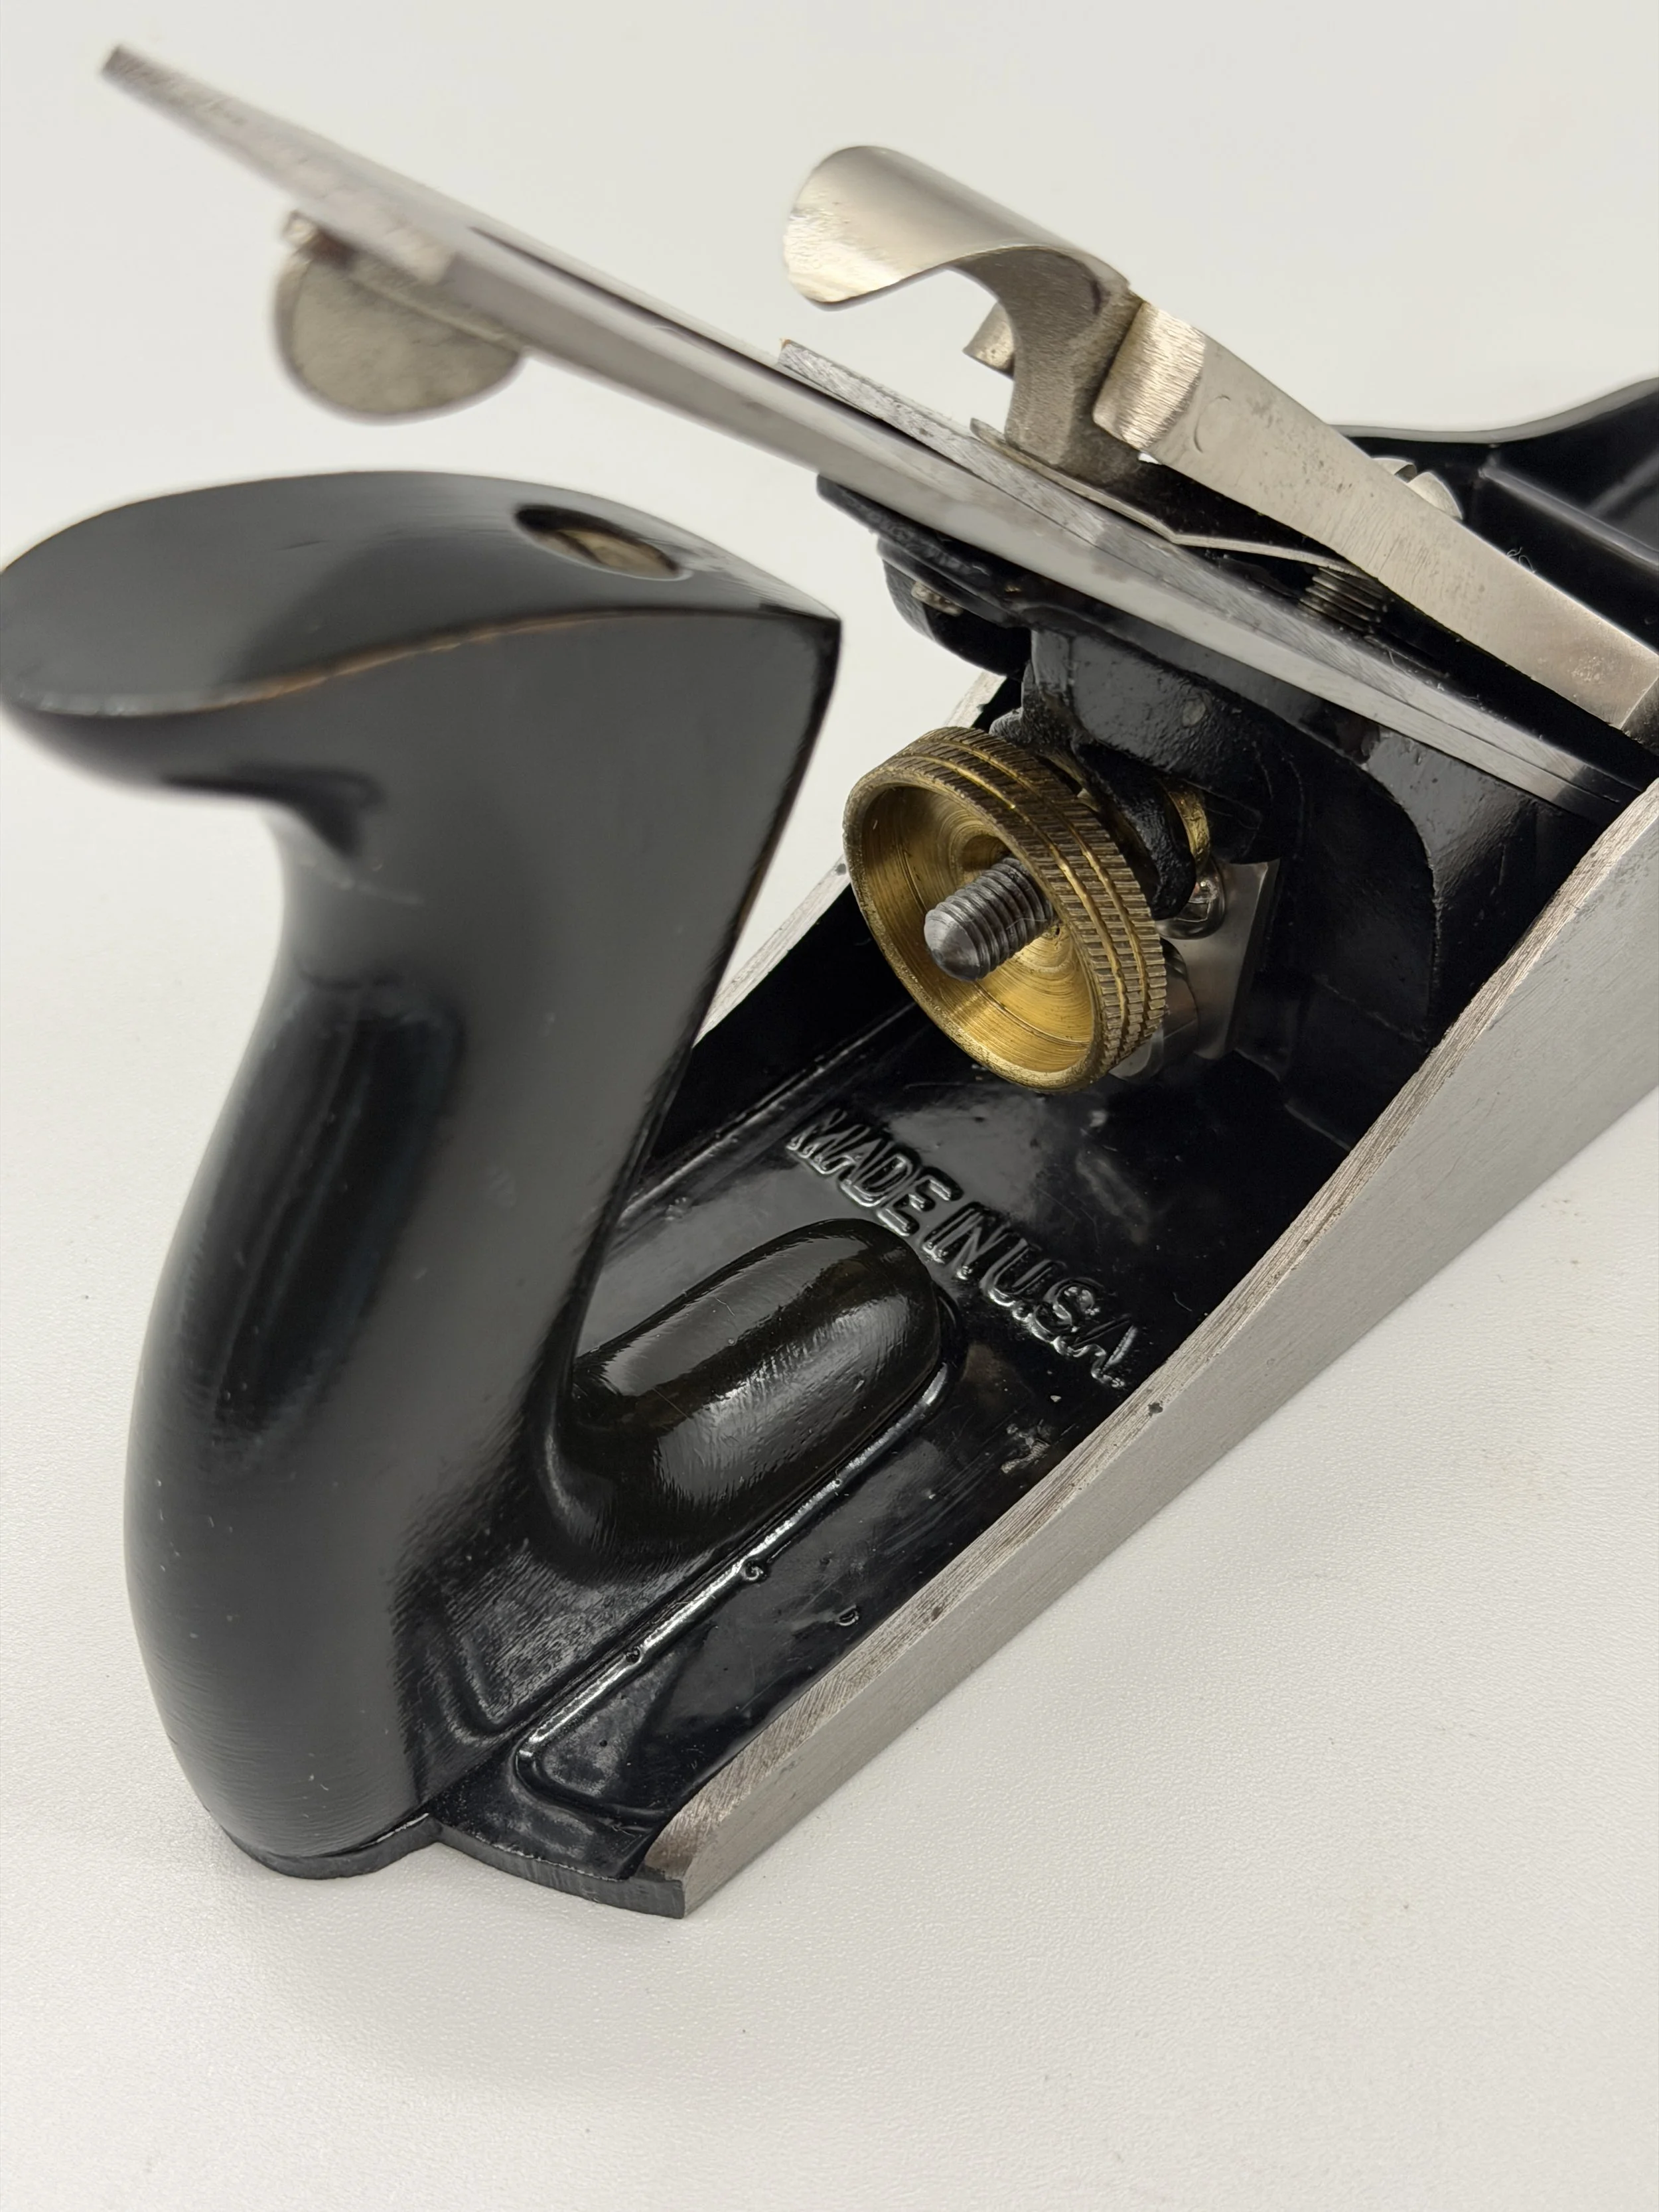
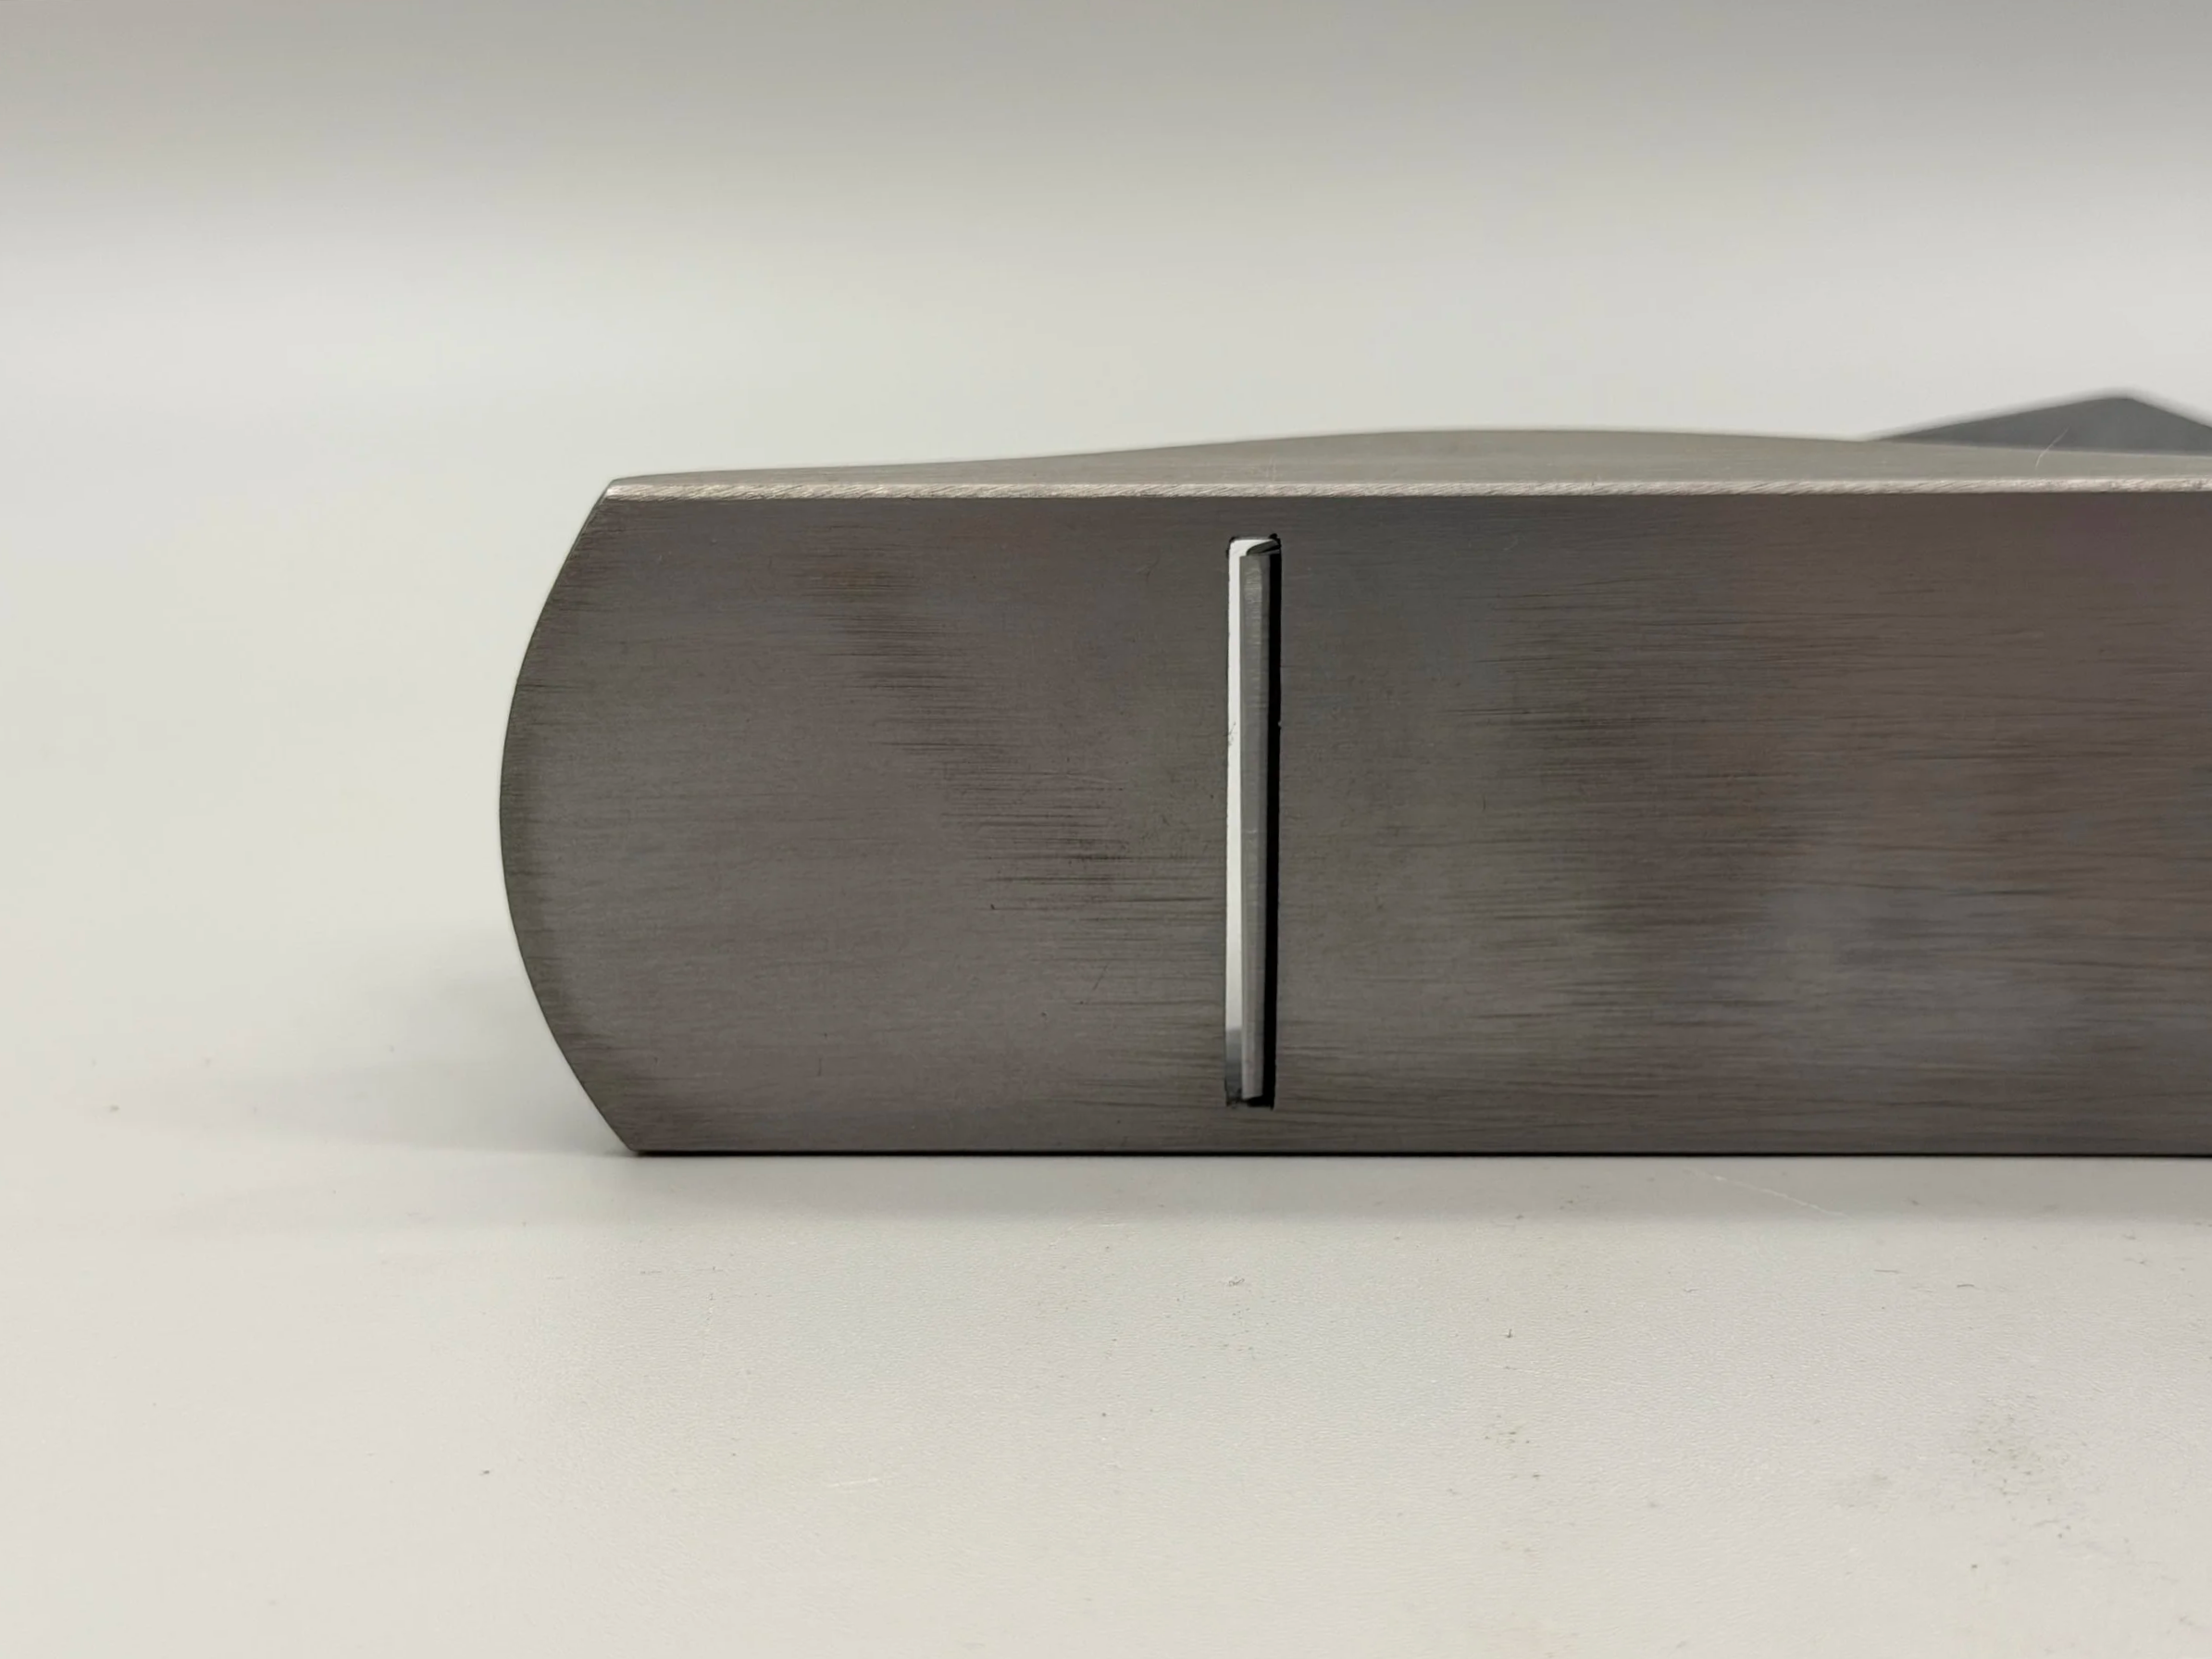
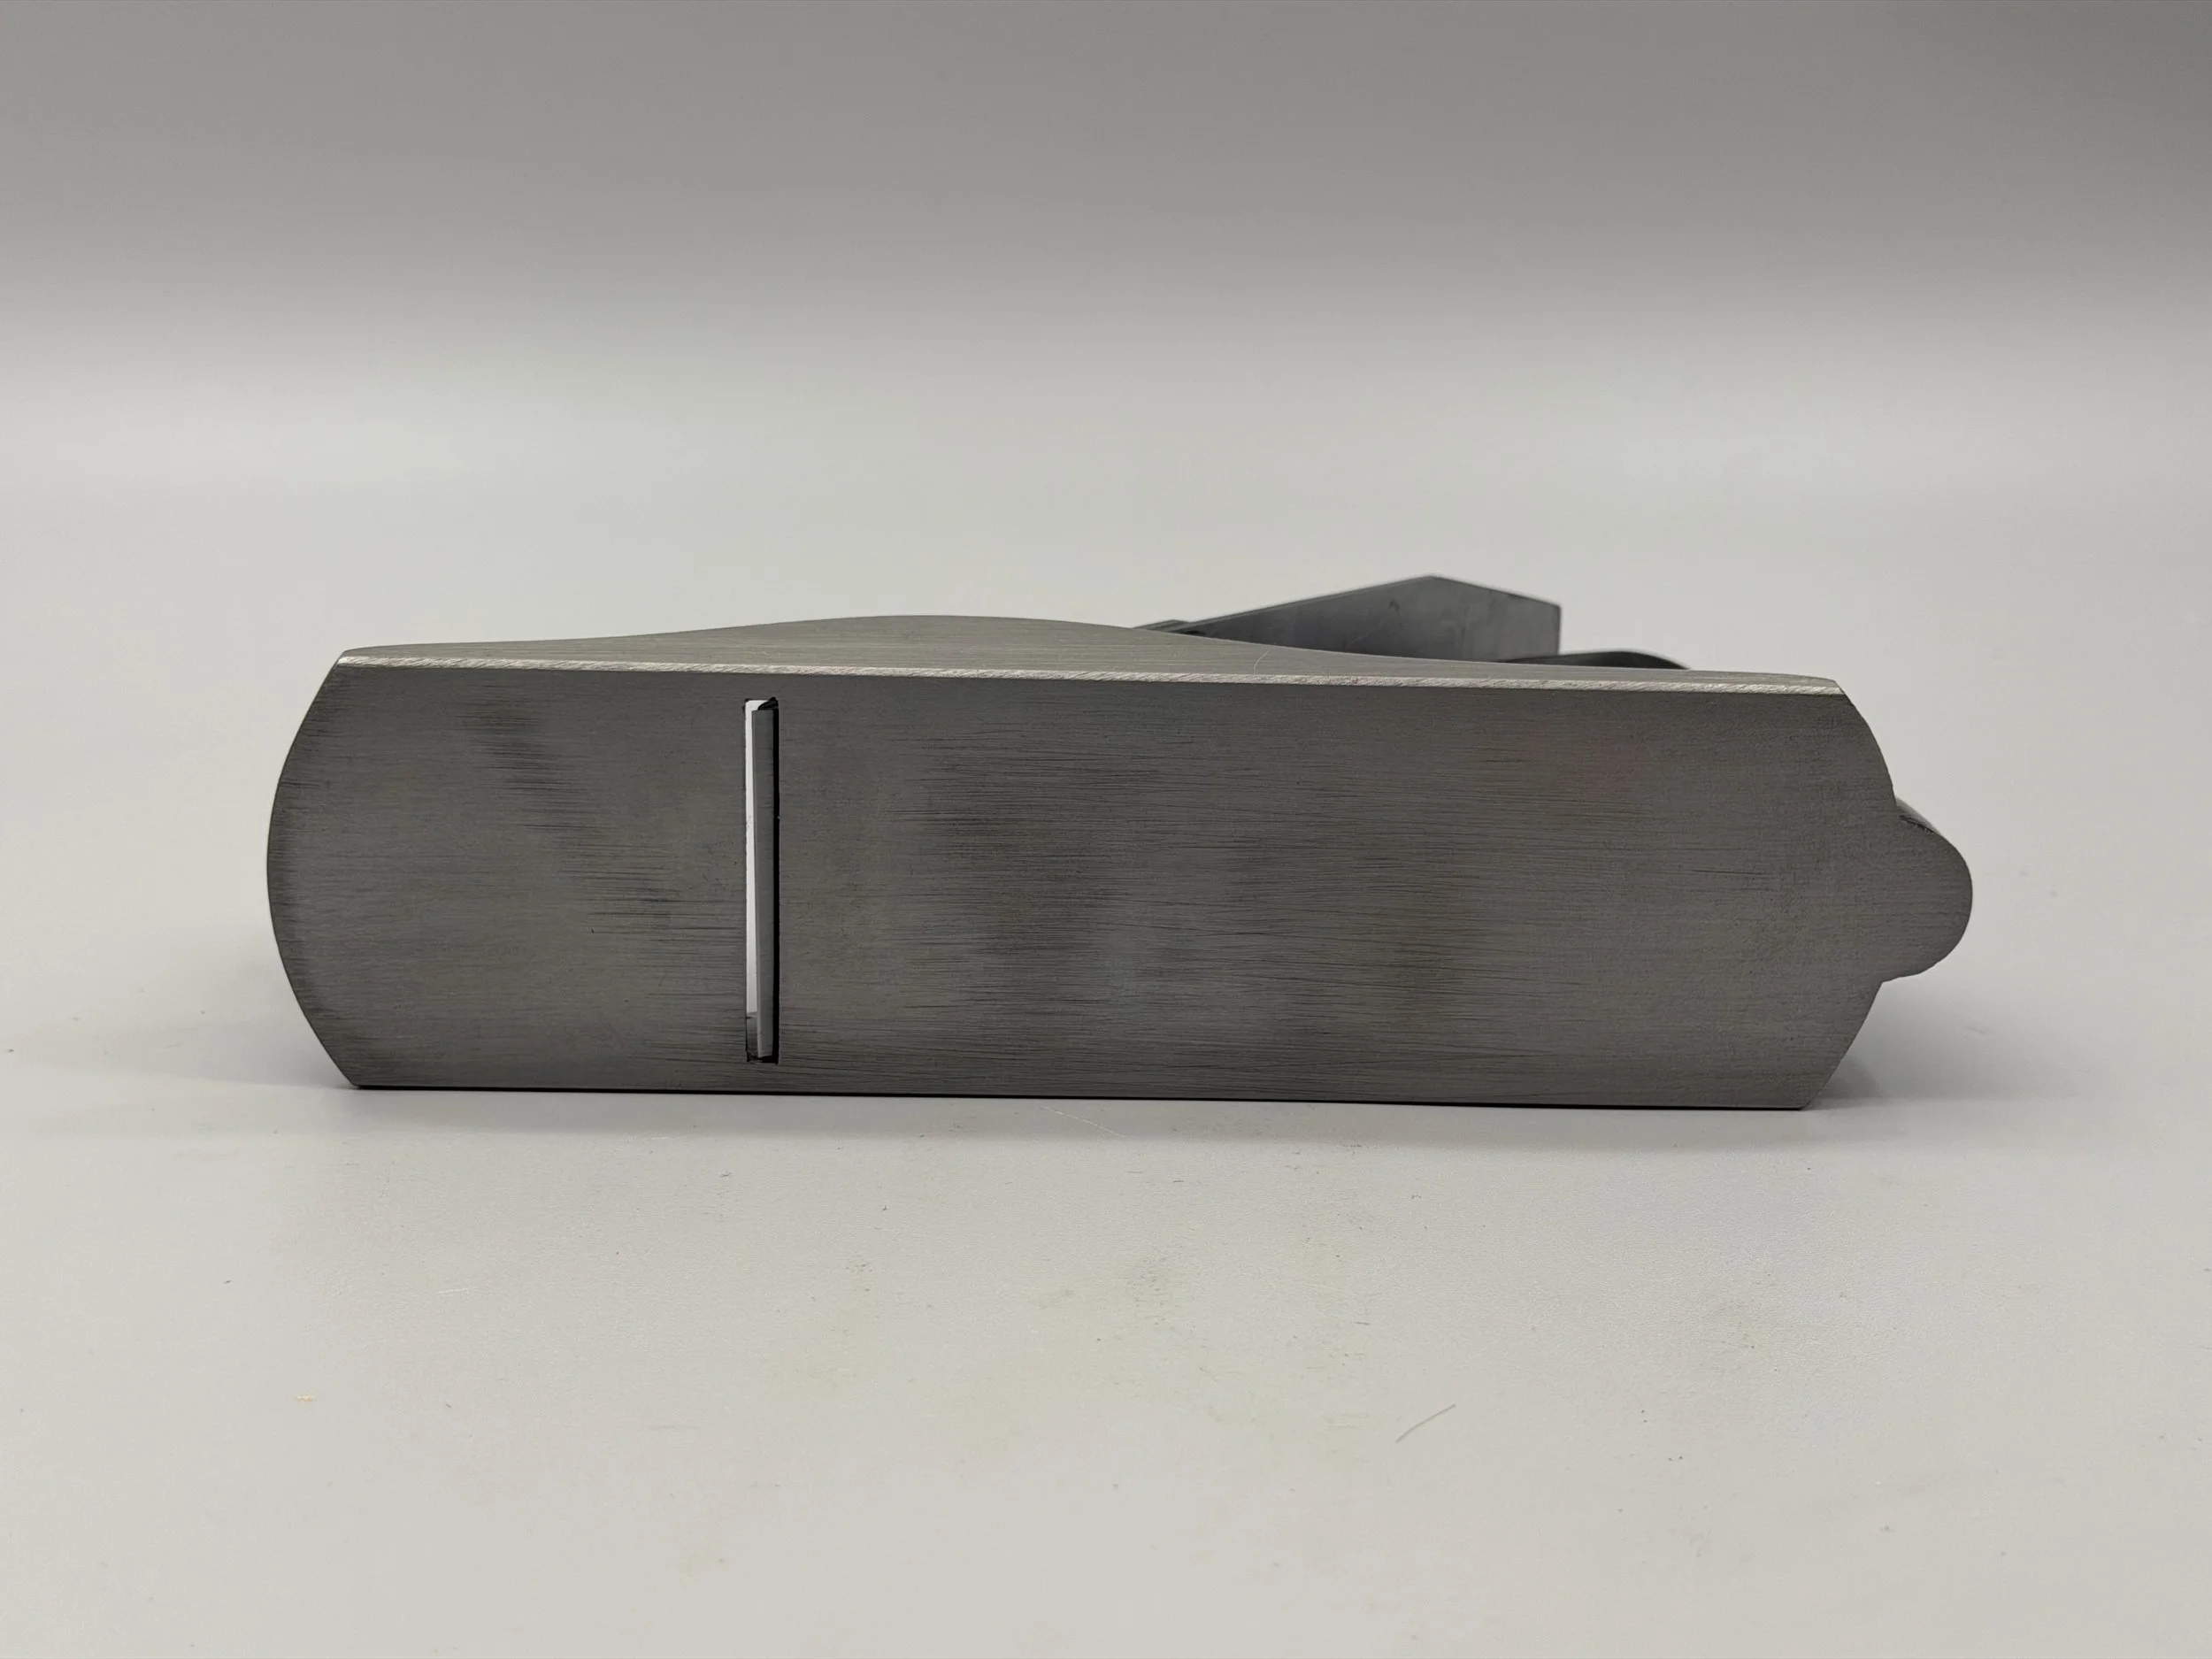
So, moment of truth. Did she effortlessly pull tissue-paper-thin shavings? Nope. Skipped and wouldn’t engage with the beginning of a cut and took a decent shaving only once the sole behind the iron was registering. Great way to plane a board into a wedge. Also seemed one side wasn’t cutting when it should have been. So what did that mean? We suspected the sole wasn’t flat and was probably high ahead of the mouth, which prevented the iron from engaging when the plane registered on the sole ahead of the iron. Likely also a twist making one side of the iron seem to project more because of a low spot ahead of the mouth (or vica versa). To confirm, we painted the sole green and gave it a pass over some high-grit sandpaper to see the contact points. Not even close to flat, despite the sole showing that someone had attempted to flatten it in the past. And basically high/low where expected. About 90 minutes later after burning through probably a full roll of PSA sandpaper from 120 to 220 on a granite surface plate, all the green paint on the sole was finally gone. Then a bit of tinkering with the frog placement to tighten the mouth, and another moment of truth. That time, it sang.
And the best part? There’s more tuning and ways to make it perform even better. The single biggest thing you can do to improve performance is a new chipbreaker and iron (Hock, Veritas, Zen Wu, etc.). With that, we think this plane can hold its own with the premium big boys.
Ships to you carefully packed and insured.
This later No. 4 is so clean you could eat off of it, but that’s not all! It’s also tuned and sharpened, ready to take shavings. How do we know? Because we cleaned it. We tuned it. And we sharpened it. And in the process spent way more time than we were intending. But as a result, it’ll perform straight out of the box. Box, you say? Yes! It also has a likely original, at least period-correct, box. Could you ask for anything more? You want it cheaper? Well, instead, how about a story about all the work that went into it?
Story time:
Preamble: The shavings in the pics came off this No. 4 and that’s just the start of what it can do.
Tuning up and sharpening the planes sold at The Tool Archive isn’t usually our thing. Seems to us most people would rather tune them up themselves. It’s like one of those ice-breaker trust games to get to know each other before diving straight into work. But it’s a slippery slope when you start working on a plane and we slipped all the way down that slope this time.
We first intended only to hone the iron and give the back a quick polish, thinking this plane looks like someone tuned it up before, so it would probably perform with a few passes on the whetstone. Nope. Turned out the primary bevel had a bunch of different angles on it going every which way (it reminded us of an M.C. Escher drawing with all those staircases going in every direction). So, we ground a new primary bevel at 25 degrees, which was a lot of grinding to take out all those angles (still have no idea how someone could have made such a multi-angle mess).
Having put a new bevel on, we figured we had to flatten the back. It too was an odd array of peaks and valleys. But we got it flat and shiny where it counts. At that point it only made sense to hone a secondary bevel at 30 degrees up to the super-fine grits. Hone, flatten, hone, flatten . . . Strop. Phew.
With that done, we screwed the chipbreaker on only to find at least a millimeter of space between it and the iron on one side, and contact on the other side. Yep, twisted! How? No clue. But through a combination of targeted bending and sandpaper grinding the chipbreaker edge, we got it mating well enough that nothing’s going to get in there.
So, moment of truth. Did she effortlessly pull tissue-paper-thin shavings? Nope. Skipped and wouldn’t engage with the beginning of a cut and took a decent shaving only once the sole behind the iron was registering. Great way to plane a board into a wedge. Also seemed one side wasn’t cutting when it should have been. So what did that mean? We suspected the sole wasn’t flat and was probably high ahead of the mouth, which prevented the iron from engaging when the plane registered on the sole ahead of the iron. Likely also a twist making one side of the iron seem to project more because of a low spot ahead of the mouth (or vica versa). To confirm, we painted the sole green and gave it a pass over some high-grit sandpaper to see the contact points. Not even close to flat, despite the sole showing that someone had attempted to flatten it in the past. And basically high/low where expected. About 90 minutes later after burning through probably a full roll of PSA sandpaper from 120 to 220 on a granite surface plate, all the green paint on the sole was finally gone. Then a bit of tinkering with the frog placement to tighten the mouth, and another moment of truth. That time, it sang.
And the best part? There’s more tuning and ways to make it perform even better. The single biggest thing you can do to improve performance is a new chipbreaker and iron (Hock, Veritas, Zen Wu, etc.). With that, we think this plane can hold its own with the premium big boys.
Ships to you carefully packed and insured.